I figured throwing together mini cheeseburger sliders for a kid’s lunch would be a breeze—just some tiny buns, a quick patty, and cheese, right? It took about thirty minutes for that to fall apart completely, with a sink full of greasy pans, a missing slice of cheddar somewhere between the fridge and the counter, and a very impatient kid tapping his foot. Honestly, I thought it would be a quick fix for lunchbox monotony, but it turned into a little kitchen adventure. The sliders, however, came out better than planned—juicy, cheesy, and perfectly bite-sized, unlike any rushed sandwich I’d made before. That unexpected success nudged me to develop the Ultimate Mini Cheeseburger Slider Bento Box recipe that balances convenience, flavor, and a bit of fun.
What really sticks with me about this recipe is how it transforms a simple kid’s lunch into a little midday celebration. The bento box format means I can add colorful, healthy sides without the usual fuss, and those sliders? They’re juicy but not messy, cheesy but not overwhelming, and perfectly petite to fit little hands. It’s like packing a tiny party in a lunchbox—and that’s why this recipe has stuck around in my regular rotation. It’s not just about feeding a kid; it’s about making lunch something they look forward to, even on the busiest days.
Why You’ll Love This Recipe
Making mini cheeseburger sliders sounds straightforward, but this recipe is about making it easy, tasty, and kid-approved, every single time. From my many trials (some messy, some downright hilarious), I’ve fine-tuned this into a reliable go-to that delivers smiles and satisfied appetites.
- Quick & Easy: Ready in under 30 minutes, perfect for busy school mornings or last-minute lunch packing.
- Simple Ingredients: No need to hunt down obscure items—just pantry staples and fresh basics, like ground beef, cheese, and slider buns.
- Perfect for Kids Lunch Ideas: The bento box style keeps things neat, colorful, and fun—plus, it’s great for picky eaters who like variety.
- Crowd-Pleaser: Whether you’re packing for school or a casual picnic, these sliders get rave reviews from kids and adults alike.
- Unbelievably Delicious: Juicy patties with melted cheese and a touch of secret seasoning make these sliders stand out from the usual sandwich fare.
This isn’t just another slider recipe. The trick is in the balance—seasoning the beef just right, picking buns that hold up without getting soggy, and assembling each box with sides that bring color and crunch. It’s comfort food with a playful twist, perfect for lunches that make you smile when you open them up. This recipe’s stuck around because it’s easy enough for weeknights yet special enough to feel like a treat.
What Ingredients You Will Need
This recipe uses simple, wholesome ingredients to deliver bold flavor and satisfying texture without the fuss. Most are everyday items, making it perfect for quick prep and easy substitutions.
- Ground beef (80/20 blend), 1 lb (450 g): The fat content keeps sliders juicy; I recommend organic or grass-fed if possible for better flavor.
- Mini slider buns, 8 count: Soft but sturdy buns hold the sliders well. Look for bakery-fresh or brioche-style for a touch of sweetness.
- Cheddar cheese slices, 4 slices (cut in half): Sharp cheddar works best, but American cheese melts beautifully if you want classic gooeyness.
- Salt and pepper: Simple seasoning to bring out the beef’s flavor.
- Worcestershire sauce, 1 tsp (optional): Adds depth and umami without overpowering.
- Pickle slices, 8 pieces: Adds a tangy crunch—kids usually love them!
- Lettuce leaves, shredded, 1 cup (30 g): Fresh crispness balances the richness.
- Cherry tomatoes, halved, 1 cup (150 g): For a fresh, colorful side.
- Carrot sticks, 1 cup (120 g): Adds sweetness and crunch.
- Ketchup and mustard, for serving: Classic condiments that most kids expect.
If you want to tweak the recipe for dietary needs, use gluten-free slider buns or swap ground beef with ground turkey for a leaner option. For a dairy-free twist, replace cheese with a plant-based slice. I’ve found that using brioche slider buns gives a nice softness that kids really respond to, unlike regular sandwich rolls.
Equipment Needed
- Large skillet or frying pan: A non-stick pan works best to avoid sticking and uneven browning.
- Mixing bowl: For seasoning and shaping the beef patties.
- Spatula: To flip the mini patties carefully without breaking them.
- Sharp knife: For slicing buns, cheese, and veggies.
- Bento box or divided lunch container: Keeps components separated and visually appealing.
- Optional: Meat thermometer to check doneness (can avoid guesswork for perfectly cooked sliders).
If you don’t have a bento box, any lunch container with compartments will do. I’ve used simple plastic containers with silicone dividers with good results. Also, a cast-iron skillet adds great flavor but requires seasoning and care, while a good-quality non-stick pan offers fuss-free cleanup, which is a lifesaver on busy mornings.
Preparation Method
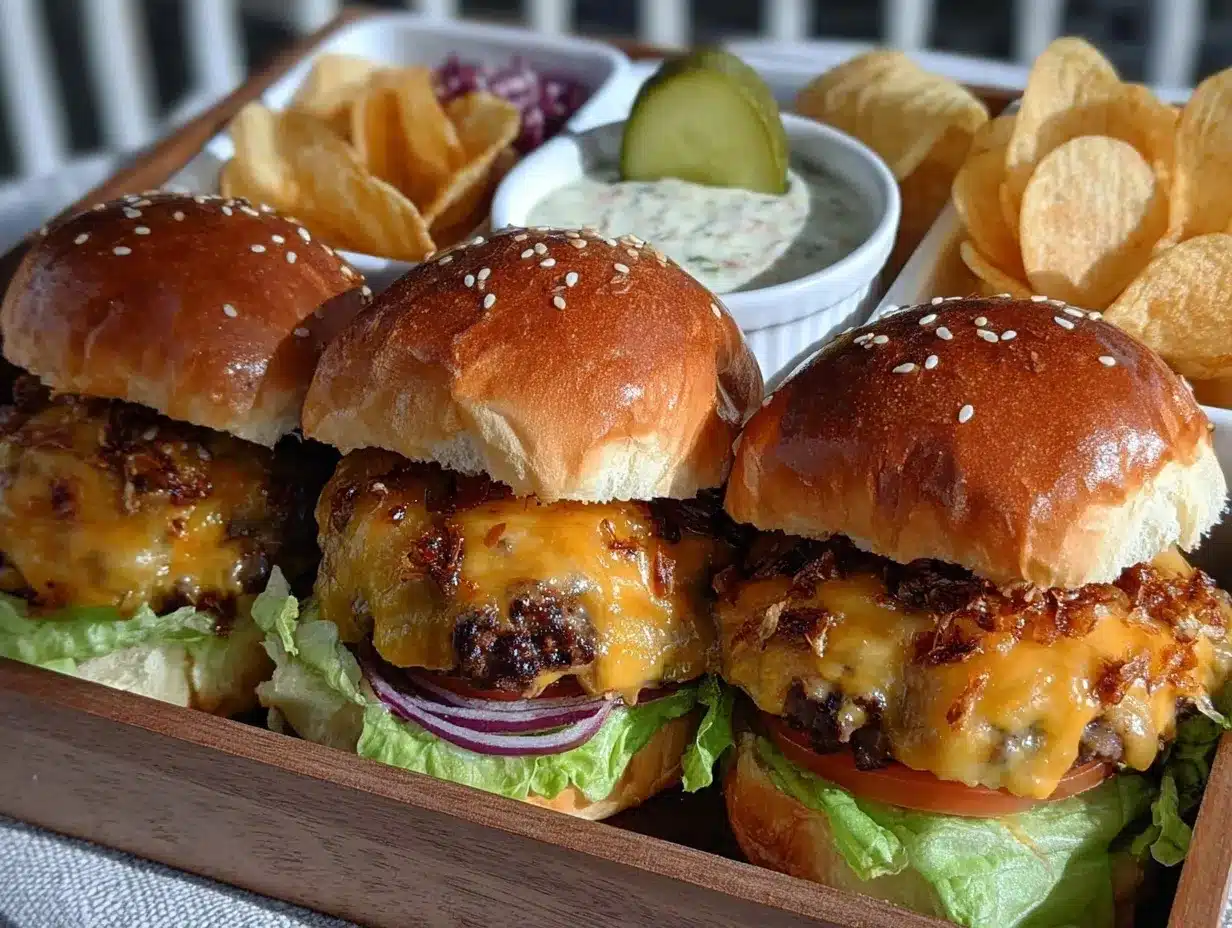
- Prepare the beef mixture: In a mixing bowl, combine 1 lb (450 g) ground beef with 1 tsp Worcestershire sauce (if using), and a pinch of salt and pepper. Mix gently to combine without overworking the meat (about 30 seconds). Overmixing can make the patties tough.
- Shape the patties: Divide the mixture into 8 equal portions (about 2 oz or 60 g each). Form each into a small, flat patty slightly larger than your mini buns, as they shrink while cooking.
- Heat the skillet: Preheat a large non-stick skillet over medium-high heat. Add a little oil if your skillet isn’t non-stick.
- Cook the patties: Place patties in the hot skillet. Cook for about 3-4 minutes per side, flipping carefully with a spatula. Add half a slice of cheddar cheese on each patty during the last minute of cooking, cover the pan briefly to melt cheese.
- Toast the buns: While patties cook, slice mini buns horizontally and toast them lightly in another pan or toaster oven until golden-brown but still soft.
- Assemble the sliders: On the bottom bun, place a lettuce leaf, then the cheesy patty, a couple of pickle slices, and top with the bun crown. Repeat for all sliders.
- Prepare the bento box sides: Fill compartments with carrot sticks, halved cherry tomatoes, and small containers of ketchup and mustard for dipping.
- Pack the box: Arrange the sliders and sides neatly to keep flavors fresh and textures crisp.
Tip: If patties stick to the pan, they probably need a bit more time before flipping—resist the urge to move them too soon. You want a nice crust to form first. Also, slicing buns after toasting helps keep them from getting soggy too quickly.
Cooking Tips & Techniques
One trick I learned the hard way is to not over-handle the beef when mixing—too much fiddling leads to dense sliders, and that’s a quick way to lose that juicy, tender bite. Use your hands just enough to incorporate seasoning.
Another tip: medium-high heat is your friend for a good sear but watch carefully so the tiny patties don’t burn. It’s a quick turnaround, so multitasking by toasting buns while patties cook saves precious minutes.
Melting the cheese with a quick pan cover keeps it perfectly gooey without drying out. I’ve also found letting the sliders rest for a minute off the heat helps juices redistribute, so every bite stays juicy.
Don’t underestimate the power of the right bun – sturdy enough to hold everything but soft to complement the slider’s tender texture. And keep sides fresh by packing them separately or using dividers in your bento box.
Variations & Adaptations
- Vegetarian/Vegan: Swap beef for plant-based burger patties or black bean sliders. Use vegan cheese and gluten-free buns for allergy-friendly versions.
- Flavor Twist: Mix minced onion or garlic into the beef for extra depth, or sprinkle smoked paprika for a subtle smoky note that pairs well with the classic toppings.
- Seasonal Sides: In warmer months, swap carrot sticks for cucumber slices or add fresh fruit like apple slices or grapes for a sweet contrast.
- Cooking Method: Grill the mini patties if you prefer a smoky char, or bake them in a 375°F (190°C) oven for about 15 minutes if stovetop isn’t an option.
- Personal Twist: I once added a tiny smear of creamy avocado on the bun bottom for extra richness and a sneaky veggie boost—kids didn’t complain!
Serving & Storage Suggestions
The Ultimate Mini Cheeseburger Slider Bento Box is best served fresh and slightly warm, but these sliders hold up well at room temperature for a few hours—perfect for packed lunches. Present the sliders neatly in the bento box with crisp veggies and dipping sauces on the side to keep everything fresh.
For leftovers, wrap sliders individually in foil and refrigerate up to 2 days. Reheat gently in a low oven (about 300°F/150°C for 10 minutes) to avoid drying out the beef. Avoid microwaving if you want to keep buns from getting soggy.
Flavors tend to mellow and meld if you prepare the bento box the night before, especially the sides. Carrot sticks stay crisp, but tomatoes can soften slightly, which some kids actually prefer.
Nutritional Information & Benefits
Each slider contains roughly 150-180 calories, depending on beef fat content and cheese choice. The recipe balances protein from the beef with fresh veggies for fiber and vitamins. Using leaner beef or turkey cuts reduces saturated fat for a heart-healthier meal.
Including fresh carrot sticks and cherry tomatoes boosts vitamin A and C intake, supporting immune health. The pickles add probiotics if naturally fermented, aiding digestion. For gluten-free or dairy-free needs, substitutions ensure the recipe fits many dietary preferences.
From a wellness perspective, packing a colorful bento box with mini sliders helps kids enjoy balanced meals that feel like a treat, encouraging better eating habits without fuss.
Conclusion
The Ultimate Mini Cheeseburger Slider Bento Box isn’t just a recipe; it’s a little solution to the lunchbox blues that sneaks in a lot of flavor and fun. It’s quick enough to whip up on busy mornings but thoughtful enough to feel special, with plenty of room to customize for your family’s tastes.
I love this recipe because it turns a simple cheeseburger into a manageable, mess-free delight that kids actually ask for again. It’s proof that with a bit of attention and balance, even the busiest cook can create a lunchbox winner.
Give it a try, tweak it your way, and I’d love to hear how you make it your own. Happy cooking and packing!
Frequently Asked Questions
Can I make the mini cheeseburger sliders ahead of time?
Yes! You can prepare patties a day ahead and refrigerate them raw, or fully cook and store sliders wrapped in foil for up to 2 days. Just reheat gently to keep them juicy.
What’s the best cheese to use for these sliders?
Sharp cheddar melts well and adds great flavor, but American cheese offers classic creaminess. For dairy-free, plant-based slices work nicely.
Can I freeze the mini sliders?
Absolutely! Freeze cooked sliders individually wrapped for up to 2 months. Thaw overnight in the fridge and reheat gently.
Are there gluten-free options for the buns?
Yes, many stores carry gluten-free mini buns or rolls. Alternatively, use lettuce wraps for a low-carb, gluten-free version.
What sides work best in the bento box?
Fresh veggies like carrot sticks, cherry tomatoes, cucumber slices, and fruit like apple wedges or grapes add color and nutrition. You can also include a small serving of healthy keto coleslaw for a crunchy side or gluten-free cornbread muffins for a heartier touch.
Pin This Recipe!
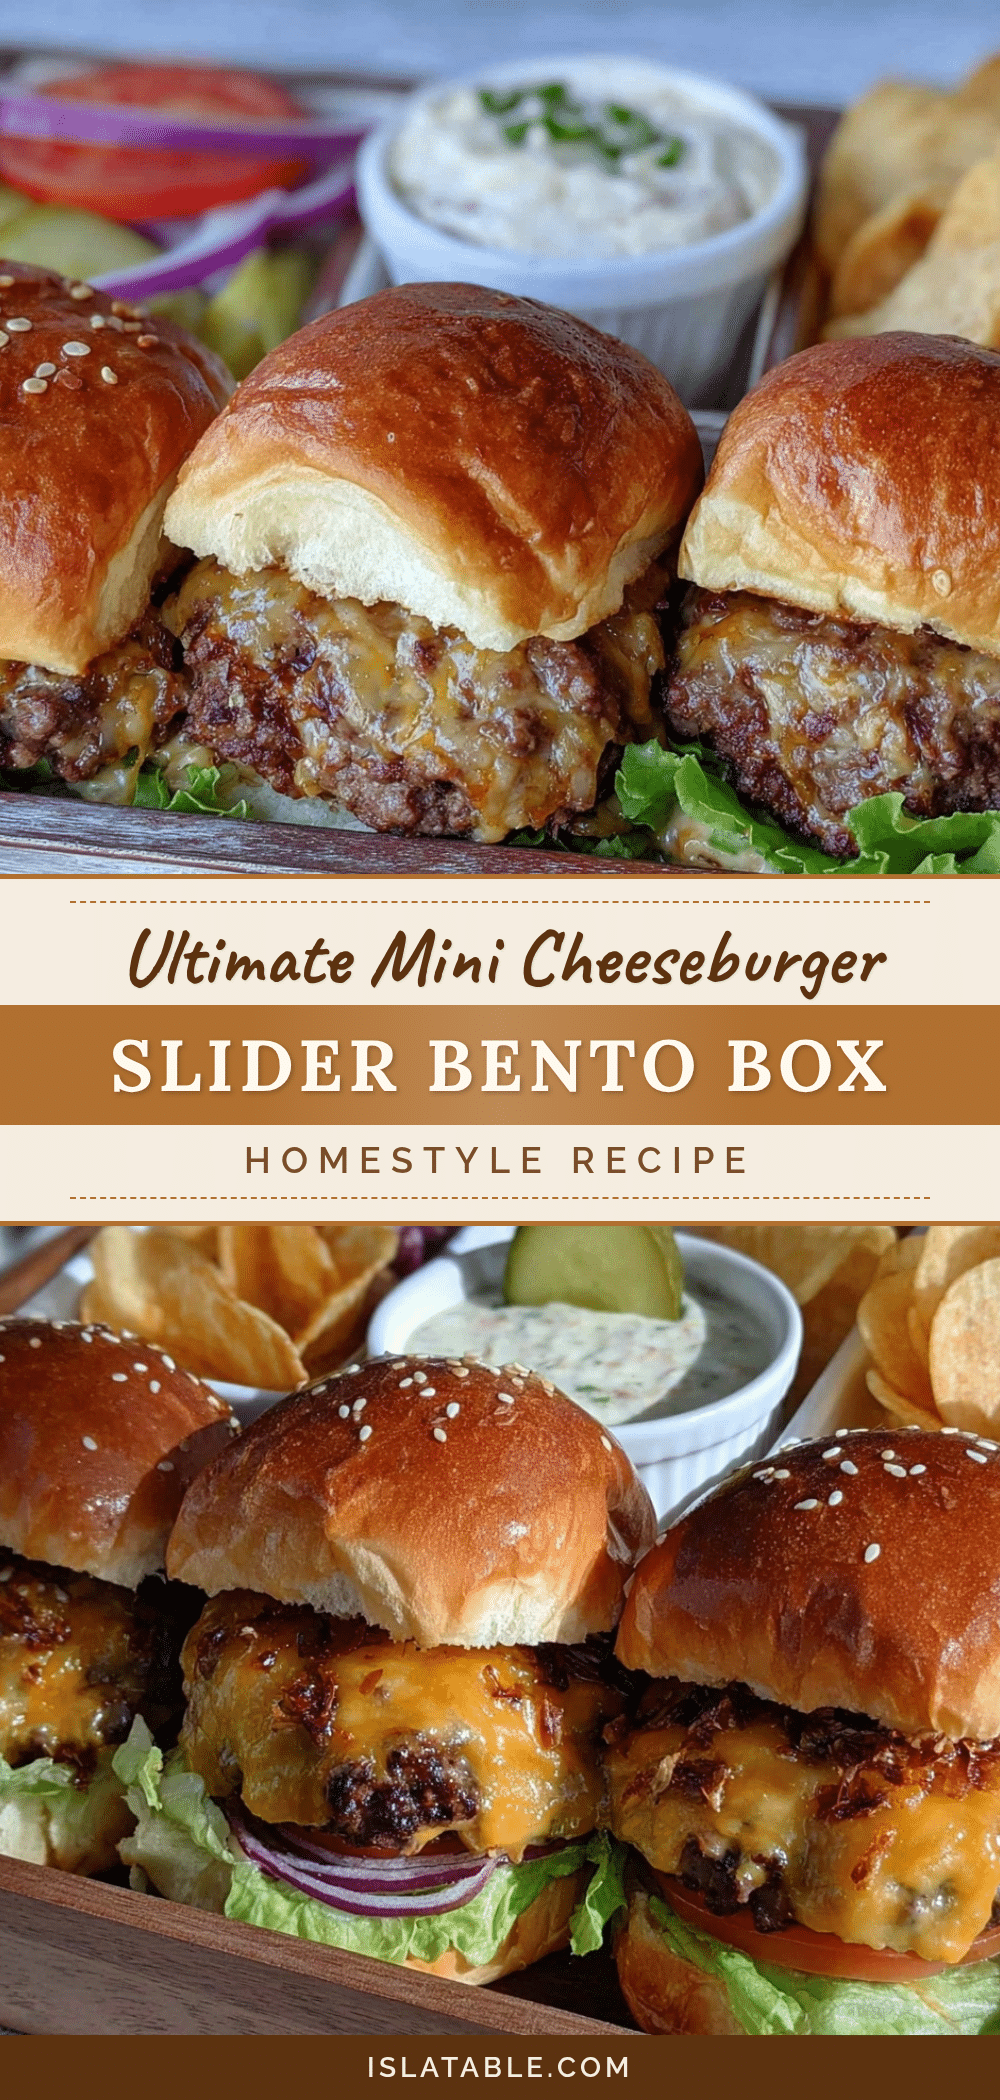
Ultimate Mini Cheeseburger Slider Bento Box
A kid-friendly, easy-to-make mini cheeseburger slider recipe served in a colorful bento box with fresh veggie sides, perfect for lunches that are fun, tasty, and convenient.
- Prep Time: 10 minutes
- Cook Time: 15 minutes
- Total Time: 25 minutes
- Yield: 8 sliders 1x
- Category: Main Course
- Cuisine: American
Ingredients
- 1 lb (450 g) ground beef (80/20 blend)
- 8 mini slider buns
- 4 slices cheddar cheese, cut in half
- Salt and pepper to taste
- 1 tsp Worcestershire sauce (optional)
- 8 pickle slices
- 1 cup (30 g) shredded lettuce leaves
- 1 cup (150 g) cherry tomatoes, halved
- 1 cup (120 g) carrot sticks
- Ketchup and mustard for serving
Instructions
- In a mixing bowl, combine ground beef with Worcestershire sauce (if using), salt, and pepper. Mix gently about 30 seconds without overworking.
- Divide mixture into 8 equal portions (about 2 oz or 60 g each) and form small, flat patties slightly larger than the buns.
- Preheat a large non-stick skillet over medium-high heat. Add oil if needed.
- Cook patties for 3-4 minutes per side. Add half a slice of cheddar cheese on each patty during the last minute and cover briefly to melt cheese.
- Slice mini buns horizontally and toast lightly until golden but still soft.
- Assemble sliders: place a lettuce leaf on bottom bun, add cheesy patty, a couple of pickle slices, then top with bun crown.
- Fill bento box compartments with carrot sticks, halved cherry tomatoes, and small containers of ketchup and mustard.
- Arrange sliders and sides neatly in the bento box.
Notes
Do not overmix beef to keep patties tender. Let patties form a crust before flipping. Toast buns after slicing to avoid sogginess. Sliders hold well at room temperature for a few hours. Reheat gently in a low oven to avoid drying out. For gluten-free, use gluten-free buns or lettuce wraps. For dairy-free, use plant-based cheese.
Nutrition
- Serving Size: 1 slider with sides
- Calories: 150180
- Sugar: 3
- Sodium: 350
- Fat: 10
- Saturated Fat: 4
- Carbohydrates: 15
- Fiber: 1
- Protein: 10
Keywords: mini cheeseburger sliders, kids lunch, bento box, easy recipe, quick lunch, slider buns, cheesy sliders


