I crushed three full packages of Oreos with a rolling pin only to realize I had forgotten the whipped cream entirely. It was a hot July afternoon, the kind where the kitchen feels like an oven and the kids are already begging for snacks that aren’t chicken nuggets. I stared at that bowl of dry, black crumbs and felt that specific panic of a parent who just messed up the fun part. You know that feeling when you’re trying to make something magical for your little ones, but you’re running on fumes and sheer willpower? That was me. I didn’t have time to whip cream from scratch, and I definitely didn’t have the energy to bake anything that required an oven.
Instead of admitting defeat, I grabbed a tub of pre-made whipped topping and a jar of chocolate pudding mix. Honestly, it was a hack born out of desperation, not culinary genius. But when I layered those quick chocolate mousse-like puddings with the cookie crumbs and tucked in those squiggly gummy worms, something shifted. The kids didn’t notice the shortcut. They just saw a dirt cup. They saw magic.
This Fun Oreo Dirt Cups with Gummy Worms recipe started as a disaster that turned into a weekend staple. I learned that sometimes the best desserts aren’t the ones that take hours; they’re the ones that bring immediate joy without the cleanup. Now, whenever I see a pack of gummy worms, I smile because I know I can turn a few pantry staples into a crowd-pleasing treat in minutes. It’s simple, it’s messy in the best way, and it tastes like childhood.
Why You’ll Love This Recipe
Let’s be real for a second. Most dessert recipes online feel like they were written by people who have never actually fed a hungry child at 5 PM. This one is different because it respects your time and your sanity. I’ve tested this version more times than I care to count, tweaking the ratios until the texture was just right—not too watery, not too thick. It’s the kind of dessert that feels indulgent but comes together faster than you can order takeout.
Here is why this recipe earns a permanent spot in your dessert rotation:
- Quick & Easy: You don’t need to stand over a stove or wait for an oven to preheat. This comes together in under five minutes, which is perfect for those busy weeknights or when you need a last-minute treat for a school party.
- Simple Ingredients: No fancy grocery trips are needed. You likely already have Oreos, chocolate pudding, and whipped topping in your kitchen. If not, it’s a quick stop at any local store.
- Perfect for Parties: Whether it’s a birthday celebration, a sleepover, or just a cozy family movie night, these cups are visually striking and fun to eat. They look impressive but require zero artistic skill.
- Crowd-Pleaser: I’ve served these to picky eaters who claim they “don’t like dessert,” and they always go back for seconds. The crunch of the cookie mixed with the smooth pudding is next-level comfort food.
- Unbelievably Delicious: The combination of rich chocolate, creamy dairy, and chewy gummy worms creates a flavor profile that hits all the right notes. It’s sweet without being cloying.
What makes this specific version stand out is the balance of textures. Some recipes use cake crumbs, which can get soggy too fast. By using crushed Oreos, you get a distinct crunch that holds up well even if you let them sit for a little while. Plus, the visual of the gummy worm peeking out is just pure joy. It taps into that childhood nostalgia we all have for playing in the dirt, but safely inside a cup. It’s comfort food reimagined for the modern, busy parent.
What Ingredients You Will Need
This recipe relies on simple, wholesome-tasting ingredients to deliver bold flavor and satisfying texture without the fuss. You don’t need exotic spices or hard-to-find items. The magic here is in the quality of the chocolate and the freshness of the dairy components.
Here is what you will need to make this happen:
- Oreo Cookies: You’ll need about 1.5 to 2 full packages (36-48 cookies). Look for the classic chocolate sandwich cookies. I recommend buying the store brand if you’re on a budget, as they crush evenly and taste just as good. You want them fine enough to resemble dirt, but not so fine that they turn into dust.
- Chocolate Pudding Mix: A 3.4-ounce box of instant chocolate pudding is the base. I personally prefer brands like Jell-O or French’s for their smooth texture. Avoid the “light” versions if you can, as they often have a weird aftertaste and lack the creamy richness needed for this treat.
- Milk: You’ll need cold whole milk to mix with the pudding. Whole milk creates the richest consistency, but 2% works in a pinch. If you need a dairy-free option, you can use a high-quality almond or oat milk, though the texture might be slightly thinner.
- Whipped Topping: A 8-ounce tub of cool whip or similar non-dairy whipped topping is essential for the fluffy layer. Thaw it according to the package instructions. Don’t skip this step, or you’ll get icy chunks in your dessert. For a richer taste, you can fold in a tablespoon of powdered sugar.
- Gummy Worms: About 1-2 bags of gummy worms for garnish. The brighter the color, the better the visual contrast against the dark “dirt.” I like to buy the sour ones for a little tangy kick, but regular sweet ones work fine too.
- Small Cups or Glasses: Clear plastic cups, mason jars, or even small shot glasses work well. Clear containers are crucial here because you want to see the beautiful layers. If you use opaque bowls, you lose the whole aesthetic.
If you want to get fancy, you can add a sprinkle of crushed chocolate cookies on top of the whipped cream for extra texture. But honestly, the basic ingredients listed above are all you need to create this classic treat. Keep it simple and let the flavors speak for themselves.
Equipment Needed
You don’t need a fancy kitchen setup for this. Here is what you’ll need:
- Large Mixing Bowl: To combine the pudding and milk. A wide bowl makes it easier to whisk without splashing.
- Whisk or Fork: Standard kitchen tools work fine. Just make sure you whisk the pudding for at least two minutes to eliminate lumps. This step is critical for a smooth texture.
- Ziplock Bags or Food Processor: For crushing the Oreos. I prefer using a rolling pin on a ziplock bag because it’s less messy than using a processor. Plus, it’s therapeutic to crush cookies.
- Measuring Cups and Spoons: For accuracy. While this recipe is forgiving, measuring the milk correctly ensures the pudding sets properly.
- Serving Cups: Clear plastic or glass cups. I recommend buying bulk plastic cups for parties as they are less likely to break if kids get excited.
If you don’t have a rolling pin, you can use a heavy-bottomed pan or even a wine bottle. The goal is to get those cookies into fine crumbs. Avoid using a blender for the cookies unless you want cookie butter; you want crumbs, not powder.
Preparation Method
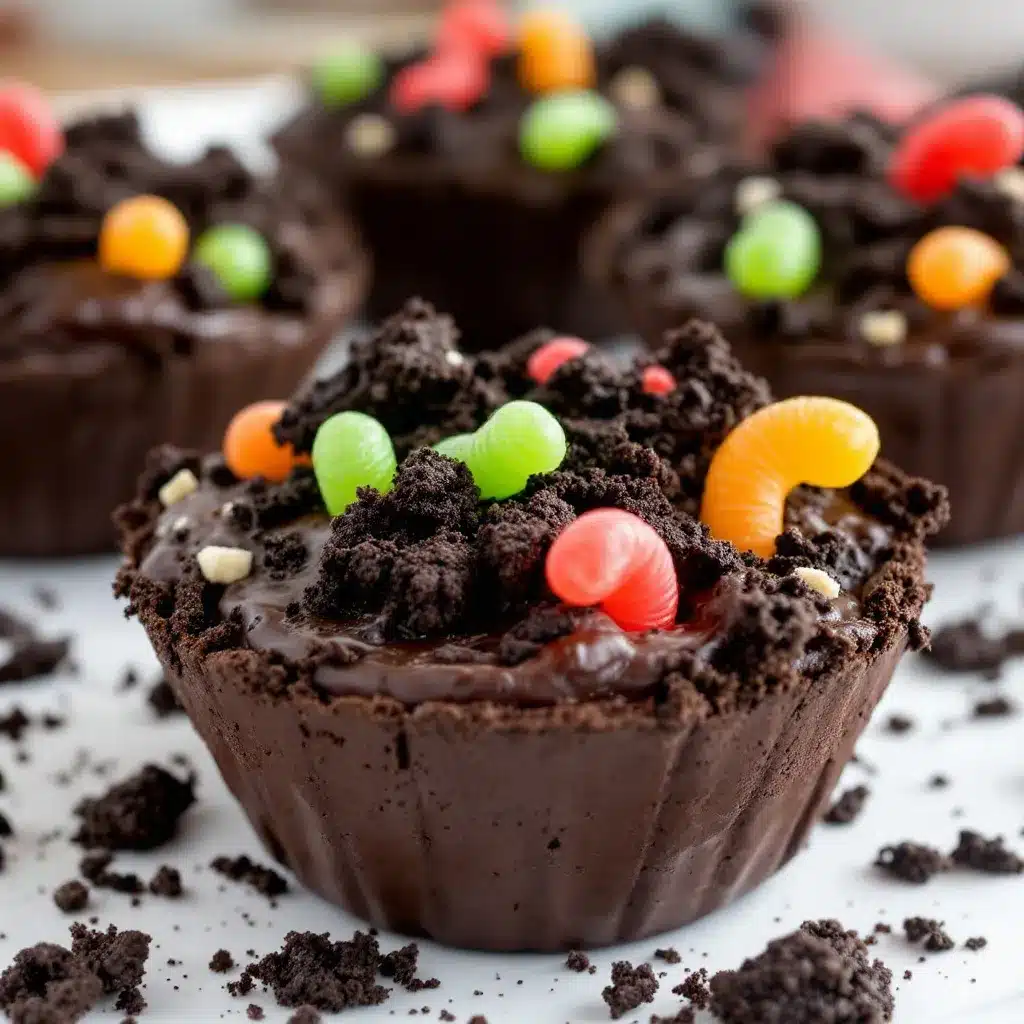
Follow these steps to create the perfect dirt cups. Take your time with the crushing part; it’s the most satisfying step.
- Crush the Cookies: Place your Oreos in a large ziplock bag, squeezing out as much air as possible. Seal it tight. Use a rolling pin, meat mallet, or heavy pan to crush the cookies into fine crumbs. You want them to look like potting soil. This takes about 3-5 minutes. Tip: Don’t skip this step or rush it. Large chunks will ruin the texture.
- Prepare the Pudding: In a large bowl, whisk together the instant chocolate pudding mix and cold milk. Whisk vigorously for about 2 minutes. The mixture should thicken slightly and become smooth. If you see lumps, keep whisking. This step takes about 2 minutes. Warning: Do not let the pudding sit too long before assembling, or it will get too thick to layer nicely.
- Assemble the Layers: Take your serving cups. Start with a layer of crushed Oreos at the bottom. Add about 2 tablespoons of crumbs per cup. Then, add a layer of the chocolate pudding. You want roughly 3-4 tablespoons of pudding on top of the crumbs. Press it down gently with a spoon to create a flat surface.
- Add the Whipped Cream: Spoon a generous layer of thawed whipped topping over the pudding. This should be about 2-3 tablespoons per cup. You don’t need to be perfect here; a rustic look adds to the charm.
- Top with More Dirt: Sprinkle another layer of crushed Oreos over the whipped cream. This creates the final “dirt” layer. You want enough to cover the white cream completely, but not so much that it overflows.
- Add the Worms: Take your gummy worms and tuck them into the top layer of crumbs. Make them look like they are burrowing out of the dirt. This is the fun part where you can let your creativity shine.
- Chill and Serve: Place the cups in the refrigerator for at least 30 minutes before serving. This allows the layers to set and the flavors to meld. Sensory Cue: After chilling, the pudding should be firm but creamy, and the cookies will have softened slightly, creating a delicious cake-like texture.
Cooking Tips & Techniques
I learned the hard way that rushing the pudding mixing leads to grainy desserts. Always whisk for a full two minutes. It’s not just a suggestion; it’s a requirement for smoothness. Also, make sure your milk is cold. Warm milk will prevent the pudding from setting properly, resulting in a soupy mess.
Another common mistake is using too much whipped topping. If the layers are too tall, the cups become unstable and hard to eat. Keep the layers thin and distinct. I also recommend crushing the cookies just before assembling. If you crush them too early, they can absorb moisture from the air and lose their crunch.
When layering, use the back of a spoon to spread the pudding and whipped cream evenly. This ensures every bite has a mix of textures. If you are making these for a party, prepare them in batches and keep them covered in the fridge until serving time. They hold up well for up to 24 hours, though the cookies may soften more over time.
Variations & Adaptations
While the classic version is my favorite, there are plenty of ways to tweak this recipe.
- Strawberry Dirt Cups: Swap the chocolate pudding for vanilla or strawberry instant pudding. Use strawberry Oreos if you can find them, or sprinkle crushed freeze-dried strawberries on top for a pink “flower” effect.
- Gluten-Free Option: Use gluten-free chocolate sandwich cookies. Most major brands offer GF versions that crush and taste just like the original. Ensure your whipped topping and pudding are also certified gluten-free.
- Dairy-Free Version: Use dairy-free milk for the pudding and a non-dairy whipped topping like Coconut Whip. The texture will be slightly different, but the flavor remains delicious.
- Low-Sugar Twist: Use sugar-free pudding mix and sugar-free cookies. While not as sweet, this is a great option for those watching their sugar intake. Add a few fresh berries on top for natural sweetness.
I once tried making this with peanut butter pudding, and it was surprisingly good. The salty-sweet combo worked well. Feel free to experiment with different pudding flavors like butterscotch or banana.
Serving & Storage Suggestions
Serve these cups chilled for the best experience. The cold temperature contrasts nicely with the room-temperature gummy worms. They are perfect for outdoor picnics because they don’t melt quickly like ice cream.
For storage, keep the cups covered in the refrigerator for up to 2 days. The cookies will continue to soften, which some people prefer as it makes the dessert more like a trifle. Do not freeze these cups, as the whipped topping will separate and become grainy upon thawing.
If you have leftover pudding, you can store it in an airtight container for a few hours, but it will thicken significantly. You can thin it out with a splash of milk if you need to use it for something else.
Nutritional Information & Benefits
These dirt cups are a treat, so enjoy them in moderation. Each cup contains approximately 250-300 calories, depending on the size of the serving and the specific brands used. The recipe provides carbohydrates from the cookies and pudding, and fats from the whipped topping and milk.
While not a health food, it can be a fun occasional indulgence. If you want to lighten it up, use low-fat milk and a lighter whipped topping. The gummy worms add sugar but also a bit of fun. Remember, food is also about joy, and these cups bring a lot of joy to kids and adults alike.
Conclusion
This Fun Oreo Dirt Cups with Gummy Worms recipe is a testament to the power of simple ingredients and quick assembly. It’s a dessert that doesn’t take over your kitchen but still delivers big flavor and big smiles. I hope you try this recipe and see the happiness it brings to your table. Feel free to customize it with your favorite cookie flavors or pudding types.
If you make this, I’d love to hear how it goes! Leave a comment below with your variations or photos of your creations. Don’t forget to share this recipe with your friends who need a quick dessert idea. Happy baking!
FAQs
Can I make these dirt cups ahead of time?
Yes, you can assemble them up to 24 hours in advance. Keep them covered in the refrigerator to prevent the cookies from absorbing too much moisture from the air.
What can I use instead of Oreos?
You can use any chocolate sandwich cookies, such as Girl Scout Samoas, chocolate wafers, or even dark chocolate cookies. The key is to crush them into fine crumbs.
How do I prevent the pudding from being lumpy?
Whisk the pudding mix and milk vigorously for at least two minutes. Make sure the milk is cold and add it slowly while whisking constantly.
Can I use fresh whipped cream instead of cool whip?
Yes, you can use freshly whipped cream, but it will be less stable and may deflate faster. Cool whip holds its shape better for layered desserts.
Are these dirt cups gluten-free?
Not if you use standard Oreos. However, you can easily make them gluten-free by using gluten-free chocolate sandwich cookies and ensuring your other ingredients are certified gluten-free.
Pin This Recipe!
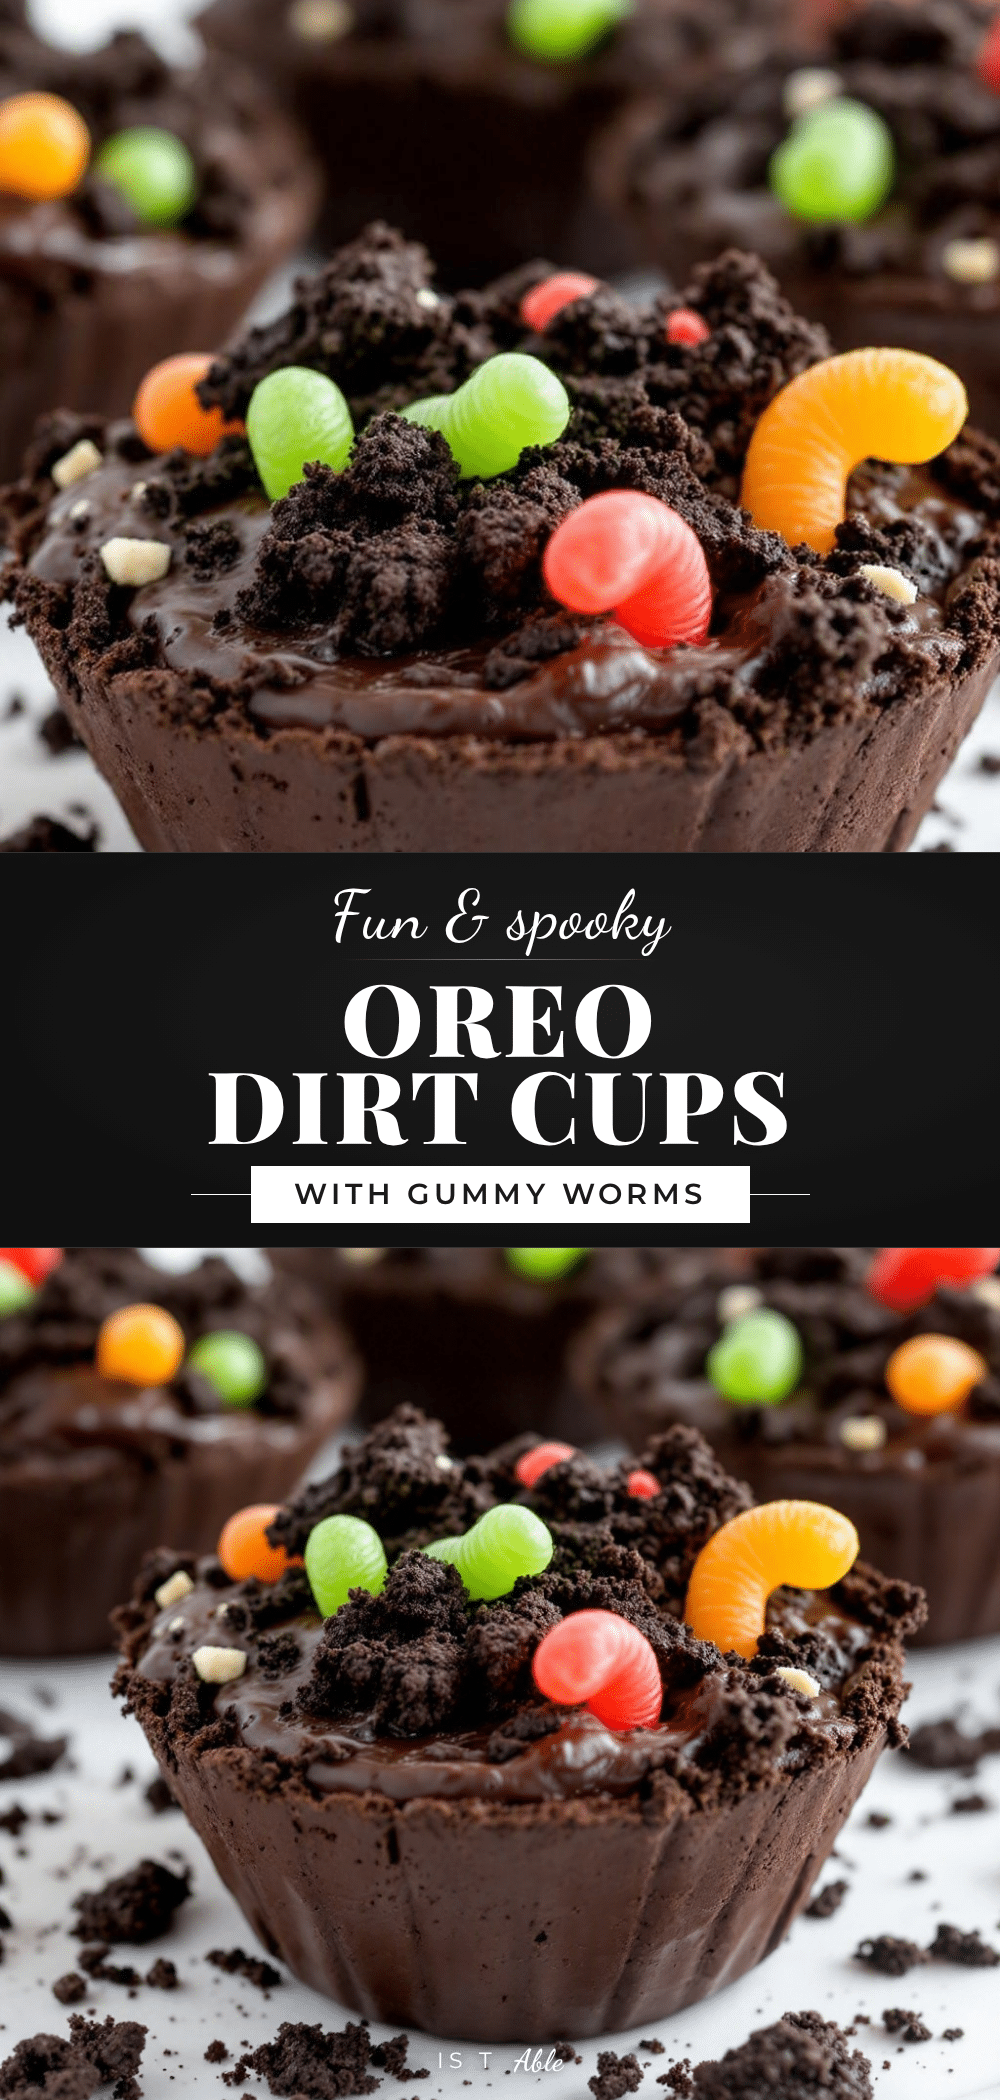
Fun Oreo Dirt Cups with Gummy Worms

A quick and easy 5-minute dessert featuring layers of crushed Oreo cookies, chocolate pudding, and whipped topping, garnished with gummy worms for a fun, kid-friendly treat.
- Prep Time: 5 minutes
- Cook Time: 0 minutes
- Total Time: 35 minutes
- Yield: 4 servings 1x
- Category: Dessert
- Cuisine: American
Ingredients
- 1.5 to 2 packages (36–48 cookies) classic chocolate sandwich cookies (Oreos)
- 1 box (3.4 oz) instant chocolate pudding mix
- 2 cups cold whole milk
- 1 tub (8 oz) thawed whipped topping (e.g., Cool Whip)
- 1–2 bags gummy worms
- Clear plastic cups, mason jars, or small glasses for serving
Instructions
- Place Oreos in a large ziplock bag, squeeze out air, and crush into fine crumbs using a rolling pin or heavy pan (approx. 3-5 minutes).
- In a large bowl, whisk the instant chocolate pudding mix and cold milk vigorously for 2 minutes until smooth and slightly thickened.
- Add a layer of crushed Oreos (about 2 tablespoons) to the bottom of each serving cup.
- Add a layer of chocolate pudding (about 3-4 tablespoons) on top of the crumbs and press down gently.
- Spoon a generous layer of thawed whipped topping (about 2-3 tablespoons) over the pudding.
- Sprinkle another layer of crushed Oreos over the whipped cream to cover it completely.
- Tuck gummy worms into the top layer of crumbs to resemble worms in dirt.
- Refrigerate for at least 30 minutes before serving to allow layers to set.
Notes
Ensure milk is cold to help pudding set properly. Whisk pudding for a full two minutes to avoid lumps. Crush cookies just before assembling to maintain crunch. Do not freeze as whipped topping will separate. Can be made ahead and stored in the fridge for up to 24 hours.
Nutrition
- Serving Size: 1 cup
- Calories: 275
- Sugar: 28
- Sodium: 250
- Fat: 12
- Saturated Fat: 5
- Carbohydrates: 40
- Fiber: 2
- Protein: 4
Keywords: Oreo dirt cups, gummy worm dessert, easy kids dessert, 5 minute dessert, chocolate pudding cups, no bake dessert, party snacks


