I burned the bottom off my first banana bread loaf three times in a row. It wasn’t a subtle mistake either; I’m talking about charcoal-black crust that stuck to the pan so hard I had to chip it out with a knife. I didn’t understand why the center was still raw dough while the edges were basically bricks. You know that feeling when you follow a recipe exactly as written, but the result is a total disaster? That was me.
The problem wasn’t the bananas, honestly. It was the heat. I was baking at a standard 350°F (175°C), which works for some cakes but turns banana bread into a scorched mess if you aren’t watching it like a hawk. I eventually figured out that lowering the temperature and letting it bake slowly was the secret. Now, I make this moist classic banana bread with toasted walnuts almost every week.
There is something deeply satisfying about slicing into a loaf that is still slightly warm. The smell of toasted nuts and vanilla fills the kitchen, and my family thinks I’m a genius. I’m not a genius, though. I just learned how to control the oven. This recipe has become my go-to for rainy Sundays or when I need a quick comfort food fix.
It’s not fancy. It doesn’t have a fancy glaze or exotic spices. It’s just simple, honest baking. But once you get the texture right—dense but tender, with those crunchy walnut bits—you’ll never go back to the dry, crumbly versions from the grocery store. I promise you, this is the real deal.
Why You’ll Love This Recipe
This isn’t just another banana bread recipe you’ll find buried on the internet. This is the one that actually works, every single time. I’ve tested this version dozens of times, tweaking the ratios until the moisture level was perfect. Here is why this loaf stands out from the crowd:
- Quick & Easy: You don’t need to spend hours in the kitchen. This comes together in under 15 minutes of prep time. You just mash, mix, and bake. It’s perfect for busy weeknights or when you have a sudden craving for something sweet.
- Simple Ingredients: No fancy grocery trips needed. You likely already have everything in your kitchen right now. Ripe bananas, flour, sugar, butter, eggs, and walnuts. That’s it. No obscure flours or hard-to-find extracts.
- Perfect for Meal Prep: This loaf keeps well for days, making it an ideal breakfast option. Slice it up, wrap it up, and grab it on your way out the door. It’s great for potlucks, cozy dinners, or holiday mornings when you want something reliable.
- Crowd-Pleaser: Kids and adults alike always ask for seconds. The toasted walnuts add a savory crunch that balances the sweetness, making it appealing to picky eaters too.
- Unbelievably Delicious: The texture is next-level comfort food. It’s moist without being soggy, and rich without being heavy. The flavor combo is soothing and familiar, like a warm hug.
What makes this recipe different is the technique of toasting the walnuts first. Most people just dump raw nuts into the batter, but toasting them brings out an oily, nutty depth that changes the whole profile of the bread. It’s a small step, but it makes this version stand out. Whether you are a novice baker or a seasoned pro, this recipe delivers consistent results.
It’s the kind of bread that makes you close your eyes after the first bite. It’s comfort food reimagined—simple, fast, but with the same soul-soothing satisfaction as a bakery loaf. Perfect for impressing guests without stress, or turning a simple Tuesday dinner into something memorable.
What Ingredients You Will Need
This recipe uses simple, wholesome ingredients to deliver bold flavor and satisfying texture without the fuss. The key to success here is quality, especially when it comes to the bananas. You want them ripe, dark, and soft. The spottier the better, because those brown spots mean more sugar and more flavor.
Here is what you need to gather:
- For the Base:
- 3 large ripe bananas, mashed (about 1.5 cups). Look for bananas with black skins for maximum sweetness.
- 1/3 cup unsalted butter, melted. I recommend using salted butter if you prefer a richer taste, but adjust the added salt accordingly.
- 3/4 cup granulated sugar. White sugar gives a lighter crumb, but brown sugar adds a deeper molasses note.
- 1 large egg, room temperature. This helps bind the loaf together.
- 1 teaspoon vanilla extract. Use a pure vanilla extract for the best aroma.
- For the Dry Mix:
- 1 teaspoon baking soda. This is what makes the bread rise.
- 1/4 teaspoon salt. Enhances all the other flavors.
- 1 1/2 cups all-purpose flour. Do not use cake flour; you need the structure that all-purpose provides.
- For the Topping:
- 1/2 cup walnuts, chopped. Toasting these beforehand is crucial for flavor.
I personally prefer Bob’s Red Mill baking soda for its consistent leavening power. If you are looking for a gluten-free option, you can swap the all-purpose flour for a 1-to-1 gluten-free flour blend. For the walnuts, look for fresh-looking nuts that aren’t rancid. Old nuts will taste bitter and ruin the loaf. In summer, you can swap the walnuts for pecans if you prefer a sweeter nut profile.
Equipment Needed
You don’t need a fancy kitchen to make this bread. A standard 9×5-inch loaf pan is all you really need. I use a metal pan because it conducts heat evenly, but a glass pan works too—just keep an eye on the baking time as glass can sometimes cause the edges to brown faster.
A large mixing bowl is essential. I prefer a bowl with a spout so you can pour the wet ingredients into the dry ones without spilling. A potato masher or a fork works fine for mashing the bananas, but a masher is faster and gives you better control over the texture.
For the walnuts, a small skillet is helpful. If you don’t want to use a skillet, you can toast them on a baking sheet in the oven for a few minutes before chopping. A wire cooling rack is also important. Letting the bread cool completely in the pan can make it soggy, so transferring it to a rack helps maintain that perfect crust.
Budget-friendly tip: You don’t need a stand mixer. A whisk and a spatula are all you need to avoid overmixing, which is the enemy of tender banana bread.
Preparation Method
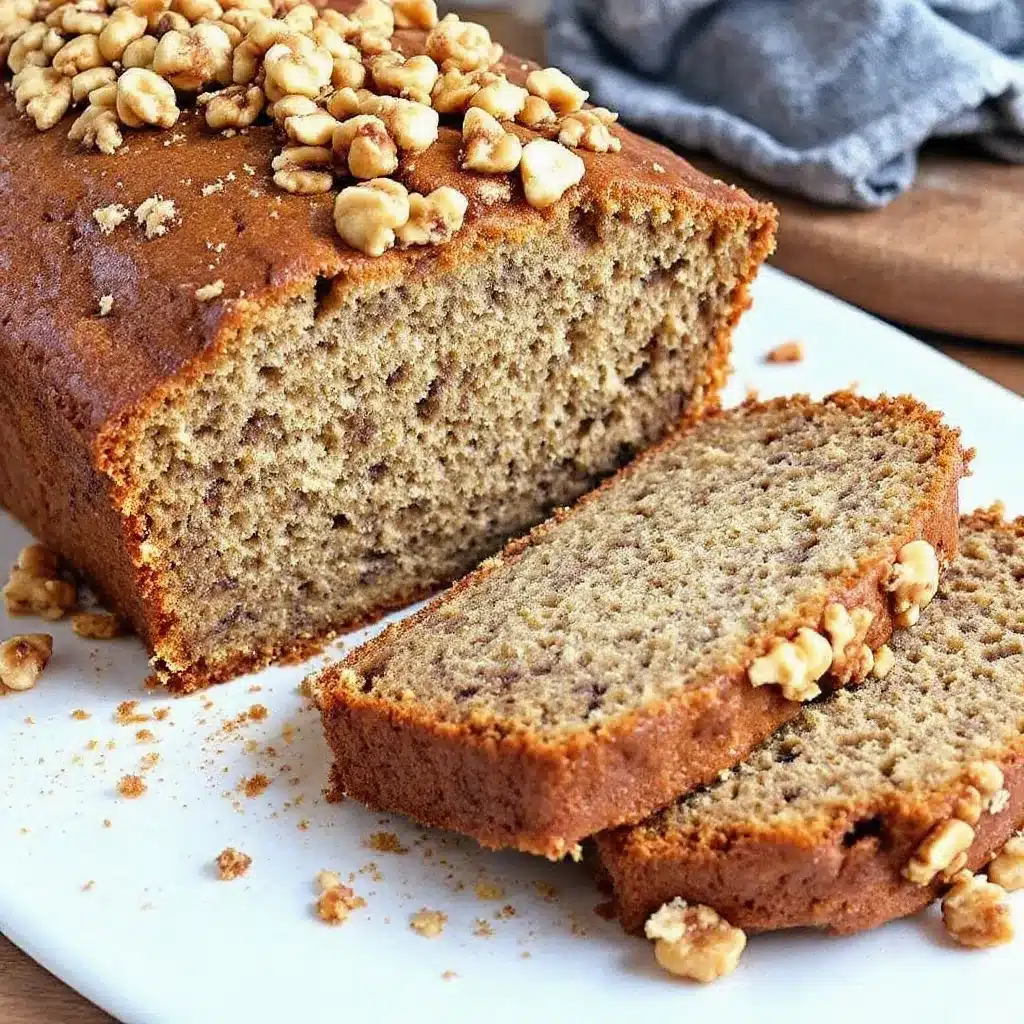
Follow these steps carefully to ensure your banana bread turns out moist and delicious every time.
- Prep your oven and pan (5 minutes): Preheat your oven to 325°F (165°C). Lowering the temperature from the standard 350°F helps prevent the top from burning before the center is cooked. Grease your 9×5-inch loaf pan with butter or non-stick spray. For extra insurance, line the bottom with parchment paper so the bread releases easily.
- Toast the walnuts (5 minutes): Place your chopped walnuts in a dry skillet over medium heat. Stir them constantly for about 3-4 minutes until they smell fragrant and turn a light golden brown. Be careful not to burn them. Remove them from the pan and set them aside to cool. This step adds a deep, nutty flavor that raw nuts just can’t match.
- Mash the bananas (2 minutes): In a large bowl, mash the ripe bananas using a fork or potato masher. You want them mostly smooth with a few small lumps for texture. Avoid making them into a complete liquid, or your bread might become dense.
- Mix the wet ingredients (2 minutes): Add the melted butter to the mashed bananas. Stir in the sugar, egg, and vanilla extract. Whisk this mixture until the sugar is mostly dissolved and everything is well combined. The mixture should look slightly glossy.
- Combine dry ingredients (1 minute): In a separate small bowl, whisk together the flour, baking soda, and salt. This ensures the leavening agent is evenly distributed, preventing bitter spots in the final loaf.
- Combine wet and dry (2 minutes): Pour the dry ingredients into the wet mixture. Use a spatula to gently fold them together. Stop mixing as soon as you no longer see streaks of flour. Overmixing develops gluten, which leads to tough, rubbery bread. It’s okay if the batter looks a little thick.
- Add walnuts: Gently fold in the toasted walnuts. Reserve a small handful to sprinkle on top of the loaf for a nice presentation.
- Bake (55-65 minutes): Pour the batter into your prepared loaf pan. Bake in the preheated oven for 55 to 65 minutes. Check the bread at the 50-minute mark. If the top is browning too quickly, loosely tent it with aluminum foil. The bread is done when a toothpick inserted into the center comes out clean or with just a few moist crumbs.
- Cool completely: Let the bread cool in the pan for 10 minutes, then transfer it to a wire rack to cool completely. This step is crucial for slicing. If you cut it while it’s hot, it will fall apart.
Cooking Tips & Techniques
Getting the perfect banana bread requires a bit of patience and attention to detail. Here are some professional techniques that will help you avoid common pitfalls.
First, don’t skip the toasting. I know it’s an extra step, but raw walnuts can sometimes taste bland or even slightly bitter in baked goods. Toasting releases their natural oils and brings out a rich, savory flavor that contrasts beautifully with the sweet banana. It’s a game-changer.
Second, watch your bananas closely. If your bananas are just yellow with a few spots, they won’t be sweet enough. You need bananas that are almost black. If you don’t have time to wait for them to ripen, you can speed up the process by baking them on a baking sheet at 300°F (150°C) for 15-20 minutes until the skins turn black. Let them cool before peeling and mashing.
Another common mistake is overmixing the batter. It’s tempting to stir until everything is smooth, but this activates the gluten in the flour. Remember, we want a tender crumb, not a chewy bread. Mix until just combined. If the batter looks a bit lumpy, that’s okay.
Also, check your oven temperature. Ovens can vary widely in accuracy. If your bread is consistently burning on top but remaining raw inside, your oven might be running hot. Use an oven thermometer to verify the temperature and adjust accordingly.
Finally, let it cool completely. I know it’s hard to wait, but slicing warm banana bread often results in a gummy texture. The structure needs time to set. If you can’t resist, wait at least 30 minutes. The flavor actually improves as it cools, allowing the ingredients to meld together.
Variations & Adaptations
While the classic version with toasted walnuts is my favorite, there are many ways to customize this recipe to suit your taste or dietary needs.
- Dairy-Free Option: You can easily make this recipe dairy-free by swapping the melted butter for coconut oil or a plant-based butter alternative. Coconut oil adds a subtle tropical flavor that pairs well with bananas, while plant-based butter keeps the traditional taste.
- Gluten-Free Adaptation: Use a high-quality 1-to-1 gluten-free flour blend. Look for blends that include xanthan gum, as this helps mimic the elasticity of gluten. The texture might be slightly more crumbly, but the flavor will still be excellent.
- Chocolate Chip Twist: For a sweeter treat, add 1/2 cup of chocolate chips to the batter. Dark chocolate chips work well to balance the sweetness of the bananas. You can also add the chocolate chips along with the walnuts.
- Spiced Variation: Add 1 teaspoon of cinnamon and 1/4 teaspoon of nutmeg to the dry ingredients. This adds a warm, cozy flavor that is perfect for fall or winter baking.
- Nut-Free Version: If you are baking for someone with a nut allergy, simply omit the walnuts. You can substitute them with seeds like pumpkin or sunflower seeds for a similar crunch, or leave them out entirely for a plain loaf.
I once tried adding a swirl of peanut butter to the batter before baking, which created a marbled effect. It was delicious, but it made the bread denser. If you try this, reduce the baking time by 5-10 minutes to ensure the center cooks through.
Serving & Storage Suggestions
This banana bread is best served at room temperature, allowing the flavors to fully develop. It pairs wonderfully with a cup of hot coffee or tea in the morning. For a dessert option, serve a slice with a dollop of whipped cream or a scoop of vanilla ice cream. The contrast between the warm bread and cold ice cream is fantastic.
If you have leftovers, store the bread in an airtight container at room temperature for up to 3 days. For longer storage, wrap the loaf tightly in plastic wrap and then in aluminum foil. It can be kept in the freezer for up to 3 months. To serve, simply thaw it at room temperature for a few hours or reheat slices in the microwave for 20-30 seconds.
Reheating is easy. You can toast individual slices in a toaster or oven for a few minutes to restore the crispness of the crust. The flavors tend to meld and deepen over the first day, so many people find the bread tastes even better on day two.
Avoid storing the bread in the refrigerator, as the cold temperature can dry it out and make it stale faster. Room temperature or freezing are the best options for maintaining moisture.
Nutritional Information & Benefits
This banana bread is a balanced treat that offers some nutritional benefits, especially when made with whole ingredients. Bananas are a great source of potassium, which supports heart health and helps regulate blood pressure. They also provide natural sugars for a quick energy boost, making this a good pre-workout snack or afternoon pick-me-up.
Walnuts are rich in omega-3 fatty acids, which are beneficial for brain health and reducing inflammation. They also add protein and fiber to the loaf, helping to keep you feeling full longer.
For those monitoring their sugar intake, you can reduce the amount of granulated sugar to 1/2 cup, though the bread may be slightly less sweet. The recipe is naturally gluten-free if you use gluten-free flour, making it accessible for those with celiac disease or gluten sensitivity. However, be mindful of cross-contamination if you use shared kitchen tools.
From a wellness perspective, I enjoy this bread as a mindful treat. It’s not a health food, but it uses whole ingredients without artificial additives. Moderation is key, and this loaf is perfect for sharing with loved ones.
Conclusion
Making moist classic banana bread with toasted walnuts is simpler than you think, and the results are absolutely worth the effort. This recipe has become a staple in my kitchen because it is reliable, delicious, and comforting. Whether you are a beginner or an experienced baker, this loaf will impress your family and friends.
I encourage you to try this recipe and make it your own. Add your favorite nuts, swap in different sweeteners, or experiment with spices. The beauty of baking is in the customization. Share your variations with me in the comments below—I love seeing how everyone adapts their recipes.
This bread holds a special place in my heart because it reminds me of slow Sunday mornings and the joy of creating something simple yet beautiful. I hope it brings the same warmth to your home. Happy baking!
Frequently Asked Questions
Can I use frozen bananas for this recipe?
Yes, frozen bananas work perfectly for banana bread. Just let them thaw completely at room temperature before mashing. You can even mash them while they are still slightly frozen, as they will be very soft. Make sure to drain any excess liquid that accumulates during thawing to maintain the correct batter consistency.
Why is my banana bread dense and gummy?
This usually happens due to overmixing the batter or using under-ripe bananas. Overmixing develops gluten, leading to a tough texture. Under-ripe bananas don’t have enough natural sugars or moisture. Always mix until just combined and use very ripe, dark bananas for the best results.
How do I know when the banana bread is done?
The best way to check is by inserting a toothpick into the center of the loaf. If it comes out clean or with just a few moist crumbs, it is done. If wet batter clings to the toothpick, continue baking in 5-minute increments. The top should also be golden brown and spring back lightly when touched.
Can I substitute walnuts with other nuts?
Absolutely. Pecans, hazelnuts, or almonds are all excellent substitutes. Just ensure they are toasted before adding them to the batter to maximize their flavor. If you have nut allergies, you can omit the nuts entirely or use seeds like pumpkin or sunflower seeds for crunch.
How long does banana bread last?
Stored in an airtight container at room temperature, banana bread stays fresh for up to 3 days. For longer storage, wrap it tightly in plastic wrap and foil, then freeze it for up to 3 months. Thaw at room temperature before serving. Avoid refrigerating, as it can dry out the bread.
Pin This Recipe!
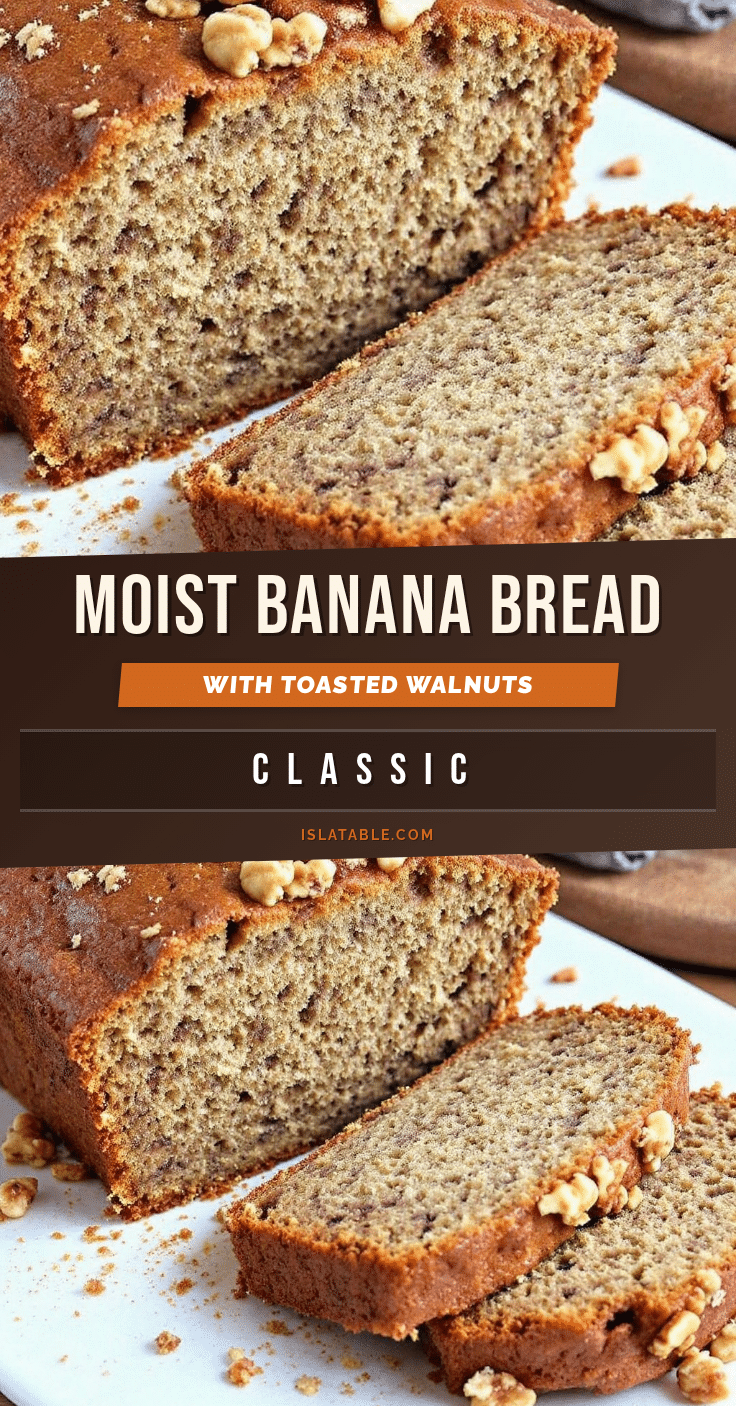
Moist Classic Banana Bread: Best 5-Ingredient Recipe
A simple, moist banana bread recipe using just a few ingredients and a lower baking temperature to prevent burning. Toasted walnuts add a savory crunch and deep nutty flavor to this comforting classic.
- Prep Time: 15 minutes
- Cook Time: 55-65 minutes
- Total Time: 1 hour 15 minutes
- Yield: 1 loaf (8-10 servings) 1x
- Category: Dessert
- Cuisine: American
Ingredients
- 3 large ripe bananas, mashed (about 1.5 cups)
- 1/3 cup unsalted butter, melted
- 3/4 cup granulated sugar
- 1 large egg, room temperature
- 1 teaspoon vanilla extract
- 1 teaspoon baking soda
- 1/4 teaspoon salt
- 1 1/2 cups all-purpose flour
- 1/2 cup walnuts, chopped and toasted
Instructions
- Preheat oven to 325°F (165°C). Grease a 9×5-inch loaf pan with butter or non-stick spray, optionally lining the bottom with parchment paper.
- Toast chopped walnuts in a dry skillet over medium heat for 3-4 minutes until fragrant and light golden brown. Remove and set aside to cool.
- In a large bowl, mash the ripe bananas until mostly smooth with a few small lumps.
- Add melted butter, sugar, egg, and vanilla extract to the bananas. Whisk until the sugar is mostly dissolved and the mixture is well combined.
- In a separate small bowl, whisk together the flour, baking soda, and salt.
- Pour the dry ingredients into the wet mixture. Gently fold together with a spatula until just combined; do not overmix.
- Gently fold in the toasted walnuts, reserving a small handful for topping.
- Pour batter into the prepared loaf pan. Bake for 55-65 minutes. Tent with foil if the top browns too quickly. The bread is done when a toothpick inserted into the center comes out clean.
- Let the bread cool in the pan for 10 minutes, then transfer to a wire rack to cool completely before slicing.
Notes
Use very ripe, dark bananas for maximum sweetness and moisture. Do not overmix the batter to avoid a tough texture. Toasting the walnuts beforehand is crucial for flavor. If your oven runs hot, use an oven thermometer to verify temperature. Store at room temperature for up to 3 days or freeze for up to 3 months.
Nutrition
- Serving Size: 1 slice
- Calories: 220
- Sugar: 18
- Sodium: 180
- Fat: 9
- Saturated Fat: 4
- Carbohydrates: 32
- Fiber: 2
- Protein: 3
Keywords: banana bread, moist banana bread, toasted walnuts, easy baking, comfort food, gluten-free option, dairy-free option


