Crumbly, yet tender, with a faintly golden edge that’s just begging to be broken off — that’s what the Easy No-Fail Nut-Free Alphabet Cookie Snacks are about. The way these cookies hold their shape but still crumble with a gentle bite is what made me obsessed with this recipe. Honestly, I first focused on the texture because, well, you taste with your fingers and eyes before anything else, right? When I first baked these cookies, I remember how they felt — firm enough to hold the little alphabet shapes but soft enough to melt just a bit on the tongue. That tactile contrast is what I made this for — everything else is secondary.
Back then, I was scrambling to find a safe snack for my nephew who has a nut allergy. Store-bought options were either too hard or tasted like cardboard, and I wanted something fun that kids could play with and eat. The dough didn’t need fancy ingredients or complicated steps — just simple pantry staples, but the magic was in how it came together so reliably every time. You know that feeling when you press cookie dough, and it holds the shape perfectly without cracking? That’s the kind of satisfaction these alphabet cookies give you.
Watching my nephew spell out words while nibbling on these was such a quiet joy. The letters didn’t just taste good; they encouraged little learning moments and playful snack times. It stuck with me because it wasn’t about making a fancy dessert — it was about making something safe, approachable, and genuinely delightful. No mess, no nuts, no fuss, just a little batch of cookies that feel like a hug in snack form.
Honestly, if you’re after a simple, kid-friendly treat that combines that perfect crumbly texture with a fun twist, this recipe will quickly become your go-to. And if you’ve ever struggled with nut allergies in your family or classroom, you’ll appreciate how reassuring it is to have a nut-free cookie that actually tastes good and holds up well in lunchboxes. There’s a quiet promise here — these cookies are easy, safe, and just right to make snack time a little brighter.
Why You’ll Love This Recipe
After testing dozens of nut-free cookie recipes, this one stood out because it’s truly no-fail. The balance of ingredients makes the dough easy to work with, and the cookies bake evenly without spreading too much, which is a must when you’re shaping alphabet letters.
- Quick & Easy: Ready in under 30 minutes, including baking — perfect for busy parents or spontaneous snack cravings.
- Simple Ingredients: You likely have everything on hand — all-purpose flour, sugar, dairy, and basic flavorings.
- Perfect for Kids’ Activities: The alphabet shapes make snack time educational and fun.
- Crowd-Pleaser: These cookies get rave reviews from picky eaters and adults alike, with a gentle vanilla flavor and tender crumb.
- Nut-Free Safety: A reliable option for families and schools avoiding nut allergens.
What sets this recipe apart is the texture control — I learned through trial and error that chilling the dough just right is key for those crisp, clean letter edges. Also, I avoid over-mixing to keep the crumb soft, which makes them less like a hard biscuit and more like a comforting cookie. Whether you’re baking for a classroom party or just want a simple homemade snack, these alphabet cookies bring a little charm to the table without any stress.
It’s not just a recipe; it’s a small daily joy that’s as easy to make as it is to share.
What Ingredients You Will Need
This recipe uses simple, wholesome ingredients to deliver bold flavor and that satisfying crumbly texture without fuss. Most are pantry staples, and substitutions are easy if needed.
- All-purpose flour: 2 ½ cups (312 grams) — for structure and that classic cookie bite
- Baking powder: 1 teaspoon — helps the cookies rise just enough to stay tender
- Salt: ½ teaspoon — balances sweetness
- Unsalted butter: 1 cup (227 grams), softened — for richness and tenderness (I prefer Kerrygold for creaminess)
- Granulated sugar: ¾ cup (150 grams) — sweetens without overpowering
- Large egg: 1, room temperature — binds the dough
- Pure vanilla extract: 1 teaspoon — adds warm, inviting flavor
- Dairy milk: 2 tablespoons (30 ml), optional — helps with dough consistency if needed (use almond or oat milk for dairy-free)
For nut-free safety, I always double-check labels on vanilla extract and baking powder to avoid cross-contamination. If you want to swap out all-purpose flour for a gluten-free blend, use one designed for baking to keep the same texture.
In summer, I like to add a teaspoon of lemon zest for a fresh twist, but the classic vanilla version is a timeless favorite. This recipe doesn’t call for any nuts or nut-based flours — keeping it safe for nut allergies while still delivering on flavor and texture.
Equipment Needed
- Mixing bowls — medium and large sizes
- Electric hand mixer or stand mixer — makes creaming butter and sugar effortless
- Measuring cups and spoons — precise measurements help maintain texture
- Rolling pin — for flattening dough evenly
- Alphabet cookie cutters — key for shaping the fun letter snacks
- Baking sheets lined with parchment paper — prevents sticking and easy cleanup
- Cooling rack — helps cookies set without sogginess
If you don’t have alphabet cookie cutters, any small shapes will work, or you can cut the dough into squares and stencil letters with a knife (a bit more time-consuming, but doable!).
I’ve found that a silicone rolling mat makes rolling dough less sticky and easier to manage, but parchment paper works just as well. For budget-friendly baking sheets, simple nonstick aluminum ones do the trick without breaking the bank.
Preparation Method

- Preheat the oven to 350°F (175°C). Line two baking sheets with parchment paper.
- Mix dry ingredients: In a medium bowl, whisk together 2 ½ cups (312 g) all-purpose flour, 1 teaspoon baking powder, and ½ teaspoon salt. Set aside.
- Cream butter and sugar: In a large bowl, beat 1 cup (227 g) softened unsalted butter with ¾ cup (150 g) granulated sugar using an electric mixer on medium speed until light and fluffy — about 3-4 minutes. This step is crucial for tender cookies.
- Add egg and vanilla: Beat in 1 large egg and 1 teaspoon pure vanilla extract until combined. If the dough feels too stiff, mix in up to 2 tablespoons (30 ml) milk slowly until it reaches a slightly pliable consistency.
- Combine wet and dry: Gradually add the flour mixture to the butter mixture, mixing on low speed until just combined. Avoid over-mixing to keep cookies tender.
- Chill the dough: Flatten the dough into a disk, wrap in plastic wrap, and chill for at least 30 minutes. This firms the dough, making it easier to roll and shape without sticking or losing letter details.
- Roll and cut: On a lightly floured surface, roll chilled dough to about ¼ inch (6 mm) thickness. Use alphabet cookie cutters to press out shapes, and transfer them gently to prepared baking sheets.
- Bake: Bake for 10-12 minutes, or until edges just start to turn golden. The cookies should still feel soft but set. Overbaking leads to hard edges — watch closely!
- Cool: Let cookies cool on the baking sheet for 5 minutes before transferring to a wire rack to cool completely.
- Store: Once cooled, store in an airtight container at room temperature for up to a week.
Quick tip: If your dough gets too warm while rolling, pop it back in the fridge for 10 minutes. This keeps the letters crisp and neat. Also, using a thin metal spatula helps lift delicate alphabet cookies without breaking.
Cooking Tips & Techniques
One thing I learned early on is that the dough texture is everything here. Too sticky, and the letters lose their sharp edges; too dry, and the cookies crumble apart. Chilling the dough is non-negotiable — trust me on this.
Creasing the butter and sugar well ensures the cookies stay tender, not dense or tough. I sometimes beat the butter a little longer than usual to trap air, which makes the crumb lighter.
Watch your oven temperature carefully. Some ovens run hot, leading to overly browned edges. If that happens, try lowering the temperature by 10-15 degrees Fahrenheit and increasing bake time slightly. You want a gentle golden edge, not a dark crust.
When cutting the letters, work quickly but gently. If the cookie cutters stick, dust them lightly with flour or dip in powdered sugar. Also, don’t overcrowd the baking sheets — these cookies don’t spread much, but give them some breathing room for even baking.
Lastly, cooling is key. If you try to move cookies too soon, they’ll break. Let them rest five minutes on the sheet, then carefully transfer to a rack. This little patience pays off in perfect shapes.
Variations & Adaptations
Feel free to customize your alphabet cookie snacks to suit tastes or dietary needs. Here are some ideas I’ve tried and loved:
- Gluten-Free Version: Use a 1:1 gluten-free baking flour blend to keep the same texture without wheat.
- Flavor Twists: Add 1 teaspoon cinnamon or pumpkin pie spice for a cozy fall vibe. Or swap vanilla extract for almond extract for a different aroma — still nut-free if you use pure extract.
- Dairy-Free Adaptation: Substitute vegan butter and plant-based milk (like oat milk) to make these cookies dairy-free without sacrificing texture.
- Colorful Icing: Dress up the cookies with simple powdered sugar icing tinted with natural food colors — perfect for birthday parties or holidays.
For a personal twist, I once made a batch with finely grated orange zest and a touch of poppy seeds. The kids loved the slight citrus zing and crunch. Also, these cookies can be baked thicker and turned into sandwich cookies with jam or dairy-free cream in between for an easy upgrade.
Serving & Storage Suggestions
Serve these alphabet cookie snacks at room temperature to best enjoy their tender, crumbly texture. They’re perfect as a standalone snack, or paired with a glass of cold milk or a warm cup of tea.
They also work great as a fun edible activity for kids during playdates or learning sessions. Try pairing them with fresh fruit for a balanced snack tray.
Store cookies in an airtight container at room temperature for up to 7 days. If you want to keep them longer, freeze in a sealed bag for up to 3 months. To thaw, leave at room temperature for a couple of hours — no microwave needed to keep that texture intact.
Over time, these cookies mellow in flavor and become a bit softer, which some people prefer. If you like them crisp, refresh by warming briefly in a 300°F (150°C) oven for 5 minutes before serving.
For ideas on complementary snacks and kid-friendly treats, you might enjoy pairing these cookies with the creamy ranch dressing from my crispy paleo taco salad bowl or a fresh fruit plate inspired by my dairy-free star spangled fruit pizza.
Nutritional Information & Benefits
These nut-free alphabet cookie snacks offer a straightforward energy boost with approximately 90-100 calories per cookie, depending on size. They contain about 3 grams of fat and 12 grams of carbohydrates, making them a moderate treat suitable for most diets.
Key ingredients like butter provide essential fats, while eggs add protein and moisture. The recipe avoids nuts, making it a safe choice for those with allergies.
If you use gluten-free flour or dairy-free butter, these cookies can be adapted to meet specific dietary needs, including gluten intolerance or lactose sensitivity. Just be sure to check your ingredient labels carefully.
From a wellness standpoint, this recipe offers a homemade, preservative-free alternative to packaged snacks. It’s a way to enjoy treats with less worry about hidden allergens or additives.
Conclusion
The Easy No-Fail Nut-Free Alphabet Cookie Snacks are proof that simple ingredients and attention to texture can create a snack that’s more than just food — it’s a moment of fun, learning, and comfort. I love how these cookies come together quickly and reliably, delivering that perfect crumbly bite every time.
Feel free to make this recipe your own by experimenting with spices or add-ins, or keeping it classic for that familiar vanilla warmth. It’s a small recipe with a big impact, especially for families navigating nut allergies or anyone craving a wholesome homemade treat.
Give these alphabet cookies a try, and if you tweak them or have a favorite variation, I’d love to hear about it in the comments. Sharing these little joys makes them even sweeter!
FAQs about Easy No-Fail Nut-Free Alphabet Cookie Snacks
Can I use a different type of flour for these cookies?
Yes! A gluten-free 1:1 baking flour blend works well if you need to avoid gluten. Just choose a blend formulated for cookies to keep the texture right.
How do I keep the alphabet shapes from spreading during baking?
Chilling the dough before rolling and cutting is key. Also, avoid over-mixing and keep the dough thickness around ¼ inch for best shape retention.
Can I freeze these cookies?
Absolutely. Freeze baked cookies in an airtight container or bag for up to 3 months. Thaw at room temperature before serving.
Are these cookies suitable for dairy-free diets?
They can be! Swap the butter for a dairy-free alternative and use plant-based milk if needed to make the recipe dairy-free.
Can I add colors or decorations to these cookies?
Yes, decorating with simple icing or natural food coloring is a fun way to customize the cookies for parties or holidays.
Pin This Recipe!
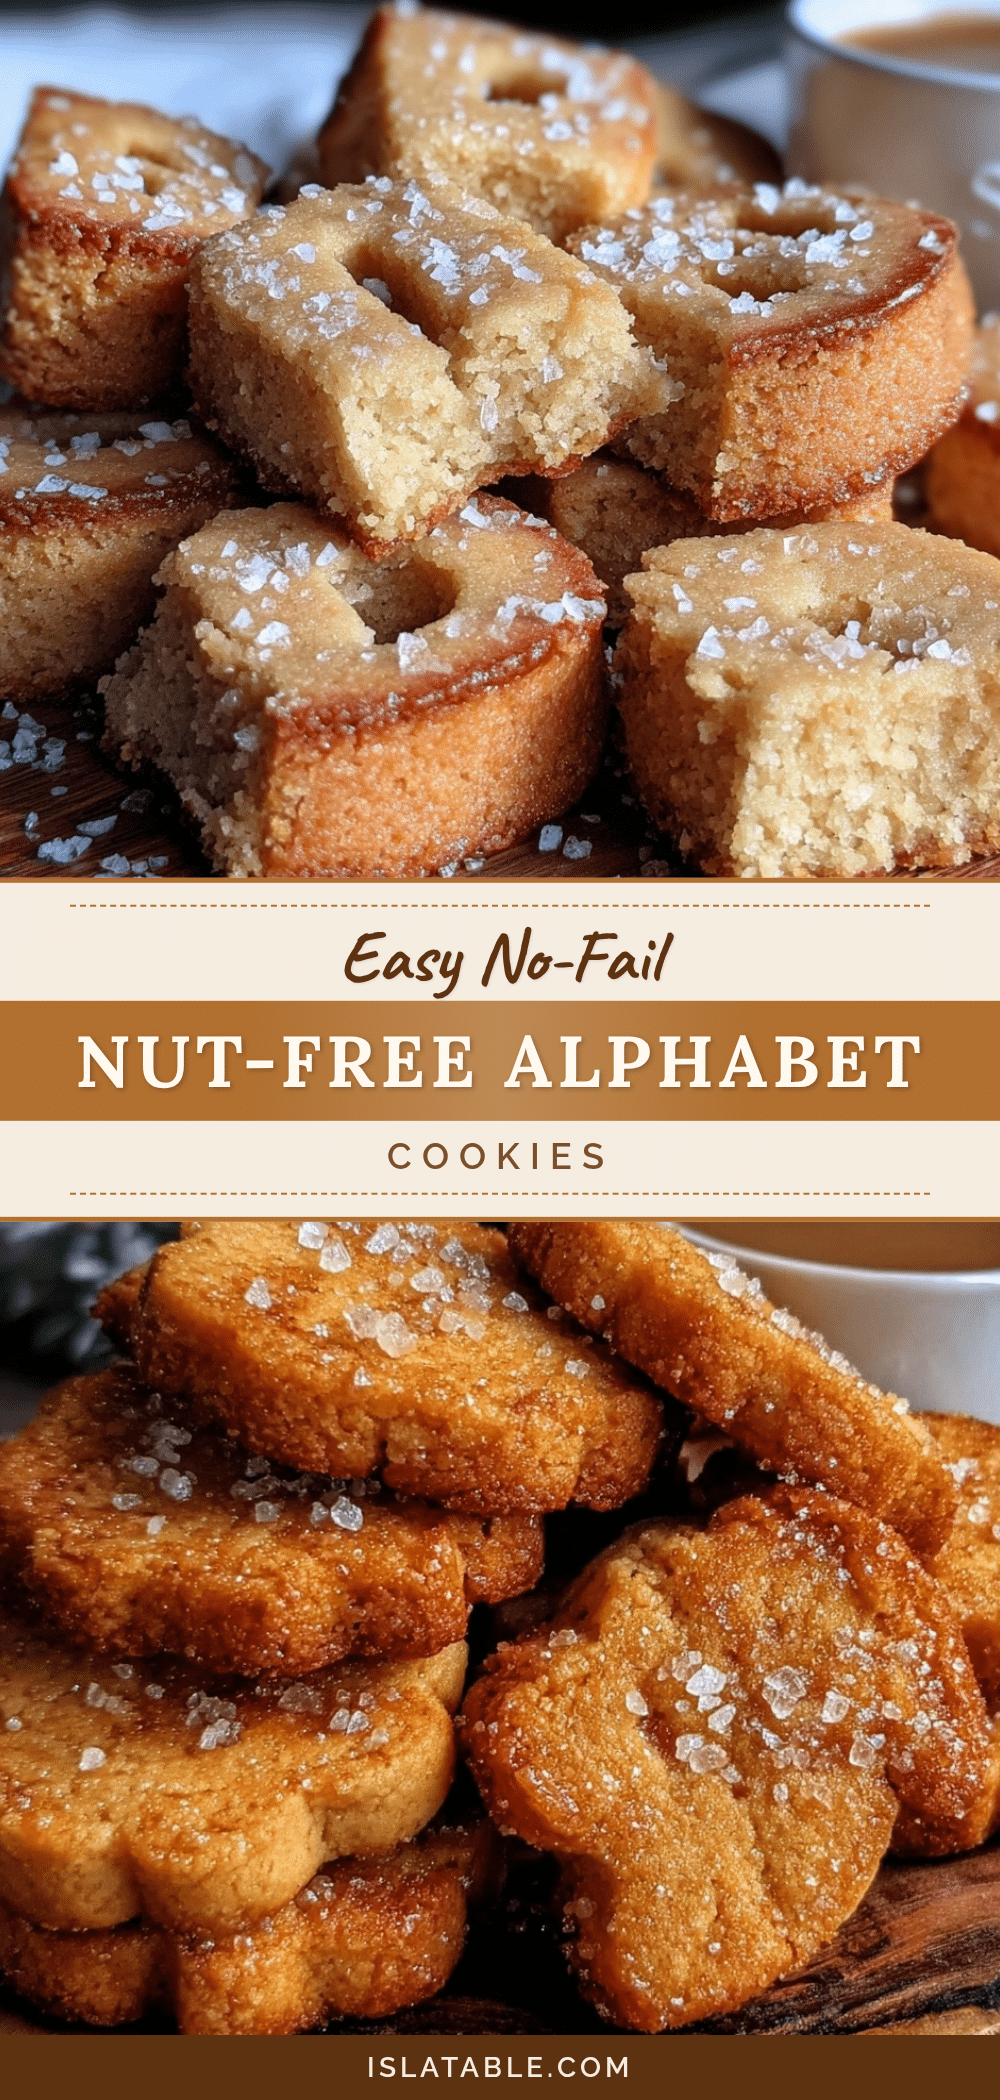
Easy No-Fail Nut-Free Alphabet Cookie Snacks Recipe for Perfect Kids Treats

Crumbly yet tender nut-free alphabet cookies that hold their shape perfectly, making a fun and safe snack for kids with nut allergies. Simple pantry ingredients create a reliable, delicious treat ideal for learning and play.
- Prep Time: 15 minutes
- Cook Time: 12 minutes
- Total Time: 27 minutes
- Yield: About 24 cookies 1x
- Category: Snack
- Cuisine: American
Ingredients
- 2 ½ cups (312 grams) all-purpose flour
- 1 teaspoon baking powder
- ½ teaspoon salt
- 1 cup (227 grams) unsalted butter, softened
- ¾ cup (150 grams) granulated sugar
- 1 large egg, room temperature
- 1 teaspoon pure vanilla extract
- 2 tablespoons (30 ml) dairy milk, optional (use almond or oat milk for dairy-free)
Instructions
- Preheat the oven to 350°F (175°C). Line two baking sheets with parchment paper.
- In a medium bowl, whisk together the all-purpose flour, baking powder, and salt. Set aside.
- In a large bowl, beat the softened unsalted butter with granulated sugar using an electric mixer on medium speed until light and fluffy, about 3-4 minutes.
- Beat in the large egg and pure vanilla extract until combined. If the dough feels too stiff, mix in up to 2 tablespoons of milk slowly until it reaches a slightly pliable consistency.
- Gradually add the flour mixture to the butter mixture, mixing on low speed until just combined. Avoid over-mixing.
- Flatten the dough into a disk, wrap in plastic wrap, and chill for at least 30 minutes.
- On a lightly floured surface, roll chilled dough to about ¼ inch (6 mm) thickness. Use alphabet cookie cutters to press out shapes and transfer them gently to prepared baking sheets.
- Bake for 10-12 minutes, or until edges just start to turn golden. The cookies should still feel soft but set.
- Let cookies cool on the baking sheet for 5 minutes before transferring to a wire rack to cool completely.
- Store in an airtight container at room temperature for up to a week.
Notes
Chilling the dough is essential for crisp, clean letter edges. Avoid over-mixing to keep cookies tender. Use a thin metal spatula to lift delicate cookies. If dough warms too much while rolling, chill again for 10 minutes. Watch oven temperature carefully to avoid over-browning.
Nutrition
- Serving Size: 1 cookie
- Calories: 95
- Sugar: 6
- Sodium: 70
- Fat: 3
- Saturated Fat: 2
- Carbohydrates: 12
- Fiber: 0.3
- Protein: 1
Keywords: nut-free cookies, alphabet cookies, kids snacks, no-fail cookie recipe, nut allergy safe, easy cookies, vanilla cookies, crumbly cookies


