The plate was empty. Not a single scrap of bone or skin left behind. My husband walked past the kitchen island, paused, and looked back at the counter with that specific expression of disbelief. “You made this again?” he asked, pointing at the empty dish. “I thought we’d run out of chicken thighs for the week.” It was the third time in ten days. I hadn’t even sat down to eat my own portion yet. The reality of the situation hit me harder than the smell of roasting garlic. I had underestimated just how much people crave this specific combination of textures and flavors.
Honestly, I started making these because I was tired of dry, boring chicken breasts. You know how it goes. You buy a package, cook it, and it comes out tasting like cardboard. I needed something forgiving. Something that could handle a busy weeknight without needing constant babysitting. The air fryer changed everything for me. It turned ordinary supermarket chicken thighs into something that felt like it came from a high-end bistro. The skin gets shatteringly crisp, while the meat underneath stays juicy enough to pull apart with a fork.
The real secret, though, isn’t just the cooking method. It’s the finish. Basting these thighs with garlic herb butter right before they come out of the basket creates this glossy, aromatic coating that sticks to your fingers. It’s messy in the best way possible. I remember the first time I served this to some friends. They didn’t say much at first. They just kept eating. Then someone asked for the recipe. That’s when I knew I had struck gold.
This isn’t about fancy techniques or expensive ingredients. It’s about using the tools you already have to make something genuinely delicious. I’ve tested this recipe dozens of times, tweaking the butter mixture and adjusting the air fryer temperature. I found that a two-stage cooking process works best. It renders the fat slowly first, then crisps the skin at the end. The result is consistent, every single time.
I love that this recipe fits into almost any lifestyle. It’s naturally low-carb, which is great for my keto friends, but the flavors are so rich that people who aren’t watching their diet devour it anyway. It’s versatile, too. You can serve it with mashed potatoes, a simple green salad, or even just a slice of crusty bread to soak up that garlic butter. It’s become a staple in my rotation because it delivers on all fronts: flavor, ease, and satisfaction.
What started as a quick fix for dinner has turned into a go-to dish for everything from casual Tuesday nights to impromptu dinner parties. I’ve lost count of how many texts I’ve received asking for the garlic herb ratio. It’s become less of a recipe and more of a standard. And that’s exactly where I want it to be. Simple, reliable, and undeniably tasty.
Why You’ll Love This Recipe
There is a specific kind of magic that happens when you combine the convenience of an air fryer with the richness of herb butter. It’s not just about getting dinner on the table faster; it’s about the quality of the result. I’ve spent years in the kitchen, testing methods and refining techniques, and I can tell you with confidence that this method is superior to oven-roasting or pan-frying for this specific cut of meat. Here is why this Crispy Air Fryer Chicken Thighs with Garlic Herb Butter recipe has earned a permanent spot in your weekly rotation.
- Quick & Easy: From prep to plate, this comes together in under 30 minutes. The air fryer does the heavy lifting, circulating hot air to cook the chicken evenly without the need for turning or basting halfway through. It’s perfect for those busy weeknights when you’re hungry and don’t want to wait for an oven to preheat.
- Simple Ingredients: You likely already have everything you need in your kitchen. Chicken thighs, butter, garlic, and a few dried herbs. No fancy grocery trips or obscure ingredients required. This is cooking made accessible for everyone, regardless of skill level.
- Perfect for Meal Prep: These thighs store beautifully in the refrigerator for up to four days. Reheating them in the air fryer for three minutes restores that crispiness, making them an ideal candidate for batch cooking. I often make a double batch on Sunday to have ready for lunch during the week.
- Crowd-Pleaser: Whether you are feeding a family of four or hosting a small gathering, this dish always gets rave reviews. The combination of savory garlic and fresh herbs appeals to almost every palate. Even picky eaters tend to love the tender texture of the meat.
- Unbelievably Delicious: The texture contrast is the star here. The skin is crispy and golden, while the meat is succulent and infused with flavor. It’s comfort food reimagined—rich and satisfying without feeling heavy. It’s the kind of meal that makes you close your eyes after the first bite.
What makes this recipe different from the rest is the attention to detail in the basting process. Many recipes tell you to just season the chicken and cook it. But adding that garlic herb butter towards the end allows the flavors to meld without burning the garlic. I’ve learned through trial and error that adding the butter too early can lead to bitter, burnt garlic bits. By brushing it on at the end, you get that glossy finish and aromatic punch. It’s a small step that makes a huge difference.
This recipe isn’t just good—it’s the kind of dish that feels special. It’s healthier than deep-fried options but still delivers that indulgent feel. I use bone-in, skin-on thighs because the bone adds flavor to the meat, and the skin protects the flesh from drying out. If you’re looking for a way to impress guests without stress, or just want to turn a simple chicken dinner into something memorable, this is it. It’s reliable, robust, and ridiculously easy.
What Ingredients You Will Need
This recipe relies on simple, wholesome ingredients to deliver bold flavor and satisfying texture without the fuss. The beauty of this dish lies in its simplicity. You don’t need a pantry full of exotic spices to make it work. Instead, you rely on high-quality basics and a few key components that transform the chicken from ordinary to extraordinary. Most of these items are pantry staples, which means you can whip this up on a whim.
- Chicken Thighs: Use bone-in, skin-on chicken thighs. They are more forgiving than breasts and stay juicy during the high-heat cooking process. I prefer thighs that are about 6 to 8 ounces each. If you can find organic or pasture-raised, the flavor will be noticeably better, but standard supermarket thighs work just fine. Pat them dry thoroughly with paper towels before seasoning—this is crucial for crispy skin.
- Unsalted Butter: High-quality unsalted butter is the foundation of the glaze. It allows you to control the salt level in the dish. I recommend using European-style butter if you can find it, as it has a higher fat content and creates a richer, glossier finish. Keep it softened but not melted, so it’s easy to mix with the herbs.
- Garlic: Fresh garlic is non-negotiable here. Powdered garlic doesn’t provide the same aromatic depth. Use about four to five cloves, minced finely. You want the garlic to be almost paste-like so it adheres to the butter and doesn’t burn easily. If you have fresh garlic from the garden, even better.
- Dried Herbs: I use a mix of dried thyme, rosemary, and oregano. These herbs hold up well to heat and infuse the butter with a savory, earthy flavor. Fresh herbs can be used, but they burn faster in the air fryer, so dried is safer for this method. Use about one teaspoon of each herb. If you prefer a milder flavor, stick to thyme and parsley.
- Salt and Black Pepper: Kosher salt and freshly cracked black pepper are essential for seasoning the chicken directly. The salt draws out moisture and seasons the meat, while the pepper adds a subtle heat. Use about one and a half teaspoons of salt and half a teaspoon of pepper for the chicken itself.
- Optional: Paprika: For a touch of color and a hint of smokiness, I add a half teaspoon of smoked paprika to the butter mixture. It’s not strictly necessary, but it gives the dish a deeper, more complex flavor profile. If you don’t have smoked paprika, regular paprika works too.
Substitutions are easy if you have dietary restrictions. For a dairy-free version, swap the butter for a high-quality plant-based butter or olive oil. The texture won’t be quite the same, but the flavor will still be great. If you are gluten-free, this recipe is naturally safe, but always check your spice blends for hidden additives. I like to buy my spices from bulk bins to ensure freshness. The quality of your herbs directly impacts the final taste, so don’t skimp on that.
Equipment Needed
You don’t need a lot of fancy gadgets to make this recipe work, but having the right tools makes a huge difference in the outcome. Here is what you’ll need to get started.
- Air Fryer: This is the main event. Any standard air fryer will work. I use a basket-style air fryer because it allows for better air circulation around the chicken. If you have an oven-air-fryer combo, that works too. Just make sure the basket is large enough to hold the thighs in a single layer without overcrowding.
- Small Mixing Bowl: You’ll need a small bowl to mix the butter and herbs. A ramekin or a small glass bowl works perfectly. It should be small enough to fit in the microwave if you need to soften the butter slightly.
- Basting Brush: A silicone basting brush is ideal for applying the garlic herb butter. It’s heat-resistant and easy to clean. A pastry brush works too, but silicone is more durable. Make sure the brush is clean and dry before using it.
- Paper Towels: Essential for drying the chicken thighs. Moisture is the enemy of crispy skin. Having a stack of paper towels nearby will save you time and ensure the skin crisps up properly.
- Tongs: Use tongs to handle the chicken. They give you better control than a fork and prevent you from piercing the skin, which lets the juices escape. Stainless steel tongs are durable and easy to sanitize.
If you don’t have an air fryer, you can use an oven. Preheat to 400°F (200°C) and bake on a wire rack set over a baking sheet. It will take about 5-10 minutes longer than air frying, but the result is similar. For a budget-friendly option, look for entry-level air fryers on sale. They don’t need to be expensive to work well. Just ensure they have a temperature control feature so you can adjust the heat as needed.
Preparation Method
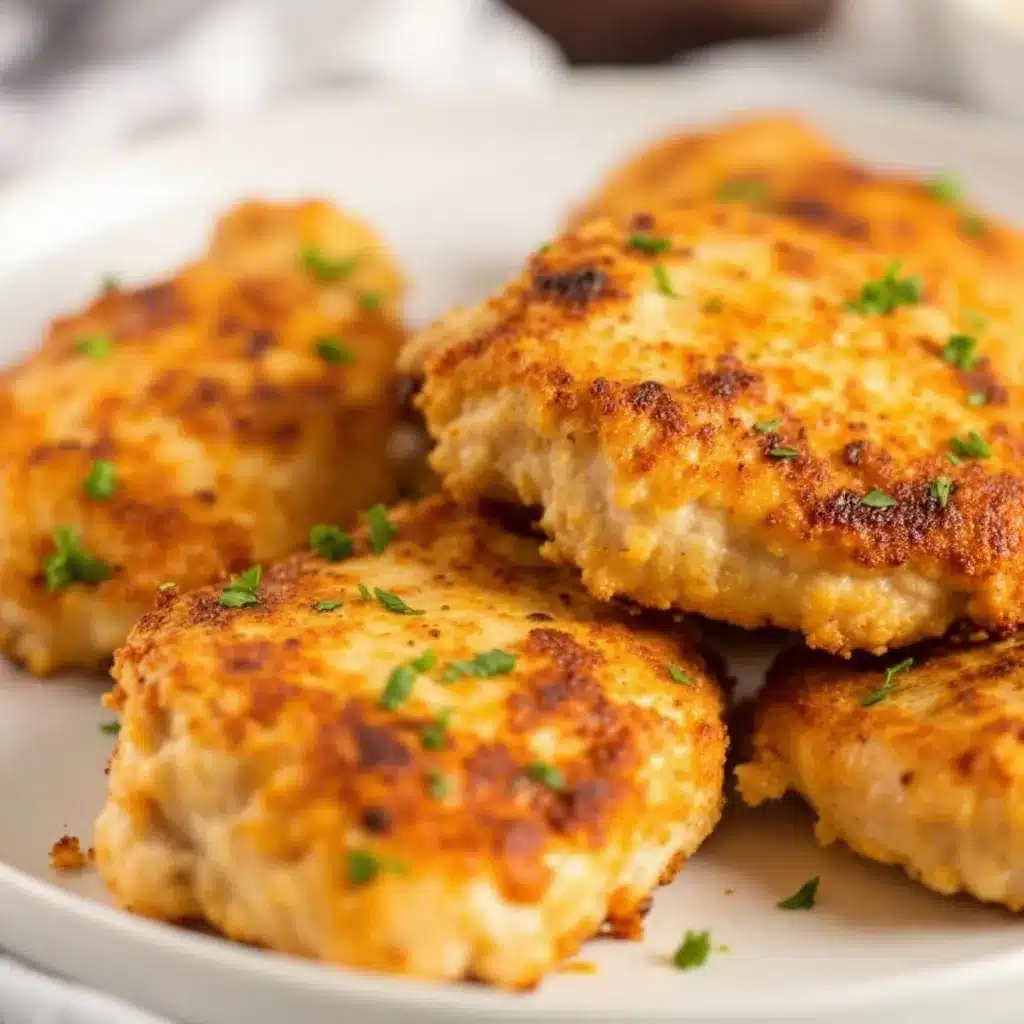
Getting these chicken thighs ready is straightforward, but the steps matter. Follow these instructions closely for the best results.
- Prep the Chicken (5 minutes): Take the chicken thighs out of the refrigerator. Let them sit at room temperature for about 10 minutes while you prep the other ingredients. This helps them cook more evenly. Use paper towels to pat the chicken thighs completely dry. This is the most important step for achieving crispy skin. Remove any excess fat or loose skin if you prefer, but leave the main skin layer intact. Season both sides generously with kosher salt and freshly cracked black pepper. Make sure to get under the skin slightly if possible, but mostly focus on the surface.
- Preheat the Air Fryer (3 minutes): Preheat your air fryer to 380°F (190°C). This step is crucial. Putting chicken in a cold air fryer can lead to steaming instead of crisping. While it preheats, get your other ingredients ready.
- Make the Garlic Herb Butter (2 minutes): In a small bowl, combine the softened unsalted butter, minced garlic, dried thyme, rosemary, oregano, and smoked paprika. Mix until well combined. The mixture should be a vibrant green color from the herbs. If the butter is too hard to mix, microwave it for 5-10 seconds to soften it further. Do not melt it completely.
- Initial Cook (12 minutes): Place the chicken thighs in the air fryer basket in a single layer. Do not overlap them. Cook at 380°F (190°C) for 12 minutes. This step renders the fat and begins to crisp the skin. After 12 minutes, open the basket and check the chicken. The skin should be starting to turn golden.
- Baste and Finish (8-10 minutes): Open the air fryer basket. Using the basting brush, generously coat the top of each chicken thigh with the garlic herb butter. Make sure to get some of that mixture under the skin if you can. Return the basket to the air fryer and increase the temperature to 400°F (200°C). Cook for another 8-10 minutes, or until the internal temperature reaches 165°F (74°C). The skin should be deeply golden and crispy.
- Rest and Serve (5 minutes): Remove the chicken from the air fryer and transfer to a plate. Let them rest for 5 minutes before serving. This allows the juices to redistribute throughout the meat. While they rest, you can spoon any remaining garlic herb butter from the basket over the chicken. Serve warm.
Troubleshooting tip: If the skin is not crispy enough after the initial cook, extend the first stage by 2-3 minutes. If the garlic in the butter starts to brown too quickly, lower the temperature for the second stage. Every air fryer is different, so pay attention to your machine.
Cooking Tips & Techniques
Mastering air fryer chicken thighs takes a little practice, but these tips will help you get it right the first time.
- Dry is Crispy: I cannot stress this enough. Wet chicken skin equals steamed chicken skin. Pat it dry until the paper towels come away clean. If the skin is damp, it won’t crisp up.
- Don’t Overcrowd: Air needs to circulate. If you stack the chicken, the bottoms will be soggy. Cook in batches if necessary. It’s worth the extra time.
- Temperature Check: Use a meat thermometer. Chicken thighs are safe at 165°F, but some chefs prefer them cooked to 175°F for more tender, pull-apart meat. If you like your chicken juicy and slightly pink, stick to 165°F.
- Butter Timing: Adding the butter too early can burn the garlic. The high heat of the air fryer is intense. By adding it in the last few minutes, you get the flavor without the bitterness.
- Shake or Flip: Even though air fryers are efficient, flipping the chicken halfway through the first stage ensures even cooking. It’s a small step that makes a big difference.
I learned these tips the hard way. My first attempt was dry and the skin was chewy. I had skipped the drying step and crowded the basket. Once I adjusted those two things, the results were night and day. Consistency comes from paying attention to detail.
Variations & Adaptations
This recipe is a canvas for creativity. Here are a few ways to twist it.
- Spicy Kick: Add a teaspoon of cayenne pepper or red pepper flakes to the butter mixture. It adds a nice heat that balances the richness of the butter.
- Lemon Herb: Swap the rosemary and thyme for lemon zest and fresh parsley. The citrus cuts through the fat beautifully. Add a squeeze of lemon juice after cooking.
- Dairy-Free: Use olive oil instead of butter. Add the herbs to the oil and brush it on the chicken before cooking. It’s lighter but still flavorful.
- Asian Fusion: Swap the herbs for ginger, garlic, and a mix of soy sauce and sesame oil. Brush this mixture on during the last 5 minutes of cooking.
I’ve tried the spicy version for game nights, and it’s a hit. The key is to adjust the seasoning to your taste. Don’t be afraid to experiment.
Serving & Storage Suggestions
Serve these thighs hot, straight from the rest period. They pair well with roasted vegetables, mashed potatoes, or a simple green salad. For a low-carb option, skip the starch and serve with steamed broccoli.
Store leftovers in an airtight container in the refrigerator for up to four days. To reheat, place them in the air fryer at 350°F for 3-4 minutes. This restores the crispiness better than a microwave. The flavors develop over time, so they taste even better the next day.
Nutritional Information & Benefits
Chicken thighs are a great source of protein and essential nutrients like iron and zinc. They are naturally gluten-free and low in carbohydrates. The garlic and herbs add antioxidants and anti-inflammatory properties. While the butter adds fat, it’s saturated fat in moderation, which is fine for most diets. This recipe fits well into keto, paleo, and whole30 lifestyles. Just be mindful of the sodium if you are watching your salt intake.
Conclusion
This Crispy Air Fryer Chicken Thighs with Garlic Herb Butter recipe is a game-changer. It’s simple, delicious, and reliable. I hope you give it a try and see why it has become my favorite weeknight dinner. Customize it to fit your tastes and share your results. I’d love to hear how you like it. Leave a comment below with your thoughts. Happy cooking!
FAQs
Can I use chicken breasts instead of thighs?
You can, but breasts cook much faster and can dry out easily. If you use breasts, reduce the cooking time by 5-7 minutes and keep a close eye on them.
Do I need to thaw the chicken before cooking?
It’s best to use thawed chicken for even cooking. If you are cooking from frozen, add 5-10 minutes to the cooking time and ensure the internal temperature reaches 165°F.
Can I make this in the oven?
Yes. Preheat your oven to 400°F. Place the chicken on a wire rack over a baking sheet. Bake for 35-40 minutes, basting with the butter halfway through.
How do I store the leftovers?
Store in an airtight container in the fridge for up to four days. Reheat in the air fryer to maintain crispiness.
Can I double the garlic herb butter?
Absolutely. The extra butter can be used to brush on other vegetables or saved for later use. It keeps well in the fridge for up to a week.
Pin This Recipe!
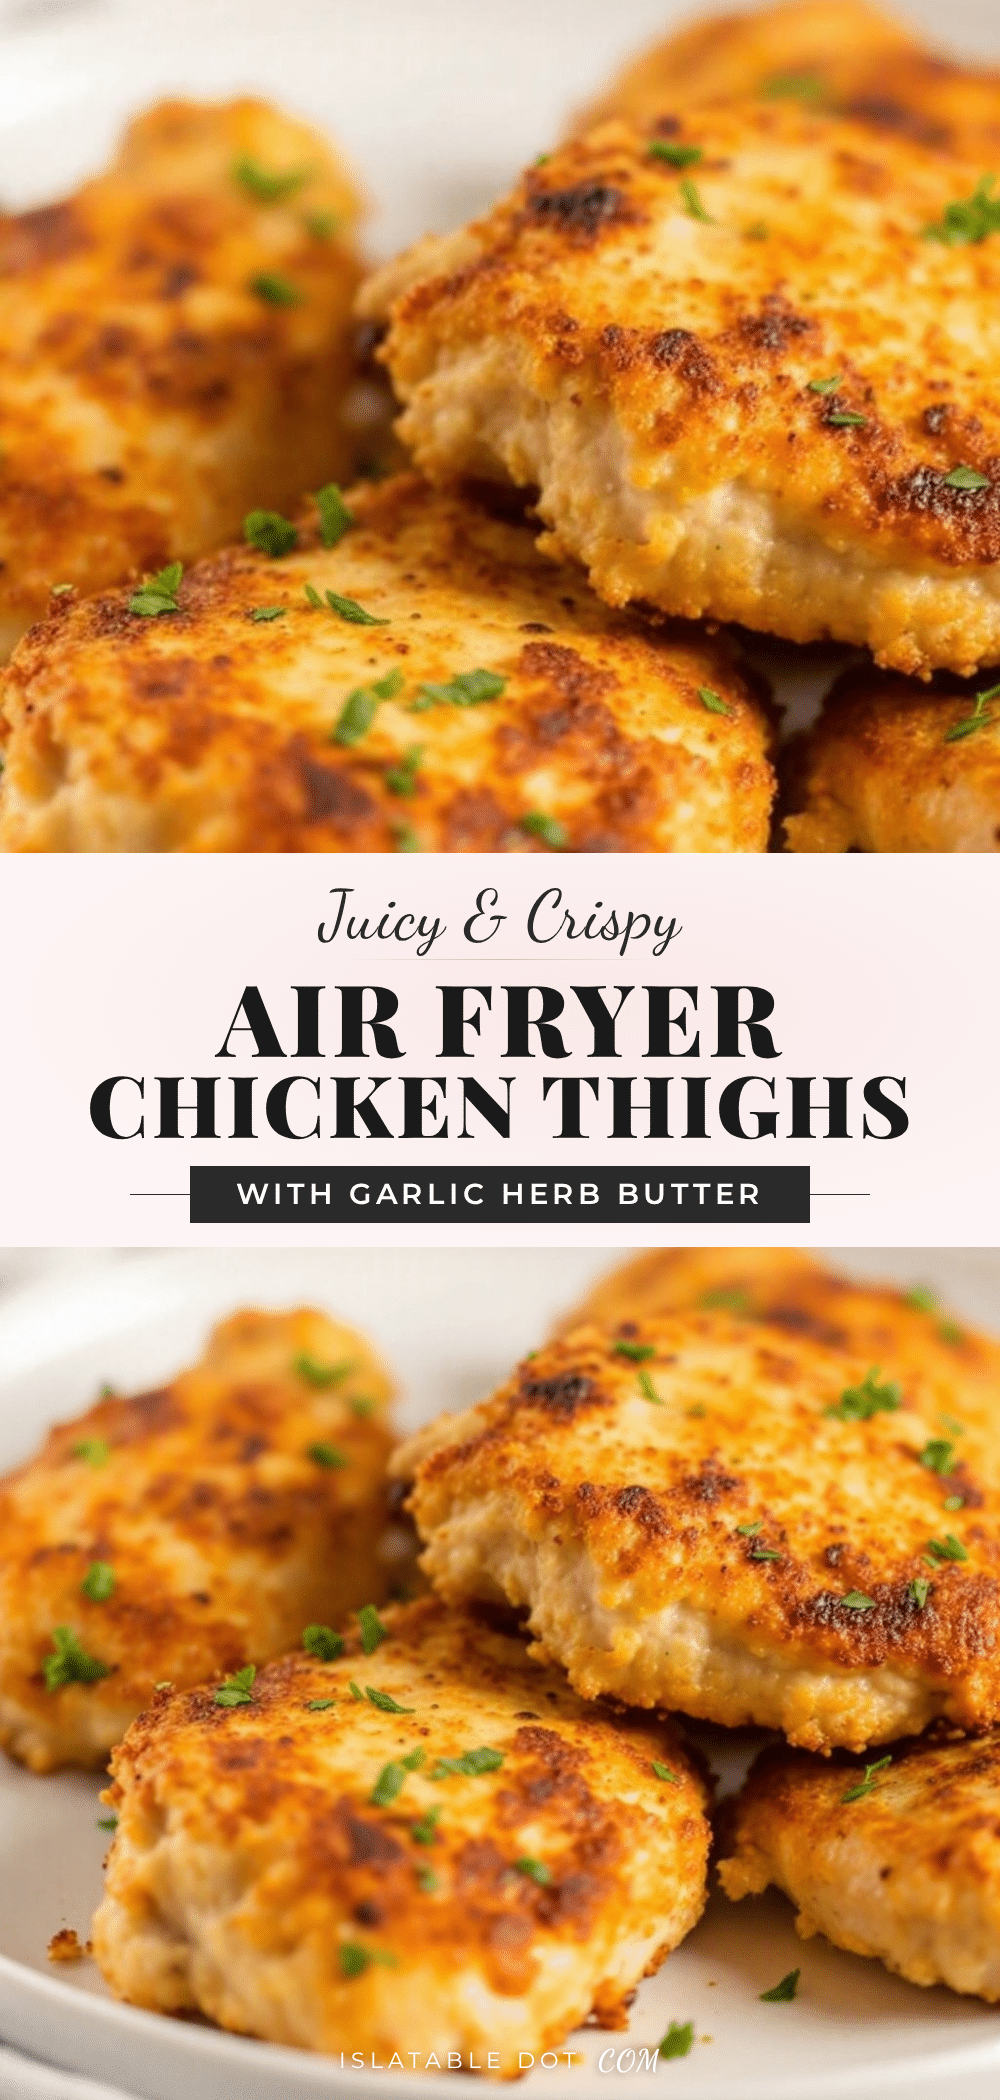
Crispy Air Fryer Chicken Thighs: Best Garlic Herb Butter Recipe

Juicy, bone-in chicken thighs cooked in an air fryer with a shatteringly crisp skin and finished with a glossy garlic herb butter baste for maximum flavor.
- Prep Time: 10 minutes
- Cook Time: 20 minutes
- Total Time: 30 minutes
- Yield: 4 servings 1x
- Category: Main Course
- Cuisine: American
Ingredients
- 4–6 bone-in, skin-on chicken thighs (6–8 oz each)
- 4–5 cloves fresh garlic, minced finely
- 1/2 cup unsalted butter, softened
- 1 tsp dried thyme
- 1 tsp dried rosemary
- 1 tsp dried oregano
- 1.5 tsp kosher salt
- 0.5 tsp freshly cracked black pepper
- 0.5 tsp smoked paprika (optional)
Instructions
- Pat chicken thighs completely dry with paper towels and season generously with salt and pepper.
- Preheat air fryer to 380°F (190°C).
- In a small bowl, mix softened butter, minced garlic, dried herbs, and paprika until combined.
- Place chicken in the air fryer basket in a single layer. Cook at 380°F for 12 minutes.
- Open basket and brush chicken generously with the garlic herb butter.
- Increase temperature to 400°F (200°C) and cook for another 8-10 minutes until internal temperature reaches 165°F.
- Remove from air fryer and let rest for 5 minutes before serving.
Notes
Ensure chicken is completely dry before seasoning for crispy skin. Do not overcrowd the air fryer basket. If using frozen chicken, add 5-10 minutes to cooking time. For dairy-free, substitute butter with olive oil.
Nutrition
- Serving Size: 1-2 chicken thighs p
- Calories: 450
- Sodium: 600
- Fat: 35
- Saturated Fat: 14
- Carbohydrates: 2
- Protein: 30
Keywords: air fryer chicken, crispy chicken thighs, garlic herb butter, keto dinner, low carb chicken, weeknight dinner, air fryer recipes


