“You won’t believe this is no-bake,” my friend insisted as she handed me one of these Oreo cheesecake cups at a casual get-together. Honestly, I was skeptical at first. Cheesecake? Without an oven? And in such a tiny, adorable cup? That just sounded too good to be true. But one bite, and the rich, creamy texture paired with that familiar Oreo crunch had me hooked.
Funny enough, these Creamy No-Bake Oreo Cheesecake Cups came about on a hectic evening when I was scrambling to bring dessert for an impromptu visit from neighbors. No oven time, no complicated recipes—just a few pantry staples and a little creativity. The result? A dessert that felt indulgent but was surprisingly easy to pull together. I ended up making them several times that week, each batch disappearing before I could even snap a picture.
What really sticks with me is how the smoothness of the cheesecake filling contrasts with the crunch of Oreo crumbs, all without heating up the kitchen or stressing over baking times. It’s a quiet moment of joy in a cup—perfect for those evenings when you want something sweet but fuss-free. Honestly, these are the kind of treats that sneak quietly into your rotation and never quite leave.
So, if you ever find yourself staring blankly at your pantry, wondering what dessert to whip up without much hassle, this recipe’s got your back. It’s simple, satisfying, and somehow feels a little special every time.
Why You’ll Love This Recipe
After testing countless no-bake desserts, this recipe stands out for so many reasons. Here’s why I keep coming back to these cheesecake cups:
- Quick & Easy: Whip these up in under 5 minutes—yes, seriously! Perfect for those moments when you want dessert ASAP without any oven time.
- Simple Ingredients: No chasing down exotic items here. You probably already have cream cheese, Oreo cookies, and a few pantry basics in your kitchen.
- Perfect for Any Occasion: Whether it’s a casual family dinner, a last-minute party, or just a solo treat, these cups fit right in. They’re especially great for summer when you want to keep the kitchen cool.
- Crowd-Pleaser: Kids, adults, picky eaters—everyone seems to ask for seconds. The texture and flavor balance is just right.
- Unbelievably Delicious: The creamy cheesecake filling mixed with crushed Oreos is comfort food at its finest. It’s indulgent but not overwhelming.
What makes this recipe different? I like to mix a bit of vanilla extract and a touch of whipped cream into the cream cheese base. This little trick makes the filling ultra-smooth and light—no dense or heavy bites here. Plus, layering the Oreo crumbs instead of crushing them all at once creates a delightful textural surprise with every spoonful.
Honestly, this dessert isn’t just something you eat—it’s a small celebration of simple ingredients coming together in a way that feels fancy, even when you’re just lounging in your pajamas.
What Ingredients You Will Need
This recipe calls for straightforward, pantry-friendly ingredients that come together to create rich flavor and a satisfying texture without stress or fuss.
- Oreo Cookies: About 20 cookies, crushed into crumbs and chunks (for that signature crunch). I recommend using classic Oreos for the best balance of sweetness and chocolate flavor.
- Cream Cheese: 8 ounces (225 grams), softened to room temperature. Full-fat gives the creamiest result, but you can try a lighter version if you prefer.
- Powdered Sugar: ½ cup (60 grams), sifted for smoothness. It sweetens the filling without graininess.
- Heavy Whipping Cream: ¾ cup (180 ml), cold. Whipped until soft peaks form, it lightens the texture beautifully.
- Vanilla Extract: 1 teaspoon, pure. Adds a subtle warmth and depth.
- Butter: 3 tablespoons (45 grams), melted. This helps bind the Oreo crumbs for the base layer.
If you want to switch things up, you can use dairy-free cream cheese and coconut cream for a vegan-friendly option. For a gluten-free twist, try gluten-free chocolate sandwich cookies instead of Oreos.
Tip: When crushing Oreos, leave some chunks for texture instead of pulverizing everything into dust. It makes each bite more interesting.
Equipment Needed
- Mixing Bowls: One large for the cream cheese mixture, another for whipping cream.
- Electric Mixer or Hand Whisk: To whip the cream and cream cheese until perfectly smooth and fluffy. I’ve tried both—an electric mixer saves time and effort, but a strong hand whisk works in a pinch.
- Measuring Cups and Spoons: For accuracy, especially with sugar and vanilla.
- Spatula: For gentle folding and scraping down the bowl.
- Small Glasses or Dessert Cups: To assemble the cheesecake cups. I like using clear cups so you can see the layers.
- Food Processor or Plastic Bag & Rolling Pin: For crushing Oreos. If you don’t have a processor, placing cookies in a sealed bag and gently smashing them works just fine.
Nothing fancy or expensive here; these tools are kitchen basics that you probably already own. Cleaning up is quick, too, which is always a plus when making a quick dessert.
Preparation Method
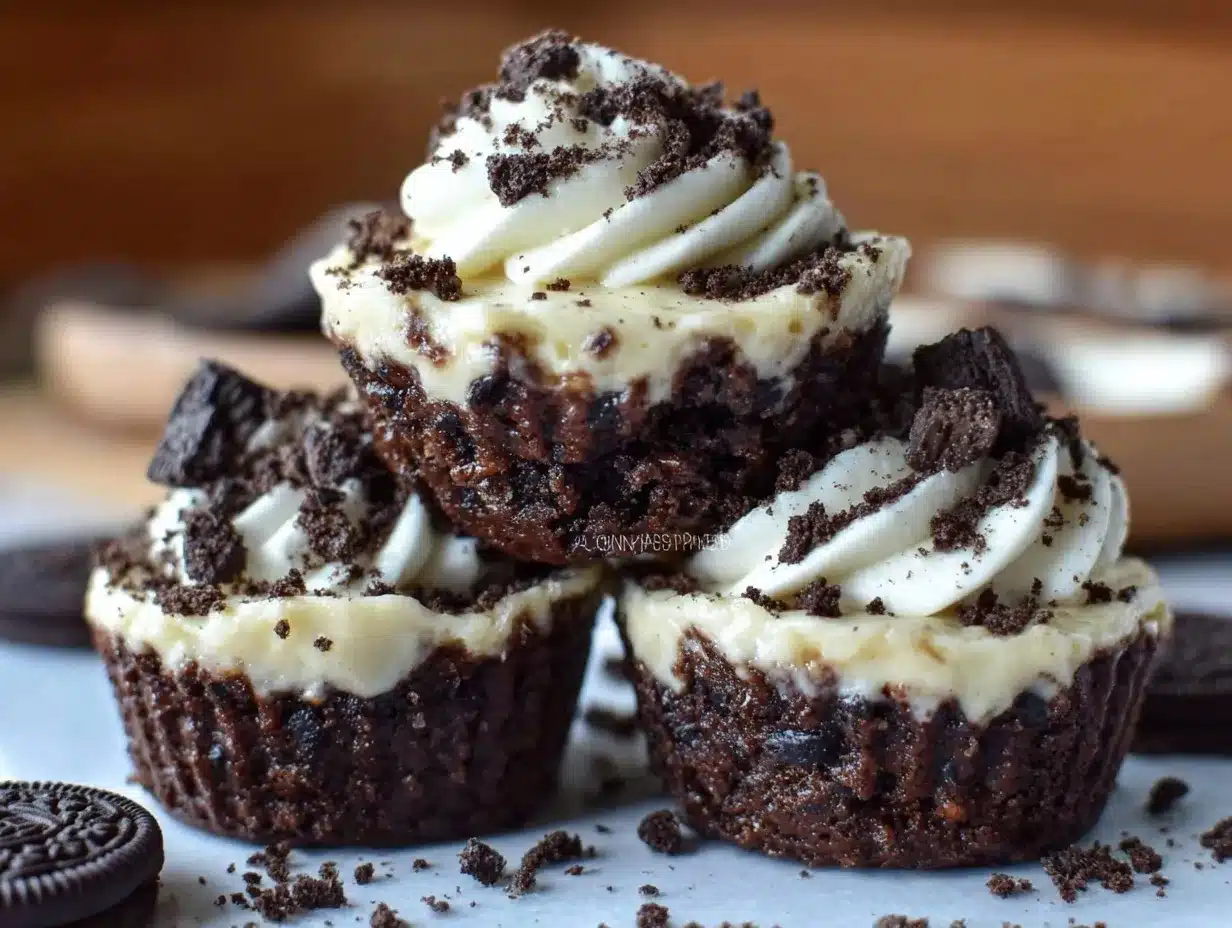
- Prepare the Oreo Crust: Crush 15 Oreos into fine crumbs using a food processor or by placing them in a sealed bag and smashing lightly with a rolling pin. Leave a few chunks for texture. Mix crumbs with melted butter until evenly combined. This should take about 5 minutes.
- Layer the Base: Spoon about 1 tablespoon (15 ml) of the Oreo crust mixture into the bottom of each dessert cup. Press gently with the back of the spoon to create a firm base. Refrigerate cups while preparing the filling. This step helps the crust set and takes 5 minutes.
- Make the Cheesecake Filling: In a large bowl, beat the softened cream cheese with powdered sugar and vanilla extract until smooth and creamy—around 3 minutes with an electric mixer. Don’t rush this; you want a silky base without lumps.
- Whip the Cream: In a separate chilled bowl, whip the heavy cream until soft peaks form. This usually takes 3-4 minutes on medium speed. Be careful not to overwhip, or you’ll end up with butter!
- Fold the Cream into Cream Cheese: Gently fold the whipped cream into the cream cheese mixture in three additions. Use a spatula and fold carefully to keep the airiness intact—this makes the filling light and fluffy.
- Assemble the Cups: Add a layer of cream cheese filling over the Oreo crust in each cup—about 3 tablespoons (45 ml). Then sprinkle crushed Oreo chunks on top for crunch and visual appeal. Repeat layering once more if your cups are tall enough.
- Chill: Refrigerate the assembled cups for at least 2 hours, or overnight for best texture. The filling firms up beautifully, and flavors meld together.
- Serve: Just before serving, garnish with a whole Oreo or a dollop of whipped cream if you’re feeling fancy. Enjoy chilled.
Quick note: If you find the filling too thick during mixing, a tablespoon of milk can help loosen it up just a bit.
Cooking Tips & Techniques
Making no-bake desserts like these Oreo cheesecake cups is all about texture and timing. Here are some things I’ve learned the hard way:
- Softened Cream Cheese is Key: Too cold, and you’ll get lumps that are hard to smooth out. Let it sit at room temp for about 30 minutes before starting.
- Don’t Skip Sifting Powdered Sugar: It keeps the filling silky smooth and prevents gritty spots.
- Whip the Cream Just Right: Undermixing means a dense filling, but overmixing can turn cream into butter. Stop once soft peaks form for that perfect lightness.
- Folding Technique Matters: Use a gentle folding motion with a spatula rather than stirring vigorously. You want to keep as much air in the mixture as possible.
- Chill Time: This isn’t a dessert you rush. The cheesecake cups need time in the fridge to set up properly. If you’re impatient like me, at least give it an hour for a decent texture.
- Crust Texture: Leaving some Oreo chunks in the crust adds a delightful crunch. You can crush all if you want a smoother base but try mixing textures for more fun.
These little adjustments can transform your cups from “just okay” to “wow, that’s good” every single time.
Variations & Adaptations
One of the best parts about this recipe is how easy it is to tweak based on what you have or your tastes. Here are some ideas:
- Fruit Twist: Add a layer of fresh berries (strawberries, raspberries) between the Oreo crust and cheesecake filling. It adds a refreshing tang that balances the sweetness.
- Chocolate Lovers: Fold in mini chocolate chips or drizzle melted chocolate over the top before chilling.
- Nutty Crunch: Mix chopped toasted pecans or almonds into the crust for added texture and flavor.
- Dairy-Free Version: Use dairy-free cream cheese and coconut cream whipped to soft peaks for a vegan-friendly dessert.
- Peanut Butter Swirl: Add dollops of peanut butter into the filling and swirl gently for a nutty surprise. It pairs beautifully with Oreos.
I personally tried the berry twist during a summer potluck, and it was a hit—especially with those who like a little fruit with their sweets. If you want more no-bake ideas, you might like the easy dairy-free star-spangled fruit pizza, another fuss-free dessert perfect for summer celebrations.
Serving & Storage Suggestions
Serve these cheesecake cups chilled straight from the fridge. They’re lovely on their own or paired with a hot cup of coffee or a cold glass of milk. To make dessert time feel special, serve them in clear glasses so the layers show through—that always gets compliments.
If you’re hosting a party, these cups can be prepped a day ahead and stored covered in the fridge. They hold up well for 3-4 days, though honestly, they rarely last that long in my house.
For longer storage, they freeze nicely too. Just place them on a tray until firm, then cover tightly and freeze for up to a month. Thaw in the fridge for a few hours before serving. The texture might be a little softer but still delicious.
Over time in the fridge, the Oreo crumbs soften slightly, melding into the filling and creating an almost truffle-like bite. It’s a nice change if you prefer a creamier mouthfeel.
Nutritional Information & Benefits
Each serving (one cup) of these creamy no-bake Oreo cheesecake cups clocks in at around 350 calories, with a balance of fats from cream cheese and whipping cream, moderate sugars from Oreos and powdered sugar, and a small protein boost from dairy.
While this dessert is definitely an indulgence, it also contains calcium and protein from the cream cheese and cream. If you want a lighter version, swapping in light cream cheese and reducing sugar slightly can help.
Note: Contains dairy and gluten (from Oreos), so it’s not suitable for those with related allergies unless you use appropriate substitutes.
From my perspective, it’s all about enjoying treats like this mindfully and savoring every bite without guilt. Plus, no baking means less energy use and heat in the kitchen—always a win in my book!
Conclusion
These Creamy No-Bake Oreo Cheesecake Cups have quietly become a favorite in my dessert rotation. They’re proof that you don’t need complicated steps or a hot oven to make something truly satisfying and delicious. Feel free to make them your own with the variations or keep it classic—it’s a recipe that welcomes your personal touch.
I love how these cups bring a little sweet comfort without the fuss, especially when unexpected guests drop by or when you just want a quick homemade treat. If you try them, I’d love to hear how you tweaked the recipe or served them up!
Go ahead, treat yourself to a little creamy indulgence—you deserve it.
FAQs About Creamy No-Bake Oreo Cheesecake Cups
Can I make these cheesecake cups ahead of time?
Yes! They can be prepared up to 24 hours in advance and stored covered in the fridge. This actually helps the flavors meld and the texture set perfectly.
What can I use instead of Oreos?
You can substitute any chocolate sandwich cookies or even gluten-free cookies if needed. Graham crackers crushed with a bit of cocoa powder also work for a different twist.
How long should I chill the cheesecake cups?
At least 2 hours is best, but overnight results in the creamiest texture. If you’re short on time, an hour will still work but expect a softer filling.
Can I freeze these no-bake cheesecake cups?
Yes, freeze them for up to one month. Just thaw in the refrigerator before serving. The texture may soften slightly but will stay tasty.
Is there a dairy-free option for this recipe?
Absolutely! Use dairy-free cream cheese and coconut cream whipped to soft peaks. Just make sure your cookie choice is also dairy-free to keep it fully vegan.
For more easy dessert ideas that keep things simple but tasty, you might also enjoy the easy dairy-free star-spangled fruit pizza or the easy gluten-free red white blueberry parfaits—both perfect for fuss-free entertaining.
Pin This Recipe!
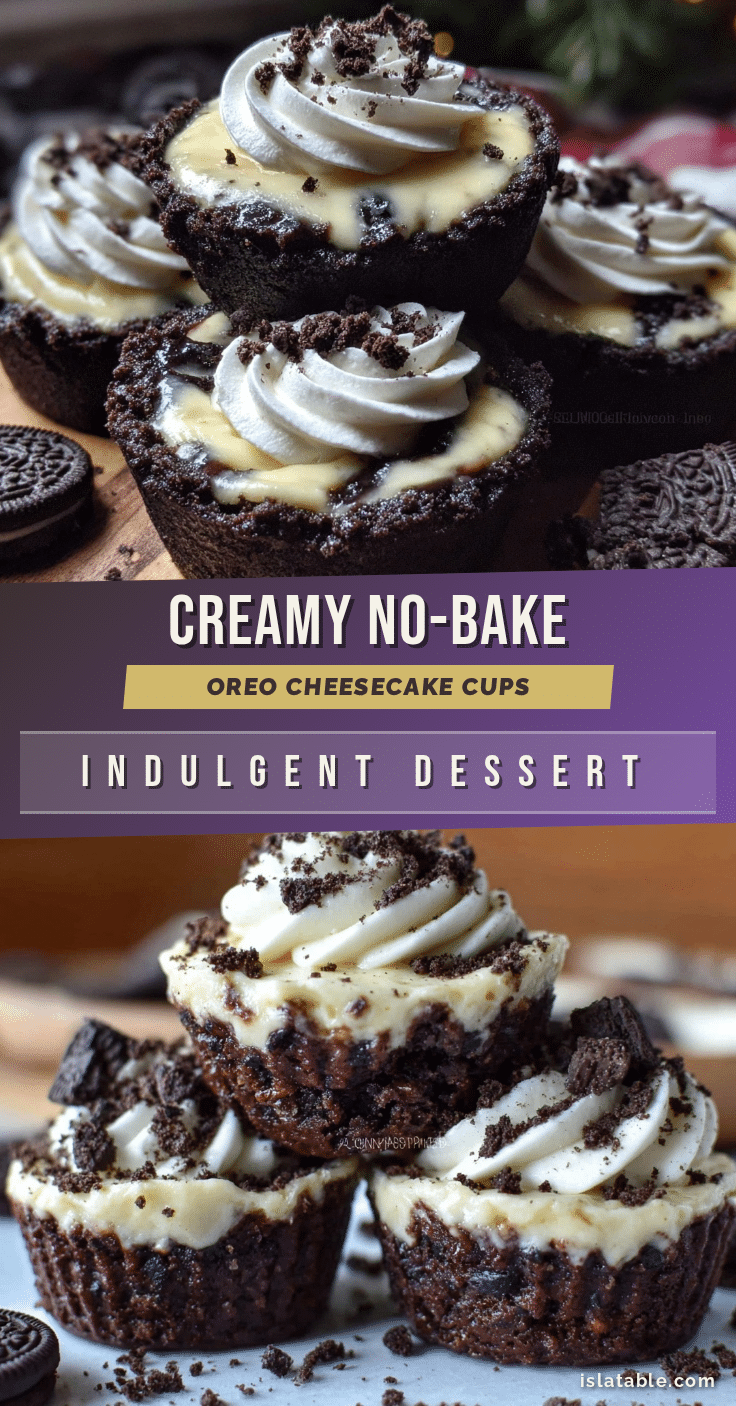
Creamy No-Bake Oreo Cheesecake Cups

A quick and easy no-bake dessert featuring creamy cheesecake filling layered with crunchy Oreo crumbs, perfect for any occasion and ready in under 5 minutes.
- Prep Time: 10 minutes
- Cook Time: 0 minutes
- Total Time: 2 hours 10 minutes
- Yield: 6 servings 1x
- Category: Dessert
- Cuisine: American
Ingredients
- 20 Oreo Cookies, crushed into crumbs and chunks
- 8 ounces cream cheese, softened to room temperature
- ½ cup powdered sugar, sifted
- ¾ cup heavy whipping cream, cold
- 1 teaspoon vanilla extract
- 3 tablespoons butter, melted
Instructions
- Crush 15 Oreos into fine crumbs leaving some chunks for texture. Mix crumbs with melted butter until evenly combined.
- Spoon about 1 tablespoon of the Oreo crust mixture into the bottom of each dessert cup and press gently to create a firm base. Refrigerate while preparing the filling.
- Beat the softened cream cheese with powdered sugar and vanilla extract until smooth and creamy.
- Whip the heavy cream until soft peaks form.
- Gently fold the whipped cream into the cream cheese mixture in three additions to keep the filling light and fluffy.
- Add a layer of cream cheese filling over the Oreo crust in each cup, then sprinkle crushed Oreo chunks on top. Repeat layering if cups are tall enough.
- Refrigerate the assembled cups for at least 2 hours or overnight for best texture.
- Serve chilled, optionally garnished with a whole Oreo or a dollop of whipped cream.
Notes
Use softened cream cheese at room temperature to avoid lumps. Sift powdered sugar for smooth filling. Whip cream to soft peaks to avoid turning it into butter. Fold gently to keep airiness. Chill at least 2 hours for best texture. Leaving some Oreo chunks adds delightful crunch. If filling is too thick, add a tablespoon of milk to loosen.
Nutrition
- Serving Size: 1 cup dessert cup
- Calories: 350
- Sugar: 22
- Sodium: 210
- Fat: 25
- Saturated Fat: 15
- Carbohydrates: 28
- Fiber: 1
- Protein: 5
Keywords: no-bake, Oreo, cheesecake, dessert, quick dessert, easy dessert, creamy, Oreo cheesecake cups


