I figured making a back to school treat was going to be a quick, no-brainer job. Just mix some Rice Krispies with melted marshmallows, press it into a pan, and call it a day. It took about ten minutes for that to fall apart completely—literally, the first batch was a sticky mess that refused to hold the shape of a school bus. But honestly, that failure was the best thing that happened. After a few rounds of tweaking, I nailed these Back to School Bus Rice Krispie Treats that not only hold their shape but bring a little fun to the kitchen (and lunchboxes) without any fuss.
The first time I served these, my kid’s eyes lit up in a way that made me realize this recipe was more than just a snack. There’s something about a sweet treat shaped like a bright yellow bus loaded with colorful candy wheels and windows that makes the back-to-school jitters a bit sweeter. Plus, they’re surprisingly easy, which is a relief when you’re juggling morning chaos and last-minute homework questions.
What stuck with me is how this simple recipe turned into a little tradition for us—something to look forward to as summer slips away. The mix of crunchy, chewy, and a pop of sugary color is oddly comforting, like a tiny celebration of new beginnings. So, if you’re looking for a fun, easy way to add some cheer to those early school mornings, these bus-shaped treats might just be your new secret weapon.
Why You’ll Love This Recipe
After testing this recipe multiple times (and yes, eating way too many Rice Krispie treats during the process), I’ve learned a few things that make this version stand out from the crowd. It’s not just about the cute shape—though that definitely helps motivate the kids to eat breakfast or snack happily.
- Quick & Easy: You can whip this up in under 20 minutes, which makes it perfect for hectic mornings or last-minute school parties.
- Simple Ingredients: No need for fancy or obscure items—just pantry staples and a handful of colorful candies to decorate.
- Perfect for Back to School: These treats tap into the excitement of the new school year with a playful bus shape that kids instantly recognize.
- Crowd-Pleaser: These treats have been approved by kids, parents, and even the occasional teacher who sneaks one during recess.
- Unbelievably Delicious: The classic combo of crispy cereal and gooey marshmallow, plus the added crunch from candy, hits all the right comfort-food notes.
What makes this recipe different? It’s the little details — like using just the right amount of marshmallows to keep the treats firm but soft, and pressing the mixture gently into a bus-shaped pan so the edges don’t crumble. Plus, the candy decorations aren’t just for looks; they add a fun texture and a burst of flavor that makes these treats more than just a sweet snack. Honestly, these treats have become the kind of back-to-school tradition I didn’t know I needed.
What Ingredients You Will Need
This recipe uses simple, wholesome ingredients to deliver bold flavor and satisfying texture without the fuss. Most of these are pantry staples, and the candy decorations can be customized based on what you have on hand or your child’s favorites.
- Rice Krispies cereal (6 cups / 180 g) – The classic crispy base; I prefer Kellogg’s for the best crunch.
- Marshmallows (10 oz / 280 g) – Regular or mini marshmallows both work; I find mini ones melt more evenly.
- Unsalted butter (3 tbsp / 45 g) – Softened; adds richness and helps bind the treats.
- Yellow food coloring (optional) – For that iconic school bus color; a few drops go a long way.
- Black licorice pieces or mini chocolate chips – For bus windows and details.
- Round candy pieces (such as M&Ms or Skittles) – To serve as wheels and add pops of color.
- Vanilla extract (1 tsp / 5 ml) – Adds a subtle flavor depth.
If you want to swap things up, you can use gluten-free Rice Krispies or a similar crispy cereal for dietary needs. For a dairy-free version, try coconut oil instead of butter and use vegan marshmallows. In the summer, I sometimes swap the candy wheels for fresh berries, which adds a juicy twist. The key is to keep it fun and simple.
Equipment Needed
Here’s what you’ll need to get these bus treats on the table:
- Large saucepan – For melting the butter and marshmallows together smoothly. A non-stick pan helps avoid burning.
- Spatula – A heat-resistant silicone spatula makes stirring easy and keeps the mixture from sticking.
- 9×13-inch baking pan – Perfect for pressing the mixture evenly. You can line it with parchment paper to make removal easier.
- Bus-shaped cookie cutter or template – Optional but highly recommended to get those perfect bus shapes. If you don’t have one, a simple rectangular shape works too.
- Wax paper or buttered hands – For pressing the mixture into the pan without sticking.
I’ve tried using metal pans and silicone pans for this recipe. Silicone is nice because the treats pop out easily, but a sturdy metal pan gives you crisp edges. If you don’t have a bus-shaped cutter, you can print a bus template, place it on top of the treats, and cut around it with a sharp knife. Just be gentle so the treats don’t crumble.
Preparation Method
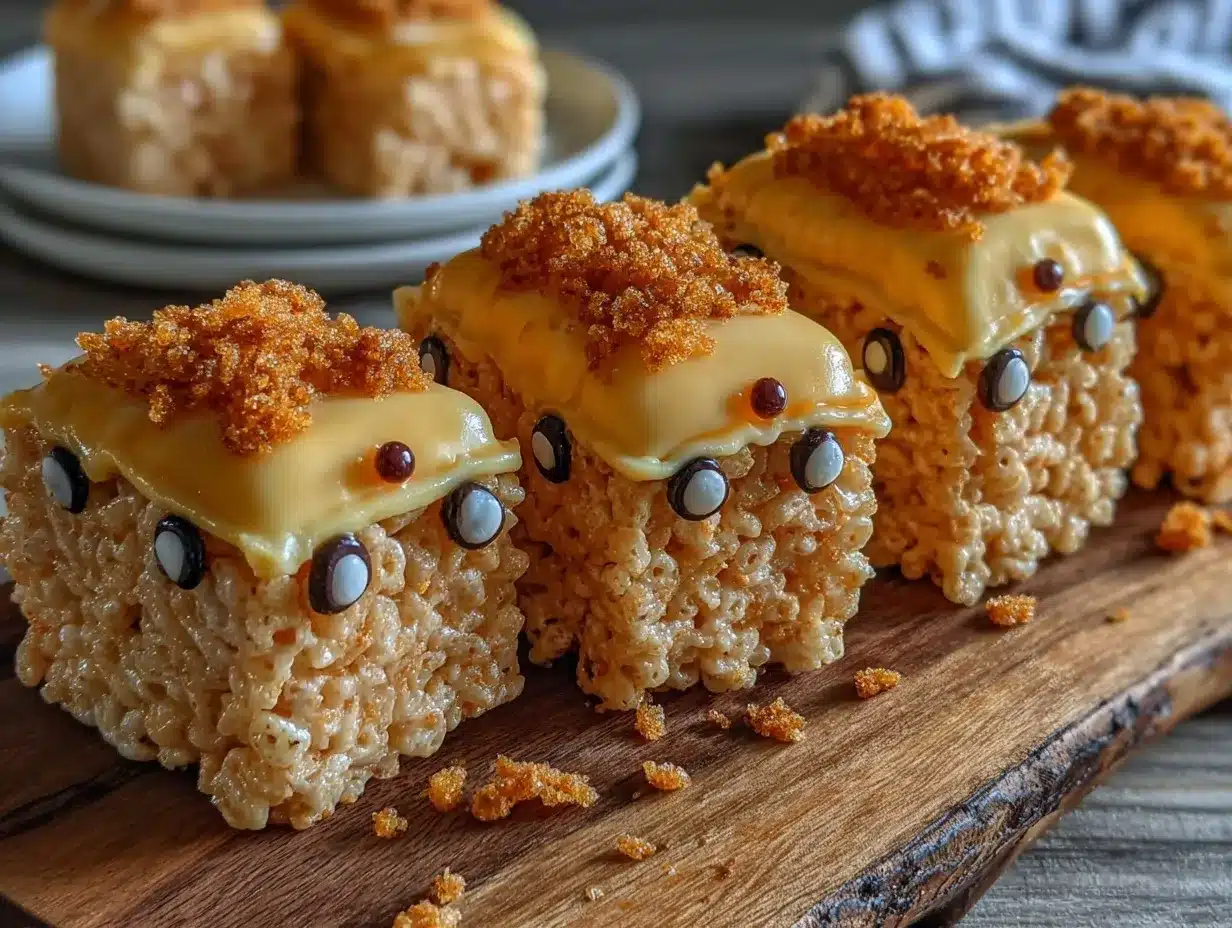
- Prepare your workspace: Grease your 9×13-inch pan with butter or line it with parchment paper. This will make removing the treats easier later. Have your bus-shaped cookie cutter and candy decorations ready.
- Melt the butter: In a large saucepan, melt 3 tablespoons (45 g) of unsalted butter over low heat. This should take about 2-3 minutes. Stir gently to avoid browning.
- Add marshmallows: Once the butter is melted, add 10 ounces (280 g) of marshmallows. Stir continuously until completely melted and smooth, about 5 minutes. Avoid high heat to prevent scorching.
- Add vanilla and color: Remove the pan from heat. Stir in 1 teaspoon (5 ml) vanilla extract. If you want the classic school bus yellow, add a few drops of yellow food coloring and mix until the color is even.
- Mix in the cereal: Quickly add 6 cups (180 g) of Rice Krispies cereal to the melted marshmallow mixture. Stir gently but thoroughly to coat all cereal without crushing it. This should take about 1-2 minutes.
- Press the mixture: Transfer the mixture to your prepared pan. Use a spatula or wax paper to press it evenly into the pan. Don’t press too hard—just enough to compact it so it holds together, about 2-3 minutes.
- Cool and shape: Allow the mixture to cool for 10-15 minutes until firm but still slightly pliable. Use your bus-shaped cookie cutter to cut out bus shapes. If you don’t have one, cut into rectangles and decorate creatively.
- Decorate: Use black licorice pieces or mini chocolate chips to create windows and detail. Press round candies like M&Ms into the bottom sides for wheels. Be gentle so the treats don’t crumble. Let everything set for another 10 minutes.
- Serve and enjoy: These treats are best enjoyed the same day but can be stored for later (see storage tips below).
Pro tip: If your marshmallows start to harden while you’re working, gently warm the mixture again on low heat for 30 seconds. The texture should feel soft and pliable but not sticky enough to tear apart your shapes.
Cooking Tips & Techniques
Making these back to school bus treats isn’t rocket science, but a few tips can really make the difference between sticky frustration and smooth sailing.
- Low and slow melting: Melt butter and marshmallows on low heat. Rushing it on high heat risks burning and uneven texture.
- Work quickly: Once marshmallows are melted, add cereal fast before the mixture cools. Sticky marshmallow cools and hardens quickly, making it tough to mix.
- Press gently: Press the mixture firmly but don’t smash it. Overpressing can make treats dense and hard instead of light and chewy.
- Use wax paper or buttered hands: Sticky hands can be maddening. Dampen your hands with water or lightly grease them to press and shape without sticking.
- Cut with a sharp knife or cookie cutter: Use a sharp blade or a sturdy cookie cutter for clean edges. Wobbly cutters or dull knives cause crumbling.
- Decorate while slightly warm: Add candy decorations when treats are still a bit soft—this helps them stick without falling off later.
- Don’t skip cooling: Let the treats set before cutting. Cutting too soon leads to misshapen treats and sticky fingers.
After a few batches, I realized taking a couple of extra minutes to plan out my decoration placement saves a lot of frustration. Also, multitasking by prepping candy decorations while marshmallows melt keeps things moving smoothly.
Variations & Adaptations
These treats are versatile and easy to tweak based on dietary needs, seasons, or just to shake things up a bit.
- Gluten-Free Option: Use gluten-free crispy rice cereal or a similar gluten-free puffed rice cereal. This keeps the treats safe for gluten-sensitive kids.
- Dairy-Free Version: Substitute butter with coconut oil and use vegan marshmallows. The texture might be a touch different but still delicious.
- Flavor Twist: Add a teaspoon of cinnamon or pumpkin pie spice to the marshmallow mixture for a seasonal back to school treat.
- Different Shapes: No bus cutter? Use other fun shapes or just cut into squares and let the candy decorations do the talking. I once made a set shaped like apples for a twist!
- Healthier Swap: Mix in some chopped nuts or seeds for extra crunch and nutrition, but watch out for allergies.
I once tried swapping in gluten-free cornbread muffins for a savory snack, but honestly, nothing beats the sweet nostalgic crunch of the original Rice Krispie version when it comes to these bus treats.
Serving & Storage Suggestions
These treats are best served at room temperature, just firm enough to hold their shape but soft enough to bite through easily. They make perfect lunchbox additions, after-school snacks, or party favors for classroom celebrations.
Pair them with a cold glass of milk or a fun fruit smoothie for a balanced snack. They’re also a hit at back-to-school brunches or casual gatherings.
For storage, keep them in an airtight container at room temperature for up to 3 days. Avoid the fridge as it can make the treats hard and less enjoyable. If you want to keep them longer, freeze for up to a month—just thaw at room temperature before serving.
Flavors tend to mellow and meld slightly after a day, which some folks actually prefer. Just keep an eye on humidity, as too much moisture makes them sticky.
Nutritional Information & Benefits
While these Back to School Bus Rice Krispie Treats are definitely a sweet indulgence, they do come with some benefits if enjoyed in moderation. Each treat (based on a 12-piece batch) contains roughly 150-180 calories, mostly from carbs and sugars.
The Rice Krispies cereal provides a light crunch without added fats, and the marshmallows add just enough chewiness to satisfy sweet cravings. Using unsalted butter helps control sodium levels.
For kids, these treats offer a quick energy boost and a fun way to introduce portion control. Parents looking for gluten-free or dairy-free options can easily adapt the recipe as mentioned above.
While not a health food, these treats fit well into a balanced diet when paired with fresh fruits and protein-rich snacks like the healthy keto coleslaw or high-protein chicken zucchini boats from the blog.
Conclusion
This recipe for Fun and Easy Back to School Bus Rice Krispie Treats is a little slice of simple joy that turned my chaotic mornings into moments of sweetness and color. It’s proof that sometimes, the best recipes come from a bit of trial and error, patience, and a willingness to get your hands sticky.
Feel free to make it your own—switch up the decorations, try different shapes, or sneak in some healthier add-ins. What matters is the smile it brings, the memories it makes, and the ease it brings to busy days.
If you try this recipe, I’d love to hear how it goes—what worked, what you tweaked, or even your decorating ideas. Because honestly, if you can make a school bus out of Rice Krispies, you’re pretty much a kitchen superhero in my book.
FAQs
- Can I use a different cereal instead of Rice Krispies? Yes! You can substitute with gluten-free puffed rice cereal or similar crispy cereals, but the texture and flavor will vary slightly.
- How do I prevent the treats from sticking to my hands when shaping? Lightly grease your hands with butter or wet them with cold water to prevent sticking while pressing or shaping.
- Can these treats be made ahead for a school party? Absolutely. They can be made a day in advance and stored in an airtight container at room temperature.
- What’s the best way to store these treats? Store at room temperature in an airtight container for up to 3 days. Avoid refrigeration to keep the texture soft.
- Are there any allergy-friendly substitutions? For dairy-free, use coconut oil and vegan marshmallows. For gluten-free, swap the cereal with certified gluten-free versions.
Pin This Recipe!
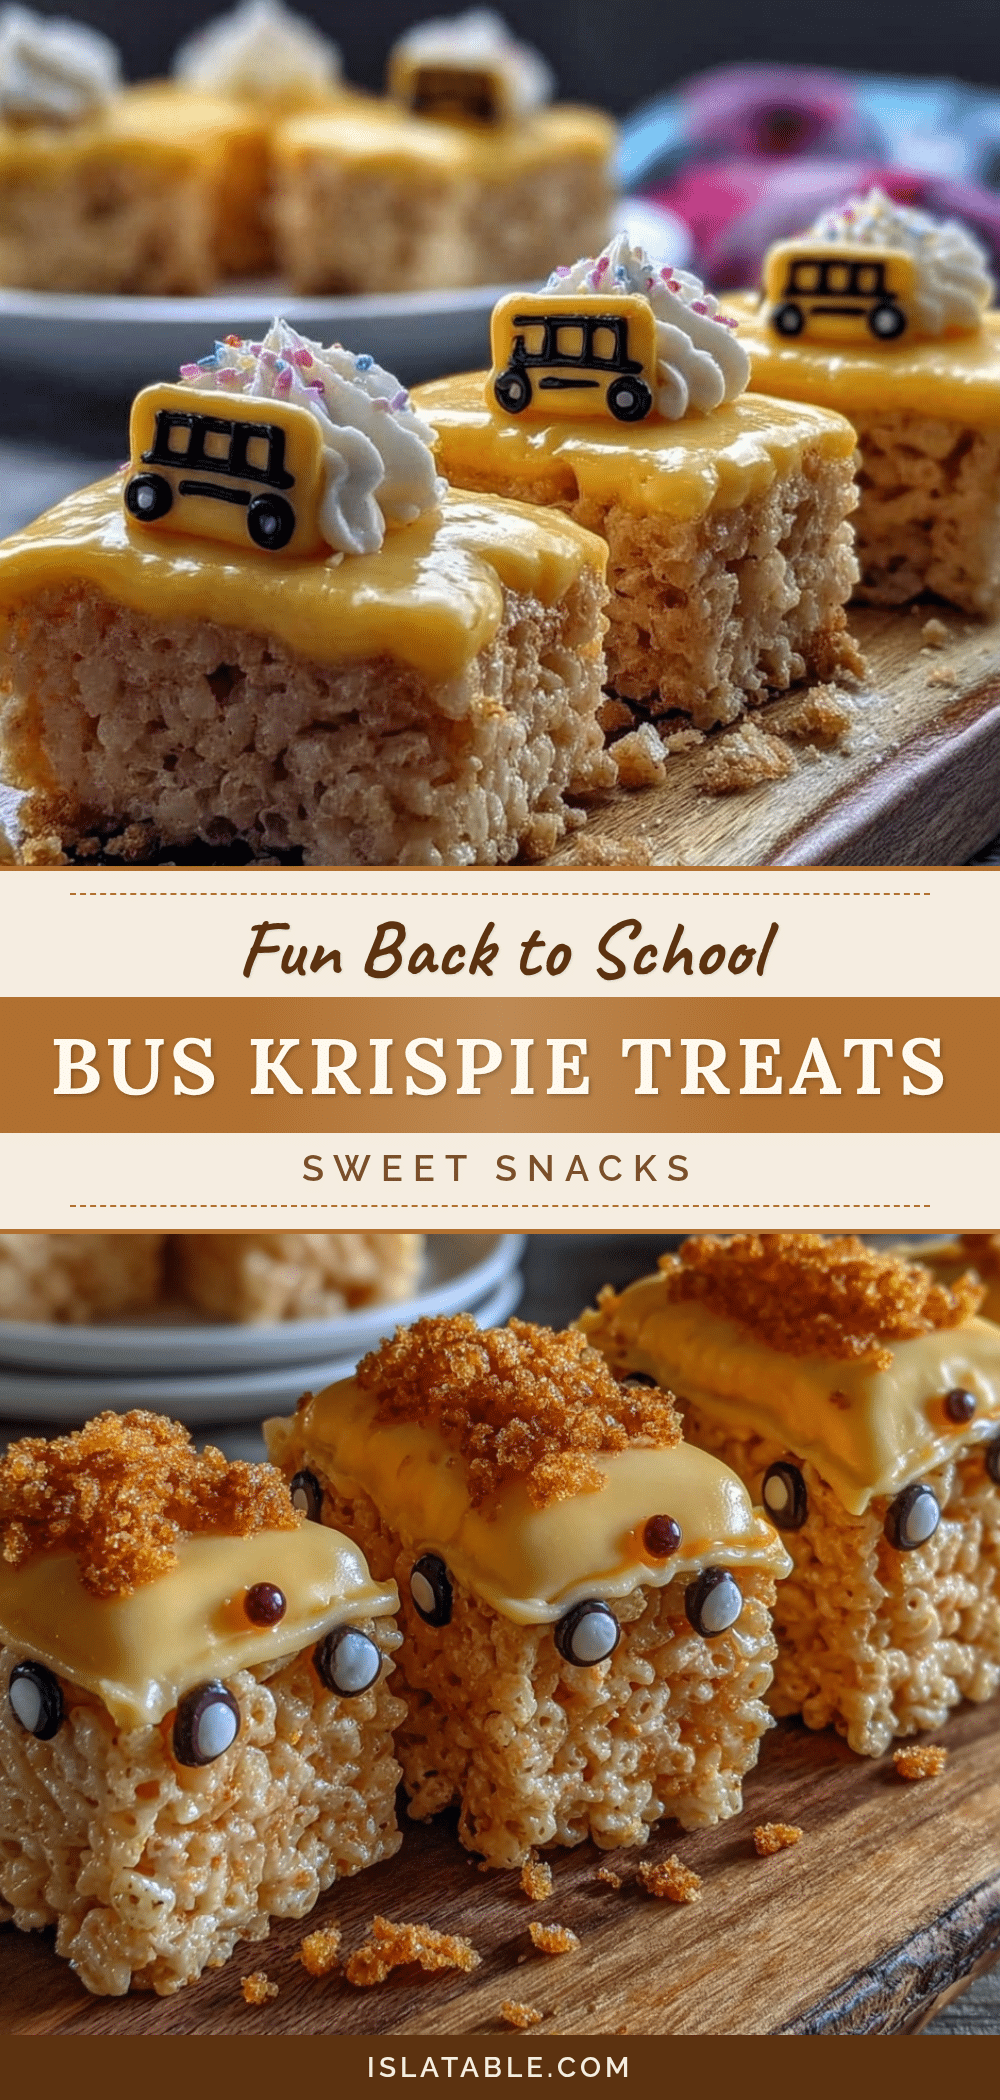
Back to School Bus Rice Krispie Treats Easy Fun Recipe for Kids

These fun and easy bus-shaped Rice Krispie treats are perfect for back-to-school mornings or parties. They combine the classic crispy cereal and gooey marshmallow with colorful candy decorations for a playful snack kids love.
- Prep Time: 10 minutes
- Cook Time: 10 minutes
- Total Time: 20 minutes
- Yield: 12 servings 1x
- Category: Snack
- Cuisine: American
Ingredients
- 6 cups Rice Krispies cereal (180 g)
- 10 oz marshmallows (280 g), regular or mini
- 3 tbsp unsalted butter (45 g), softened
- Yellow food coloring (optional)
- Black licorice pieces or mini chocolate chips for windows and details
- Round candy pieces (such as M&Ms or Skittles) for wheels
- 1 tsp vanilla extract (5 ml)
Instructions
- Grease a 9×13-inch pan with butter or line it with parchment paper. Have your bus-shaped cookie cutter and candy decorations ready.
- In a large saucepan, melt 3 tablespoons (45 g) of unsalted butter over low heat, stirring gently to avoid browning, about 2-3 minutes.
- Add 10 ounces (280 g) of marshmallows to the melted butter. Stir continuously until completely melted and smooth, about 5 minutes. Avoid high heat to prevent scorching.
- Remove the pan from heat. Stir in 1 teaspoon (5 ml) vanilla extract. Add a few drops of yellow food coloring if desired and mix until color is even.
- Quickly add 6 cups (180 g) of Rice Krispies cereal to the marshmallow mixture. Stir gently but thoroughly to coat all cereal without crushing it, about 1-2 minutes.
- Transfer the mixture to the prepared pan. Use a spatula or wax paper to press it evenly into the pan, pressing gently for 2-3 minutes.
- Allow the mixture to cool for 10-15 minutes until firm but still slightly pliable. Use a bus-shaped cookie cutter to cut out bus shapes or cut into rectangles if no cutter is available.
- Decorate the treats using black licorice pieces or mini chocolate chips for windows and details. Press round candies like M&Ms into the bottom sides for wheels. Let set for another 10 minutes.
- Serve and enjoy. Best eaten the same day but can be stored as directed.
Notes
Melt butter and marshmallows on low heat to avoid burning. Work quickly when mixing in cereal to prevent marshmallow from hardening. Press gently to keep treats light and chewy. Use wax paper or lightly greased hands to prevent sticking. Decorate while treats are still slightly warm for best adhesion. Store in airtight container at room temperature for up to 3 days or freeze for up to a month.
Nutrition
- Serving Size: 1 treat (based on 12
- Calories: 165
- Sugar: 18
- Sodium: 90
- Fat: 4
- Saturated Fat: 2.5
- Carbohydrates: 31
- Fiber: 0.5
- Protein: 1
Keywords: Rice Krispie treats, back to school, kids snack, easy recipe, fun treats, marshmallow cereal snack, bus shaped treats


