That was the scene last Tuesday. I was supposed to be prepping for a work call in twenty minutes, but the smell of toasted nuts and caramelized milk solids had completely hijacked my attention. I had a can of pumpkin puree staring at me from the fridge, a jar of maple syrup that was slowly crystallizing, and absolutely zero patience for complicated baking steps. You know how it is when you’re running on three hours of sleep and need something to comfort you before the chaos of the evening begins? That’s exactly where I was.
I didn’t plan this. Honestly, I just threw ingredients into a bowl because I was too tired to measure precisely. But then I tasted the batter. It wasn’t just good; it was deeply nutty, rich, and smelled like autumn even though it was technically still summer. The brown butter added this incredible depth that regular melted butter just can’t touch. It’s that toasted, savory-sweet note that makes you stop and close your eyes for a second.
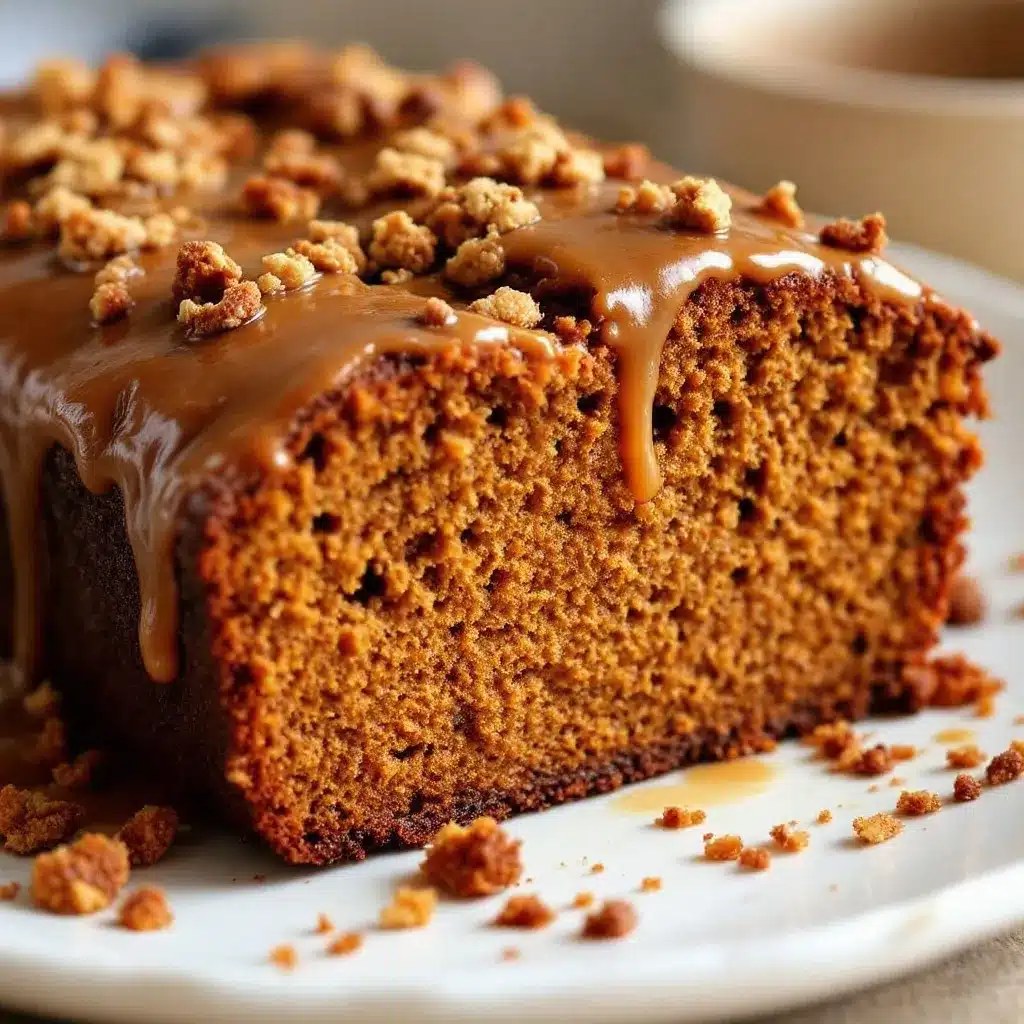
I baked it in a rush, slicing it while it was still warm enough to drip slightly. The maple glaze wasn’t strictly necessary, but let’s face it, who turns down a drizzle of sticky sweetness? I sat at the counter, fork in hand, watching the steam rise off the crumb. It was moist, dense in the best way, and tasted like a hug from the inside out.
That slice changed my mind about quick breads. I used to think they were just a way to use up overripe fruit or stale bread, but this? This is actually special. It’s not fussy. It doesn’t require a stand mixer or thirty ingredients you can’t pronounce. It just works. And now, every time I make this moist brown butter pumpkin bread with maple glaze, I’m reminded that the best meals often come from the moments when you stop trying to be perfect and just start cooking.
Why You’ll Love This Recipe
There are a thousand pumpkin bread recipes out there, but this one sticks to your ribs in a way that feels earned. I’ve tested versions that were dry as sawdust and others that were so dense they felt like eating a brick. This version hits that sweet spot—literally and figuratively. The secret isn’t just the pumpkin; it’s the technique of browning the butter first. It transforms the fat into a flavor powerhouse, adding a layer of complexity that makes the bread taste like it came from a high-end bakery rather than a midnight snack session.
Here is why this recipe has earned a permanent spot in my weekly rotation:
* **Quick & Easy:** You can have this loaf in the oven in under thirty minutes of prep time. It’s perfect for those evenings when you want something homemade but don’t have hours to spare.
* **Simple Ingredients:** No fancy grocery trips needed. You likely already have pumpkin puree, brown butter basics, and maple syrup in your pantry. It’s pantry-friendly comfort food.
* **Perfect for Fall Mornings:** Whether you are hosting guests or just need a quiet moment with coffee, this bread pairs beautifully with a hot mug of coffee or tea.
* **Crowd-Pleaser:** I’ve served this to picky eaters and seasoned foodies alike. The maple glaze is the universal language of “yes, please.”
* **Unbelievably Delicious:** The texture is tender and moist, never crumbly or dry. The brown butter adds a nutty aroma that fills the house and makes everyone wonder what you’re baking.
What makes this different from the rest is the balance. Many recipes rely too heavily on sugar to mask the blandness of the pumpkin. Here, the brown butter provides a savory counterpoint to the sweet maple glaze. It’s not just a dessert; it’s a balanced flavor profile. I remember trying a similar recipe years ago that used melted butter, and while it was okay, it lacked soul. This version has soul. It’s the kind of bread that makes you want to stay in bed a little longer on a Sunday morning.
What Ingredients You Will Need
This recipe relies on a few key components to create that signature moist crumb and rich flavor. You don’t need anything exotic, but the quality of your ingredients matters. Since there are fewer of them, each one carries more weight in the final taste.
For the bread base:
* **Unsalted Butter:** You’ll need about one cup (two sticks). This is the star of the show. Browning it brings out those toasted almond notes. I prefer using high-quality European-style butter if you can find it, as the higher fat content makes the browning process more rewarding.
* **Pumpkin Puree:** Use 100% pure pumpkin, not pumpkin pie filling. The filling is loaded with sugar and spices that will throw off the balance. Look for a brand with a smooth, thick consistency.
* **Eggs:** Large eggs, room temperature. These provide structure and richness. Room temperature eggs emulsify better with the butter, leading to a smoother batter.
* **Brown Sugar:** Light or dark brown sugar works well. The molasses content adds depth and keeps the bread moist. Dark brown sugar will give it a more caramel-like flavor.
* **Granulated Sugar:** A half-cup of white sugar balances the richness of the brown sugar and helps create a slightly crisp top.
* **All-Purpose Flour:** Two cups is standard. If you need a gluten-free option, a 1:1 gluten-free flour blend works surprisingly well here.
* **Baking Soda and Baking Powder:** These leavening agents ensure the bread rises properly. Don’t skip them or use old ones, or you’ll end up with a flat brick.
* **Spices:** Cinnamon, nutmeg, and ginger. Use freshly ground spices if possible. Pre-ground spices lose their potency quickly, and fresh ones make a huge difference in aroma.
For the maple glaze:
* **Maple Syrup:** Real maple syrup, not pancake syrup. Look for Grade A Amber or Dark. The darker the syrup, the stronger the flavor.
* **Powdered Sugar:** This thickens the glaze and gives it that opaque, white finish.
* **Milk or Cream:** A tablespoon or two to thin the glaze to your desired consistency.
I usually keep a backup can of pumpkin puree in the pantry because I tend to forget I have it until I’m staring at an empty fridge. The spices should be fresh; if they’ve been sitting in your cabinet since last Christmas, it’s time to replace them.
Can I use canned pumpkin or must it be fresh?
Canned pumpkin puree is actually preferred for this recipe because it has a lower water content than fresh roasted pumpkin. Fresh pumpkin can release too much moisture, making the bread soggy. Canned puree gives you a consistent, dense texture every time.
What kind of maple syrup is best?
Always choose real maple syrup. The artificial kind has a chemical aftertaste that clashes with the nutty brown butter. Look for a bottle that says “100% Pure Maple Syrup” on the label.
Equipment Needed
You don’t need a fancy kitchen to make this bread. The essential tools are pretty basic, which is part of why I love this recipe.
* **Medium Saucepan:** This is crucial for browning the butter. A light-colored stainless steel or enamel pot is best because it allows you to see the color change of the milk solids. Dark non-stick pans can hide the browning process, leading to burnt butter.
* **Large Mixing Bowl:** For combining the wet and dry ingredients. A glass or ceramic bowl is nice because it’s easy to clean, but plastic works fine too.
* **Whisk:** A standard balloon whisk is perfect for beating the eggs and sugar together until they are light and fluffy.
* **Rubber Spatula:** Essential for folding the flour into the wet ingredients. You want to avoid overmixing, and a spatula helps you scrape the sides of the bowl to ensure everything is incorporated evenly.
* **9×5 Inch Loaf Pan:** Standard size. Make sure to grease it well or line it with parchment paper for easy removal.
* **Cooling Rack:** Letting the bread cool completely before slicing is important for texture, but you can’t do that if you don’t have a rack.
I used to use a non-stick loaf pan for years, but I found that the bread stuck more often than I liked. Now, I line the pan with parchment paper, leaving an overhang on the sides. This acts like a sling, letting you lift the entire loaf out in one piece. It’s a small trick that saves so much frustration when you’re trying to get a clean slice.
Preparation Method
Making this bread is straightforward, but there are a few key steps to watch closely, especially when browning the butter. Here is how to get it right the first time.
1. **Preheat and Prep:** Start by preheating your oven to 350°F (175°C). Grease your 9×5 loaf pan with butter or cooking spray. If you’re using parchment paper, cut a strip to fit the bottom and sides, leaving an overhang.
2. **Brown the Butter:** This is the most important step. Melt your one cup of butter in a medium saucepan over medium heat. Stir constantly with a wooden spoon or heat-proof spatula. You’ll hear the butter sizzling and popping. Watch it closely. It will go from yellow to a golden amber color. Small brown specks will form at the bottom—those are the toasted milk solids. Once it smells nutty and looks like honey, remove it from the heat immediately. Pour it into a heat-proof bowl to stop the cooking process. Let it cool for about 10 minutes so it doesn’t cook the eggs when you add them.
3. **Mix Wet Ingredients:** In a large bowl, whisk together the cooled brown butter, brown sugar, and granulated sugar until well combined. Add the eggs one at a time, whisking after each addition. Stir in the pumpkin puree until the mixture is smooth and uniform.
4. **Combine Dry Ingredients:** In a separate bowl, whisk together the flour, baking soda, baking powder, salt, cinnamon, nutmeg, and ginger. Sifting is optional, but it helps remove lumps and aerates the flour.
5. **Fold Together:** Add the dry ingredients to the wet ingredients in three additions. Gently fold them in with a rubber spatula. Stop mixing as soon as you no longer see streaks of flour. Overmixing develops gluten and can make the bread tough. The batter should be thick and sticky.
6. **Bake:** Pour the batter into the prepared loaf pan. Smooth the top with the spatula. Bake for 55 to 65 minutes. Check at 55 minutes by inserting a toothpick into the center. If it comes out clean or with just a few moist crumbs, it’s done. If it’s wet, bake for another 5-10 minutes.
7. **Cool:** Let the bread cool in the pan for 10 minutes, then transfer it to a wire rack to cool completely. This step is vital before adding the glaze, or the glaze will just melt into the bread.
How do I know when the butter is browned?
Listen for the sizzling to quiet down and look for the milk solids at the bottom of the pan to turn golden brown. The smell will change from creamy to nutty. If it smells like burnt toast, you’ve gone too far.
Can I freeze the batter?
It’s better to bake the bread first and then freeze the loaf. Batter doesn’t freeze as well because the leavening agents can lose potency over time, leading to a denser final product.
Cooking Tips & Techniques
Browning butter is an art form that takes a little practice. I’ve definitely burned a few batches of butter in my time. Here are some tips to help you master it.
* **Don’t Walk Away:** Brown butter goes from perfect to burnt in seconds. Stay by the stove and keep stirring. The milk solids settle at the bottom, so you need to keep them moving to prevent burning.
* **Use the Right Pan:** As mentioned earlier, a light-colored pan is your best friend. It allows you to see the color changes clearly. If you only have a dark pan, rely more on the smell and the sound than the visual cue.
* **Stop the Cooking:** Once you remove the butter from the heat, pour it into a different bowl. The residual heat in the saucepan can continue to cook the butter, leading to burning.
* **Room Temperature Eggs:** Cold eggs can cause the warm butter to solidify into clumps. Bringing your eggs to room temperature ensures a smooth, emulsified batter.
* **Don’t Overmix:** When combining the wet and dry ingredients, mix just until combined. A few small lumps are okay. Overmixing leads to a tough, dense loaf.
* **Toothpick Test:** The toothpick test is your best friend. Insert it into the thickest part of the loaf. If it comes out with wet batter, it needs more time. If it comes out clean, it’s done.
I once tried to rush the cooling process by putting the hot loaf in the fridge. The condensation made the crust soggy and the texture gummy. Always let it cool completely on a rack. It’s worth the wait.
Variations & Adaptations
While this recipe is delicious as is, there are plenty of ways to tweak it to suit your tastes or dietary needs.
* **Gluten-Free Option:** Swap the all-purpose flour for a high-quality 1:1 gluten-free flour blend. Add a teaspoon of xanthan gum if your blend doesn’t already include it. This helps mimic the elasticity of gluten.
* **Dairy-Free:** Use vegan butter that is suitable for browning. Note that some vegan butters have a higher water content, so you may need to brown it a bit longer to achieve the same nutty flavor.
* **Add-Ins:** Stir in one cup of chopped walnuts or pecans for added crunch. Chocolate chips are also a popular addition for a sweeter treat.
* **Spice It Up:** Add a pinch of cardamom or cloves for a warmer, more complex spice profile.
* **Maple Glaze Variations:** Add a pinch of sea salt to the glaze to enhance the flavors. You can also add a teaspoon of bourbon for an adult twist.
I once made this with chopped pecans and a dash of cardamom, and it was absolutely divine. The nuttiness complemented the brown butter perfectly. Feel free to experiment and find your favorite combination.
Can I use maple syrup in the batter instead of sugar?
You can, but it will change the texture. Maple syrup adds moisture, so you may need to reduce the pumpkin puree slightly or add a bit more flour. It’s best to keep the sugar in the batter and use the maple syrup for the glaze to maintain the intended texture.
Serving & Storage Suggestions
This bread is best served at room temperature, allowing the flavors to fully develop. Slice it thick and drizzle with extra maple glaze if you’re feeling indulgent.
* **Serving:** Pair this bread with a hot cup of coffee or tea. It’s also great alongside a simple salad or as a dessert with a scoop of vanilla ice cream.
* **Storage:** Store leftovers in an airtight container at room temperature for up to three days. For longer storage, wrap the loaf tightly in plastic wrap and aluminum foil, then freeze for up to three months.
* **Reheating:** To refresh a slice, microwave it for 10-15 seconds or toast it lightly in a toaster oven. This brings back the warmth and softness.
The flavors actually improve after a day or two as the spices meld together. I often find that the second day is the best day for this bread. The maple glaze might soften a bit, but the bread itself becomes even more moist and flavorful.
Nutritional Information & Benefits
While this bread is a treat, it does offer some nutritional benefits. Pumpkin is rich in vitamin A, potassium, and fiber. Brown butter adds a rich flavor without the need for excessive sugar. Maple syrup contains antioxidants and minerals like zinc and manganese.
However, this is still a sweet bread, so enjoy it in moderation. One slice contains approximately 300-350 calories, depending on the size of the slice and the amount of glaze used. It is not gluten-free or dairy-free unless you use substitutes.
I like to think of this bread as a mindful indulgence. It’s not something you eat every day, but when you do, you savor every bite. It’s a reminder that food can be both comforting and delicious without being overly complicated.
Conclusion
This moist brown butter pumpkin bread with maple glaze is more than just a recipe; it’s a moment of peace in a busy day. It’s easy to make, incredibly flavorful, and perfect for sharing. I hope you try it and find your own special moments while baking it.
Feel free to customize it with your favorite nuts or spices. And if you do make it, I’d love to hear how it turned out. Leave a comment below with your thoughts or share a photo of your creation. Let’s keep the conversation going and inspire each other in the kitchen.
Enjoy every slice, and remember, the best recipes are the ones that bring you joy.
Frequently Asked Questions
Can I use pumpkin pie filling instead of pure pumpkin?
No, pumpkin pie filling contains added sugars and spices that will alter the flavor and sweetness of the bread. Always use 100% pure pumpkin puree for the best results.
Why is my bread dense?
This could be due to overmixing the batter, which develops gluten, or using old baking soda/powder that has lost its leavening power. Make sure to mix gently and check the expiration dates of your leavening agents.
Can I freeze the bread?
Yes, you can freeze the bread for up to three months. Wrap it tightly in plastic wrap and aluminum foil to prevent freezer burn. Thaw it at room temperature before serving.
What if I don’t have a loaf pan?
You can bake this batter in a muffin tin to make pumpkin bread muffins. Reduce the baking time to 20-25 minutes. They are great for individual portions and easy to share.
Is brown butter necessary?
While you can use melted butter, browning it adds a deep, nutty flavor that elevates the bread significantly. It’s a small extra step that makes a huge difference in taste.
Pin This Recipe!
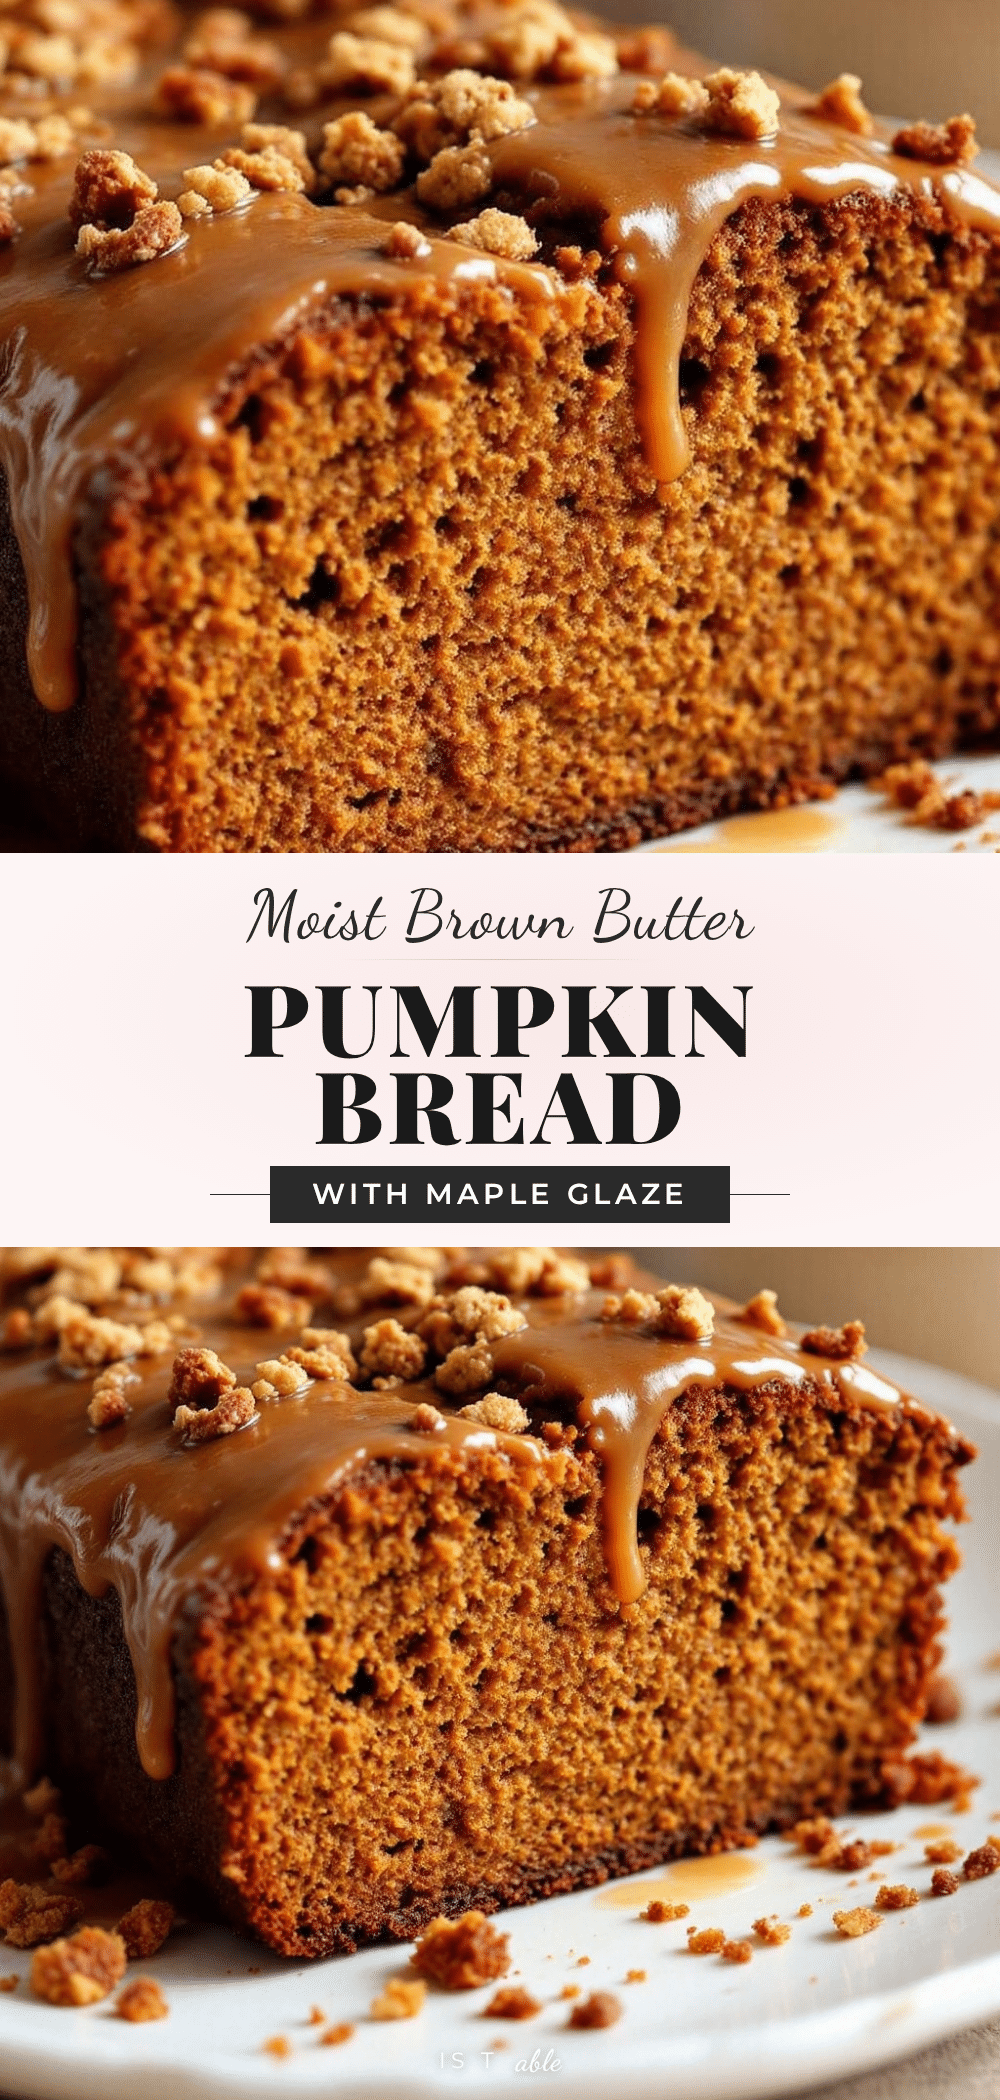
Moist Brown Butter Pumpkin Bread with Maple Glaze
A deeply nutty, rich, and moist quick bread made with browned butter and pure pumpkin puree, finished with a sweet maple glaze. This easy recipe requires minimal equipment and delivers bakery-quality flavor.
- Prep Time: 30 minutes
- Cook Time: 60 minutes
- Total Time: 90 minutes
- Yield: 8 servings 1x
- Category: Dessert
- Cuisine: American
Ingredients
- 1 cup (2 sticks) unsalted butter
- 1 cup pumpkin puree (100% pure, not pie filling)
- 2 large eggs, room temperature
- 1 cup brown sugar (light or dark)
- 1/2 cup granulated sugar
- 2 cups all-purpose flour
- 1 tsp baking soda
- 1 tsp baking powder
- 1/2 tsp salt
- 1 tsp cinnamon
- 1/2 tsp nutmeg
- 1/2 tsp ginger
- For the glaze: 1/2 cup powdered sugar
- For the glaze: 2-3 tbsp real maple syrup
- For the glaze: 1-2 tbsp milk or cream
Instructions
- Preheat oven to 350°F (175°C). Grease a 9×5 inch loaf pan and line with parchment paper, leaving an overhang on the sides.
- Melt the butter in a medium saucepan over medium heat. Stir constantly until the butter turns golden amber and smells nutty, with brown specks at the bottom. Remove from heat and pour into a heat-proof bowl to cool for 10 minutes.
- In a large bowl, whisk the cooled brown butter, brown sugar, and granulated sugar until combined.
- Add eggs one at a time, whisking after each addition. Stir in the pumpkin puree until smooth.
- In a separate bowl, whisk together flour, baking soda, baking powder, salt, cinnamon, nutmeg, and ginger.
- Add dry ingredients to wet ingredients in three additions. Gently fold with a rubber spatula until just combined; do not overmix.
- Pour batter into the prepared loaf pan and smooth the top.
- Bake for 55-65 minutes, or until a toothpick inserted into the center comes out clean or with moist crumbs.
- Cool in the pan for 10 minutes, then transfer to a wire rack to cool completely.
- Whisk powdered sugar, maple syrup, and milk/cream together to make the glaze. Drizzle over the completely cooled bread.
Notes
Ensure eggs are at room temperature to prevent the warm butter from solidifying. Do not overmix the batter to avoid a tough texture. The bread is best served at room temperature. Leftovers can be stored in an airtight container at room temperature for 3 days or frozen for up to 3 months.
Nutrition
- Serving Size: 1 slice
- Calories: 325
- Sugar: 30
- Sodium: 250
- Fat: 14
- Saturated Fat: 8
- Carbohydrates: 45
- Fiber: 2
- Protein: 4
Keywords: pumpkin bread, brown butter, maple glaze, quick bread, fall baking, easy recipe, gluten-free option


