Third time in a week and the gravy still separated in the pan. That was the reality of my Tuesday afternoon, standing over a saucepan that refused to behave, while the rest of the house prepared for the November rush. I had tried heavy cream, I had tried a roux, I had even tried the canned soup route because honestly, sometimes you just need the easy button. But nothing felt right for the green bean casserole I was trying to perfect. It wasn’t just about getting it done; it was about getting it right.
The obsession started with a memory of a casserole from 1998, the kind that had a crispy onion topping that stayed crunchy until the last bite. You know how hard that is? Most make-ahead versions turn into a soggy mess by the time you carve the turkey. I kept going back to the stove, tweaking the cornstarch ratio, testing different dairy options, trying to find that sweet spot between creamy and stable. It was maddening, really. I spent more time on this side dish than I did on the main course.
My husband walked in on the fourth attempt, saw the three empty bowls on the counter, and just shook his head. He didn’t say anything, but his eyes said, “Why are you suffering?” I didn’t have an answer then, except that the texture needed to be velvety. Not thick like paste, not thin like soup. Just right.
By the fifth time, I stopped worrying about the timeline. I stopped checking the clock. I just tasted, adjusted, and listened to the bubbles. When it finally clicked, when the sauce coated the back of a spoon without running off, I realized it wasn’t about the technique. It was about patience. And a little bit of stubbornness.
This recipe isn’t just a side dish. It’s the result of five failed attempts and one very lucky Thursday. I made it because I couldn’t let the soggy texture win. Now, you don’t have to. You can make it ahead, keep it in the fridge, and walk into Thanksgiving with a dish that actually looks and tastes amazing. It’s the quiet confidence of knowing you nailed the hardest part of the meal.
Why You’ll Love This Recipe
Quick & Easy
This green bean casserole comes together in under 45 minutes of active time, which is a miracle when you consider the amount of sauce you are making from scratch. Most people think homemade means hours of prep, but this method skips the tedious chopping and relies on quality canned beans and a quick stovetop sauce. It is perfect for busy weeknights or last-minute Thanksgiving prep when you are already stressed about the turkey. You can assemble it in the morning and just pop it in the oven later, leaving your hands free to manage the other chaos.
Simple Ingredients
No fancy grocery trips needed for this one. You likely already have most of the items in your kitchen pantry. We are talking basic flour, butter, milk, and seasonings. There is no need for obscure sauces or expensive cheeses that sit in your fridge for months. It uses wholesome, simple ingredients to deliver bold flavor and satisfying texture without the fuss. If you can make a basic roux, you can make this. It’s approachable comfort food that doesn’t require a culinary degree.
Perfect for Thanksgiving
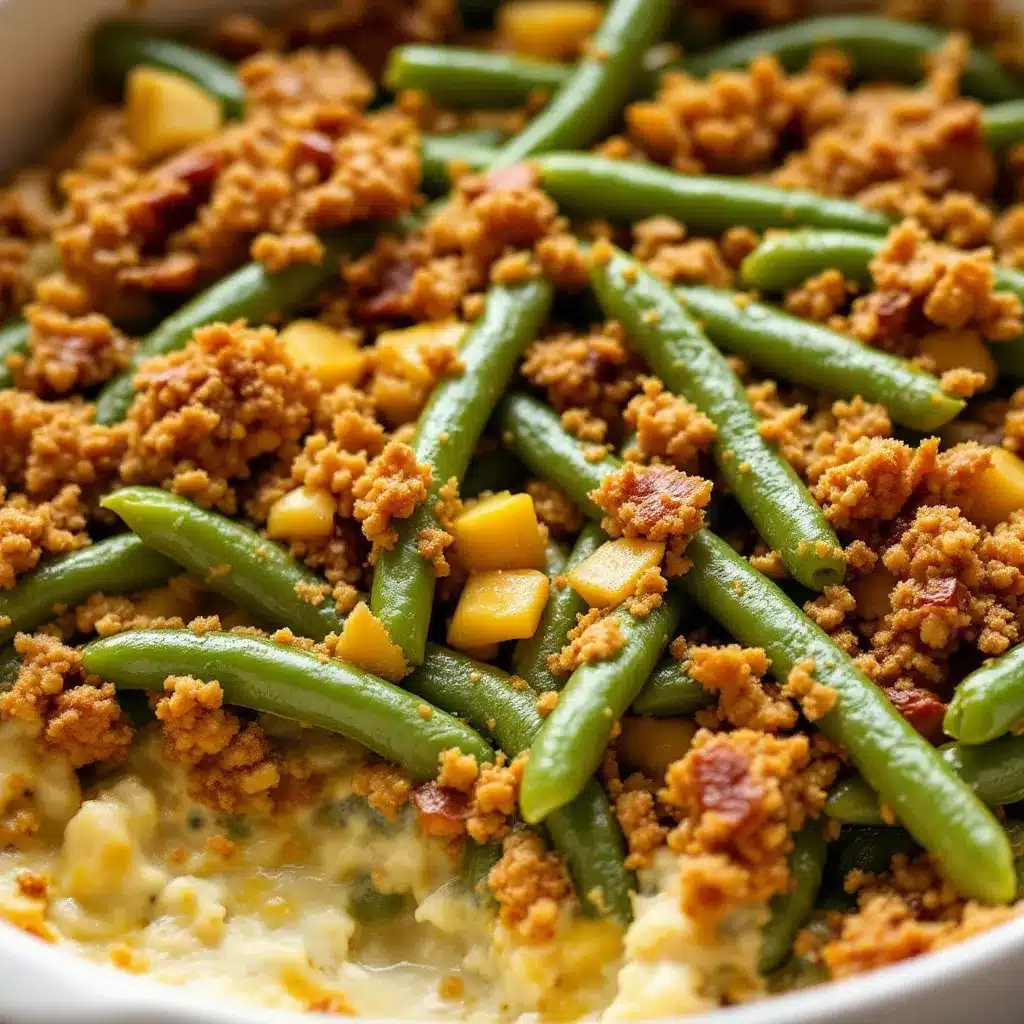
This is the ultimate crowd-pleaser for holiday gatherings. It bridges the gap between traditional comfort food and homemade elegance. Whether you are hosting a large family or a small dinner party, this dish scales up easily. It is great for potlucks, cozy dinners, and holiday mornings. The aroma of cooking onions and creamy sauce fills the house with that specific “thanksgiving” smell that makes everyone relax. It’s the kind of dish that gets scraped clean, leaving you with an empty dish and a few guilty faces.
Unbelievably Delicious
The texture and flavor combo is next-level comfort food. Unlike the boxed versions that taste metallic or too salty, this homemade version has a rich, savory depth. The homemade crispy onions add a crucial crunch that contrasts beautifully with the soft beans. It’s comfort food reimagined—healthier, faster, but with the same soul-soothing satisfaction. You’ll notice the difference in the first bite. It’s not just good; it’s the kind that makes you close your eyes after the first bite and forget about the traffic on the way home.
What Makes It Different
This isn’t just another version of the classic. The secret is in the sauce stability. By using a specific ratio of cornstarch to flour, the sauce holds up beautifully even after sitting in the fridge overnight. Most recipes break or separate when reheated, but this one stays smooth. It’s your best version because it solves the biggest pain point of make-ahead casseroles: sogginess. The sauce clings to the beans instead of pooling at the bottom. It’s a small tweak that makes a huge difference in the final result.
What Ingredients You Will Need
This recipe uses simple, wholesome ingredients to deliver bold flavor and satisfying texture without the fuss. The key is balancing the richness of the cream with the brightness of the green beans and the crunch of the onions.
For the Base
- Fresh or Frozen Green Beans: 1.5 pounds. Fresh beans give a better snap, but frozen works in a pinch. Trim the ends and blanch them first.
- Unsalted Butter: 4 tablespoons. This gives the sauce a rich foundation. I prefer European-style butter for higher fat content, but regular works fine.
- All-Purpose Flour: 3 tablespoons. This creates the roux to thicken the sauce. Don’t skip this, or you’ll have soup instead of a casserole.
- Chicken Broth: 2 cups. Use a low-sodium version so you can control the salt level. Look for brands like Swanson or Kettle & Fire for clean ingredients.
- Heavy Cream: 1 cup. This adds the luxury texture. If you want to lighten it up, half-and-half works, but heavy cream is better for make-ahead stability.
- Dijon Mustard: 1 teaspoon. This is the secret ingredient. It adds a subtle tang that cuts through the richness. It’s not about tasting the mustard, just the depth it provides.
- Garlic Powder: 1/2 teaspoon. Fresh garlic can burn in the roux, so powder is safer and more consistent for this base.
- White Pepper: 1/4 teaspoon. This keeps the sauce looking white and creamy. Black pepper is fine, but white pepper is traditional for creamy sauces.
For the Topping
- Fried Onions: 1.5 cups. Store-bought is fine, but homemade is better. If you buy them, look for brands like French’s that have a good crunch. Avoid the ones that look too oily.
- Shallots: 2 medium, thinly sliced. If you make your own topping, shallots add a sweeter, more complex flavor than regular onions.
- Oil for Frying: Enough to cover the shallots. Use a high smoke point oil like avocado or canola.
- Salt: To taste. Add this at the very end so the onions stay crispy.
Substitutions
- Gluten-Free Option: Use a 1:1 gluten-free flour blend instead of all-purpose flour. It works surprisingly well in roux.
- Dairy-Free Option: Swap butter for vegan butter and use oat milk or cashew cream. Note that the texture might be slightly less rich.
- Low-Fat Option: Use skim milk and reduce the butter. The sauce will be thinner, so you may need more cornstarch.
Equipment Needed
You don’t need a lot of fancy gadgets for this recipe. A large saucepan is essential for making the roux and sauce without burning. I recommend a heavy-bottomed pot, like a Dutch oven, because it distributes heat evenly. Thin pots can cause the flour to clump or burn quickly.
A large baking dish is needed for assembly. A 9×13 inch dish is standard, but if you are making a double batch, use two smaller dishes. Make sure it is oven-safe. If you are making homemade fried onions, you will need a deep skillet or a small Dutch oven for frying. A slotted spoon is helpful for removing the onions without draining all the oil.
For prep, a sharp knife and a cutting board are needed to trim the beans. A vegetable peeler can help if you want to peel thick beans. A whisk is crucial for the sauce. Don’t use a fork; you need to incorporate the air and break up the flour lumps. A good stainless steel whisk works best.
If you plan to make this ahead, you will need plastic wrap or foil to cover the dish while it sits in the fridge. This prevents the sauce from forming a skin. Also, have a measuring cup ready for the broth. Accuracy matters in sauces, so don’t eyeball it too much. Keep your tools organized so you can move quickly when the butter is melting.
Preparation Method
Step 1: Prepare the Green Beans
If using fresh beans, bring a large pot of salted water to a boil. Add the trimmed beans and blanch for 3-4 minutes until bright green and tender-crisp. Drain immediately and plunge them into an ice bath to stop the cooking. This keeps them vibrant. If using frozen beans, thaw them and pat them dry with paper towels. Excess water is the enemy of a good casserole, so dry them thoroughly. Set aside.
Step 2: Make the Roux
In your large saucepan, melt the butter over medium heat. Once foamy, add the flour. Whisk constantly for about 2 minutes. The mixture should turn a light blonde color and smell nutty. Do not let it brown. This cooks out the raw flour taste. If you rush this, your sauce will taste like raw dough. Be patient here.
Step 3: Build the Sauce
Slowly pour in the chicken broth while whisking vigorously. This is the most critical step. If you pour too fast, you will get lumps. Add the heavy cream, Dijon mustard, garlic powder, and white pepper. Continue to whisk until the mixture is smooth. Let it simmer for 5-7 minutes. The sauce will thicken as it heats. It should coat the back of a spoon. If it’s too thick, add a splash more broth. If too thin, simmer longer.
Step 4: Combine
Add the drained green beans to the sauce. Stir gently to coat every bean. Taste the sauce. Add salt if needed, remembering that the broth and topping will add more salt later. The sauce should be savory and rich. Pour the mixture into your prepared baking dish. Spread it out evenly.
Step 5: Add Topping
Sprinkle the fried onions evenly over the top. If you are making homemade onions, fry them now while the sauce simmers, then let them cool slightly before adding. Press them down gently so they stick to the sauce. This prevents them from flying off in the oven.
Step 6: Bake
Preheat your oven to 350°F (175°C). Place the dish in the center rack. Bake for 20-25 minutes, or until the sauce is bubbling around the edges and the onions are golden brown. If the onions are browning too fast, cover loosely with foil for the last 10 minutes. Let it rest for 5 minutes before serving. This allows the sauce to set slightly.
Cooking Tips & Techniques
The biggest mistake people make is letting the sauce boil too hard. Once the flour is cooked, high heat can cause the starch to break down, making the sauce thin again. Keep the heat at a gentle simmer. This is a common failure point for beginners.
Another tip is to dry your beans thoroughly. If you use frozen beans, thawing them and then squeezing out the water in a clean kitchen towel makes a huge difference. Wet beans dilute the sauce and make the casserole soupy. It’s a small step that saves the dish.
When making the roux, don’t walk away. Flour burns quickly. If you smell something acrid, start over. It’s better to waste a little butter than to ruin the whole sauce. I learned this the hard way on my second attempt.
For make-ahead success, assemble the casserole completely, then cover it tightly with plastic wrap and foil. Store it in the fridge for up to 24 hours. When you are ready to bake, you may need to add 5-10 minutes to the cooking time because the dish starts cold. Don’t skip the resting time after baking. It helps the sauce thicken as it cools slightly.
Multitasking is key here. While the sauce simmers, you can prepare the topping. Or, if you are using store-bought onions, you can start preheating the oven. Keep your workspace clean. It reduces stress and helps you focus on the textures.
Variations & Adaptations
Dietary Changes
For a gluten-free version, use a gluten-free flour blend for the roux. Make sure to cook it for the same amount of time to remove the raw taste. For a dairy-free option, use olive oil instead of butter and coconut milk or cashew cream instead of heavy cream. The flavor will be slightly different but still delicious.
Flavor Twists
Add some crispy bacon bits to the mix for a smoky flavor. This pairs well with the creamy sauce. You can also add some sautéed mushrooms for an earthy depth. If you like spice, add a pinch of cayenne pepper to the sauce. It adds a warm kick that balances the richness.
Seasonal Swaps
In the fall, you can add roasted butternut squash cubes to the casserole. It adds sweetness and color. For a spring version, swap green beans for asparagus. The cooking time will be shorter, so add the asparagus in the last 10 minutes of baking to keep it tender.
Personal Variation
I often add a tablespoon of soy sauce to the sauce. It adds umami and depth without making it taste Asian. It’s a secret weapon for savory dishes. Try it once and you’ll never go back to plain salt.
Serving & Storage Suggestions
Serve this casserole hot, right out of the oven. It pairs well with roast turkey, ham, or roasted chicken. A simple green salad with a vinaigrette cuts through the richness of the dish. For beverages, a crisp white wine or a sparkling water with lemon works well.
To store leftovers, cover the dish tightly with foil and refrigerate for up to 3 days. The flavors actually improve after a day, as the beans absorb more sauce. To reheat, cover with foil and bake at 350°F for 15-20 minutes, or until heated through. You can also reheat individual portions in the microwave.
If you want to freeze it, freeze it before baking. Wrap the dish tightly in plastic and foil. It will keep for up to 3 months. Thaw in the fridge overnight before baking. Note that the texture of the beans may soften slightly after freezing, but the flavor remains intact.
The sauce may thicken as it cools. If it looks too thick when reheating, add a splash of milk or broth to loosen it up. This is normal and easy to fix.
Nutritional Information & Benefits
This casserole is a good source of vitamins A and C from the green beans. It provides some protein from the cheese and cream, though it is primarily a carb and fat-heavy dish. One serving contains approximately 350 calories, with 25g of fat and 20g of carbohydrates.
For those watching their sodium, use low-sodium broth and limit the added salt. The fried onions add significant sodium, so go easy on them if needed. This recipe is not low-carb, but it can be made keto-friendly by swapping the flour for almond flour and using heavy cream exclusively.
From a wellness perspective, this is a comfort food that satisfies emotional needs. It’s okay to enjoy rich foods occasionally. Balance it with lighter meals during the week. The green beans provide fiber, which aids digestion. It’s a treat, not a daily staple.
Conclusion
This creamy make-ahead Thanksgiving green bean casserole is worth the effort because it solves the problem of soggy, bland sides. It’s creamy, crunchy, and savory all in one bite. I encourage you to try it and customize it to your taste. Add bacon, swap the onions, or adjust the spices. It’s your kitchen, your rules.
I love this recipe because it brings back memories of family gatherings while offering a modern twist on a classic. It’s reliable, delicious, and impressive. Please leave a comment below and let me know how it turned out for you. Share your variations or tips. I read every comment and love hearing from you.
If you tried this, tag me on social media. I’d love to see your creations. Happy cooking, and enjoy your Thanksgiving!
FAQs
Can I make this casserole a day ahead?
Yes, absolutely. Assemble it completely, cover tightly, and refrigerate. When ready to bake, add 5-10 minutes to the cooking time since it starts cold.
Can I use frozen green beans?
Yes, but thaw them and pat them very dry. Excess water will make the sauce thin. Fresh beans are preferred for texture, but frozen works in a pinch.
How do I keep the onions crispy?
Add the onions just before baking. If you add them too early, they will absorb moisture and get soft. If you make them homemade, let them cool completely before sprinkling on top.
Can I freeze this casserole?
It’s best to freeze it before baking. Wrap it tightly in plastic and foil. Thaw in the fridge overnight. The texture of the beans may soften slightly, but the flavor remains good.
What can I substitute for heavy cream?
You can use half-and-half for a lighter version, or coconut milk for a dairy-free option. The sauce will be less rich, so you may need a bit more thickener.
Pin This Recipe!
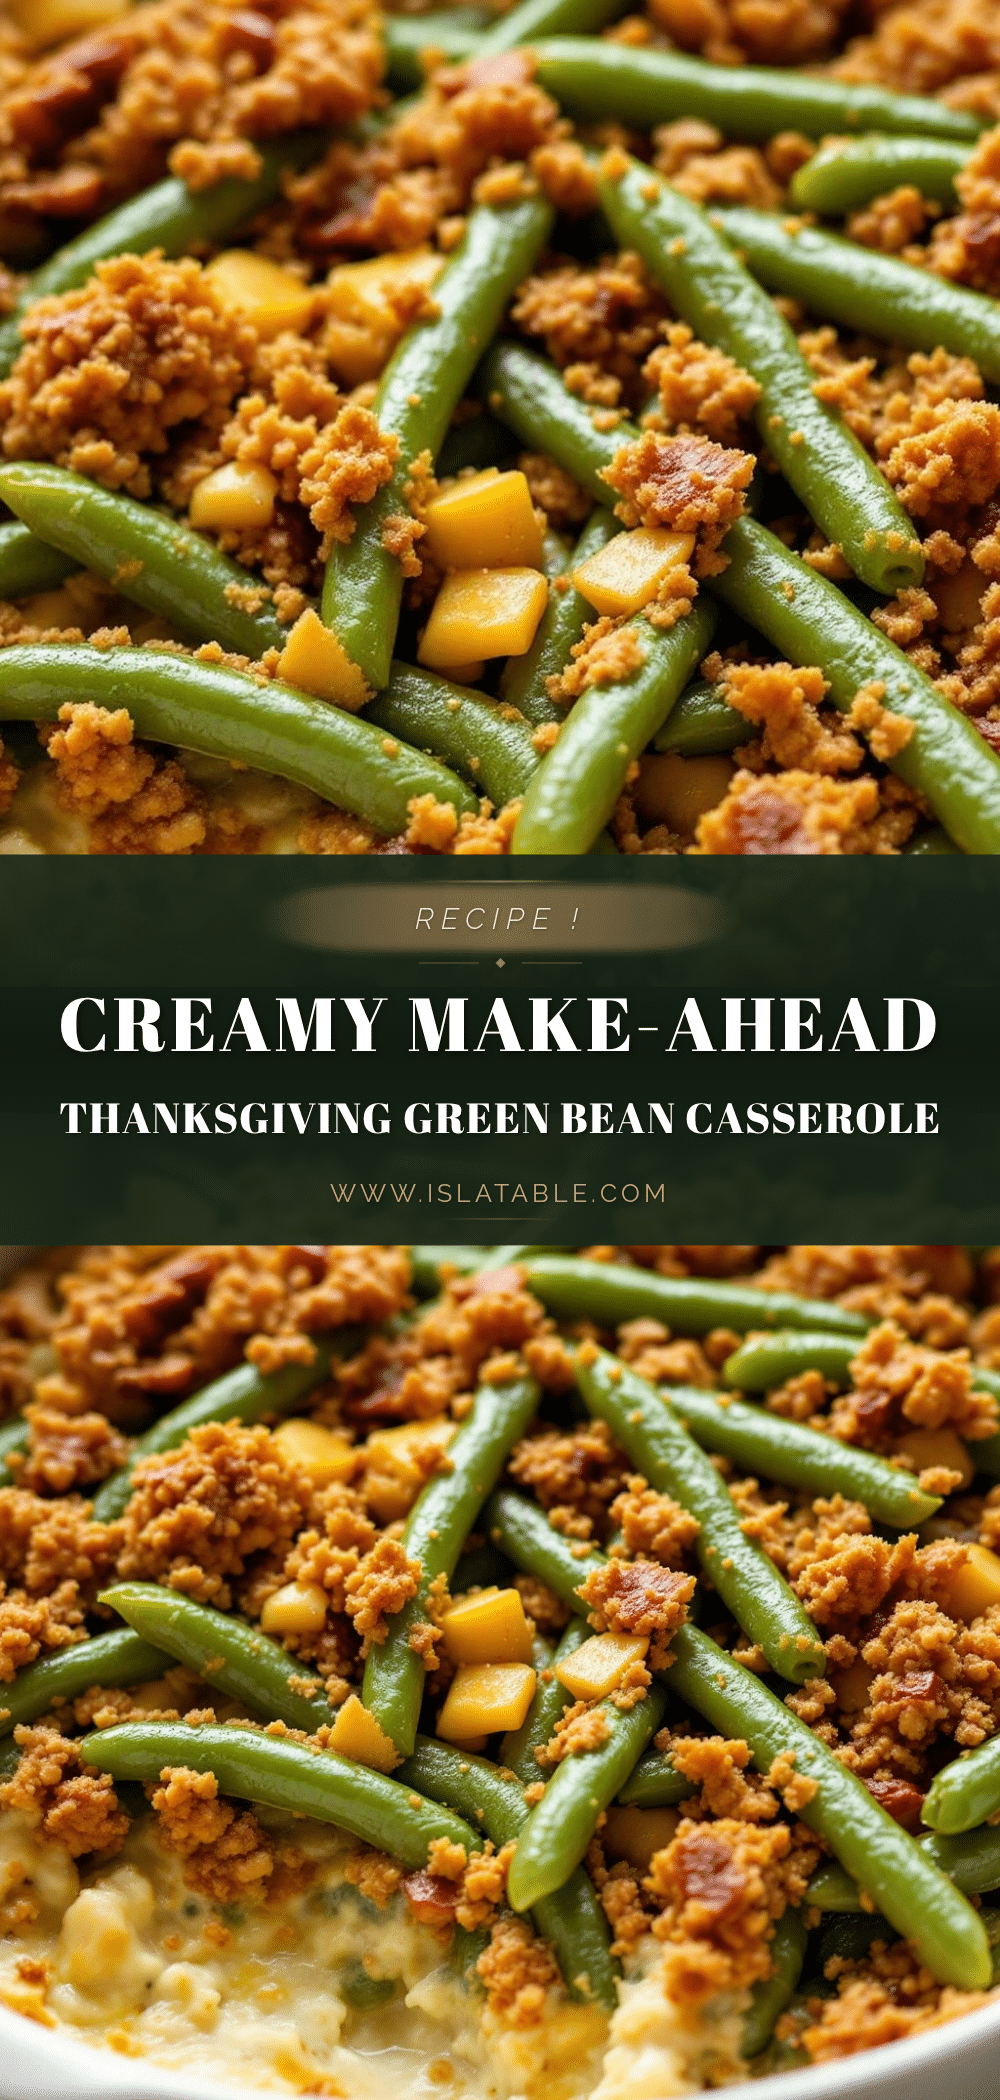
Green Bean Casserole: Best Easy Make-Ahead Thanksgiving Recipe

A creamy, stable green bean casserole with a crispy onion topping that stays crunchy. This make-ahead friendly side dish solves the common problem of soggy casseroles with a rich, velvety sauce.
- Prep Time: 15 minutes
- Cook Time: 30 minutes
- Total Time: 45 minutes
- Yield: 8 servings 1x
- Category: Side Dish
- Cuisine: American
Ingredients
- 1.5 pounds Fresh or Frozen Green Beans
- 4 tablespoons Unsalted Butter
- 3 tablespoons All-Purpose Flour
- 2 cups Chicken Broth (low-sodium)
- 1 cup Heavy Cream
- 1 teaspoon Dijon Mustard
- 1/2 teaspoon Garlic Powder
- 1/4 teaspoon White Pepper
- 1.5 cups Fried Onions (store-bought or homemade)
- 2 medium Shallots, thinly sliced (for homemade topping)
- Oil for frying (avocado or canola)
- Salt to taste
Instructions
- If using fresh beans, blanch in boiling salted water for 3-4 minutes, then plunge into an ice bath. If using frozen, thaw and pat dry thoroughly.
- In a large saucepan, melt butter over medium heat. Add flour and whisk constantly for 2 minutes until light blonde and nutty.
- Slowly whisk in chicken broth, then add heavy cream, Dijon mustard, garlic powder, and white pepper. Simmer for 5-7 minutes until the sauce coats the back of a spoon.
- Add the green beans to the sauce and stir to coat. Taste and adjust salt if needed.
- Pour the mixture into a 9×13 inch baking dish and spread evenly.
- Sprinkle fried onions evenly over the top, pressing gently to adhere.
- Preheat oven to 350°F (175°C). Bake for 20-25 minutes until bubbling and onions are golden. Cover with foil if onions brown too quickly.
- Let rest for 5 minutes before serving.
Notes
For make-ahead, assemble completely, cover tightly with plastic wrap and foil, and refrigerate for up to 24 hours. Add 5-10 minutes to baking time if starting from cold. Ensure beans are very dry to prevent a soupy sauce. Use white pepper to keep the sauce visually white.
Nutrition
- Serving Size: 1 cup
- Calories: 350
- Sugar: 4
- Sodium: 450
- Fat: 25
- Saturated Fat: 12
- Carbohydrates: 20
- Fiber: 3
- Protein: 6
Keywords: green bean casserole, thanksgiving side dish, make-ahead recipe, easy casserole, crispy onions, holiday cooking


