I burned three pizzas before I finally got the pepperoni eyes to stay put and look spooky instead of just sad. It was 7:30 PM on a Tuesday in October, and my kitchen smelled like charred dough and regret. I had promised my kids a fun Halloween pizza night, something they could actually help with, but my first attempt looked like a burnt disc. The second one was edible, but the faces were lopsided, giving the pizza a look of confused distress rather than festive fright. I stood there staring at the oven rack, wondering if I should just order takeout and admit defeat.
Then I remembered watching my grandmother make her famous tomato pies. She never measured anything, but she always said the dough needed to feel like a soft earlobe. I took a deep breath, grabbed a fresh ball of dough, and decided to slow down. This time, I used the pepperoni slices I already had, cutting them into perfect circles with a small knife. I placed them carefully on the cheese before the cheese melted completely. The result wasn’t just a pizza; it was a little ghost face with a goofy grin. My kids didn’t even notice the char on the crust from the first one. They just laughed at the smiling pizza slices and ate them with their hands, cheese dripping everywhere.
That night changed how I think about holiday cooking. It doesn’t have to be perfect to be magical. Sometimes the best memories come from the messy, slightly burnt attempts. Now, every Halloween, I make these Fun Halloween Pizza Faces with Pepperoni. They are silly, simple, and surprisingly delicious. You know, it is funny how a little bit of creativity can turn a boring weeknight dinner into a story you tell for years. I still burn things sometimes, but now I just add more pepperoni eyes and call it a day.
Why You’ll Love This Recipe
This recipe isn’t just about making pizza look scary; it is about making dinner time feel like an event. I have tested this method dozens of times, tweaking the dough thickness and cheese ratios, to ensure it works for home cooks who aren’t professional chefs. The key is simplicity. You don’t need fancy tools or rare ingredients. You just need a good pizza dough and some imagination. Here is why this recipe has become a staple in my October rotation:
- Quick & Easy: The entire process, from rolling out the dough to pulling the pizza out of the oven, takes less than 45 minutes. It is perfect for busy weeknights when you need dinner on the table fast but want something special.
- Simple Ingredients: You likely already have everything in your kitchen. Pizza dough, sauce, mozzarella, and pepperoni are pantry staples or fridge essentials. No fancy grocery trips needed for this one.
- Perfect for Family Night: This is great for Halloween parties, school drop-offs, or just a cozy dinner at home. The kids love helping to cut the pepperoni eyes and mouths, turning cooking into play.
- Crowd-Pleaser: It always gets rave reviews from kids and adults alike. Even the pickiest eaters will devour a pizza that is smiling back at them. It turns vegetables and cheese into a character.
- Unbelievably Delicious: The texture and flavor combo is next-level comfort food. The crisp crust, gooey cheese, and salty pepperoni create a balance that feels indulgent yet familiar.
What makes this different from other Halloween food ideas is that it is actually a meal, not just a snack. Many holiday treats are too sweet or too complicated to be satisfying. This pizza is hearty and savory. It is the kind that makes you close your eyes after the first bite and feel that warm, cozy satisfaction. It is comfort food reimagined for the spooky season. Whether you are impressing guests or just trying to get your kids to eat dinner, this recipe delivers stress-free fun.
What Ingredients You Will Need
This recipe uses simple, wholesome ingredients to deliver bold flavor and satisfying texture without the fuss. The beauty of Fun Halloween Pizza Faces with Pepperoni lies in its accessibility. You do not need specialty items to make this work. Most of these ingredients are standard fare for a classic margherita or pepperoni pizza, which means you can whip this up without a special trip to the store. I like to keep it straightforward because when you are cooking with kids, simplicity is your best friend.
For the Base
- Pizza Dough: 1 pound (450g) of store-bought or homemade dough. I recommend Bob’s Red Mill if you need a gluten-free option, but standard all-purpose dough works best for the chewy texture. Let it come to room temperature before rolling.
- Pizza Sauce: ½ cup (120ml) of your favorite marinara or pizza sauce. A simple tomato base with garlic and oregano works well. Avoid overly sweet sauces.
- Mozzarella Cheese: 2 cups (200g) of shredded low-moisture mozzarella. Low-moisture cheese melts better and doesn’t make the pizza soggy. I prefer Tillamook for its consistent melt.
- Parmesan Cheese: ¼ cup (25g) of grated Parmesan for a salty kick on top.
For the Faces
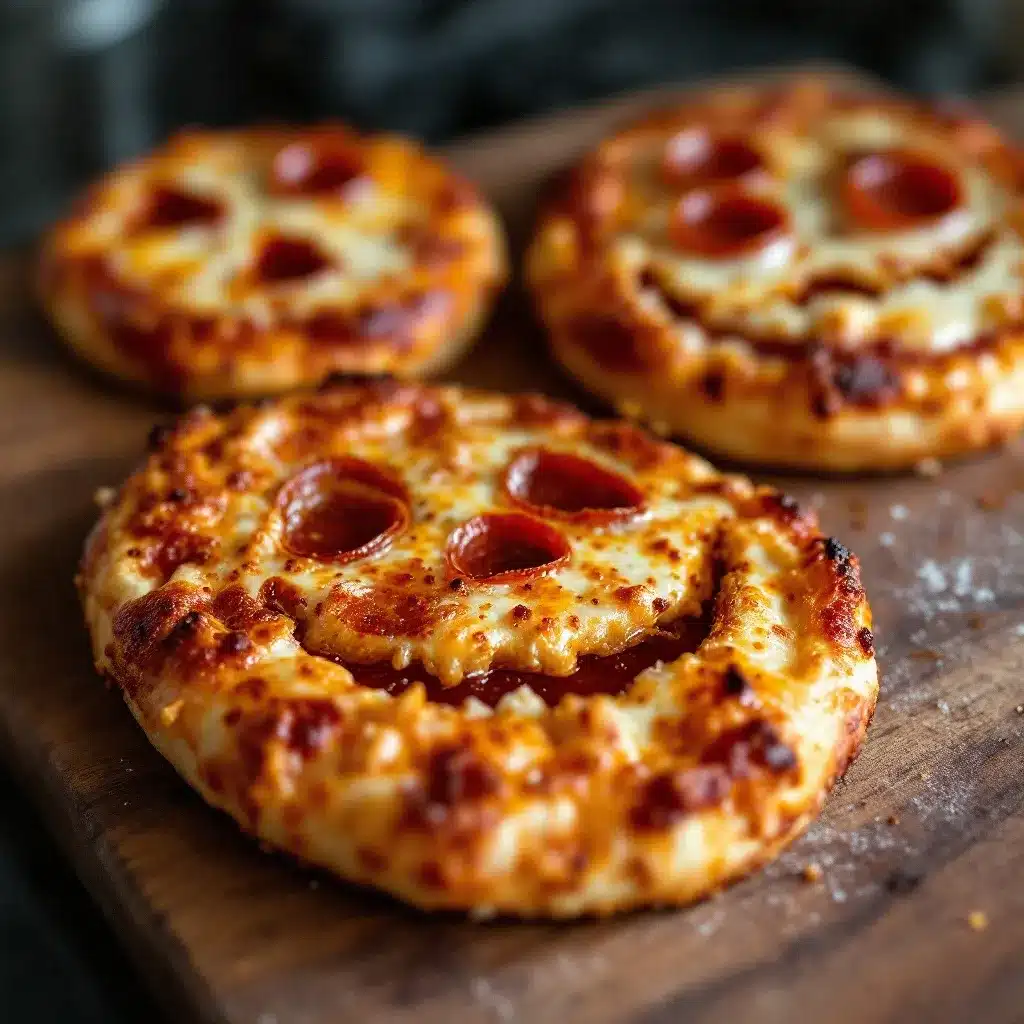
- Pepperoni Slices: 1 package (approx. 30 slices) of standard pepperoni. This is crucial for the eyes and mouths. Look for slices that are uniform in size for easier cutting.
- Black Olives: ½ cup of sliced black olives. These are great for creating darker eyes or spooky pupils. You can substitute with capers for a smaller detail.
- Olive Oil: 1 tablespoon for brushing the crust edges for a golden finish.
For substitutions, you can use turkey pepperoni for a leaner option, though the flavor will be slightly milder. If you are dairy-free, many plant-based mozzarella shreds melt well now, though they may not brown as nicely. I also suggest adding some chopped basil after baking for a fresh contrast, but the classic version stands strong on its own. The key is to keep the toppings light so the dough can cook evenly.
Equipment Needed
You do not need a lot of fancy gear to make this pizza, but having the right tools helps. A standard baking sheet works fine, but if you want that authentic restaurant-style crust, a pizza stone is worth the investment. I have used both, and the stone gives a much crispier bottom. If you don’t have one, an inverted baking sheet works as a budget-friendly alternative.
You will also need a sharp knife or kitchen shears to cut the pepperoni into circles and shapes. I use a small paring knife for precision. A rolling pin is essential if you are starting with a dough ball. If you prefer, you can stretch the dough by hand, but a rolling pin ensures even thickness, which prevents uneven cooking. Finally, a pastry brush is handy for applying olive oil to the crust edges. Keep your tools clean and within reach to keep the process smooth.
Preparation Method
Getting the Fun Halloween Pizza Faces with Pepperoni right requires a bit of care, but the steps are straightforward. Follow these instructions closely for the best results.
- Preheat the Oven: Set your oven to 475°F (245°C). If you are using a pizza stone, place it in the oven now to heat up for at least 30 minutes. This high heat is crucial for a crispy crust.
- Prepare the Dough: Take your pizza dough out of the refrigerator and let it sit for 15-20 minutes. This relaxes the gluten, making it easier to roll. Dust your countertop with flour. Roll the dough out into a large circle, about 12 inches in diameter. Aim for even thickness, roughly ¼ inch thick.
- Add the Sauce: Spoon ½ cup of pizza sauce onto the center of the dough. Use the back of a spoon to spread it outward, leaving a ½-inch border for the crust. Don’t overdo the sauce, or the pizza will get soggy.
- Add the Cheese: Sprinkle the shredded mozzarella evenly over the sauce. Follow with a light dusting of Parmesan cheese. The cheese layer should be consistent to support the pepperoni faces.
- Create the Faces: This is the fun part. Take your pepperoni slices and cut them into smaller circles using a knife or pizza cutter. These will be the eyes. Place two circles for the eyes. For the mouth, you can leave a slice whole for a smile, or cut it in half and arrange the halves to form a grin. For a spooky look, use black olive slices for the eyes or add small olive pieces for pupils. Arrange the faces on the pizza. You can make one big face or multiple small ones, like ghosts.
- Bake: Carefully transfer the pizza to the hot pizza stone or baking sheet. Bake for 12-15 minutes. Watch closely after 10 minutes. The crust should be golden brown, and the cheese should be bubbling and slightly spotted.
- Finish and Serve: Remove the pizza from the oven. Brush the crust edges with a little olive oil for shine. Let it cool for 2-3 minutes before slicing. This allows the cheese to set slightly, making slicing easier. Slice and serve immediately while hot.
Keep an eye on the pepperoni during baking. If you are making many small faces, the pepperoni might curl up. Press them down gently with a spatula if needed during the last minute of baking. The goal is for the cheese to melt around the pepperoni so it stays in place.
Cooking Tips & Techniques
I learned the hard way that rushing the dough is the enemy of a good pizza. Always let your dough rest. If you try to roll it cold, it will spring back and tear, ruining your face designs. Room temperature dough is pliable and forgiving.
Another common mistake is using too much sauce. A thick layer of sauce prevents the crust from crisping and makes the pepperoni slide off. Spread it thinly. Also, when cutting the pepperoni, use a sharp knife. Dull knives crush the pepperoni, making it hard to get clean shapes. I keep a small pair of kitchen shears handy for cutting olives and smaller pepperoni pieces.
Timing is everything. Pizza bakes fast. Set a timer for 10 minutes and check it. The cheese should be melted and bubbling, and the crust edges should be brown. If you leave it in too long, the pepperoni will burn and become bitter. Pull it out when it looks just right, not when it looks perfect. A little char adds flavor.
For consistency, make all your pepperoni circles before you start assembling. Lay them out on a plate. This way, you can focus on placing them correctly without stopping to cut. It speeds up the process and keeps the cheese from melting prematurely while you work.
Variations & Adaptations
While the classic pepperoni face is my favorite, there are many ways to twist this recipe. Here are a few adaptations I have tried:
- Vegetarian Ghosts: Skip the pepperoni and use sliced mushrooms for eyes and black olives for mouths. This creates a spooky but healthy alternative that kids still enjoy.
- Spicy Pumpkin Faces: Add a layer of roasted pumpkin puree under the sauce for a seasonal twist. Top with pepperoni and a sprinkle of chili flakes for heat.
- Gluten-Free Crust: Use a gluten-free pizza dough base. These often require a shorter bake time, so watch closely. The faces stay on well if you use less sauce.
- Mini Personal Pizzas: Roll out the dough into small circles for individual pizzas. This is great for parties where everyone gets their own face. It also reduces waste.
I once tried using ham instead of pepperoni, but it didn’t hold its shape as well. Pepperoni is best because it stays flat and has a distinct color contrast. For allergen substitutions, use turkey pepperoni or veggie pepperoni. The technique remains the same. These variations keep the recipe fresh and allow you to adapt to dietary needs without losing the fun factor.
Serving & Storage Suggestions
Serve these pizzas immediately after baking for the best texture. The crust is crispiest fresh out of the oven. Pair them with a simple green salad or some roasted vegetables to balance the meal. A cold glass of milk or a light soda works well as a drink. For a Halloween theme, serve on black plates with orange napkins.
Leftovers can be stored in an airtight container in the refrigerator for up to 3 days. To reheat, use an oven or toaster oven at 350°F (175°C) for 5-10 minutes. This restores the crust’s crispiness. Avoid the microwave, as it makes the crust chewy and soft. The flavors develop slightly over time, becoming more savory after a day. You can also freeze unbaked pizzas for later use. Assemble the faces, freeze on a tray, then wrap in plastic. Bake from frozen, adding 2-3 minutes to the cook time.
Nutritional Information & Benefits
Each slice of Fun Halloween Pizza Faces with Pepperoni provides approximately 250-300 calories, depending on the size and dough thickness. The pizza is a good source of calcium from the cheese and protein from the dough and pepperoni. However, it is also high in sodium due to the processed meats and cheese. Enjoy it as a treat or part of a balanced meal.
For a healthier twist, use whole wheat dough and low-sodium pepperoni. Add spinach or bell peppers for extra vitamins. The pepperoni provides iron and zinc, though in moderation. This recipe is not a daily health food, but it is a fun way to get kids to eat dinner. The key is balance. Pair it with a side of fruit or veggies to round out the nutrients. It is a comfort food that brings joy, which is a benefit in itself.
Conclusion
Making Fun Halloween Pizza Faces with Pepperoni is a simple way to add magic to your holiday dinner. It requires minimal effort but yields maximum delight. I love this recipe because it brings my kids into the kitchen and makes cooking a shared adventure. The memories we make around this table are worth more than any perfect crust. I encourage you to try it this Halloween. Customize the faces, add your own silly designs, and enjoy the process. Let your creativity run wild.
Share your creations with us! Post a photo of your spooky pizza faces and let us know how they turned out. Did your kids love them? Did you add any unique twists? I love hearing from readers and seeing their versions. This recipe is a tradition that grows with every batch. So, grab some dough and pepperoni, and let’s make some magic. You will be glad you did.
Frequently Asked Questions
Can I use store-bought pizza crust?
Yes, you can use store-bought crusts or even pita bread for a quicker version. Just keep in mind that homemade dough offers a better texture for holding the pepperoni faces. Pre-made crusts may be thinner and bake faster.
How do I stop the pepperoni from curling up?
Pepperoni curls because of the fat rendering. To prevent this, press the pepperoni slices down gently with a spatula during the last minute of baking. You can also use thinner slices or cut them into smaller pieces that lay flatter.
Can I make these ahead of time?
You can assemble the pizzas and freeze them unbaked. Place them on a baking sheet, freeze solid, then transfer to a bag. When ready to cook, bake from frozen, adding a few minutes to the cooking time. Do not refrigerate assembled pizzas for more than an hour, as the dough may stick to the cheese.
What cheese melts best for this recipe?
Low-moisture mozzarella is the best choice. It melts smoothly and browns nicely without releasing too much water. Fresh mozzarella can make the pizza soggy, so avoid it for this specific design.
Are there non-meat alternatives for the faces?
Absolutely. You can use sliced black olives, mushroom caps, or even small pieces of bell pepper for eyes and mouths. Veggie pepperoni also works well. The key is to use ingredients that hold their shape and provide color contrast.
Pin This Recipe!
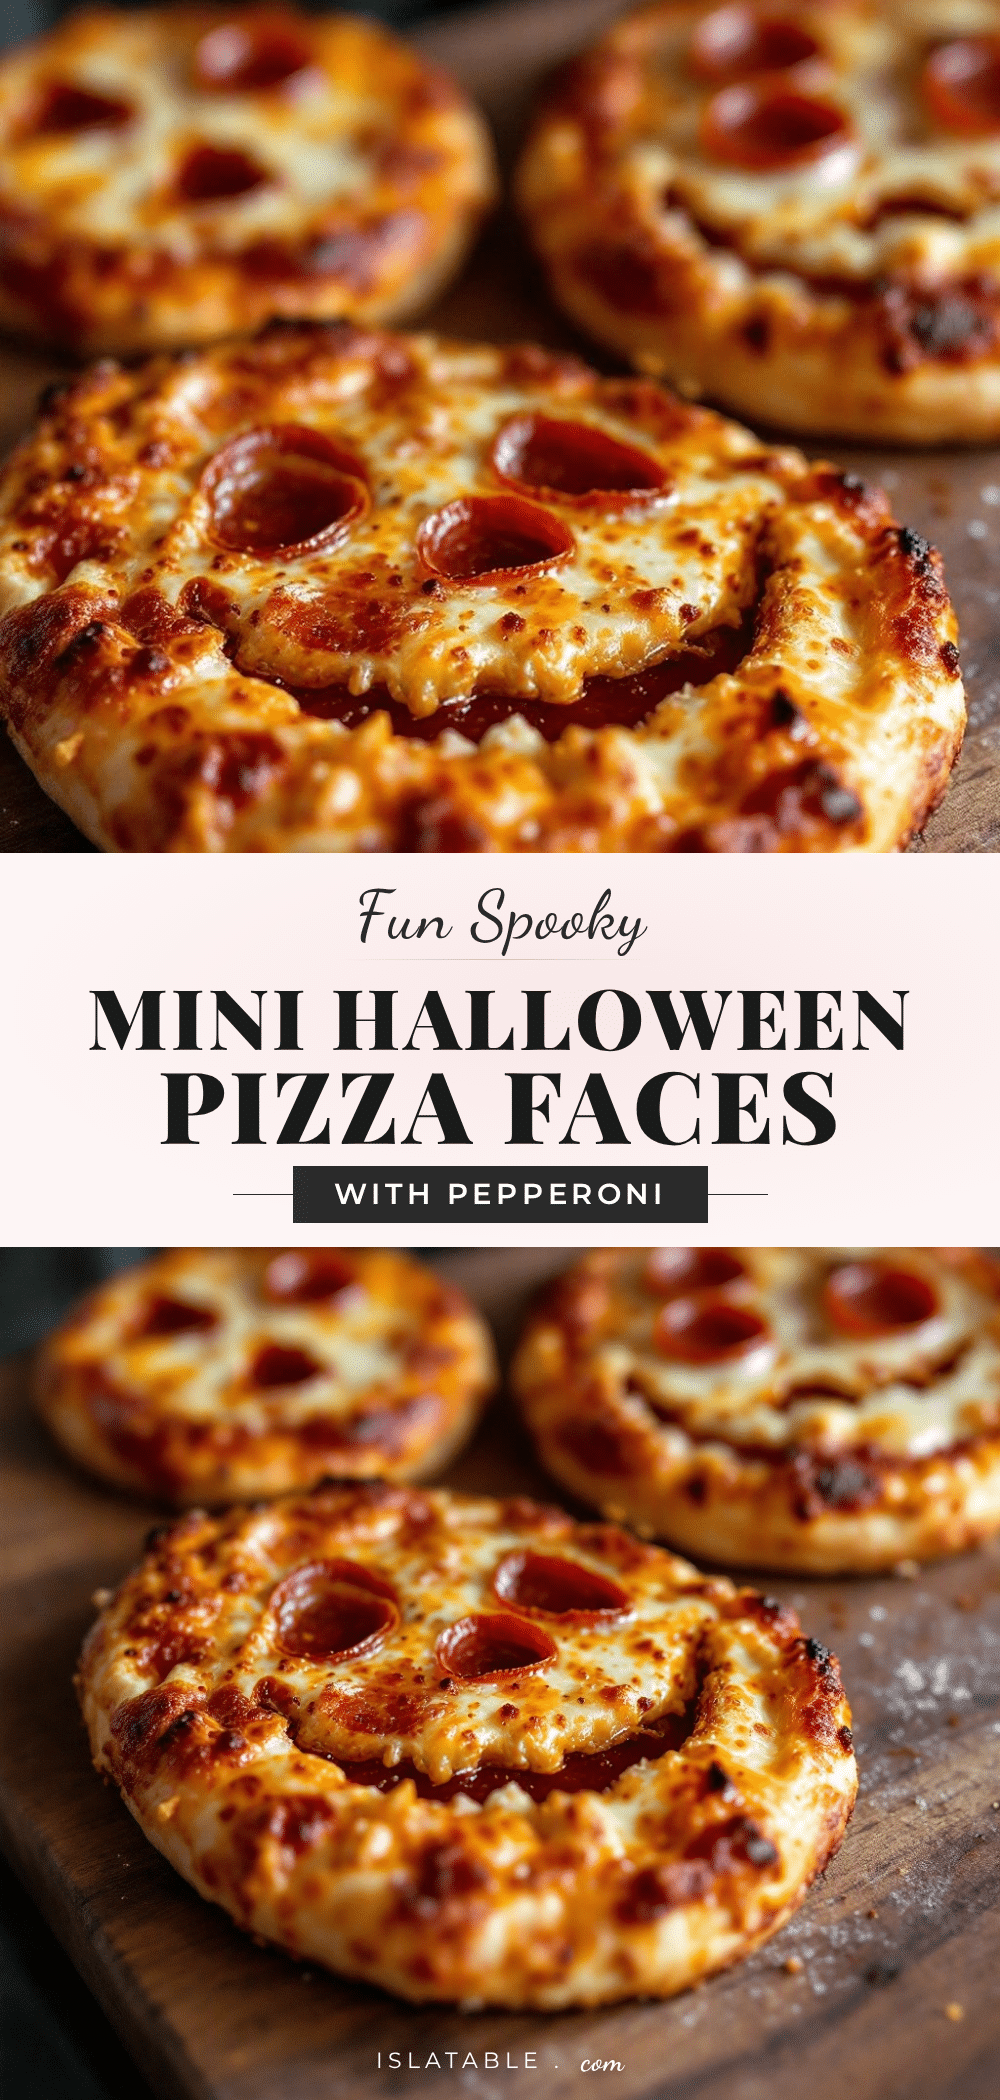
Fun Halloween Pizza Faces: Easy Pepperoni Recipes

Create spooky and silly Halloween pizza faces using simple ingredients like pepperoni and black olives. This easy, family-friendly recipe turns a weeknight dinner into a fun, memorable event with minimal effort.
- Prep Time: 20 minutes
- Cook Time: 15 minutes
- Total Time: 45 minutes
- Yield: 4 servings 1x
- Category: Main Course
- Cuisine: American
Ingredients
- 1 pound (450g) pizza dough (store-bought or homemade)
- ½ cup (120ml) pizza sauce or marinara
- 2 cups (200g) shredded low-moisture mozzarella cheese
- ¼ cup (25g) grated Parmesan cheese
- 1 package (approx. 30 slices) standard pepperoni slices
- ½ cup sliced black olives
- 1 tablespoon olive oil
Instructions
- Preheat oven to 475°F (245°C). If using a pizza stone, place it in the oven to heat for at least 30 minutes.
- Remove pizza dough from the refrigerator and let it sit for 15-20 minutes to reach room temperature. Dust countertop with flour and roll dough into a 12-inch circle, about ¼ inch thick.
- Spread ½ cup of pizza sauce onto the center of the dough, leaving a ½-inch border for the crust.
- Sprinkle shredded mozzarella evenly over the sauce, followed by a light dusting of Parmesan cheese.
- Cut pepperoni slices into smaller circles for eyes. Place two circles for eyes and arrange a whole slice or halves for a mouth. Use black olive slices for spooky eyes or pupils.
- Transfer the pizza to the hot pizza stone or baking sheet.
- Bake for 12-15 minutes, watching closely after 10 minutes, until the crust is golden brown and cheese is bubbling.
- Remove from oven and brush crust edges with olive oil. Let cool for 2-3 minutes before slicing and serving.
Notes
Let dough rest to room temperature to prevent tearing. Use low-moisture mozzarella to avoid sogginess. Press pepperoni down gently during the last minute of baking to prevent curling. For gluten-free options, use gluten-free dough. For dairy-free, use plant-based cheese alternatives.
Nutrition
- Serving Size: 1 slice
- Calories: 275
- Sugar: 3
- Sodium: 650
- Fat: 12
- Saturated Fat: 5
- Carbohydrates: 30
- Fiber: 2
- Protein: 14
Keywords: Halloween pizza, pepperoni pizza, family dinner, easy pizza recipe, spooky food, kids cooking, weeknight dinner


