I burned the peach jam not once, but twice, before figuring out that rushing the simmer was my downfall. Honestly, I wasn’t even that into homemade jams—store-bought always seemed fine to me. But then I got handed a basket of sun-ripened peaches from a neighbor’s tree, and suddenly, I was committed to making something worthwhile. The sweet smell of peaches sizzling gently in the pot, the slow bubbling that promised a sticky, golden finish—those moments made me realize this simple easy small batch homemade peach jam was worth every burnt experiment before it.
At first, I liked the jam with a little more bite—less cooked down, chunkier, the kind that felt like a peach in spreadable form. That “mistake” stuck with me for a while, until one quiet morning when I gave it another shot, slow and low, stirring patiently. That’s when the magic happened. The jam thickened just right, the flavors melded perfectly, and it felt like summer captured in a jar. I’ve made it a handful of times since, keeping the batch small so it doesn’t sit in the fridge forever. This recipe isn’t fancy, but it’s honest and easy enough for anyone to try—even if you’ve burned a few batches yourself.
There’s something quietly satisfying about slathering this peach jam on toast or folding it into yogurt, knowing it’s homemade from scratch with minimal fuss. It’s not just about the fruit or sugar—it’s about the ritual, the patience, and the little reward that comes with it. That’s why this recipe stuck with me—it’s a simple way to slow down just a bit and make something sweet, straightforward, and really good.
Why You’ll Love This Recipe
This easy small batch homemade peach jam recipe is my go-to when I want fresh fruit flavor without the overwhelm of a giant canning project. After a few tries, I learned what works and what doesn’t, making this version both reliable and delicious.
- Quick & Easy: You can have the jam simmering in under 10 minutes and ready in about 30, perfect for busy days when you crave a little sweetness.
- Simple Ingredients: No fancy pectin powders or preservatives—just ripe peaches, sugar, lemon juice, and a pinch of patience.
- Perfect for Small Batches: Makes just enough to enjoy fresh without worrying about jars taking up your fridge for months.
- Crowd-Pleaser: Friends and family always ask for more once they taste it, even if they don’t usually go for homemade jams.
- Unbelievably Delicious: The texture is tender chunks suspended in syrupy sweetness, not overly jelly-like—just how I like it.
What sets this jam apart isn’t just the straightforward method, but the little twist of cooking it slowly with the lemon juice to brighten the flavor and keep it fresh-tasting longer. This isn’t one of those overly sweet jams that masks the fruit—it’s peach-forward and just sweet enough to make your morning toast something to savor. It’s the kind of recipe that’s forgiving—you won’t stress if your kitchen smells like peach heaven for a while, and you’ll feel proud knowing you made it yourself.
What Ingredients You Will Need
This recipe uses simple, wholesome ingredients to deliver bold flavor and satisfying texture without the fuss. You’ll likely have most of these in your pantry or fridge already.
- Fresh Peaches: About 4 ripe peaches (roughly 2 pounds or 900 grams), peeled, pitted, and chopped. I prefer freestone peaches for easier pitting and a sweeter flavor.
- Granulated Sugar: 3/4 cup (150 grams). You can adjust slightly based on your peach’s sweetness. I like using Domino sugar for consistent results.
- Fresh Lemon Juice: 2 tablespoons (from 1 medium lemon). Adds brightness and helps with natural preservation.
- Water: 1/4 cup (60 ml) to help start the cooking process and prevent sticking.
- Optional: A pinch of ground cinnamon or vanilla extract (1/2 teaspoon) if you want to add a subtle warm note.
If fresh peaches are out of season, you can substitute frozen peaches (thawed) but fresh will always give the best flavor. For a slightly lower-sugar jam, reduce sugar to 1/2 cup and taste as you cook. If you’re looking for a vegan-friendly option to spread on your favorite dairy-free toast, this jam pairs wonderfully (like the dairy-free fruit pizza I made last summer).
Equipment Needed
Making this small batch peach jam requires just a handful of kitchen tools you probably already own:
- Medium Saucepan: A heavy-bottomed 2-quart (2-liter) saucepan works best to prevent scorching.
- Wooden Spoon or Silicone Spatula: For stirring without scratching your pot.
- Knife and Cutting Board: To peel and chop the peaches.
- Measuring Cups and Spoons: For precise sugar and lemon juice measurements.
- Jar or Container: A small glass jar or airtight container to store your jam.
If you don’t have a heavy-bottomed pan, keep the heat low and stir frequently to avoid burning. I once tried making jam in a thinner pot and ended up with scorched bits, so trust me on this one. For peeling peaches, use a paring knife if you’re comfortable or blanch them briefly in hot water to loosen skins. I usually skip blanching because these peaches were perfectly ripe this time.
Preparation Method
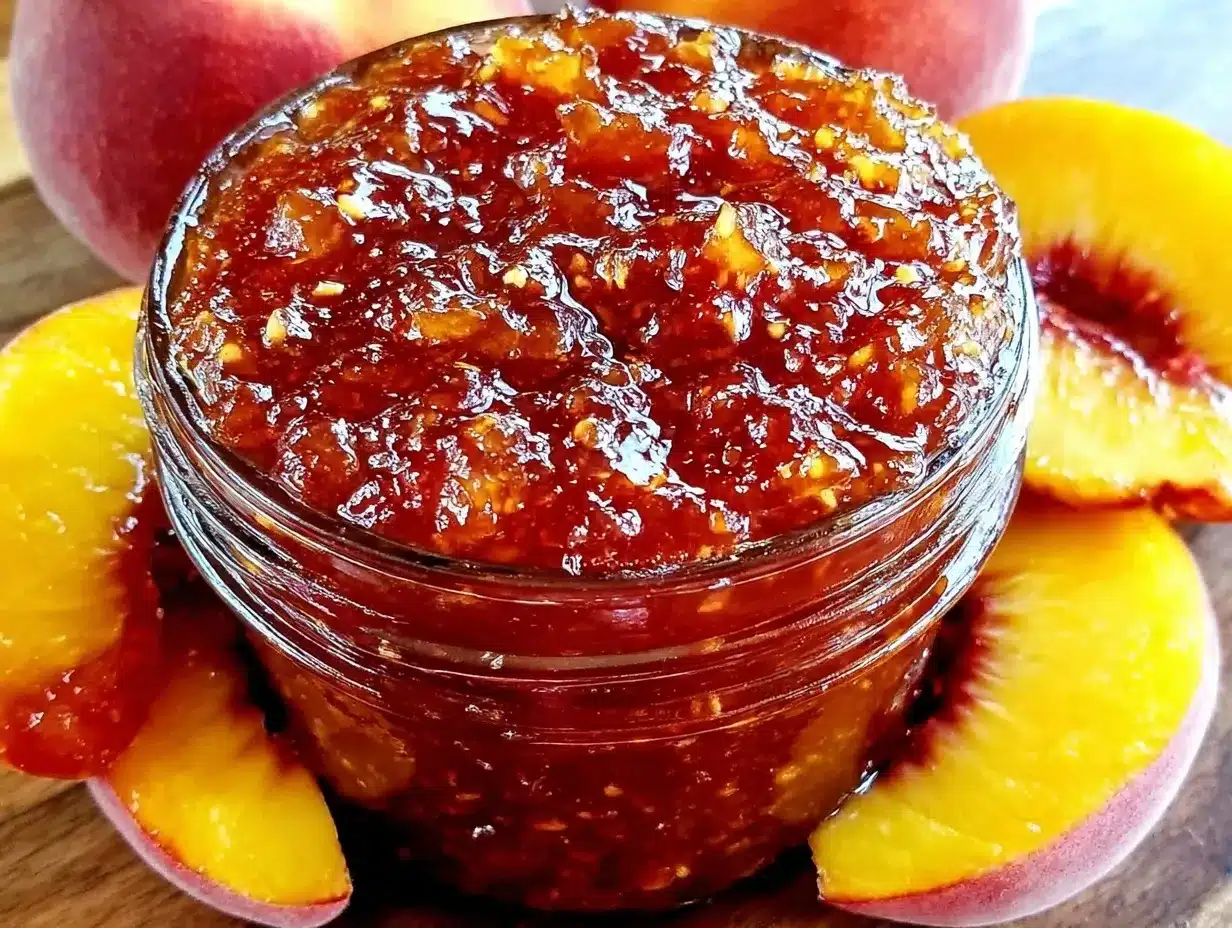
- Prepare the Peaches: Peel the peaches by scoring an “X” on the bottom and blanching them in boiling water for 30 seconds, then transfer to ice water. Skins will slip right off. Pit and chop into small chunks (about 1/2 inch or 1.25 cm). This should take about 10 minutes.
- Combine Ingredients: In your saucepan, add the chopped peaches, sugar, lemon juice, and water. Stir gently to mix everything. Let it sit for 10 minutes to macerate and release juices.
- Simmer the Jam: Place the saucepan over medium heat and bring to a gentle boil. Reduce the heat to low and simmer uncovered, stirring frequently to prevent sticking. The mixture will bubble and thicken. This will take about 20-25 minutes.
- Test the Jam Consistency: To check if the jam is ready, place a small spoonful on a chilled plate. Let it cool for a minute and run your finger through it. If it wrinkles and doesn’t run back together, it’s done. If not, keep simmering and testing every 5 minutes.
- Optional Flavor Add-Ins: Stir in a pinch of cinnamon or 1/2 teaspoon vanilla extract right before removing from heat for a warm twist.
- Cool and Store: Allow the jam to cool to room temperature. Transfer to a clean jar or container and refrigerate. It will thicken slightly more as it cools.
Quick tip: Stir gently but consistently to avoid breaking up the peaches too much. I like some chunkiness, but you can mash a bit with your spoon if you prefer a smoother texture. Also, don’t rush the simmer—patience is key to avoid burnt bits and get that perfect jam texture. You’ll notice the sweet, fruity aroma intensify as it cooks, a good sign it’s coming together.
Cooking Tips & Techniques
Jam making can be tricky, but here are some tricks I picked up after a few burnt batches and sticky kitchen counters:
- Don’t Skip the Lemon Juice: Besides flavor, it helps prevent spoilage and improves gel formation naturally.
- Use a Heavy-Bottomed Pan: This spreads heat evenly and helps prevent scorching, which I learned the hard way.
- Cook Low and Slow: High heat can cause your jam to burn on the bottom before it thickens properly.
- Stir Frequently: Especially near the end, to keep fruit from sticking and burning.
- Test Often: The wrinkle test on a cooled spoonful is your best friend to avoid over or undercooking.
- Control Chunk Size: If you like chunkier jam, keep your peach pieces larger. For smoother jam, chop smaller or mash during cooking.
- Adjust Sweetness: Taste your peaches before cooking. If they’re super sweet, you can reduce sugar slightly without losing texture.
One mistake I made often was rushing the simmer or stirring too vigorously, which caused the jam to turn into a peach sauce instead of a spread. Now I keep a relaxed pace, which really pays off. If you want to multitask, prepping your peaches first and letting them macerate while you clean up helps keep the process smooth. For consistency, always measure your sugar and lemon juice properly—too much or too little can throw off the whole batch.
Variations & Adaptations
This jam recipe is pretty flexible, so you can tweak it to suit your taste or dietary needs:
- Low-Sugar Version: Cut the sugar down by a third, but be mindful it may not set as firmly. Add a splash of natural fruit pectin if you want firmer jam without extra sugar.
- Spiced Peach Jam: Add 1/2 teaspoon ground ginger or a few cloves during simmering for a warm spice profile.
- Frozen Peach Jam: Use thawed frozen peaches when fresh aren’t available. Drain excess liquid before cooking to avoid watery jam.
- Vegan Variations: Naturally vegan, but try adding a splash of vanilla or a pinch of turmeric for color and subtle flavor.
- Cooking Methods: This recipe also works in a slow cooker on low for 2-3 hours, stirring occasionally, if you prefer hands-off cooking.
I once made a batch with a splash of bourbon stirred in at the end for a grown-up twist—unexpected but really tasty. For a fun breakfast treat, I recommend spreading this peach jam on some gluten-free cornbread muffins. The combo is simply unbeatable.
Serving & Storage Suggestions
Serving this easy small batch homemade peach jam fresh and slightly chilled is my favorite way. It’s incredible on warm toast, swirled into plain yogurt, or dolloped on pancakes. For a special touch, try it alongside creamy cheeses or spread on a flaky biscuit.
Store your jam in an airtight glass jar in the refrigerator for up to 3 weeks. Since this is a small batch, it rarely lasts that long in my house! If you want to keep it longer, you can freeze it for up to 3 months. Just thaw overnight in the fridge before using.
When reheating for spreading on warm baked goods, gently warm the jam in a small bowl over a pot of hot water or briefly in the microwave to loosen it up. Flavors often deepen after a day or two in the fridge, so if you can wait, the jam gets even better.
For a light, seasonal brunch, pairing this jam with a fresh salad or even some healthy keto coleslaw balances the sweetness and adds a fresh crunch.
Nutritional Information & Benefits
This peach jam recipe is relatively low in calories compared to many store-bought versions since it uses minimal sugar and no preservatives. Roughly, a 1-tablespoon serving has about 50 calories, mostly from natural fruit sugars and added sugar.
Peaches are a good source of vitamins A and C, antioxidants, and dietary fiber, which helps with digestion. The lemon juice adds a boost of vitamin C and acts as a natural preservative. This jam is naturally gluten-free and vegan, making it a nice addition for various dietary needs.
Compared to processed spreads, homemade jam lets you control sugar levels and avoid artificial additives. I find it a satisfying way to enjoy fruit’s sweetness without the guilt of hidden ingredients.
Conclusion
This easy small batch homemade peach jam recipe is a small but sweet reminder that simple pleasures don’t need to be complicated. Whether you’re a jam-making newbie or have burned a few pots like I did, this recipe offers a forgiving, straightforward way to bring fresh peaches into your kitchen in a delicious form.
Feel free to tweak the sugar, spices, or cooking time to make it your own. The best part? No huge jars, no complicated equipment—just a little patience and some good peaches. It’s a recipe that’s stuck with me, not because it’s perfect, but because it’s real and doable.
If you try it out, I’d love to hear how you like your jam—chunky or smooth? Spiced or simple? Share your thoughts and any twists you add. Making peach jam at home might just become your new favorite kitchen ritual.
FAQs About Easy Small Batch Homemade Peach Jam
How long does homemade peach jam last in the fridge?
Stored in an airtight container, peach jam keeps well for about 3 weeks refrigerated. Always check for any signs of spoilage before using.
Can I make this peach jam without peeling the peaches?
Peeling is recommended for a smoother texture, but if you prefer a more rustic jam, you can leave skins on. Just chop finely and expect a chunkier, slightly more textured jam.
What if I don’t have fresh peaches—can I use frozen?
Yes, thaw frozen peaches and drain excess liquid before cooking to avoid a watery jam. The flavor won’t be quite as fresh but still tasty.
Is it necessary to add lemon juice to the jam?
Lemon juice helps with natural preservation, balances sweetness, and aids gel formation. It’s best to include it for flavor and safety.
Can I make this jam in larger quantities?
Absolutely! Just multiply the ingredients accordingly and use a larger pot. Keep in mind cooking times may vary slightly with bigger batches.
Pin This Recipe!
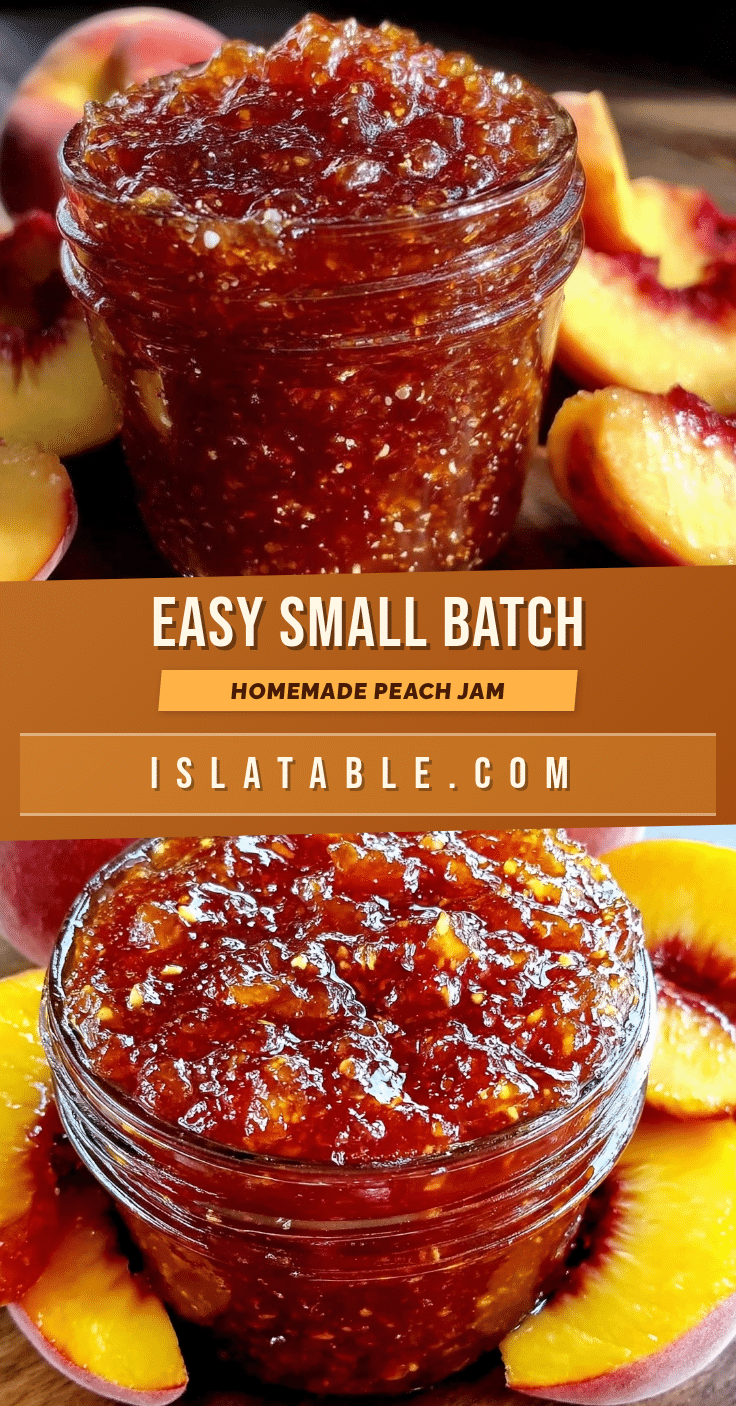
Easy Small Batch Homemade Peach Jam Recipe Perfect for Beginners
A simple and reliable small batch peach jam recipe that captures fresh peach flavor with minimal fuss, perfect for beginners and small kitchens.
- Prep Time: 10 minutes
- Cook Time: 25 minutes
- Total Time: 35 minutes
- Yield: About 1 cup (8 servings, 1 tablespoon each) 1x
- Category: Preserves
- Cuisine: American
Ingredients
- 4 ripe peaches (about 2 pounds or 900 grams), peeled, pitted, and chopped
- 3/4 cup granulated sugar (150 grams)
- 2 tablespoons fresh lemon juice (from 1 medium lemon)
- 1/4 cup water (60 ml)
- Optional: pinch of ground cinnamon or 1/2 teaspoon vanilla extract
Instructions
- Peel the peaches by scoring an “X” on the bottom and blanching them in boiling water for 30 seconds, then transfer to ice water. Skins will slip right off. Pit and chop into small chunks (about 1/2 inch or 1.25 cm). This should take about 10 minutes.
- In your saucepan, add the chopped peaches, sugar, lemon juice, and water. Stir gently to mix everything. Let it sit for 10 minutes to macerate and release juices.
- Place the saucepan over medium heat and bring to a gentle boil. Reduce the heat to low and simmer uncovered, stirring frequently to prevent sticking. The mixture will bubble and thicken. This will take about 20-25 minutes.
- To check if the jam is ready, place a small spoonful on a chilled plate. Let it cool for a minute and run your finger through it. If it wrinkles and doesn’t run back together, it’s done. If not, keep simmering and testing every 5 minutes.
- Stir in a pinch of cinnamon or 1/2 teaspoon vanilla extract right before removing from heat for a warm twist (optional).
- Allow the jam to cool to room temperature. Transfer to a clean jar or container and refrigerate. It will thicken slightly more as it cools.
Notes
Use a heavy-bottomed pan to prevent scorching. Stir frequently and cook low and slow to avoid burning. The wrinkle test on a chilled plate is the best way to check jam readiness. Adjust sugar based on peach sweetness. Optional spices like cinnamon or vanilla add warmth. Jam thickens more as it cools. Store in the fridge up to 3 weeks or freeze up to 3 months.
Nutrition
- Serving Size: 1 tablespoon
- Calories: 50
- Sugar: 12
- Carbohydrates: 13
- Fiber: 1
Keywords: peach jam, homemade jam, small batch jam, easy peach jam, beginner jam recipe, fruit preserves, peach spread


