“Are you sure this is how it’s done?” I muttered, standing over my brand-new Blackstone griddle, the surface gleaming like a blank canvas. Honestly, I was half-expecting a disaster—my first go at seasoning this beast. The box came with instructions, but you know how that goes: vague, rushed, and leaving you wondering if you missed a crucial step. After a little trial, error, and one stubborn streak later, I nailed the easy perfect seasoning for Blackstone griddle first use that actually works and feels right.
The smell of cold-pressed flaxseed oil heating up, that faint sizzle as the surface transforms from dull steel to a slick, dark patina—it’s oddly satisfying. I remember standing there in the quiet, the hum of the neighborhood fading away as the griddle started to season itself under my careful hands. It wasn’t just about making a cooking surface; it felt like setting the stage for countless backyard feasts to come. Now, every time I fire up my griddle, I’m reminded of that first seasoning session and the small victory of turning a raw slab of metal into a non-stick cooking companion.
Seasoning a Blackstone griddle for the first time isn’t a chore—it’s the beginning of a relationship. And trust me, once you get it right, you’ll never look back. This guide breaks down exactly how to do it, step by step, without fuss or fancy tricks. Just tried and true methods that you can count on, whether you’re a weekend griller or a full-time backyard chef.
Why You’ll Love This Easy Perfect Seasoning for Blackstone Griddle First Use
Getting your Blackstone griddle seasoned properly is the secret to unlocking its full potential. Having tested this method multiple times (yep, I was that obsessed griddle newbie), I can say it really makes a difference in your cooking experience. Here’s why this recipe and process stand out:
- Quick & Easy: The entire seasoning process takes under an hour, perfect if you want to get grilling without a big wait.
- Simple Ingredients: No need for specialty oils or hard-to-find products—just what you likely already have in your kitchen.
- Perfect for First-Time Griddle Owners: This step-by-step guide is tailored for newbies, so no confusion or second-guessing.
- Crowd-Pleaser: A well-seasoned griddle means better-tasting food, whether it’s a sizzling breakfast or a juicy steak dinner.
- Unbelievably Effective: The seasoning creates a natural non-stick surface that improves with every use, making cleanup a breeze.
What makes this seasoning method different? Instead of the usual heavy, greasy coatings, this approach uses thin, even layers of oil heated just right to polymerize into a durable finish. It’s about patience and consistency over shortcuts. The flaxseed oil’s smoke point and drying properties make it a top pick—though you can swap in canola or grapeseed oil if you prefer. This isn’t just another seasoning hack; it’s the real deal that gives your Blackstone that classic dark patina and reliable non-stick magic from the get-go.
I remember thinking, “Why didn’t I do this sooner?” after my first batch of pancakes slid off effortlessly. The seasoned surface doesn’t just cook food; it creates memories around the grill, turning simple meals into something special.
What Ingredients You Will Need
This seasoning recipe uses straightforward, pantry-friendly ingredients designed to build a strong, lasting protective layer on your Blackstone griddle. These are easy to find and don’t require a special trip to the store.
- Flaxseed oil (preferred for its high smoke point and polymerization qualities; look for cold-pressed, food-grade flaxseed oil)
- Canola oil (a good alternative if flaxseed oil isn’t available; neutral flavor and high smoke point)
- Grapeseed oil (another substitute; light and heat-stable)
- Paper towels or clean, lint-free cloths (for applying and wiping excess oil)
- Soap and warm water (for initial cleaning before seasoning)
- Optional: white vinegar (used to remove any factory oils or residue before seasoning)
These ingredients work together to clean, coat, and seal the griddle surface. Using flaxseed oil gives the best results for that perfect, durable seasoning layer due to its natural drying properties, but canola or grapeseed oils are fine stand-ins if you’re cooking on a budget or prefer a neutral taste.
Before seasoning, it’s best to wipe down the surface with warm, soapy water—or a vinegar-water mixture if you want to be extra thorough—to get rid of factory oils or dust. This ensures the oil bonds properly with the steel, so your seasoning lasts longer.
Equipment Needed
- Blackstone griddle (obviously!)
- Heat source (propane burner or gas grill compatible with your griddle)
- Metal spatula or scraper (for cleaning and smoothing the surface)
- Heat-resistant gloves or mitts (seasoning gets hot—don’t skip this!)
- Paper towels or lint-free cloths (to apply and wipe oils)
- Optional: grill brush (to scrub off any stubborn factory residues)
In my experience, a good metal scraper makes all the difference in prepping the surface before seasoning. If you don’t have one, an old spatula will do just fine. Also, always handle the griddle carefully when hot—heat-resistant gloves are a small investment that pays off in safety and confidence.
If you’re looking for budget-friendly options, basic kitchen towels work well for oil application, and a simple propane burner setup is all you need for heat. No fancy gadgets required.
Preparation Method
- Initial Clean: Start by washing the griddle surface with warm, soapy water and a sponge or grill brush. This removes any residue from manufacturing and shipping. Rinse thoroughly and dry completely with a clean cloth. (Approx. 10 minutes)
- Heat the Griddle: Turn on your Blackstone griddle to medium-high heat (around 350°F/175°C). Allow it to heat for about 10-15 minutes until it’s hot enough that water droplets sizzle and evaporate on contact.
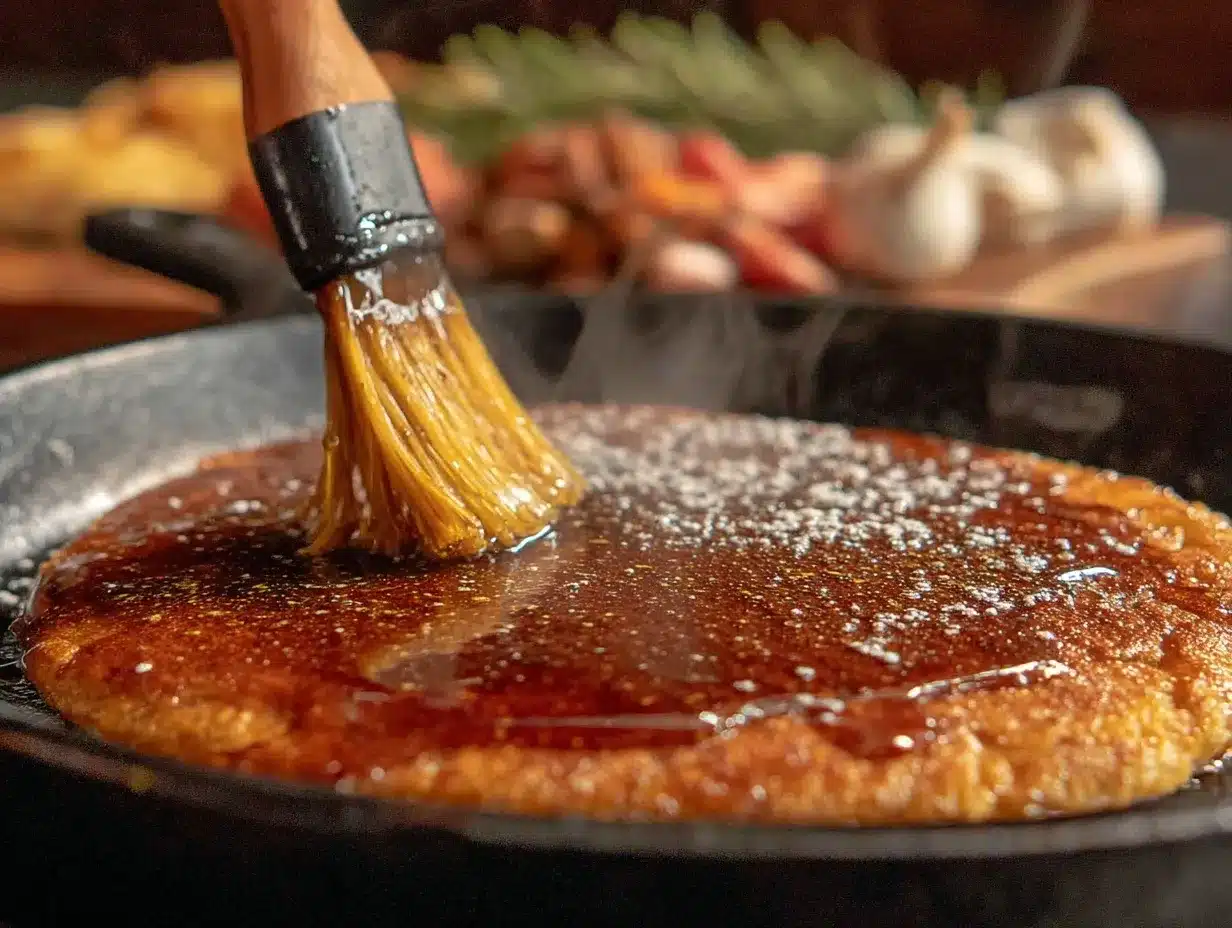
- Apply First Oil Layer: Using a paper towel or lint-free cloth, dip it lightly in flaxseed oil. Spread a thin, even coat over the entire cooking surface. Be careful not to over-oil; too much oil leads to sticky spots.
- Smoke and Polymerize: Let the griddle heat with the oil coat until it starts to smoke (this usually takes about 10 minutes). This smoking stage is crucial—it means the oil is bonding to the metal, creating that hard, protective layer.
- Cool Slightly and Repeat: Once smoking subsides, turn off the heat and let the griddle cool for a few minutes. Then repeat the oil application and heating steps 3-4 more times. Each layer builds on the last, darkening the surface and improving non-stick properties.
- Final Cool Down: After the last layer, let the griddle cool completely before wiping any excess oil with a clean cloth. Your griddle surface should have a smooth, matte black finish—like the perfect stage for the savory Italian beef sandwiches or crispy broccoli salad with bacon crunch you might grill next.
Pro tip: Keep a spray bottle of water handy during heating in case of flare-ups, and always ventilate your cooking area well—the smoke isn’t harmful but can fill a small space quickly.
Cooking Tips & Techniques
Seasoning a Blackstone griddle is a bit like patience in action. The biggest mistake I’ve seen (and made!) is rushing the process or slathering on oil like it’s a marinade. Thin coats heat and bond better, avoiding sticky buildup that’s a pain to clean.
Here’s what I’ve learned:
- Temperature control is key: Too low, and the oil won’t polymerize; too high, and it burns off before bonding. Aim for that smoking point around 400°F (205°C).
- Thin layers every time: Multiple thin coats create a strong, even seasoning rather than one thick, uneven layer.
- Be consistent: Don’t skip layers. The magic happens gradually, and skipping steps leads to weak seasoning.
- Use the right oil: While flaxseed oil is my favorite, canola or grapeseed oils work fine—just watch the smoke point.
- Keep it dry: Moisture is the enemy of seasoning. Dry the griddle thoroughly after cleaning before applying oil.
For multitasking, I usually prep my ingredients or tools for the next recipe while the griddle is heating through layers. It’s a good workflow hack that keeps the process moving without standing idle.
Variations & Adaptations
Not all kitchens or cooks are the same, so here are a few tweaks you can try based on your preferences or equipment:
- Oil swap: If you don’t have flaxseed oil, use canola or grapeseed oil. Just remember these oils might require slightly more seasoning layers to build the same black patina.
- Oven seasoning: If your griddle fits in your oven, seasoning it inside at 425°F (220°C) for an hour per coat can give an even finish without outdoor smoke.
- Seasoning with bacon grease: For a smoky flavor right from the start, you can substitute part of the oil with rendered bacon fat. It adds character but needs follow-up layers with neutral oil to avoid sticky buildup.
- Quick touch-up seasoning: After heavy use or cleaning, a quick wipe with oil and heating for 10 minutes restores the surface.
I tried the bacon grease method once before a backyard cookout, and it gave a deep, savory aroma that wowed my guests. Just be sure to finish with a neutral oil layer to keep things balanced.
Serving & Storage Suggestions
Once your Blackstone griddle is seasoned, it’s ready for action. Here’s how to keep it in top shape:
- Serving temperature: Preheat your griddle before cooking to medium-high heat for even cooking and to maintain the seasoning.
- Complementary recipes: This griddle shines with anything from juicy patties to delicate pancakes. It’s perfect for dishes like the savory Philly cheesesteak or even a quick grilled sandwich.
- Storage: After use, wipe the surface clean with a paper towel. Apply a very light coat of oil to prevent rust before storing in a dry place.
- Reheating & maintenance: Before your next cookout, heat the griddle for 5-10 minutes and wipe with oil to refresh the seasoning.
Seasoning actually improves with time—the more you cook, the more your griddle develops a natural non-stick surface. Trust me, it’s worth the care.
Nutritional Information & Benefits
Seasoning your Blackstone griddle doesn’t add calories or fat to your food; it’s simply a protective layer of polymerized oil. Using flaxseed oil adds no nutritional impact but does create a safer, non-stick cooking surface that means less added oil or butter in recipes.
From a health perspective, well-seasoned griddles can reduce the need for excess fats, helping keep meals lighter and more balanced. Plus, cooking on a non-stick surface prevents food from sticking and burning, which can create harmful compounds.
For those managing allergens, seasoning doesn’t introduce common allergens, but always check the oil source if you have specific sensitivities.
Conclusion
Seasoning your Blackstone griddle for the first time might seem like a small step, but honestly, it’s the foundation for countless delicious meals. This easy perfect seasoning method makes it approachable and foolproof, even if you’re new to outdoor cooking. Customize it with your preferred oils or seasoning routines, but keep the basics in mind for the best results.
Personally, I love how this process turns a cold slab of steel into a griddle that feels alive—ready for anything from breakfast pancakes to a juicy steak dinner. If you’ve enjoyed preparing your griddle this way, I’d love to hear about your experience or any twists you’ve tried. Sharing those moments makes cooking even better.
Now, grab your oil and get ready to season your griddle like a pro!
FAQs
How many layers of seasoning do I need for my Blackstone griddle?
Typically, 4-5 thin layers provide a strong, durable seasoning. Each layer should be heated until it smokes and then cooled before applying the next.
Can I use any oil to season my Blackstone griddle?
While flaxseed oil is preferred for its drying properties, canola or grapeseed oils work well too. Avoid oils with low smoke points or strong flavors.
How often should I re-season my griddle?
After heavy use or if the surface starts to look dull or sticky, a quick seasoning touch-up helps maintain the non-stick layer.
Is it necessary to clean the griddle with soap before seasoning?
Yes, cleaning removes factory oils and residues. Use warm soapy water or a vinegar-water mix, then dry thoroughly before seasoning.
Can I season my griddle indoors?
If your griddle fits safely inside your oven, seasoning at 425°F (220°C) is possible and reduces smoke. Otherwise, outdoor seasoning is best to avoid indoor smoke buildup.
Pin This Recipe!
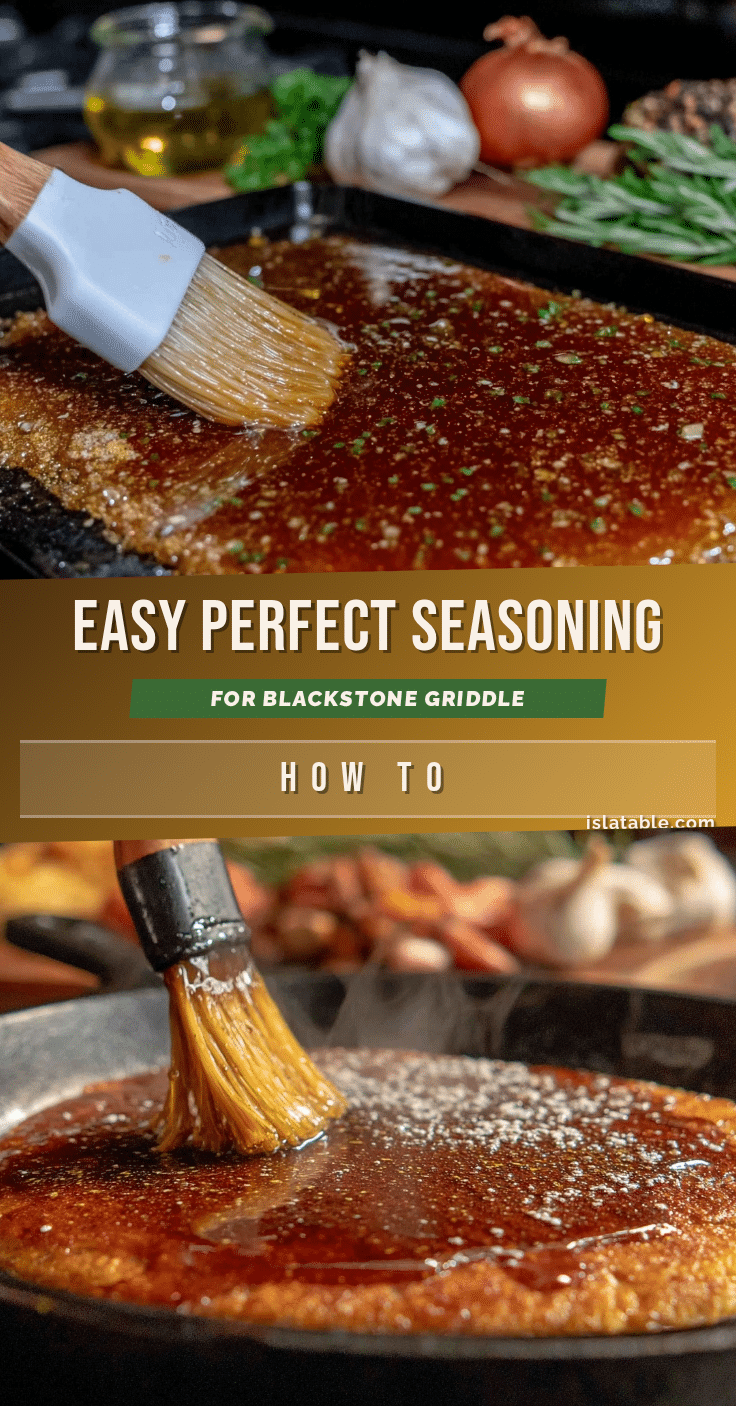
Easy Perfect Seasoning for Blackstone Griddle First Use Step-by-Step Guide
A simple, effective method to season your Blackstone griddle for the first time, creating a durable non-stick surface using flaxseed oil or alternatives.
- Prep Time: 10 minutes
- Cook Time: 40 minutes
- Total Time: 50 minutes
- Yield: 1 seasoned Blackstone griddle
- Category: Griddle Preparation
- Cuisine: American
Ingredients
- Flaxseed oil (cold-pressed, food-grade, preferred)
- Canola oil (alternative)
- Grapeseed oil (alternative)
- Paper towels or clean, lint-free cloths
- Soap and warm water
- Optional: white vinegar
Instructions
- Initial Clean: Wash the griddle surface with warm, soapy water and a sponge or grill brush to remove any residue from manufacturing and shipping. Rinse thoroughly and dry completely with a clean cloth. (Approx. 10 minutes)
- Heat the Griddle: Turn on your Blackstone griddle to medium-high heat (around 350°F/175°C). Allow it to heat for about 10-15 minutes until water droplets sizzle and evaporate on contact.
- Apply First Oil Layer: Using a paper towel or lint-free cloth, dip it lightly in flaxseed oil. Spread a thin, even coat over the entire cooking surface. Avoid over-oiling to prevent sticky spots.
- Smoke and Polymerize: Let the griddle heat with the oil coat until it starts to smoke (about 10 minutes). This indicates the oil is bonding to the metal, creating a protective layer.
- Cool Slightly and Repeat: Once smoking subsides, turn off the heat and let the griddle cool for a few minutes. Repeat the oil application and heating steps 3-4 more times to build layers.
- Final Cool Down: After the last layer, let the griddle cool completely before wiping any excess oil with a clean cloth. The surface should have a smooth, matte black finish.
Notes
Use thin, even layers of oil to avoid sticky buildup. Maintain temperature around 400°F (205°C) for proper polymerization. Keep a spray bottle of water handy for flare-ups and ventilate the cooking area well. After seasoning, apply a light coat of oil before storage to prevent rust. Re-season after heavy use or if surface looks dull.
Nutrition
- Serving Size: N/A (seasoning guide
Keywords: Blackstone griddle seasoning, griddle seasoning, flaxseed oil seasoning, non-stick griddle, griddle care, outdoor cooking, griddle maintenance