“Mom, can you make those peanut butter balls again? The ones with the banana?” My seven-year-old asked me this at 7:15 on a Tuesday morning, backpack half-zipped, shoes on the wrong feet. And that was it. That simple question, muttered between bites of toast, is how these Easy Peanut Butter Banana Energy Bites for School Lunches became a permanent fixture in our kitchen.
I wasn’t trying to invent anything special that first time. I had a sad, overripe banana on the counter, a jar of peanut butter with maybe two tablespoons left, and about ten minutes before the bus arrived. I just started mixing things together in a bowl, hoping for the best. Honestly, I was just trying to avoid the morning meltdown that happens when a kid sees a boring lunchbox. The first batch was a little too sticky, and I accidentally added too many oats. But my daughter ate three of them before I could even pack them away, and my son—the picky one—actually asked for more later that day.
These little bites are the kind of recipe that doesn’t demand perfection. They are forgiving. They adapt to what you have. And they make you feel like you’ve got your act together, even when you’re running on four hours of sleep and cold coffee. That’s the real magic here. It’s not about being a Pinterest-perfect parent. It’s about finding a small, honest win in the middle of a chaotic week. These energy bites are that win.
Why You’ll Love This Recipe
Let me tell you why these Easy Peanut Butter Banana Energy Bites for School Lunches have earned a permanent spot in my weekly rotation. I’ve tested this recipe at least a dozen times—sometimes with different nut butters, once with a banana that was practically liquid, and even a version where I forgot the honey entirely. Every single batch still worked. That’s the kind of recipe you can trust.
- Quick & Easy: You can make these in under 15 minutes. No oven, no stove, no fancy equipment. Just a bowl and a spoon.
- Simple Ingredients: You probably have everything in your pantry right now. Oats, peanut butter, a banana, honey. That’s it.
- Perfect for School Lunches: They are nut-free friendly if you use sun butter, and they hold up beautifully in a lunchbox without getting soggy or falling apart.
- Crowd-Pleaser: My kids devour these. Their friends devour these. Even my husband, who claims he doesn’t like “healthy snacks,” has been caught sneaking them from the fridge.
- Unbelievably Delicious: The texture is soft and chewy, with just the right amount of natural sweetness from the banana. It honestly tastes like a dessert, not a health food.
What makes this recipe different from the dozens of other energy ball recipes out there? It’s the banana. Most recipes rely on sticky dates or loads of honey to hold everything together. Using a ripe banana gives you moisture, natural sweetness, and a super soft texture without all the added sugar. It also makes these bites incredibly easy for little hands to chew. I’ve learned that a speckled banana—the one that looks past its prime—is actually the secret weapon here. It’s not just another version of an energy bite. It’s the best version.
These bites are the kind of snack that makes you feel good about what you’re feeding your family. No guilt, no stress, just a happy kid with a full lunchbox.
What Ingredients You Will Need
This recipe uses simple, wholesome ingredients to deliver a naturally sweet and satisfying snack. You don’t need to hunt down anything fancy at the store. Most of these are probably already sitting in your kitchen right now.
- 1 large ripe banana (mashed) — The riper the banana, the sweeter and more moist your energy bites will be. Look for one with plenty of brown spots. It’s the key to natural sweetness and binding power.
- 1 cup rolled oats (use gluten-free certified oats if needed) — I prefer old-fashioned rolled oats for the best texture. Quick oats work in a pinch, but they make the bites a bit softer and less chewy. I’ve tried both, and rolled oats are my go-to for that perfect bite.
- 1/2 cup creamy peanut butter — Natural peanut butter works great, but make sure it’s well-stirred. If the oil is separated, your mixture might be too greasy. I usually use Skippy Natural or just a store-brand creamy version. Avoid using the “no-stir” kind with added sugar if you can.
- 2 tablespoons honey (or maple syrup for vegan option) — This adds just a touch of extra sweetness and helps with binding. If your banana is super ripe, you can even reduce this to 1 tablespoon.
- 1/4 cup mini chocolate chips (optional but highly recommended) — These are the little surprises that make kids (and adults) so happy. Use dairy-free chocolate chips if needed. I like Enjoy Life brand for allergy-friendly options.
- 1/4 cup ground flaxseed (optional) — This is my little nutrition booster. It adds fiber and omega-3s without changing the taste. You won’t even notice it’s there.
- Pinch of salt — Just a tiny bit to balance the sweetness and bring out the peanut butter flavor. If your peanut butter is salted, you can skip this.
Substitution Guidance: If you need these to be nut-free for a school lunch policy, swap the peanut butter for sunflower seed butter (sun butter). The color will turn a little greenish from a reaction with the banana, but it’s totally safe and tastes great. For a gluten-free option, ensure your oats are certified gluten-free. You can also swap the honey for agave nectar if that’s what you have on hand. I’ve personally tried all of these substitutions, and every version has been a hit. If you’re looking for another nut-free snack option, these easy nut-free protein balls are also a fantastic choice for lunchboxes.
Equipment Needed
You don’t need a fancy kitchen to make these Easy Peanut Butter Banana Energy Bites for School Lunches. I’ve made them in a tiny apartment kitchen with a single bowl and a fork, and they turned out perfect.
- Large mixing bowl — Any bowl will do. I use a standard ceramic mixing bowl that’s seen better days.
- Fork or potato masher — For mashing that banana until it’s smooth. A fork works great, but a potato masher makes it even faster.
- Measuring cups and spoons — For accurate measurements. I eyeball things sometimes, but for best results, measure at least the first time.
- Rubber spatula — Helps scrape every last bit of mixture out of the bowl. Trust me, you don’t want to waste any of this stuff.
- Baking sheet or plate — To hold the rolled bites while they chill. A small baking sheet lined with parchment paper is perfect.
- Parchment paper or wax paper — Keeps the bites from sticking to the pan. Not strictly necessary, but it makes cleanup so much easier.
- Small cookie scoop (optional) — This is my favorite tool for getting evenly sized balls. It makes the process faster and less messy. A tablespoon works just as well though.
- Airtight container — For storing the finished bites in the fridge or freezer.
I’ve made these with just a fork and my hands when I couldn’t find my spatula. It’s not the most elegant method, but it works. The cookie scoop is a nice-to-have, not a must-have. Don’t let missing equipment stop you from making these.
Preparation Method
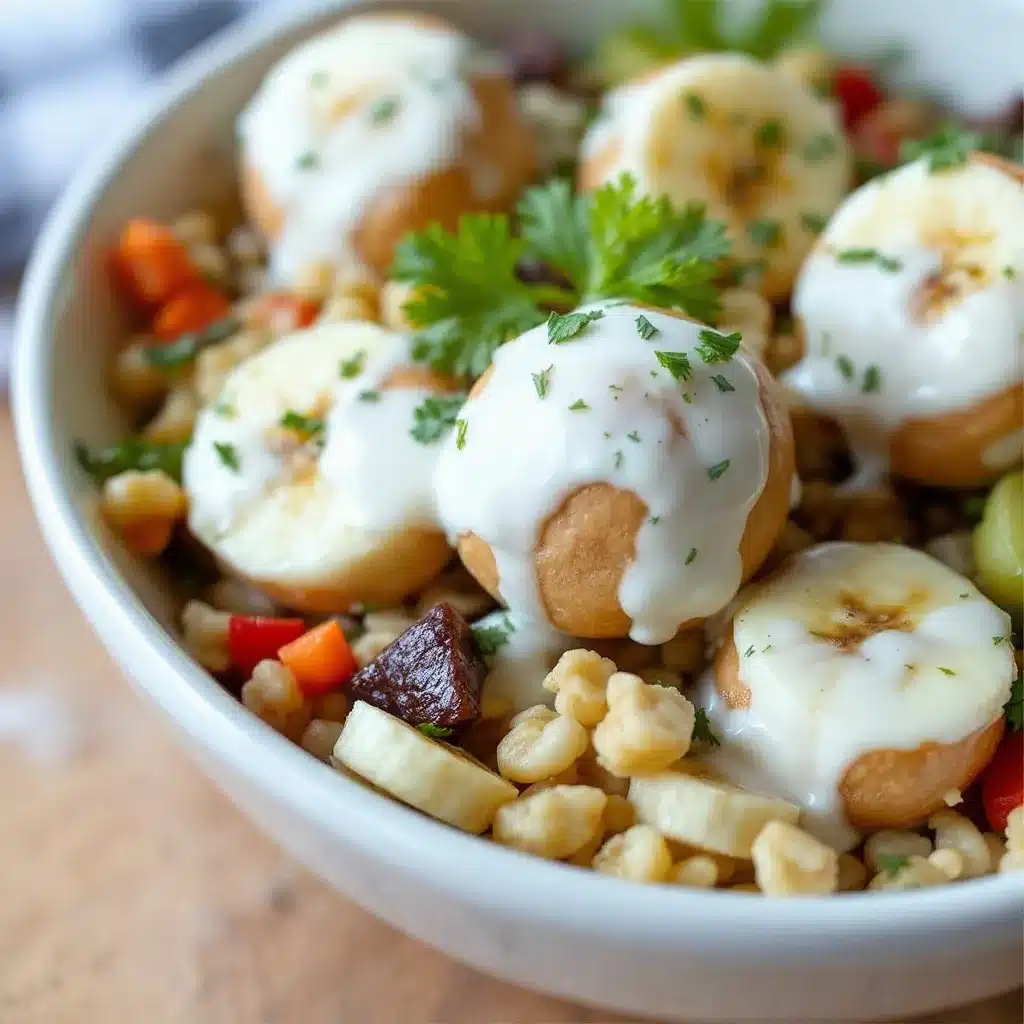
Making these energy bites is almost too easy. Here’s how to do it step by step.
- Mash the banana. Peel your ripe banana and place it in a large mixing bowl. Use a fork or potato masher to mash it until it’s smooth with no large lumps. You want a consistency similar to baby food. This takes about 30 seconds. If your banana is super ripe, it will mash almost instantly.
- Add the wet ingredients. Add the creamy peanut butter and honey to the mashed banana. Stir everything together with your rubber spatula or a spoon until it’s well combined. The mixture should look uniform and creamy. This is the base of your energy bites. If your peanut butter is a little stiff, microwave it for 10 seconds to soften it first. I learned this trick after struggling to mix cold peanut butter on a chilly morning.
- Mix in the dry ingredients. Add the rolled oats, ground flaxseed (if using), and a pinch of salt. Stir until everything is evenly distributed. The mixture will start to look like a thick, sticky dough. It should hold together when you press it between your fingers. If it feels too wet, add another tablespoon of oats. If it’s too dry, add a tiny splash of milk or water.
- Fold in the chocolate chips. Gently fold in the mini chocolate chips until they are evenly spread throughout the mixture. Don’t overmix, or the chocolate might start to melt from the warmth of your hands. Save a few chips to press onto the tops of the bites for a prettier look. My kids love helping with this step.
- Chill the mixture. Cover the bowl with plastic wrap or a clean kitchen towel and place it in the refrigerator for 15-20 minutes. This step is important! Chilling makes the mixture much easier to roll into balls. I’ve skipped this step before, and the bites were too sticky to shape nicely. Patience pays off here.
- Roll into bites. Once chilled, use a small cookie scoop or a tablespoon to portion out the mixture. Roll each portion between your palms to form smooth balls. You should get about 12-14 bites, depending on size. If the mixture starts sticking to your hands, lightly dampen your palms with a little water. This works like magic.
- Place on a lined baking sheet. Arrange the rolled bites on a baking sheet lined with parchment paper or wax paper. If you saved some chocolate chips, gently press one or two onto the top of each bite for a decorative touch. This makes them look extra special for lunchboxes.
- Final chill. Place the baking sheet in the refrigerator for at least 30 minutes to let the bites firm up. This step ensures they hold their shape and don’t fall apart in a lunchbox. You can also pop them in the freezer for 15 minutes if you’re short on time.
- Store and enjoy. Transfer the chilled bites to an airtight container. Store them in the refrigerator for up to a week, or in the freezer for up to three months. They are ready to eat straight from the fridge or after sitting at room temperature for a few minutes.
Sensory Cues: At step 4, the mixture should feel thick and slightly tacky, like play dough. It should hold together when squeezed but not be overly wet. If you press a bit between your fingers and it crumbles, add a tiny bit more peanut butter or honey. If it feels greasy, add a tablespoon more oats. Trust your hands here. They know what a good dough feels like.
Cooking Tips & Techniques
After making these Easy Peanut Butter Banana Energy Bites for School Lunches more times than I can count, I’ve picked up a few tricks that make the process even smoother.
The banana matters more than you think. I once used a barely ripe banana because it was all I had. The bites turned out bland and didn’t hold together well. The sweetness and moisture come directly from the banana’s ripeness. That brown, spotty banana sitting on your counter? That’s the one you want. It’s not just for banana bread anymore.
Don’t skip the chill step. I know, I know. You’re in a hurry. I’ve been there. But rolling warm mixture is a sticky, frustrating mess. Chilling for even 10 minutes makes a huge difference. The mixture firms up, the flavors meld together, and the rolling becomes effortless. It’s one of those small steps that separates good results from great ones.
Wet hands are your friend. If the mixture starts sticking to your palms while rolling, just wet your hands with a little cold water. Don’t soak them, just a quick rinse and shake off the excess. The thin layer of water prevents sticking without adding extra moisture to the bites. This trick saved me from many sticky-palm moments.
Consistency check before rolling. Before you start rolling, do a quick test. Squeeze a small amount of the mixture in your hand. If it holds together without crumbling, you’re good. If it falls apart, add a bit more peanut butter or honey. If it’s too sticky, add more oats. Adjusting at this stage is much easier than fixing it after you’ve rolled everything.
Make a double batch. Honestly, a single batch disappears fast in my house. I now always double the recipe. It takes the same amount of effort, and having a stash in the freezer means I’m always prepared for lunchbox packing emergencies. It’s a lifesaver on those mornings when you realize you have nothing ready.
One mistake I made: I once forgot to add the oats entirely. Yes, really. I was distracted by a phone call and just mixed the peanut butter, banana, and honey, then started rolling. The result was a sticky, gooey mess that wouldn’t hold a shape. I had to start over. Now I always lay out all my ingredients before I start mixing. It sounds basic, but it works.
Variations & Adaptations
One of the best things about this recipe is how flexible it is. You can change it up based on what you have, what your family likes, or what dietary needs you’re working with.
Chocolate Peanut Butter Bliss: Add an extra tablespoon of cocoa powder to the mixture along with the oats. It transforms the bites into a chocolatey treat that tastes like a healthy brownie batter. My kids go crazy for this version. I sometimes drizzle a little melted dark chocolate on top after they’re chilled for an extra special touch.
Tropical Twist: Swap the chocolate chips for dried pineapple or mango pieces, and add a tablespoon of shredded coconut. The tropical flavor pairs beautifully with the banana and peanut butter. It’s like a mini vacation in a lunchbox. This version is especially great for summer lunches.
Protein-Packed Version: Add a scoop of vanilla or chocolate protein powder to the mixture. You’ll need to add a tablespoon or two of extra liquid (milk or water) to compensate for the dry powder. This makes the bites more filling and turns them into a great post-practice snack. I use collagen peptides for a flavorless boost.
No-Bean Energy Bites: If you’re looking for another no-bake snack that’s perfect for busy mornings, these easy nut-free protein balls are a fantastic alternative. They use sunflower seed butter and are completely school-safe.
Spiced Apple Variation: Replace the chocolate chips with finely diced dried apple and add 1/2 teaspoon of cinnamon and a pinch of nutmeg. It tastes like apple pie filling in bite form. This is my favorite fall version. The warm spices make the kitchen smell incredible while you’re mixing.
Seed Butter Swap: For a completely nut-free version, use sunflower seed butter. The mixture will turn a slightly greenish color due to a reaction between the sunflower seeds and the banana. Don’t worry, it’s completely safe and tastes great. I’ve used this version for school parties and no one knew the difference.
Serving & Storage Suggestions
These energy bites are incredibly versatile when it comes to serving and storing them. Here’s what I’ve learned from experience.
Serving Temperature: These bites are best enjoyed straight from the refrigerator. They are firm, chewy, and have a satisfying texture. If you prefer a softer bite, let them sit at room temperature for 5-10 minutes before eating. My kids like them cold, straight from the fridge, especially on warm days.
Lunchbox Packing: Place 2-3 bites in a small container or a reusable snack bag. They hold up beautifully for several hours at room temperature, so they are perfect for school lunches. I often pack them in a silicone muffin cup inside a lunchbox to keep them separate from other items. They don’t get mushy or fall apart, which is a huge win.
Refrigerator Storage: Store the bites in an airtight container in the refrigerator for up to one week. They actually taste better after a day or two as the flavors have time to meld together. I make a batch on Sunday, and they last through Friday’s lunch. Just make sure the container is sealed well to prevent them from drying out.
Freezer Storage: These freeze beautifully. Place the rolled bites on a baking sheet lined with parchment paper and freeze until solid (about 1-2 hours). Transfer the frozen bites to a freezer-safe bag or container. They will keep for up to three months. To thaw, just leave them in the refrigerator overnight or let them sit at room temperature for 15-20 minutes. I always keep a stash in the freezer for last-minute lunch packing emergencies.
Flavor Development: Honestly, these bites taste even better the next day. The oats absorb the moisture from the banana and peanut butter, creating a softer, more cohesive texture. The flavors also have time to blend together. I often make them a day ahead of when I plan to serve them. It’s one of those recipes that rewards a little patience.
Pairing Suggestions: These energy bites pair wonderfully with a fresh piece of fruit, a cheese stick, or a small yogurt cup for a balanced lunch. They also make a great after-school snack alongside a glass of milk. If you’re packing a lunch for a picky eater, these bites can be the treat that makes the whole meal feel special.
Nutritional Information & Benefits
These Easy Peanut Butter Banana Energy Bites for School Lunches are not just delicious—they also pack a surprising nutritional punch. Here’s a rough estimate per bite (based on 12 bites per batch).
- Calories: Approximately 110-120 calories per bite
- Protein: 4-5 grams
- Fiber: 2-3 grams
- Healthy Fats: 5-6 grams (from peanut butter)
- Natural Sugars: 6-8 grams (mostly from banana and honey)
Health Benefits of Key Ingredients: Bananas are a fantastic source of potassium, which supports muscle function and heart health. They also provide vitamin B6 and vitamin C. Peanut butter offers healthy monounsaturated fats and protein, which help keep kids full and satisfied until their next meal. Oats provide soluble fiber, which is great for digestion and sustained energy release. The ground flaxseed adds omega-3 fatty acids, which are important for brain development. It’s a snack that actually fuels growing bodies.
Dietary Considerations: This recipe is naturally dairy-free if you use dairy-free chocolate chips. It’s also vegetarian and can be made vegan by swapping honey for maple syrup. For a gluten-free option, use certified gluten-free oats. The nut-free version using sunflower seed butter is safe for most school lunch policies. Always check labels on your ingredients if you have specific allergy concerns.
Potential Allergens: This recipe contains peanuts and oats. Peanuts are a common allergen, so be mindful of school policies. The optional chocolate chips may contain dairy. Always read labels carefully if you are serving these to children with allergies.
My Personal Perspective: I love that this snack feels indulgent but is actually nourishing. It’s the kind of food I feel good about sending to school with my kids. No artificial ingredients, no refined sugar overload, just real food that tastes like a treat. That’s a win in my book.
Conclusion
These Easy Peanut Butter Banana Energy Bites for School Lunches have truly become a staple in our home. They are proof that you don’t need complicated recipes or fancy ingredients to make something genuinely delicious and good for your family. A ripe banana, some peanut butter, a handful of oats—that’s all it takes to create a snack that my kids actually get excited about.
I love that this recipe is forgiving. You can tweak it based on what you have, add your favorite mix-ins, or adjust the sweetness to your liking. It’s a recipe that grows with you and your family. And honestly, the fact that it takes less than 15 minutes to make? That’s the kind of win every busy parent needs.
I would love to hear how these turn out for you. Did you add something unexpected? Did your kids help make them? Drop a comment below and let me know. Your variations might inspire someone else to try something new. And if you’re looking for more healthy lunchbox ideas, don’t forget to check out those easy nut-free protein balls for another school-safe option. Happy snacking, friends!
Frequently Asked Questions
Can I use quick oats instead of rolled oats?
Yes, you can. Quick oats will work, but they will result in a softer, less chewy texture. The bites will still taste great. If you use quick oats, you might need slightly less liquid since they absorb moisture faster. I recommend starting with 3/4 cup and adding more if needed.
How do I keep these from being too sticky to roll?
Chilling the mixture is the best solution. Refrigerate it for at least 15-20 minutes before rolling. If it’s still too sticky, wet your hands with a little cold water before rolling each bite. You can also add an extra tablespoon of oats to the mixture to absorb excess moisture.
Can I make these without peanut butter?
Absolutely. You can substitute the peanut butter with any other nut butter (almond, cashew) or seed butter (sunflower, tahini). Keep in mind that different butters have different consistencies. Sunflower seed butter works great but will turn the mixture slightly green from a reaction with the banana. It’s safe and delicious.
How long do these energy bites last in the fridge?
They will stay fresh in an airtight container in the refrigerator for up to one week. They actually taste better after a day or two as the flavors meld together. If they start to dry out, you can add a tiny splash of milk or water and mix before serving.
Are these safe for school lunch nut-free policies?
Only if you substitute the peanut butter with a nut-free alternative like sunflower seed butter. The original recipe contains peanut butter, which is not allowed in many nut-free schools. Always check your school’s specific policy and your child’s classroom rules before packing these in a lunchbox.
Pin This Recipe!
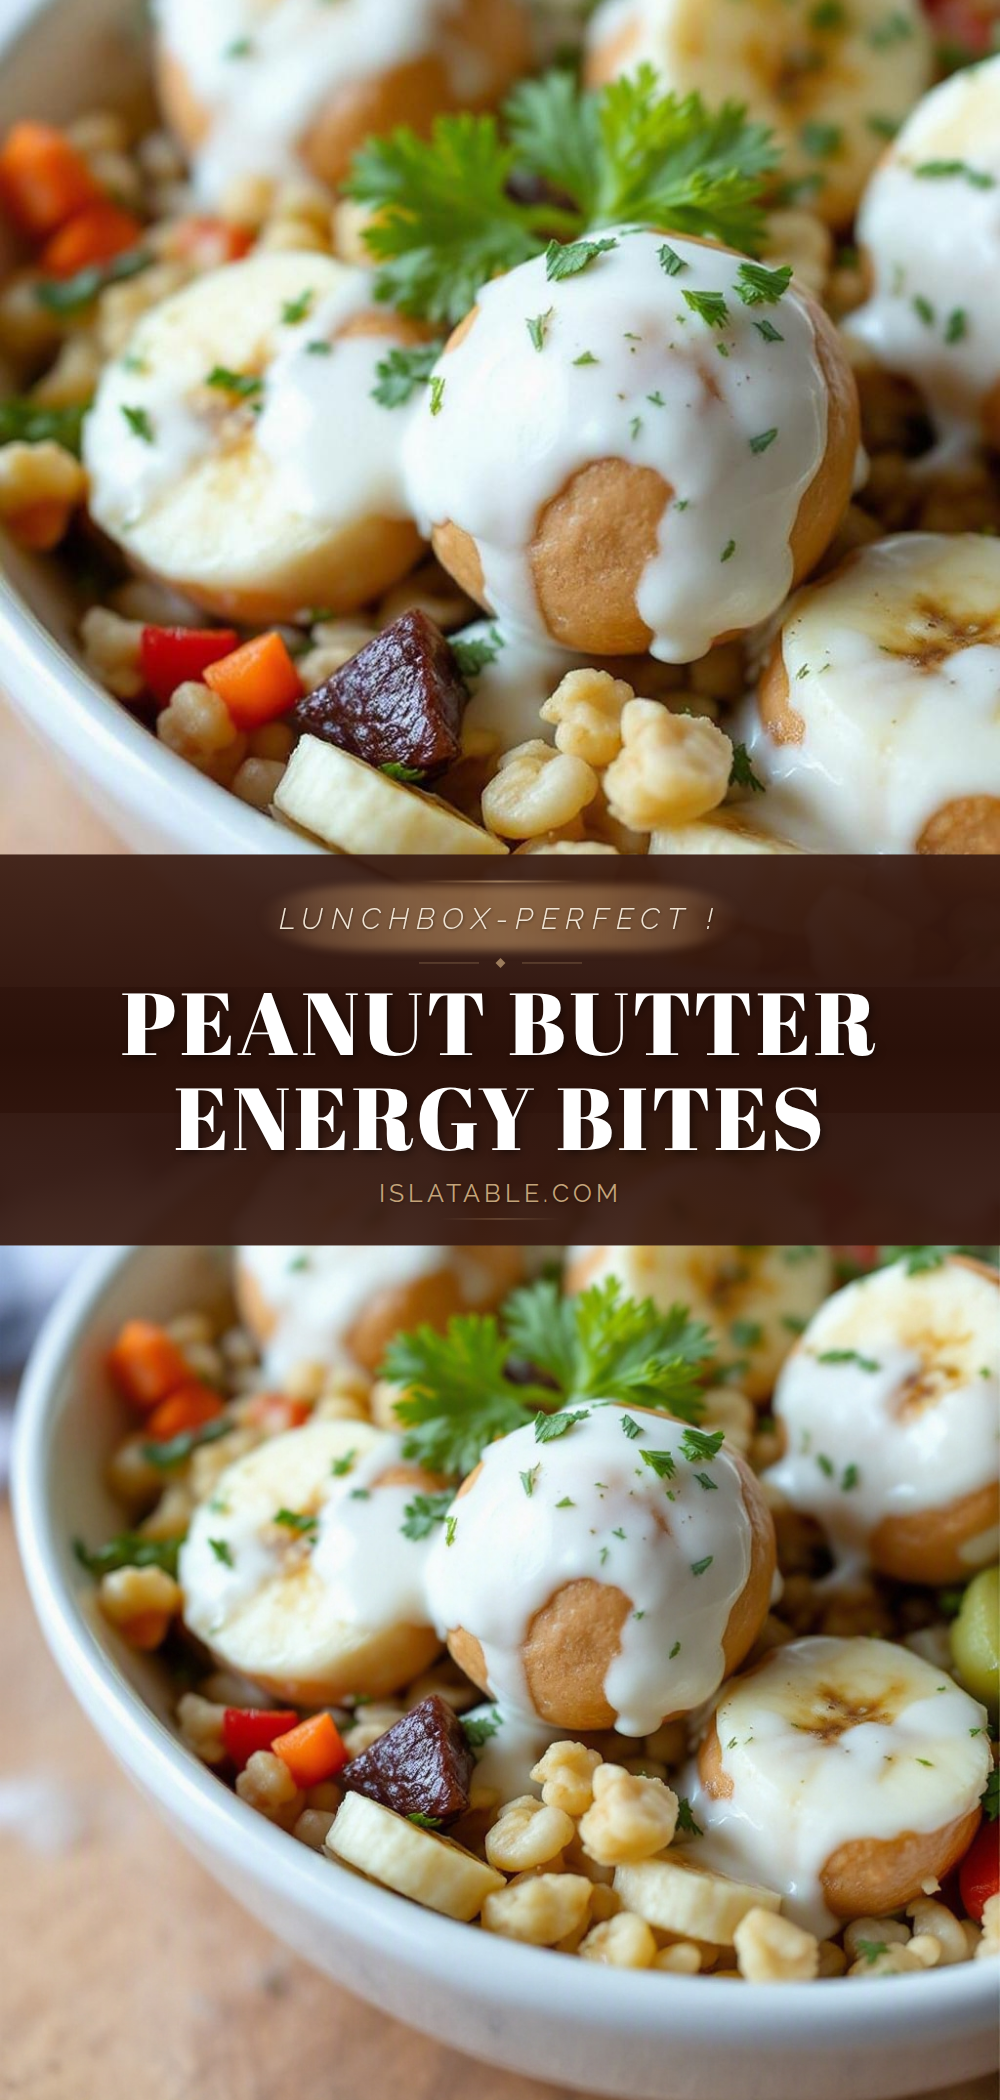
Easy Peanut Butter Banana Energy Bites: Best School Lunch Idea

These no-bake energy bites combine ripe banana, peanut butter, and oats for a naturally sweet, chewy snack that’s perfect for school lunches. Ready in under 15 minutes, they’re a forgiving recipe that adapts to what you have on hand.
- Prep Time: 15 minutes
- Cook Time: 0 minutes
- Total Time: 15 minutes (plus chilling time)
- Yield: 12-14 bites 1x
- Category: Snack
- Cuisine: American
Ingredients
- 1 large ripe banana (mashed)
- 1 cup rolled oats (use gluten-free certified oats if needed)
- 1/2 cup creamy peanut butter
- 2 tablespoons honey (or maple syrup for vegan option)
- 1/4 cup mini chocolate chips (optional but highly recommended)
- 1/4 cup ground flaxseed (optional)
- Pinch of salt
Instructions
- Mash the banana: Peel your ripe banana and place it in a large mixing bowl. Use a fork or potato masher to mash it until it’s smooth with no large lumps, about 30 seconds.
- Add the wet ingredients: Add the creamy peanut butter and honey to the mashed banana. Stir everything together until well combined and creamy.
- Mix in the dry ingredients: Add the rolled oats, ground flaxseed (if using), and a pinch of salt. Stir until evenly distributed, forming a thick, sticky dough that holds together when pressed.
- Fold in the chocolate chips: Gently fold in the mini chocolate chips until evenly spread. Save a few chips to press onto the tops for decoration.
- Chill the mixture: Cover the bowl and refrigerate for 15-20 minutes to make rolling easier.
- Roll into bites: Use a small cookie scoop or tablespoon to portion out the mixture. Roll each portion between your palms to form smooth balls (about 12-14 bites).
- Place on a lined baking sheet: Arrange the rolled bites on a baking sheet lined with parchment paper. Press reserved chocolate chips onto tops if desired.
- Final chill: Refrigerate for at least 30 minutes to firm up, or freeze for 15 minutes if short on time.
- Store and enjoy: Transfer to an airtight container. Refrigerate for up to a week or freeze for up to three months.
Notes
Use a very ripe banana (brown spots) for maximum sweetness and moisture. Chilling the mixture before rolling is essential to prevent stickiness. If the mixture is too sticky, wet your hands with cold water before rolling. For nut-free version, substitute peanut butter with sunflower seed butter. The bites taste even better the next day as flavors meld.
Nutrition
- Serving Size: 1 bite
- Calories: 110120
- Sugar: 68
- Sodium: 5070
- Fat: 56
- Saturated Fat: 12
- Carbohydrates: 1416
- Fiber: 23
- Protein: 45
Keywords: peanut butter banana energy bites, school lunch snack, no-bake energy balls, healthy snack for kids, easy lunchbox idea


