For the longest time, I just accepted that banana bread was always going to be a little dry, or a little too sweet, or just… fine. You know the kind—good enough to finish but not good enough to crave. I’d tried all the tricks: extra ripe bananas, sour cream, yogurt, even a splash of maple syrup. And every time, I’d pull a loaf out of the oven that looked beautiful but tasted like a compromise. It was missing something. A depth. A little bit of magic. Then, one rainy Tuesday afternoon, with three sad-looking bananas on the counter and absolutely no desire to leave the house, I decided to brown the butter. Honestly, it felt like a small thing at the time—just a few extra minutes of patience. But that first bite? It was the moment everything clicked. The nutty, toasty flavor from the brown butter wrapped around the sweet banana like they were always meant to be together. And the best part? It all comes together in one bowl. No stand mixer. No complicated steps. Just a simple, honest loaf that finally tastes the way banana bread was supposed to taste all along. This is the recipe I kept making until I stopped looking for a better one.
Why You’ll Love This Recipe
This isn’t just another banana bread recipe. It’s the one that actually delivers on every promise. I’ve tested this loaf more times than I can count—tweaking the butter temperature, the banana ripeness, the baking time—and what I’m sharing with you today is the version I keep coming back to. It’s the kind of recipe you’ll memorize after making it twice.
- One Bowl, Minimal Mess: No mixer needed. No separate bowls for wet and dry ingredients. Just a whisk, a spatula, and one bowl to wash. This is weeknight baking at its finest.
- Brown Butter Magic: That one extra step—browning the butter—completely transforms the flavor. It adds a nutty, caramelized depth that makes this bread taste like you spent hours on it. You didn’t, but your kitchen will smell like you did.
- Perfectly Moist, Never Dense: The balance of brown butter and ripe bananas creates a tender crumb that stays moist for days. No dry corners, no gummy center.
- Simple Pantry Ingredients: You probably have everything you need right now. Butter, bananas, sugar, flour, eggs. No fancy extracts or hard-to-find flours.
- Crowd-Pleaser Approved: I’ve brought this to brunches, given it as gifts, and left it in the break room at work. It disappears every single time. Kids love it. Adults love it. Even my friend who “doesn’t really like banana bread” asked for the recipe.
What makes this recipe different from the rest is that it doesn’t rely on gimmicks. It’s not the healthified version or the one with a secret vegetable. It’s just really, really good banana bread—made better by one simple technique. And honestly? That first slice, still warm from the oven, with the butter just barely melted into the crumb? That’s the kind of moment worth baking for.
What Ingredients You Will Need
This recipe uses simple, wholesome ingredients to deliver bold flavor and a tender, satisfying texture without the fuss. Most of these are pantry staples, so you’re probably already halfway there.
- Unsalted Butter (½ cup / 1 stick / 113 grams): This is the star of the show. You’ll brown it first, which releases nutty, toasty compounds that can’t be replicated with regular melted butter. I use unsalted so I can control the salt level. If you only have salted, just reduce the added salt by a pinch.
- Ripe Bananas (3 medium, about 1½ cups mashed / 340 grams): The riper, the better. Look for bananas with plenty of brown spots—they’re sweeter and easier to mash. If your bananas aren’t quite there yet, you can roast them in a 350°F oven for 10-15 minutes until the skins darken.
- Granulated Sugar (¾ cup / 150 grams): Adds sweetness and helps create that tender, golden crust. You can reduce this to ½ cup if you prefer a less sweet loaf, but the texture will be slightly denser.
- Light Brown Sugar (¼ cup / 50 grams, packed): Adds a touch of molasses flavor that pairs beautifully with the brown butter. Dark brown sugar works too, but it will make the bread a shade darker and a bit more moist.
- Large Eggs (2, room temperature): They bind the batter and add richness. If your eggs are cold, place them in a bowl of warm water for 5 minutes before using.
- Vanilla Extract (1 teaspoon): Enhances the sweetness and rounds out the flavors. Use pure vanilla if you have it, but imitation works fine here too.
- All-Purpose Flour (1½ cups / 190 grams): The foundation of the bread. Spoon it into your measuring cup and level it off with a knife—don’t scoop directly from the bag, or you’ll pack in too much flour and end up with a dry loaf.
- Baking Soda (1 teaspoon): The leavening agent. Make sure it’s fresh—test it by dropping a pinch into vinegar; if it fizzes vigorously, it’s good.
- Salt (½ teaspoon): Balances the sweetness and enhances the banana flavor. I use fine sea salt.
- Ground Cinnamon (1 teaspoon): Optional, but I never skip it. It complements the brown butter and banana beautifully. You can also add a pinch of nutmeg or cardamom if you’re feeling adventurous.
Equipment Needed
You don’t need a lot of fancy gear for this recipe. Here’s what you’ll need:
- 9×5-inch Loaf Pan: The standard size for a classic loaf. If you use an 8×4-inch pan, your bread will be taller and may need an extra 5-10 minutes of baking time.
- Large Mixing Bowl: One bowl is all you need. I use a stainless steel bowl because it’s lightweight and easy to whisk in.
- Whisk and Rubber Spatula: The whisk for the wet ingredients, the spatula for folding in the flour.
- Small Light-Colored Saucepan: A light-colored pan makes it much easier to see the butter change color as it browns. If you only have dark cookware, keep a close eye on it—it can burn faster.
- Cooling Rack: Essential for even cooling. If you don’t have one, you can use the grates from your oven (just make sure they’re clean).
- Parchment Paper: Not strictly necessary, but it makes lifting the bread out of the pan a breeze. I always line my pan with a sling of parchment paper.
If you don’t have a 9×5-inch pan, you can bake this batter as muffins! Just divide it into a lined 12-cup muffin tin and bake at 350°F for 18-22 minutes. Perfect for grab-and-go breakfasts.
Preparation Method
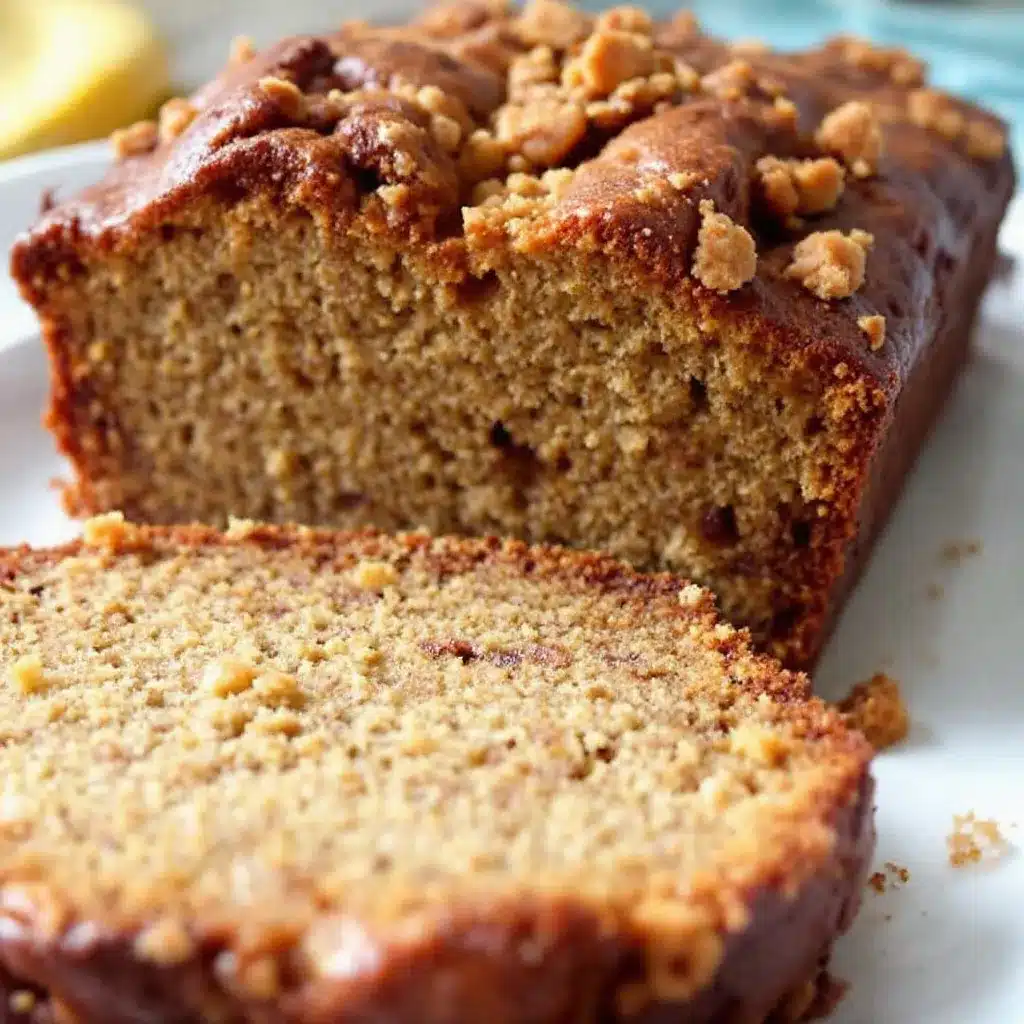
Let’s walk through this step by step. I’ve included time estimates and sensory cues so you know exactly what to look for at each stage.
- Preheat and Prep (5 minutes): Preheat your oven to 350°F (175°C). Spray a 9×5-inch loaf pan with nonstick spray, then line it with a strip of parchment paper, leaving a couple inches of overhang on the long sides. This creates a sling that makes lifting the finished bread out incredibly easy.
- Brown the Butter (5-7 minutes): Place the ½ cup (1 stick) of unsalted butter in a small light-colored saucepan over medium heat. Stir occasionally with a rubber spatula or wooden spoon. The butter will melt, then foam, then start to crackle and pop. Keep stirring. After a few minutes, the foam will subside, and you’ll see tiny golden-brown specks forming at the bottom of the pan. The butter will smell intensely nutty and toasty—like toasted hazelnuts. As soon as it reaches a deep amber color and smells amazing, remove it from the heat immediately. Pour it into a large mixing bowl to stop the cooking process. Don’t walk away during this step—brown butter can go from perfect to burnt in seconds.
- Mash the Bananas (2 minutes): In the same bowl with the browned butter, add your ripe bananas. Mash them with a fork until mostly smooth, with a few small lumps remaining for texture. You should have about 1½ cups of mashed banana.
- Add the Sugars and Wet Ingredients (3 minutes): Add the ¾ cup granulated sugar and ¼ cup packed light brown sugar to the bowl. Whisk vigorously until the mixture is smooth and the sugars are dissolved—about 1 minute. Then add the 2 room-temperature eggs and 1 teaspoon vanilla extract. Whisk again until everything is well combined and slightly lighter in color, about 1 more minute.
- Add the Dry Ingredients (2 minutes): Sprinkle the 1½ cups all-purpose flour, 1 teaspoon baking soda, ½ teaspoon salt, and 1 teaspoon ground cinnamon over the wet mixture. Use your rubber spatula to fold the dry ingredients into the wet. Stir gently with a folding motion—just until you no longer see streaks of flour. A few small lumps are perfectly fine. Overmixing at this stage will develop the gluten and make your bread tough.
- Pour and Bake (55-65 minutes): Pour the batter into your prepared loaf pan and spread it into an even layer. Bake on the center rack for 55-65 minutes. At the 45-minute mark, check the bread. If the top is browning too quickly, tent it loosely with a piece of aluminum foil. The bread is done when a toothpick inserted into the center comes out clean or with just a few moist crumbs. The top should be a deep golden brown and spring back lightly when you press it.
- Cool and Serve (1 hour): Let the bread cool in the pan on a wire rack for 15 minutes. Then use the parchment sling to lift the bread out and transfer it directly to the rack to cool completely. I know it’s tempting, but slicing into it while it’s still warm will cause it to crumble. Give it at least an hour. If you can wait that long.
Cooking Tips & Techniques
Over the years, I’ve learned a few things the hard way so you don’t have to. Here are my best tips for banana bread success:
- Don’t Overmix the Batter: This is the number one mistake I see. Once you add the flour, mix only until it’s incorporated. Overmixing develops gluten, which gives you a tough, rubbery bread instead of a tender, cake-like crumb. Fold gently and stop as soon as the flour disappears.
- Room Temperature Eggs Matter: Cold eggs can seize the browned butter and create a lumpy batter. If you forget to take them out of the fridge, place them in a bowl of warm (not hot) water for 5 minutes. Problem solved.
- Weigh Your Bananas: If you have a kitchen scale, weigh your mashed bananas. 340 grams is the sweet spot. Too little banana and the bread will be dry; too much and it might sink in the middle. Three medium bananas usually hit the mark.
- Test for Doneness with a Thermometer: If you’re unsure about the toothpick test, use an instant-read thermometer. Banana bread is perfectly done when the internal temperature reaches 200-205°F (93-96°C). This is especially helpful if you’re baking at high altitude or in a humid kitchen.
- Let It Cool Completely: I know, I know. But slicing into warm banana bread is a recipe for a crumbly mess. The bread continues to set as it cools. If you absolutely must have a warm slice, wait at least 30 minutes and use a serrated knife with a gentle sawing motion.
Variations & Adaptations
Once you’ve mastered the base recipe, feel free to play around. Here are a few of my favorite twists:
- Chocolate Chip Banana Bread: Fold in ½ cup of semi-sweet or dark chocolate chips along with the flour. The chocolate pairs beautifully with the nutty brown butter. I like to reserve a few chips to press into the top of the batter before baking—it makes for a prettier loaf.
- Nutty Crunch: Add ½ cup of toasted walnuts or pecans, roughly chopped. Toast them in a dry skillet over medium heat for 3-4 minutes until fragrant before adding them to the batter. The crunch is a lovely contrast to the soft crumb.
- Gluten-Free Version: Substitute the all-purpose flour with a good quality 1:1 gluten-free baking flour blend (I like Bob’s Red Mill). Add 1 teaspoon of xanthan gum if your blend doesn’t already include it. The texture will be slightly more tender, but still delicious.
- Dairy-Free Adaptation: Use a high-quality vegan butter stick (like Miyoko’s or Earth Balance) in place of the dairy butter. Brown it the same way—it works beautifully. The flavor will be slightly different but still very good.
- Spiced Banana Bread: Add ½ teaspoon of ground ginger and ¼ teaspoon of ground nutmeg along with the cinnamon. This gives the bread a warm, holiday-spiced flavor that’s perfect for fall.
Serving & Storage Suggestions
This banana bread is wonderful on its own, but here’s how to make it even better:
- Serving Temperature: Serve at room temperature for the best texture. If you want a warm slice, pop it in a 300°F oven for 5-7 minutes, or toast a slice in a skillet with a little butter. The edges get slightly crispy while the center stays soft.
- What to Serve With It: A smear of salted butter is classic. For a little indulgence, try a spread of cream cheese or a drizzle of honey. It’s also fantastic with a cup of coffee, a glass of cold milk, or a dollop of Greek yogurt for breakfast.
- Storage: Wrap the cooled loaf tightly in plastic wrap or store it in an airtight container at room temperature. It will stay moist and delicious for up to 4 days. I actually think it’s even better on day two—the flavors have more time to meld.
- Freezing: This bread freezes beautifully. Wrap the cooled loaf (or individual slices) tightly in plastic wrap, then again in aluminum foil or a freezer bag. Freeze for up to 3 months. To thaw, leave it on the counter for a few hours or pop a frozen slice in the toaster.
- Reheating: For a single slice, the toaster is your best friend. For a whole loaf, wrap it in foil and warm it in a 300°F oven for 10-15 minutes. It will taste freshly baked.
Nutritional Information & Benefits
Here’s an approximate nutritional breakdown per slice (based on 10 slices):
- Calories: ~280
- Fat: 12g
- Carbohydrates: 40g
- Protein: 4g
- Fiber: 2g
- Sugar: 22g
While this is certainly a treat, bananas are a great source of potassium and vitamin B6. The brown butter adds richness, but you’re still getting a slice of homemade goodness without any of the preservatives or additives you’d find in store-bought baked goods. If you’re looking for a lower-sugar option, you can reduce the granulated sugar to ½ cup, or swap half of it for a natural sweetener like coconut sugar (though the color and texture will be slightly different). This recipe is not gluten-free or dairy-free as written, but check the variations section for easy swaps.
Conclusion
This easy one-bowl banana bread with brown butter is the kind of recipe that earns a permanent spot in your rotation. It’s simple enough for a Tuesday night baking project but impressive enough to bring to a holiday brunch. The brown butter adds a layer of flavor that feels special without adding any real effort—just a few extra minutes of your time. I love that I can make it with ingredients I always have on hand, and that it makes my whole kitchen smell like a cozy bakery. I hope you give it a try and make it your own. Maybe you’ll add chocolate chips, or a handful of walnuts, or maybe you’ll leave it exactly as it is. Either way, I’d love to hear how it turns out. Leave a comment below, share a photo, or tag me in your creation. Happy baking, friends!
Frequently Asked Questions
Can I use frozen bananas for this recipe?
Absolutely! Frozen bananas are actually ideal for banana bread because they break down and become extra sweet as they thaw. Just make sure to thaw them completely, then drain off any excess liquid before mashing. You’ll want about 1½ cups of mashed banana after draining.
Why did my banana bread sink in the middle?
This usually happens for one of three reasons: the batter was overmixed, the oven temperature was too low, or the bread was underbaked. Make sure your oven is properly preheated to 350°F and test for doneness with a toothpick or thermometer. Also, resist the urge to open the oven door during the first 40 minutes of baking.
Can I make this recipe without browning the butter?
You can, but you’ll lose the nutty, toasty flavor that makes this recipe special. If you’re short on time, simply melt the butter and let it cool slightly before mixing. It will still be a good banana bread—just not the best banana bread.
How do I know when my bananas are ripe enough?
Look for bananas that are heavily speckled with brown spots, or even mostly black. They should be soft to the touch and smell very sweet. If you press one gently and your finger leaves an indent, they’re ready. Green or yellow bananas won’t have enough sugar or moisture for a good loaf.
Can I double this recipe?
Yes! This recipe doubles beautifully. Use a large bowl and a 9×13-inch baking pan, or divide the batter between two loaf pans. The baking time for a 9×13-inch pan will be closer to 35-40 minutes. Just keep an eye on it and test for doneness as usual.
Pin This Recipe!
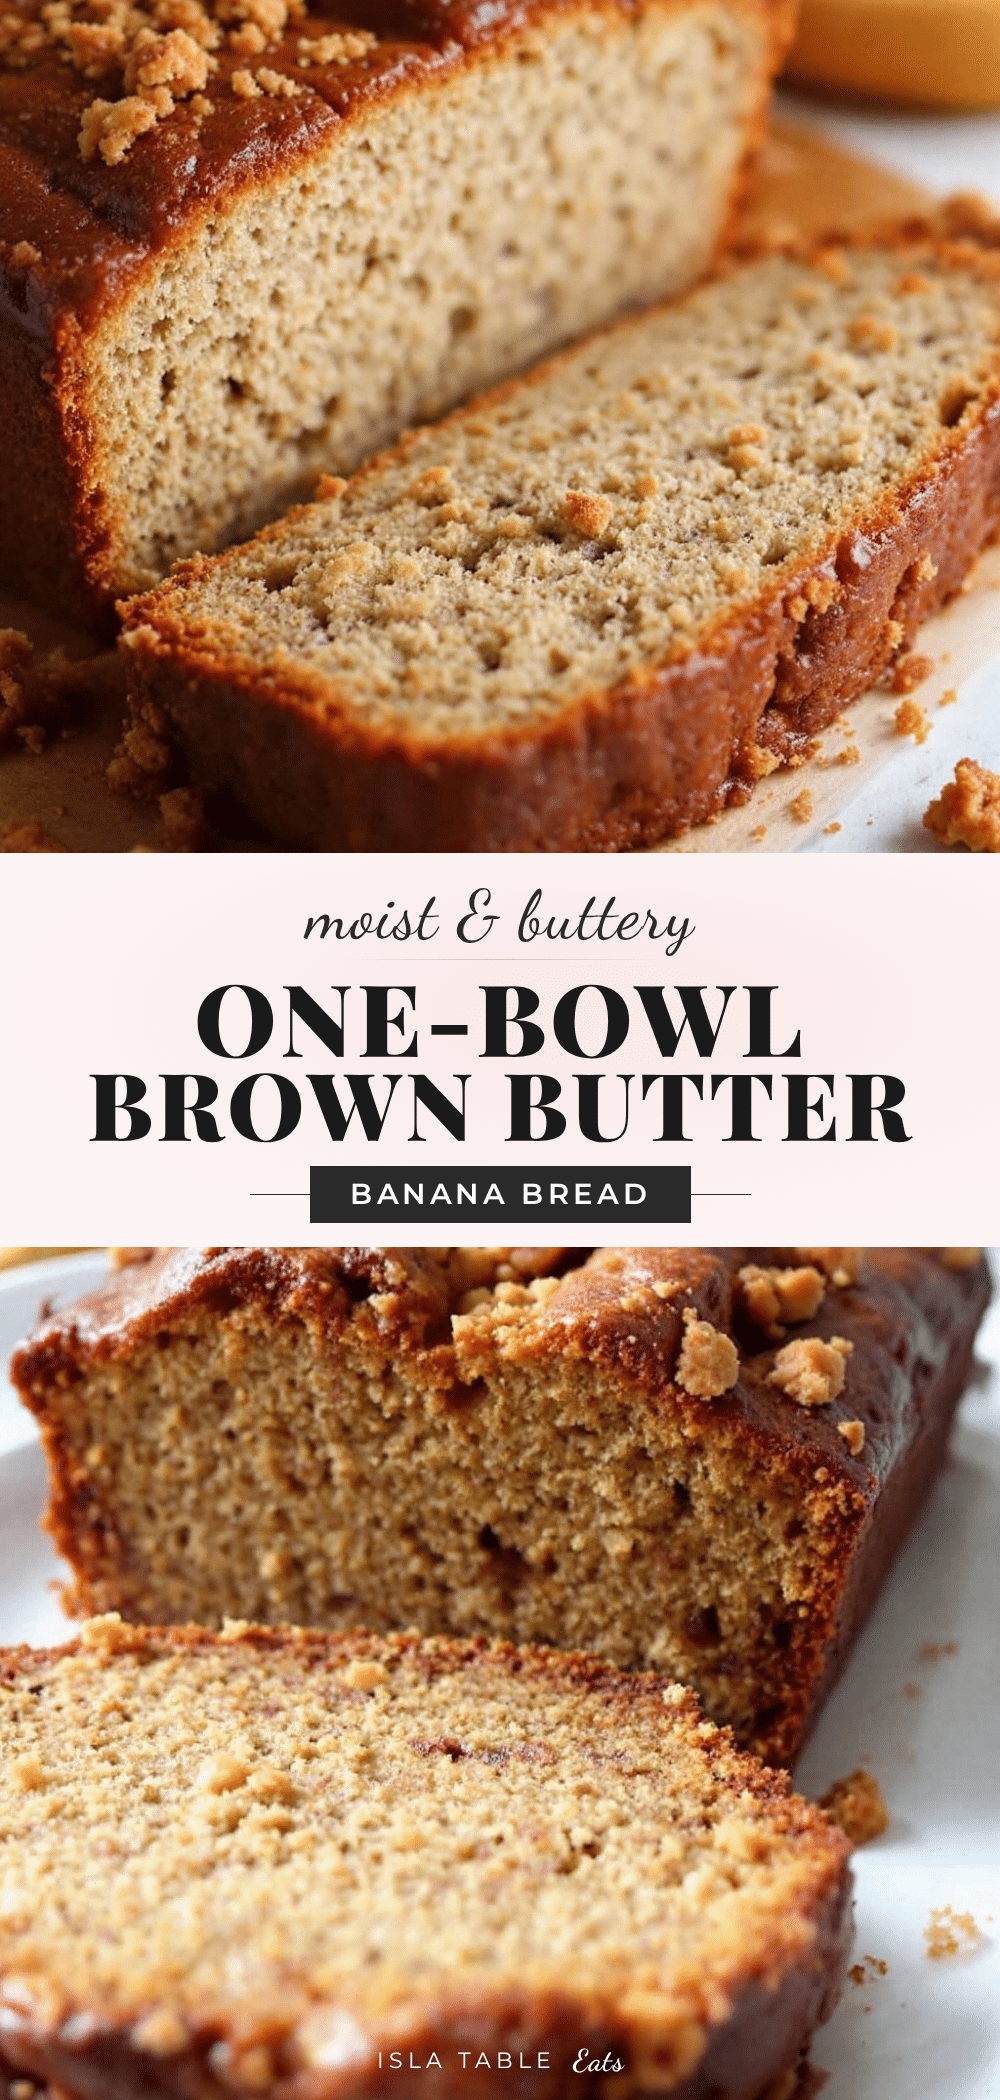
Easy One-Bowl Banana Bread with Brown Butter: Best Homemade Recipe
This easy one-bowl banana bread with brown butter is the kind of recipe that earns a permanent spot in your rotation. It’s simple enough for a Tuesday night baking project but impressive enough to bring to a holiday brunch, with a nutty, toasty flavor from brown butter that makes it taste like you spent hours on it.
- Prep Time: 15 minutes
- Cook Time: 55-65 minutes
- Total Time: 1 hour 15 minutes
- Yield: 10 servings 1x
- Category: Dessert
- Cuisine: American
Ingredients
- ½ cup (1 stick / 113 grams) unsalted butter
- 3 medium ripe bananas (about 1½ cups / 340 grams mashed)
- ¾ cup (150 grams) granulated sugar
- ¼ cup (50 grams) light brown sugar, packed
- 2 large eggs, room temperature
- 1 teaspoon vanilla extract
- 1½ cups (190 grams) all-purpose flour
- 1 teaspoon baking soda
- ½ teaspoon salt
- 1 teaspoon ground cinnamon
Instructions
- Preheat your oven to 350°F (175°C). Spray a 9×5-inch loaf pan with nonstick spray, then line it with a strip of parchment paper, leaving a couple inches of overhang on the long sides.
- Place the ½ cup (1 stick) of unsalted butter in a small light-colored saucepan over medium heat. Stir occasionally until the butter melts, foams, and turns a deep amber color with a nutty aroma, about 5-7 minutes. Remove from heat immediately and pour into a large mixing bowl to stop the cooking process.
- In the same bowl with the browned butter, add the ripe bananas. Mash them with a fork until mostly smooth, with a few small lumps remaining. You should have about 1½ cups of mashed banana.
- Add the ¾ cup granulated sugar and ¼ cup packed light brown sugar to the bowl. Whisk vigorously until smooth and the sugars are dissolved, about 1 minute. Then add the 2 room-temperature eggs and 1 teaspoon vanilla extract. Whisk again until well combined and slightly lighter in color, about 1 more minute.
- Sprinkle the 1½ cups all-purpose flour, 1 teaspoon baking soda, ½ teaspoon salt, and 1 teaspoon ground cinnamon over the wet mixture. Use a rubber spatula to fold the dry ingredients into the wet, stirring gently with a folding motion just until no streaks of flour remain. Do not overmix.
- Pour the batter into the prepared loaf pan and spread it into an even layer. Bake on the center rack for 55-65 minutes. At the 45-minute mark, check the bread; if the top is browning too quickly, tent it loosely with aluminum foil. The bread is done when a toothpick inserted into the center comes out clean or with just a few moist crumbs.
- Let the bread cool in the pan on a wire rack for 15 minutes. Then use the parchment sling to lift the bread out and transfer it directly to the rack to cool completely, at least 1 hour, before slicing.
Notes
Don’t overmix the batter once flour is added to avoid tough bread. Use room temperature eggs to prevent the browned butter from seizing. For best results, weigh bananas to get exactly 340 grams. Let the bread cool completely before slicing to prevent crumbling. The bread stays moist for up to 4 days at room temperature when wrapped tightly, and freezes well for up to 3 months.
Nutrition
- Serving Size: 1 slice
- Calories: 280
- Sugar: 22
- Sodium: 220
- Fat: 12
- Saturated Fat: 7
- Carbohydrates: 40
- Fiber: 2
- Protein: 4
Keywords: banana bread, brown butter, one bowl, easy banana bread, homemade banana bread, moist banana bread


