I figured a no-bake pumpkin pie would be a compromise—something you make when you want the flavor of Thanksgiving without the work of a custard. It took about one bite for that theory to fall completely apart. This wasn’t a compromise. It was a discovery.
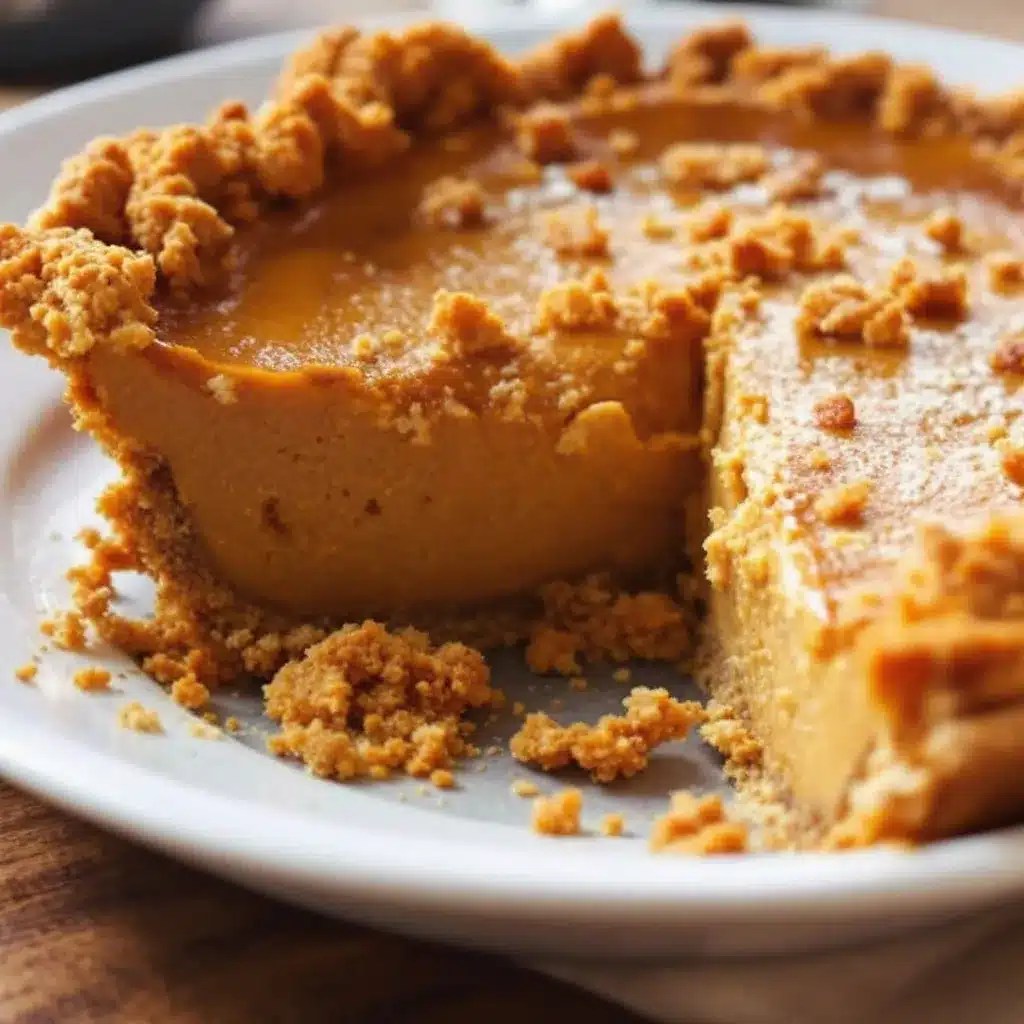
The filling set up with a wobble that promised creaminess, not the dense, almost heavy texture I associate with baked pies. The graham cracker crust had a sandy, buttery crunch that didn’t fight the filling for attention. It just supported it. Honestly, I stood at the counter with the refrigerator door open, eating a slice at 10 p.m., wondering why I had ever bothered with the oven.
This easy no-bake pumpkin pie with graham cracker crust isn’t a shortcut. It’s a different, better thing. It’s the kind of dessert that gets requested specifically, not as a backup option because the oven is full.
Let’s walk through how to make it without breaking a sweat.
Why You’ll Love This No-Bake Pumpkin Pie
This recipe solves a few problems you didn’t know you had. First, it frees up oven space. If you’re already roasting a chicken or baking a casserole, the last thing you need is a pie competing for real estate. Second, it’s genuinely forgiving. No worrying about cracks in the custard or a soggy bottom crust.
- No Oven Required: The filling sets in the refrigerator. That’s it. No blind baking, no water bath, no temperature checks.
- Simple Ingredients: If you have pumpkin puree, cream cheese, whipped topping, and a box of graham crackers, you’re basically there. No obscure spices or specialty extracts.
- Perfect for Busy Holidays: Make it the day before. It actually tastes better after a full night in the fridge. One less thing to stress about on the big day.
- Crowd-Pleaser: I’ve served this to people who swear they don’t like pumpkin desserts. They asked for seconds. The texture is lighter than a traditional pie, which makes it less heavy after a big meal.
- Unbelievably Creamy: The combination of cream cheese and stabilized whipped cream creates a mousse-like filling that feels decadent without being too rich.
This is the pie you make when you want to impress people without looking like you tried too hard. It’s comfort food, simplified.
What Ingredients You Will Need
This recipe uses simple, pantry-friendly ingredients to create a dessert that tastes like you spent hours in the kitchen. The magic is in the proportions, not the complexity.
For the Graham Cracker Crust
- 1 ½ cups graham cracker crumbs (about 12 full sheets, crushed finely). I prefer using a food processor for even crumbs, but a rolling pin and a zip-top bag work fine.
- ⅓ cup granulated sugar (adds sweetness and helps the crust hold together).
- 6 tablespoons unsalted butter, melted (use salted butter and reduce the added salt by a pinch if that’s all you have).
- ¼ teaspoon salt (balances the sweetness—don’t skip it).
For the No-Bake Pumpkin Filling
- 8 ounces cream cheese, softened to room temperature (full-fat is best for texture; reduced-fat works but the filling will be slightly less firm).
- 1 cup pumpkin puree (not pumpkin pie filling—make sure it’s 100% pure pumpkin). I recommend Libby’s for consistent texture and moisture content.
- ½ cup packed light brown sugar (adds depth and molasses notes that complement the pumpkin).
- 1 teaspoon vanilla extract (pure, not imitation, if you have it).
- 1 ½ teaspoons pumpkin pie spice (or a mix of ¾ teaspoon cinnamon, ¼ teaspoon nutmeg, ¼ teaspoon ginger, and ⅛ teaspoon cloves).
- 1 ½ cups frozen whipped topping, thawed (like Cool Whip, or make your own stabilized whipped cream).
For Topping (Optional but Recommended)
- ½ cup heavy cream (for homemade whipped cream).
- 1 tablespoon powdered sugar (for sweetness).
- ¼ teaspoon vanilla extract.
- Ground cinnamon or nutmeg for dusting.
Substitution Notes: For a dairy-free version, use dairy-free cream cheese and coconut whipped topping. The texture will be slightly different but still delicious. For a gluten-free crust, use gluten-free graham crackers or crushed gluten-free shortbread cookies.
Equipment Needed
- 9-inch pie dish (glass or ceramic works best for even cooling).
- Food processor or rolling pin (for crushing graham crackers).
- Medium mixing bowl (for crust ingredients).
- Large mixing bowl (for filling).
- Hand mixer or stand mixer (a whisk and some elbow grease work too, but a mixer makes the cream cheese smooth).
- Rubber spatula (for folding in the whipped topping).
- Measuring cups and spoons.
- Plastic wrap (to cover the pie while it chills).
If you don’t have a pie dish, a 9-inch springform pan works beautifully. The sides are higher, which makes for a nice presentation. I’ve also used a deep-dish tart pan with a removable bottom. Just make sure the crust goes up the sides evenly.
Preparation Method
Step 1: Make the Graham Cracker Crust
Pre-crushing your graham crackers is the most satisfying part of this recipe. Put them in a food processor and pulse until you have fine, uniform crumbs. You want about 1 ½ cups. If you’re going the old-school route, put the crackers in a zip-top bag and use a rolling pin. It’s louder but equally effective.
In a medium bowl, combine the graham cracker crumbs, sugar, and salt. Pour the melted butter over the top and stir with a fork until every crumb is moistened. The mixture should look like wet sand and hold together when you squeeze a handful.
Press the mixture firmly into the bottom and up the sides of your pie dish. Use the bottom of a measuring cup to really pack it down. This step matters—a loose crust will crumble when you cut the pie. Place the crust in the refrigerator for at least 30 minutes to firm up. You can also freeze it for 15 minutes if you’re in a hurry.
Step 2: Prepare the Pumpkin Filling
In a large mixing bowl, beat the softened cream cheese with an electric mixer until it’s smooth and fluffy. This takes about 2 minutes. Scrape down the sides of the bowl with a rubber spatula.
Add the pumpkin puree, brown sugar, vanilla extract, and pumpkin pie spice. Beat on medium speed until everything is well combined and smooth. Stop and scrape the bowl again. The mixture should be a uniform orange color with no streaks of cream cheese.
Step 3: Fold in the Whipped Topping
This is the step that makes the filling light and airy. Add the thawed whipped topping to the pumpkin mixture. Use a rubber spatula to fold it in gently. Start from the bottom of the bowl, lift the mixture up and over the whipped topping, and turn the bowl as you go. Don’t stir—folding keeps the air bubbles intact.
Continue until no white streaks remain. The filling should be mousse-like in texture. If it looks runny, your whipped topping was too thawed or you over-mixed it. It will still set, but the texture won’t be as light.
Step 4: Assemble the Pie
Take the chilled crust out of the refrigerator. Spoon the pumpkin filling into the crust and spread it evenly with a spatula. Give the pie dish a gentle tap on the counter to settle the filling and remove any air pockets.
Cover the pie loosely with plastic wrap and refrigerate for at least 6 hours, but overnight is better. The filling needs time to firm up completely. If you try to cut it too early, you’ll get a messy slice. Trust the process.
Step 5: Add the Topping and Serve
Just before serving, make the whipped cream. In a chilled bowl, beat the heavy cream, powdered sugar, and vanilla extract until soft peaks form. Don’t over-beat or you’ll end up with butter.
Spread or pipe the whipped cream over the set pie. Dust with a light sprinkle of cinnamon or nutmeg. Slice with a sharp knife, wiping the blade clean between cuts for neat pieces.
Cooking Tips & Techniques
I learned a few things the hard way so you don’t have to. First, room-temperature cream cheese is non-negotiable. Cold cream cheese will leave lumps in your filling that no amount of beating will fix. Set it out on the counter an hour before you start.
Second, don’t skip the salt in the crust. It seems like a small detail, but it balances the sweetness of the filling and the butteriness of the crust. A friend of mine once forgot it, and the pie tasted flat. We ate it anyway, but we noticed.
Third, if you’re making your own whipped cream for folding, stabilize it with a tablespoon of powdered sugar and a teaspoon of cornstarch. This prevents it from weeping as the pie sits. Store-bought whipped topping already has stabilizers, so it’s more forgiving.
One time, I was rushing and didn’t let the crust chill long enough. The filling pushed the crumbs around, and I ended up with a crust that was thicker on one side than the other. It still tasted good, but it wasn’t pretty. Patience pays off here.
Variations & Adaptations
This recipe is a great base for experimentation. Here are a few variations I’ve tried and loved:
- Chocolate Pumpkin Pie: Add ¼ cup melted dark chocolate to the cream cheese before adding the pumpkin. It creates a subtle chocolate undertone that pairs beautifully with the spice.
- Vegan Version: Use dairy-free cream cheese and coconut whipped cream. The texture will be slightly softer, but the flavor is spot-on. I’ve served this to non-vegans who didn’t notice the difference.
- Spiced-Up Crust: Add ½ teaspoon of cinnamon and a pinch of cayenne pepper to the graham cracker mixture. The heat is subtle but adds warmth that lingers.
- Individual Servings: Press the crust into small mason jars or ramekins instead of a pie dish. Layer the filling on top and chill. These are perfect for parties or portion control.
- Keto-Friendly Option: Replace the graham crackers with crushed almonds and a low-carb sweetener. Use full-fat cream cheese and sugar-free whipped topping. It’s not identical, but it scratches the itch.
Serving & Storage Suggestions
This pie is best served cold, straight from the refrigerator. The filling is firm but creamy, and the crust stays crunchy. Let it sit at room temperature for no more than 10 minutes before slicing.
For a festive touch, serve each slice with a dollop of whipped cream and a sprinkle of candied pecans. It also pairs well with a cup of hot coffee or a spiced chai latte.
Storage: Cover the pie tightly with plastic wrap or aluminum foil and refrigerate for up to 5 days. The crust will soften slightly over time, but the flavor actually improves. I’ve never had leftovers last longer than 3 days in my house, so I can’t personally vouch for the full 5.
Freezing: You can freeze the pie (without the whipped cream topping) for up to 2 months. Wrap it in plastic wrap and then a layer of foil. Thaw it in the refrigerator overnight before serving. Add fresh whipped cream after thawing.
Nutritional Information & Benefits
Per slice (based on 8 servings): Approximately 320 calories, 18g fat, 38g carbohydrates, 4g protein, 2g fiber, 22g sugar. This is an estimate and will vary based on your specific ingredients.
Pumpkin is a nutritional powerhouse. It’s rich in vitamin A (beta-carotene), which supports eye health and immune function. It’s also a good source of fiber, which helps with digestion and satiety. The cream cheese and butter add calcium and fat, which help your body absorb the fat-soluble vitamins in the pumpkin.
This isn’t a health food, but it’s a dessert that offers more nutritional value than most. If you’re looking for a lighter option, check out our healthy keto Mexican cauliflower rice bowl for a savory alternative.
Conclusion
This easy no-bake pumpkin pie with graham cracker crust has become my go-to for fall gatherings, Thanksgiving, and even random Tuesday nights when I need a little comfort. It’s proof that you don’t need an oven to make something memorable.
Don’t be afraid to make it your own. Add a pinch more spice, swap the crust, or top it with caramel sauce. The recipe is a starting point, not a rulebook.
I’d love to hear how yours turns out. Drop a comment below and let me know if you tried a variation or if this became your new holiday staple. And if you’re looking for another crowd-pleasing dessert, try our easy dairy-free fruit pizza for a completely different take on no-bake sweets.
Frequently Asked Questions
Can I use homemade whipped cream instead of Cool Whip?
Yes, but you need to stabilize it. Whip 1 ½ cups of heavy cream with 2 tablespoons of powdered sugar and 1 teaspoon of cornstarch until stiff peaks form. Fold it into the filling the same way you would with store-bought whipped topping.
Why is my filling runny?
This usually happens if the cream cheese wasn’t fully softened or if the whipped topping was too thawed and watery. Make sure your cream cheese is at room temperature and that your whipped topping is thawed in the refrigerator, not on the counter.
Can I use a store-bought graham cracker crust?
You can, but the texture won’t be the same. Store-bought crusts are often thinner and less buttery. If you’re short on time, it’s an acceptable shortcut, but homemade is worth the extra 10 minutes.
How far in advance can I make this pie?
You can make it up to 2 days ahead. In fact, it tastes better after a full day in the fridge. Just wait to add the whipped cream topping until right before serving.
Can I use fresh pumpkin instead of canned?
Yes, but you need to strain it first. Fresh pumpkin puree has more water than canned. Place it in a cheesecloth-lined sieve over a bowl and let it drain for at least 2 hours. Otherwise, your filling will be too wet to set properly.
Pin This Recipe!
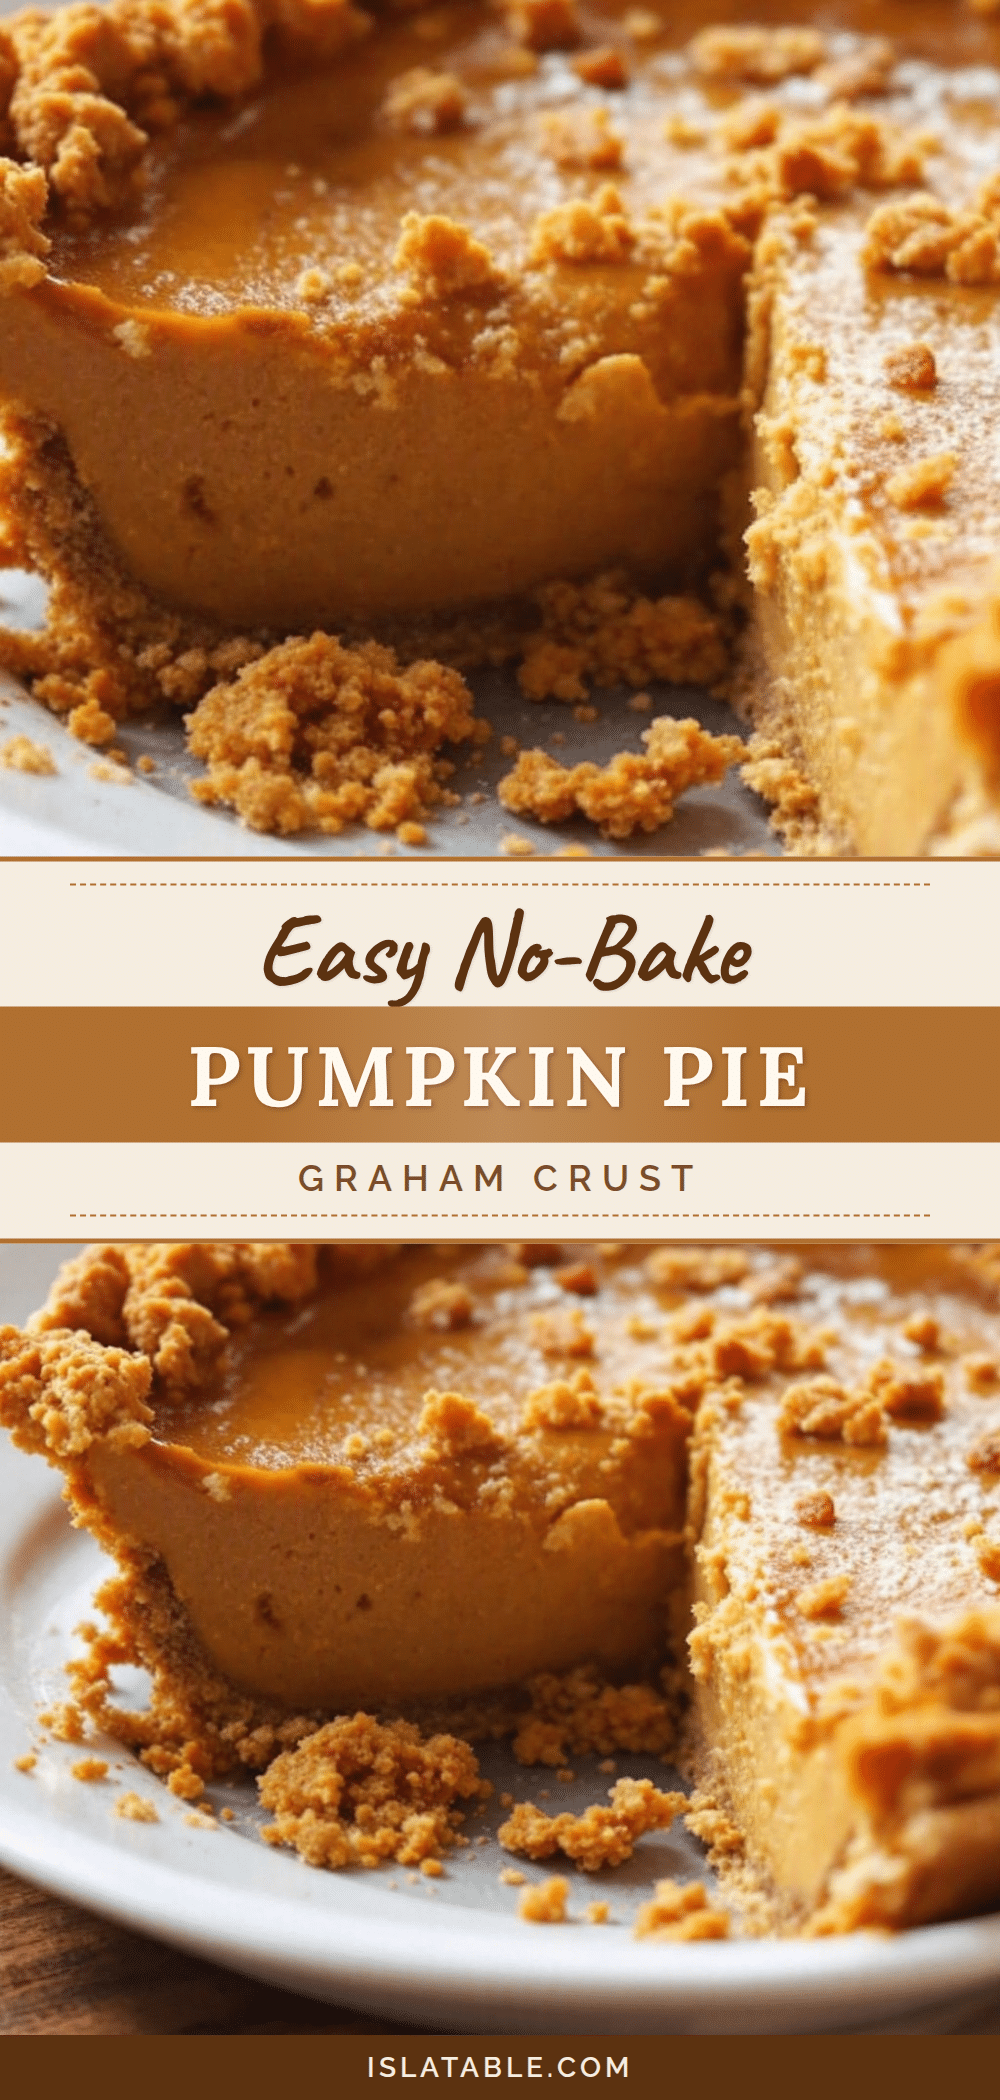
Easy No-Bake Pumpkin Pie with Perfect Graham Cracker Crust
This easy no-bake pumpkin pie with graham cracker crust is a creamy, mousse-like dessert that frees up oven space and is perfect for busy holidays. It’s a crowd-pleaser that tastes better after a full night in the fridge.
- Prep Time: 30 minutes
- Cook Time: 0 minutes
- Total Time: 6 hours 30 minutes (includes chilling time)
- Yield: 8 servings 1x
- Category: Dessert
- Cuisine: American
Ingredients
- 1 ½ cups graham cracker crumbs (about 12 full sheets, crushed finely)
- ⅓ cup granulated sugar
- 6 tablespoons unsalted butter, melted
- ¼ teaspoon salt
- 8 ounces cream cheese, softened to room temperature
- 1 cup pumpkin puree (not pumpkin pie filling)
- ½ cup packed light brown sugar
- 1 teaspoon vanilla extract
- 1 ½ teaspoons pumpkin pie spice (or mix of ¾ tsp cinnamon, ¼ tsp nutmeg, ¼ tsp ginger, ⅛ tsp cloves)
- 1 ½ cups frozen whipped topping, thawed
- ½ cup heavy cream (for topping)
- 1 tablespoon powdered sugar (for topping)
- ¼ teaspoon vanilla extract (for topping)
- Ground cinnamon or nutmeg for dusting (optional)
Instructions
- Make the Graham Cracker Crust: Crush graham crackers into fine crumbs using a food processor or rolling pin. In a medium bowl, combine crumbs, sugar, and salt. Pour melted butter over and stir until moistened like wet sand. Press firmly into bottom and up sides of a 9-inch pie dish. Refrigerate for at least 30 minutes or freeze for 15 minutes.
- Prepare the Pumpkin Filling: In a large bowl, beat softened cream cheese with an electric mixer until smooth and fluffy (about 2 minutes). Add pumpkin puree, brown sugar, vanilla extract, and pumpkin pie spice. Beat on medium speed until well combined and smooth.
- Fold in the Whipped Topping: Add thawed whipped topping to the pumpkin mixture. Gently fold with a rubber spatula until no white streaks remain, keeping the mixture light and airy.
- Assemble the Pie: Spoon filling into chilled crust and spread evenly. Tap the dish gently on the counter to settle filling. Cover loosely with plastic wrap and refrigerate for at least 6 hours, preferably overnight.
- Add Topping and Serve: Just before serving, beat heavy cream, powdered sugar, and vanilla extract in a chilled bowl until soft peaks form. Spread or pipe over set pie. Dust with cinnamon or nutmeg. Slice with a sharp knife, wiping blade clean between cuts.
Notes
Room-temperature cream cheese is essential for a smooth filling. Don’t skip the salt in the crust—it balances sweetness. For best results, chill the pie overnight. If using homemade whipped cream for folding, stabilize it with powdered sugar and cornstarch. The pie can be made up to 2 days ahead; add whipped cream topping just before serving.
Nutrition
- Serving Size: 1 slice
- Calories: 320
- Sugar: 22
- Sodium: 250
- Fat: 18
- Saturated Fat: 10
- Carbohydrates: 38
- Fiber: 2
- Protein: 4
Keywords: no-bake pumpkin pie, easy pumpkin pie, graham cracker crust, Thanksgiving dessert, no-bake dessert, pumpkin dessert


