“You really think this is going to work?” my friend whispered across the kitchen counter, eyeing the bowl of crushed Oreos and cream cheese mixture suspiciously. I laughed, trying to hide the fact that I’d never made this exact recipe before. It was one of those evenings when I was too tired to turn on the oven but too stubborn to settle for store-bought dessert. Honestly, it started as a bit of a kitchen experiment after a long day juggling work and life. I just wanted something creamy and sweet without the fuss—and no baking meant no extra heat or waiting.
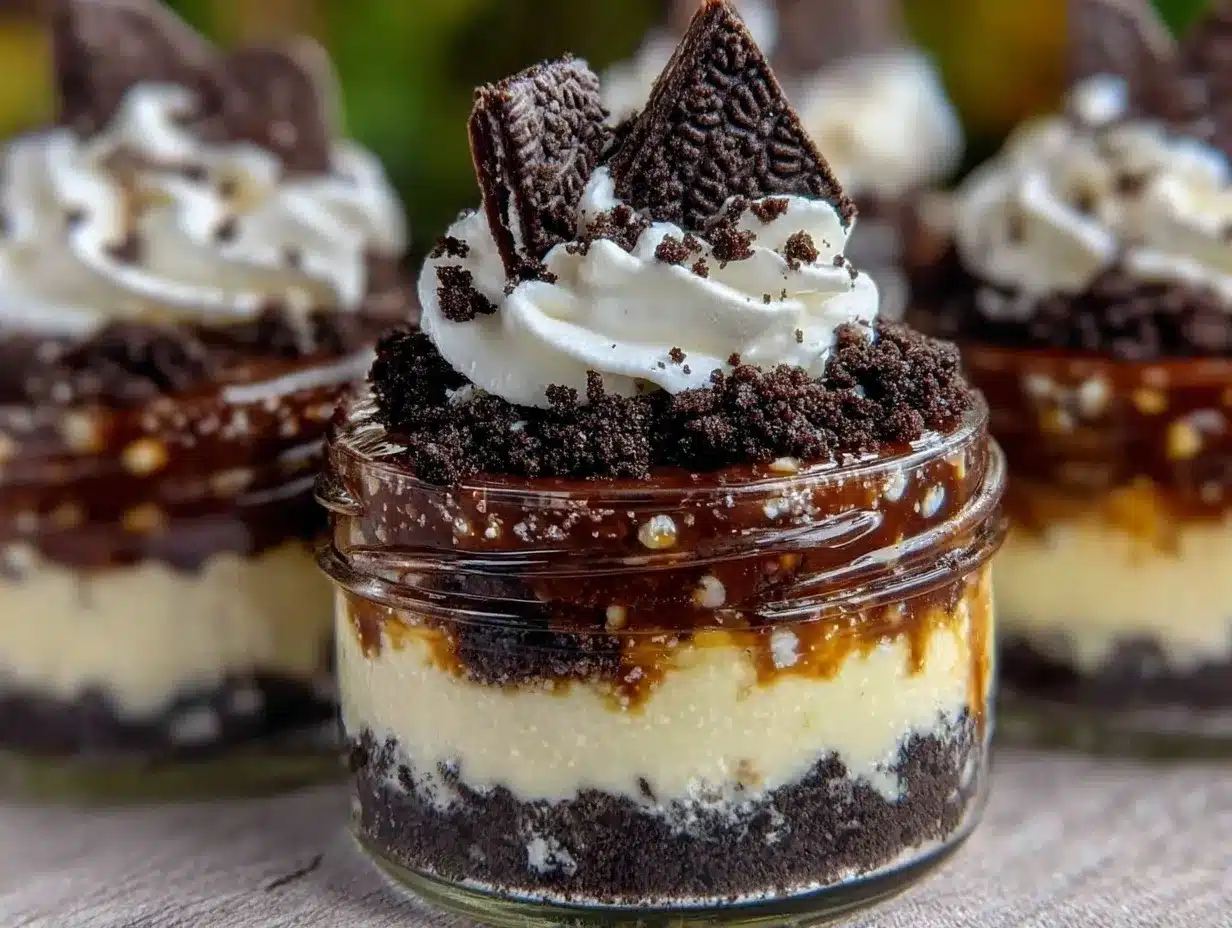
As I layered the Oreo crumbs and velvety cheesecake filling into little cups, I caught the smell of crushed cookies mingling with that tangy cream cheese. The whole kitchen felt like it was quietly promising comfort. By the time I took the first bite, I was hooked. That mix of crunchy cookie bits and smooth, rich cheesecake was exactly what I needed to feel like I’d treated myself without any hassle.
Since then, these Easy No-Bake Oreo Cheesecake Cups have become my go-to when I want something that’s indulgent but effortless. I’ve made them on busy weeknights, for unexpected guests, and even as a sweet treat for myself during a solo Netflix binge. They’re creamy, dreamy, and honestly, a little addictive.
So, if you’re craving something that’s both decadent and ridiculously simple, this recipe might just become your favorite too. It’s the kind of dessert that feels like a cozy hug after a long day—without the mess or the wait.
Why You’ll Love This Recipe
After testing this recipe multiple times (yes, sometimes more than once in the same week), I can say it’s as reliable as it is delicious. Here’s why these Easy No-Bake Oreo Cheesecake Cups stand out from the crowd:
- Quick & Easy: Ready in under 20 minutes, perfect for when you want a sweet fix fast without heating up the kitchen.
- Simple Ingredients: No need for complicated shopping trips—Oreos, cream cheese, a bit of sugar, and whipped cream are all you need.
- Perfect for Any Occasion: Whether it’s a casual gathering, a potluck, or an intimate dessert for two, these cups fit right in.
- Crowd-Pleaser: Kids and adults alike can’t get enough—plus, it’s a fun way to serve cheesecake without forks or plates.
- Unbelievably Delicious: The creamy texture contrasts perfectly with the crunchy cookie bits; every spoonful melts in your mouth.
What makes this recipe different? The key is in how the Oreo crumbs are layered with just the right amount of cheesecake filling—not too dense, not too fluffy. I’ve also found that using full-fat cream cheese and freshly whipped cream (instead of canned or stabilized stuff) gives the best silky mouthfeel. This isn’t just “another no-bake cheesecake” — it’s a simple, fuss-free indulgence that feels like a little celebration in every bite.
Honestly, it’s the kind of treat that makes you want to close your eyes and savor the moment—a little creamy indulgence that’s just right.
What Ingredients You Will Need
This recipe keeps things straightforward by using pantry staples you probably have on hand, making it easy to whip up at a moment’s notice. The ingredients work together to create a balance of creamy, sweet, and crunchy textures without fuss.
- Oreo Cookies (about 24 cookies): Crushed finely for the base and topping. I prefer the classic Oreos, but feel free to try golden Oreos for a twist.
- Unsalted Butter (5 tablespoons, melted): Binds the Oreo crumbs for the crust. Use real butter for richness; margarine can work but changes flavor.
- Cream Cheese (8 ounces / 225 grams, softened): The heart of the cheesecake filling. Full-fat cream cheese is key for that creamy texture.
- Powdered Sugar (3/4 cup / 90 grams): Adds sweetness and smoothness without graininess.
- Vanilla Extract (1 teaspoon): Just a touch to round out the flavor.
- Heavy Whipping Cream (1 cup / 240 ml, cold): Whipped to soft peaks to lighten the filling. If you want a dairy-free version, try canned coconut cream whipped cold.
- Optional – Mini Oreo Pieces: For garnish on top, adds a nice crunchy finish.
If you want to switch things up, almond flour can replace some of the Oreo crumbs for a less sweet crust, or for a gluten-free option, you could use gluten-free sandwich cookies as your base. I’ve even swapped heavy cream for coconut cream to make these dairy-free, which works surprisingly well!
Equipment Needed
- Mixing Bowls: Two medium bowls—one for crushing the Oreos and making the crust, one for the filling.
- Electric Mixer or Stand Mixer: To whip the cream and beat the cream cheese smooth. A handheld mixer works just fine if you don’t have a stand.
- Measuring Cups and Spoons: Accuracy keeps the texture just right.
- Spatula: For folding the whipped cream into the cream cheese mixture gently.
- Serving Cups or Jars: Small glasses, mason jars, or even silicone cupcake liners work perfectly for these cheesecake cups.
- Food Processor or Plastic Bag & Rolling Pin: For crushing the Oreos. Crushing by hand can work, but it takes longer and is less even.
Nothing too fancy here, and if you’re on a budget, a simple handheld mixer and a sturdy plastic bag for cookie crushing will do just fine. I’ve found that silicone spatulas are gentler when folding the whipped cream, helping keep the filling airy.
Preparation Method
- Prepare the Oreo Crust: Place about 20 Oreo cookies into a food processor and pulse until finely crushed. If you don’t have a processor, put the cookies in a sealed plastic bag and crush them with a rolling pin until fine but slightly crumbly. Transfer crumbs to a bowl.
- Add Melted Butter: Pour 5 tablespoons (70 grams) of melted unsalted butter into the crushed Oreos and stir until the mixture resembles wet sand. This should take about 2 minutes. The crumbs should hold together when pressed. If too dry, add a teaspoon more melted butter.
- Form the Base Layer: Spoon about 2 tablespoons of the Oreo crust into each serving cup. Press down firmly with the back of a spoon or your fingers to create a compact base. This sets the stage for the filling. Chill the cups in the fridge while you prepare the filling, about 10 minutes.
- Make the Cheesecake Filling: In a mixing bowl, beat 8 ounces (225 grams) of softened cream cheese until smooth and creamy—no lumps! This usually takes 2 to 3 minutes with an electric mixer on medium speed.
- Add Powdered Sugar and Vanilla: Gradually add 3/4 cup (90 grams) powdered sugar and 1 teaspoon vanilla extract, mixing until fully combined. The mixture should be sweet but balanced, with that classic cheesecake tang.
- Whip the Heavy Cream: In a separate chilled bowl, whip 1 cup (240 ml) of cold heavy cream to soft peaks. Watch closely; you want it light and fluffy but not over-whipped to butter.
- Fold the Whipped Cream into Cream Cheese: Gently fold the whipped cream into the cream cheese mixture using a spatula. Fold slowly to keep the texture airy—think of it as folding delicate clouds together. This step takes about 3 minutes.
- Assemble the Cups: Spoon or pipe a generous layer of cheesecake filling over the Oreo crust in each cup. Top with crushed mini Oreos or cookie crumbs for garnish.
- Chill to Set: Refrigerate the filled cups for at least 2 hours, preferably 4, to let the flavors meld and the filling firm up just right. Patience here really pays off.
- Serve and Enjoy: Once chilled, these cups are ready for creamy, crunchy indulgence. They’re perfect chilled straight from the fridge and can be served with a dollop of fresh whipped cream or a drizzle of chocolate sauce for extra flair.
Pro tip: If your cream cheese feels too cold, it won’t blend smoothly—take it out a bit earlier to soften. And when folding, don’t rush; overmixing will deflate the whipped cream and result in a denser texture.
Cooking Tips & Techniques
Making no-bake desserts sounds easy, but a few little details make all the difference in these Oreo cheesecake cups. Here’s what I’ve learned through trial and error:
- Softening Cream Cheese: This is crucial. If it’s too cold, you’ll get lumps, and if it’s too warm, the filling can get runny. I like to leave it out for about 30 minutes before mixing, depending on your kitchen temperature.
- Whipping Cream to Soft Peaks: Stopping at soft peaks ensures a smooth, light filling. Over-whipping leads to grainy texture and might separate when mixed.
- Folding Technique: Fold gently but thoroughly. I use a spatula to cut through the center, scoop underneath, and turn the mixture over several times. This keeps the air in and yields that fluffy, creamy mouthfeel.
- Chilling Time: Don’t skip this step! The filling firms up and flavors combine during chilling. If you’re in a rush, 2 hours is minimum, but overnight is ideal.
- Cookie Crust Consistency: The crust should be moist enough to hold together when pressed but not soggy. Melted butter quantity might need slight adjustments depending on your Oreo brand.
Once, I forgot to chill the cups and the filling was too soft to hold its shape—lesson learned! Also, I’ve found that adding a pinch of salt to the filling offsets the sweetness nicely. Little details like these make this recipe truly stand out.
Variations & Adaptations
These cheesecake cups are a versatile canvas for all sorts of flavors and dietary needs. Here are some fun options to try:
- Fruit Twist: Add a layer of fresh strawberries or raspberries between the crust and filling for a fruity surprise.
- Chocolate Lover’s Version: Mix in 2 tablespoons of cocoa powder to the filling or swirl melted chocolate on top for extra richness.
- Dairy-Free Adaptation: Use coconut cream whipped cold instead of heavy cream, and swap cream cheese for a vegan alternative like cashew-based cream cheese.
- Gluten-Free Option: Replace Oreos with gluten-free chocolate sandwich cookies or almond flour crust.
- Peanut Butter Oreo Cups: Stir 1/4 cup creamy peanut butter into the cream cheese mixture for a peanut butter-chocolate combo.
Personally, I once made a batch with a vegan twist using vegan-friendly ingredients, and it was surprisingly creamy and satisfying. Also, if you want a no-bake dessert with a similar fuss-free vibe, you might enjoy these easy gluten-free cornbread muffins that pair wonderfully with savory meals.
Serving & Storage Suggestions
These cheesecake cups are best served cold straight from the fridge. The creamy filling holds its shape beautifully and offers a cool, refreshing bite—especially nice on warm days or after a hearty meal.
For presentation, garnish with a few crushed Oreos, a sprig of mint, or even a drizzle of chocolate or caramel sauce. They’re perfect little desserts for parties because they’re easy to serve and look charming in small glass jars or clear cups.
Store leftovers in an airtight container or cover the cups tightly with plastic wrap. They’ll keep well in the refrigerator for up to 3 days. If you want to prep ahead, you can make them up to 24 hours before serving—flavors actually deepen with time.
Reheating isn’t necessary and not recommended since these are best chilled. However, if the filling feels too firm after refrigeration, just leave them out for 10-15 minutes before serving to soften slightly.
Nutritional Information & Benefits
While these cups are definitely an indulgence, they’re portion-controlled and use simple ingredients. Each serving (one cup) roughly contains:
| Calories | 320 |
|---|---|
| Fat | 22g |
| Carbohydrates | 28g |
| Protein | 4g |
The cream cheese provides a good dose of calcium and protein, while the Oreos contribute sugar and crunch. For those watching carbs or sugar, you could try swapping powdered sugar with a low-carb sweetener or using sugar-free sandwich cookies.
From a wellness perspective, these cups are a satisfying treat that can fit into a balanced diet when enjoyed in moderation. They’re also naturally gluten-free if you use gluten-free Oreos, and can be adapted for dairy-free diets with simple swaps.
Conclusion
Easy No-Bake Oreo Cheesecake Cups are proof that indulgent desserts don’t have to be complicated or time-consuming. The combination of crunchy cookie crumbs and smooth, creamy filling makes each bite a little moment of joy. I love how versatile and forgiving this recipe is—whether you want to keep it classic or add your own twist, it’ll always turn out delicious.
Trust me, once you make these, they’ll become your reliable go-to for effortless desserts that impress without stress. Feel free to tweak the flavors or presentation to suit your mood and ingredients on hand. I’m always curious to hear how others customize their versions, so don’t be shy about sharing your variations!
Enjoy the creamy indulgence—and may your kitchen feel just a bit sweeter.
FAQs About Easy No-Bake Oreo Cheesecake Cups
Can I make these cheesecake cups ahead of time?
Absolutely! They taste even better after chilling overnight, which allows the flavors to meld and the filling to firm up perfectly.
What’s the best way to crush Oreos without a food processor?
Place the cookies in a sealed plastic bag and crush them with a rolling pin or heavy pan until you get fine crumbs with some small chunks for texture.
Can I use low-fat cream cheese or whipped topping instead?
Low-fat cream cheese may affect the creaminess and texture, making it less rich. Whipped topping usually has stabilizers that can change the mouthfeel, so full-fat cream cheese and real whipped cream give the best results.
Are these cups freezer-friendly?
You can freeze them, but the texture might change slightly. If freezing, thaw in the fridge for several hours before serving and expect a softer crust.
How can I make these dairy-free?
Swap cream cheese for a vegan cashew-based version and use chilled canned coconut cream whipped to replace heavy cream. Use dairy-free cookies like Oreos that are vegan-friendly.
Pin This Recipe!
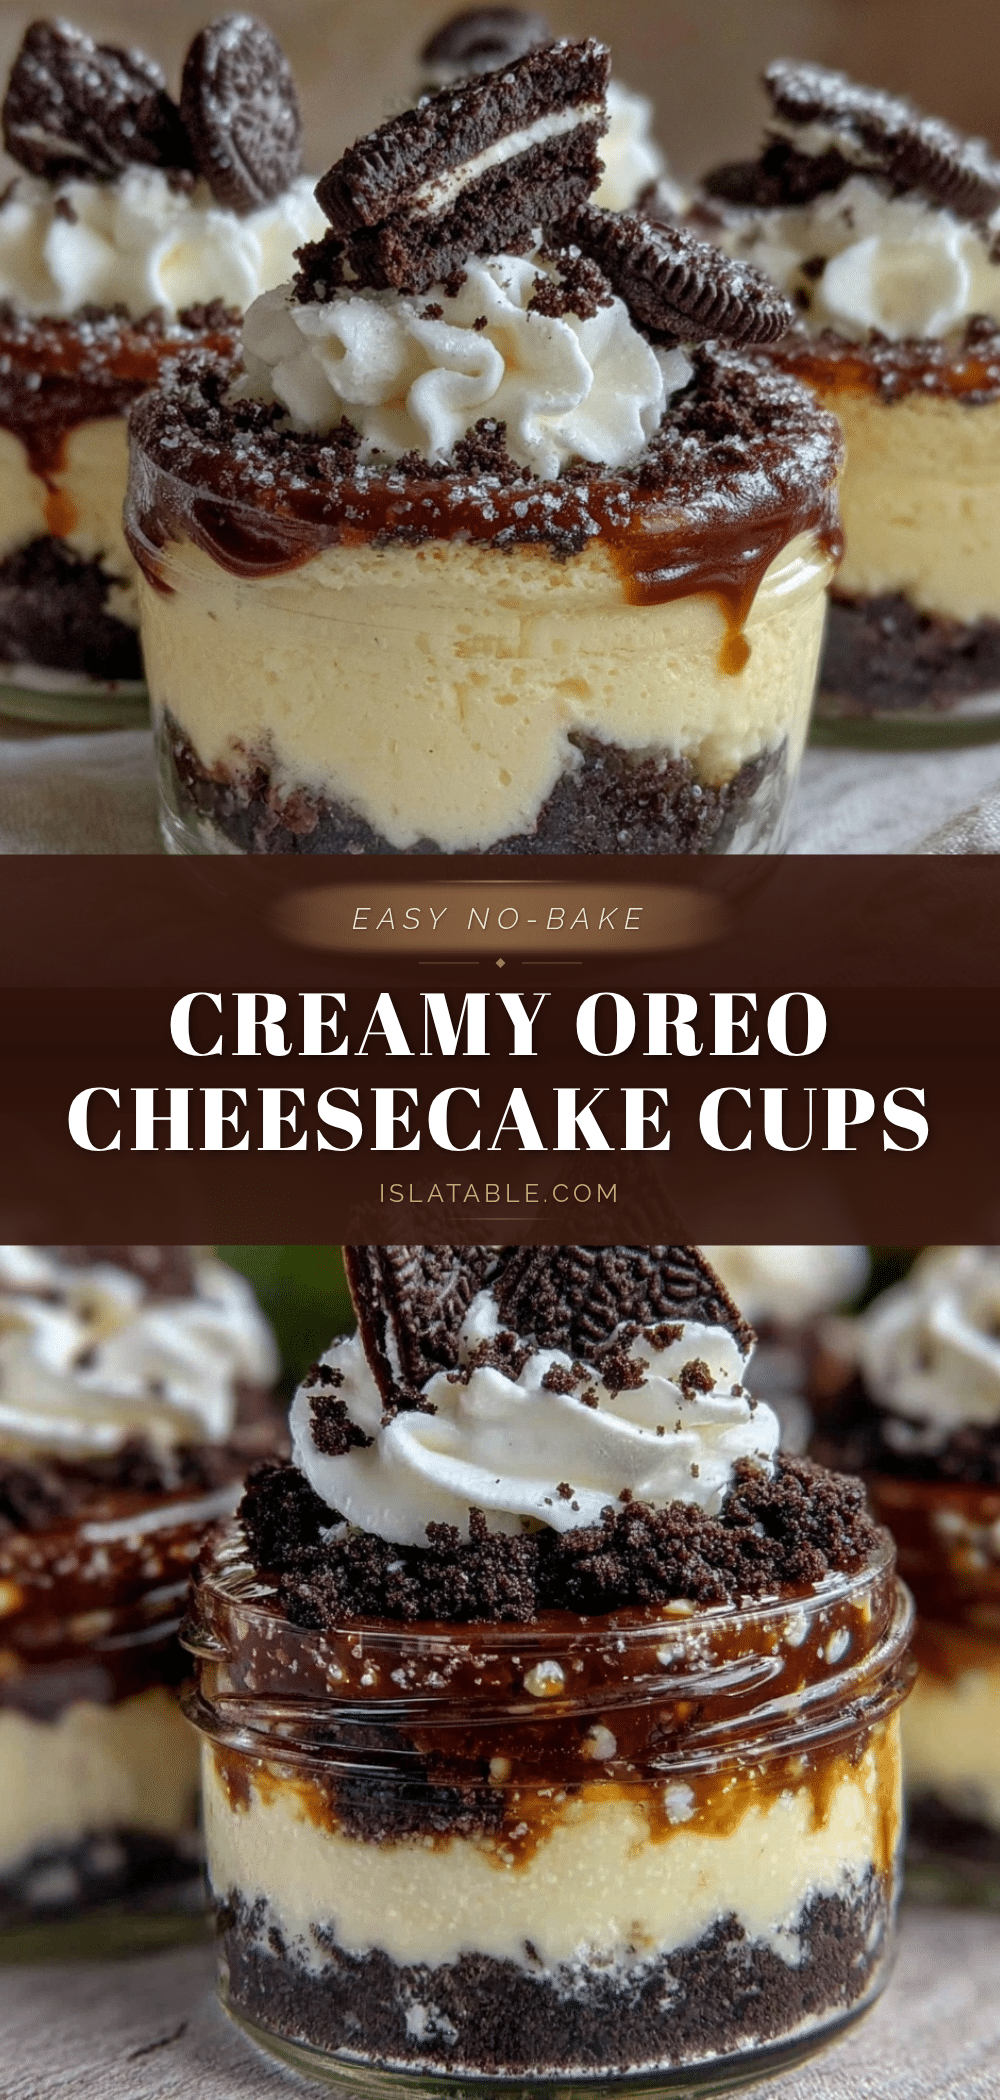
Easy No-Bake Oreo Cheesecake Cups Recipe for Creamy Indulgence
A quick and easy no-bake dessert featuring layers of crushed Oreo cookies and creamy cheesecake filling, perfect for any occasion and ready in under 20 minutes.
- Prep Time: 15 minutes
- Cook Time: 0 minutes
- Total Time: 2 hours 15 minutes
- Yield: 8 servings 1x
- Category: Dessert
- Cuisine: American
Ingredients
- About 24 Oreo Cookies, crushed finely
- 5 tablespoons unsalted butter, melted
- 8 ounces (225 grams) cream cheese, softened
- 3/4 cup (90 grams) powdered sugar
- 1 teaspoon vanilla extract
- 1 cup (240 ml) heavy whipping cream, cold
- Optional: Mini Oreo pieces for garnish
Instructions
- Place about 20 Oreo cookies into a food processor and pulse until finely crushed. Alternatively, crush cookies in a sealed plastic bag with a rolling pin until fine but slightly crumbly. Transfer crumbs to a bowl.
- Pour 5 tablespoons (70 grams) of melted unsalted butter into the crushed Oreos and stir until the mixture resembles wet sand. Adjust butter if too dry.
- Spoon about 2 tablespoons of the Oreo crust into each serving cup and press down firmly to create a compact base. Chill in the fridge for about 10 minutes.
- In a mixing bowl, beat 8 ounces (225 grams) of softened cream cheese until smooth and creamy.
- Gradually add 3/4 cup (90 grams) powdered sugar and 1 teaspoon vanilla extract, mixing until fully combined.
- In a separate chilled bowl, whip 1 cup (240 ml) of cold heavy cream to soft peaks.
- Gently fold the whipped cream into the cream cheese mixture using a spatula, folding slowly to keep the texture airy.
- Spoon or pipe a generous layer of cheesecake filling over the Oreo crust in each cup. Top with crushed mini Oreos or cookie crumbs for garnish.
- Refrigerate the filled cups for at least 2 hours, preferably 4, to let the flavors meld and the filling firm up.
- Serve chilled, optionally with a dollop of fresh whipped cream or a drizzle of chocolate sauce.
Notes
Use full-fat cream cheese and freshly whipped cream for best texture. Soften cream cheese before mixing to avoid lumps. Fold whipped cream gently to keep filling airy. Chill at least 2 hours, overnight preferred. For dairy-free, substitute cream cheese and heavy cream with vegan alternatives. For gluten-free, use gluten-free sandwich cookies or almond flour crust.
Nutrition
- Serving Size: 1 cup (one cheesecak
- Calories: 320
- Fat: 22
- Carbohydrates: 28
- Protein: 4
Keywords: no-bake cheesecake, Oreo cheesecake cups, easy dessert, no oven dessert, creamy cheesecake, Oreo dessert, quick dessert