“Hey, you’ve got to try this for the Fourth!” my neighbor called out last summer, practically waving the plate through the screen door. I was skeptical at first—another dessert that looked good but probably took hours? Nope. Turns out, this Easy No-Bake Berry Flag Icebox Cake was more like a cool breeze on a hot day, no oven needed, and surprisingly simple.
That afternoon, the kitchen smelled faintly of fresh berries and vanilla, the kind of scent that makes you pause and smile. I remember sitting on my porch, watching the sunlight catch the red and blue hues of the cake’s layers, feeling like summer had been captured in a dessert. Honestly, it was that unexpected turn from “I don’t have time” to “I can’t wait to make this again” that made this recipe stick with me.
There’s something about the crispness of the chilled layers, the sweetness balanced just right, that makes you want to savor every bite slowly, even if you’re surrounded by chaos (kids running, music playing, friends chatting). This cake isn’t just a festive showstopper; it’s a relaxed, no-fuss way to celebrate the season—and really, what’s better than that?
So yeah, this Easy No-Bake Berry Flag Icebox Cake is the kind of recipe you keep coming back to, especially when summer’s in full swing and you want something that feels special but doesn’t steal your afternoon. It’s a sweet little win that’s as refreshing as it is satisfying.
Why You’ll Love This Recipe
After testing this no-bake flag icebox cake several times (and honestly, having it requested at every summer gathering), I’m convinced it’s one of the simplest ways to impress without stress. Here’s why it’s worth keeping on your radar:
- Quick & Easy: Comes together in under 20 minutes, then just chill. Perfect for last-minute summer parties or when you’re juggling a million things.
- Simple Ingredients: You don’t need fancy or hard-to-find items—most are pantry staples or fresh berries you can grab on any grocery run.
- Perfect for Summer Celebrations: Whether it’s a picnic, BBQ, or just a casual hangout, this recipe fits right in with sunny vibes and outdoor fun.
- Crowd-Pleaser: Kids and adults alike love the creamy texture and fresh berry pop. It’s always a hit, even with those who usually skip dessert.
- Unbelievably Delicious: The balance of sweet cream, tangy berries, and crunchy cookie layers is honestly next-level comfort food, but light enough for warm days.
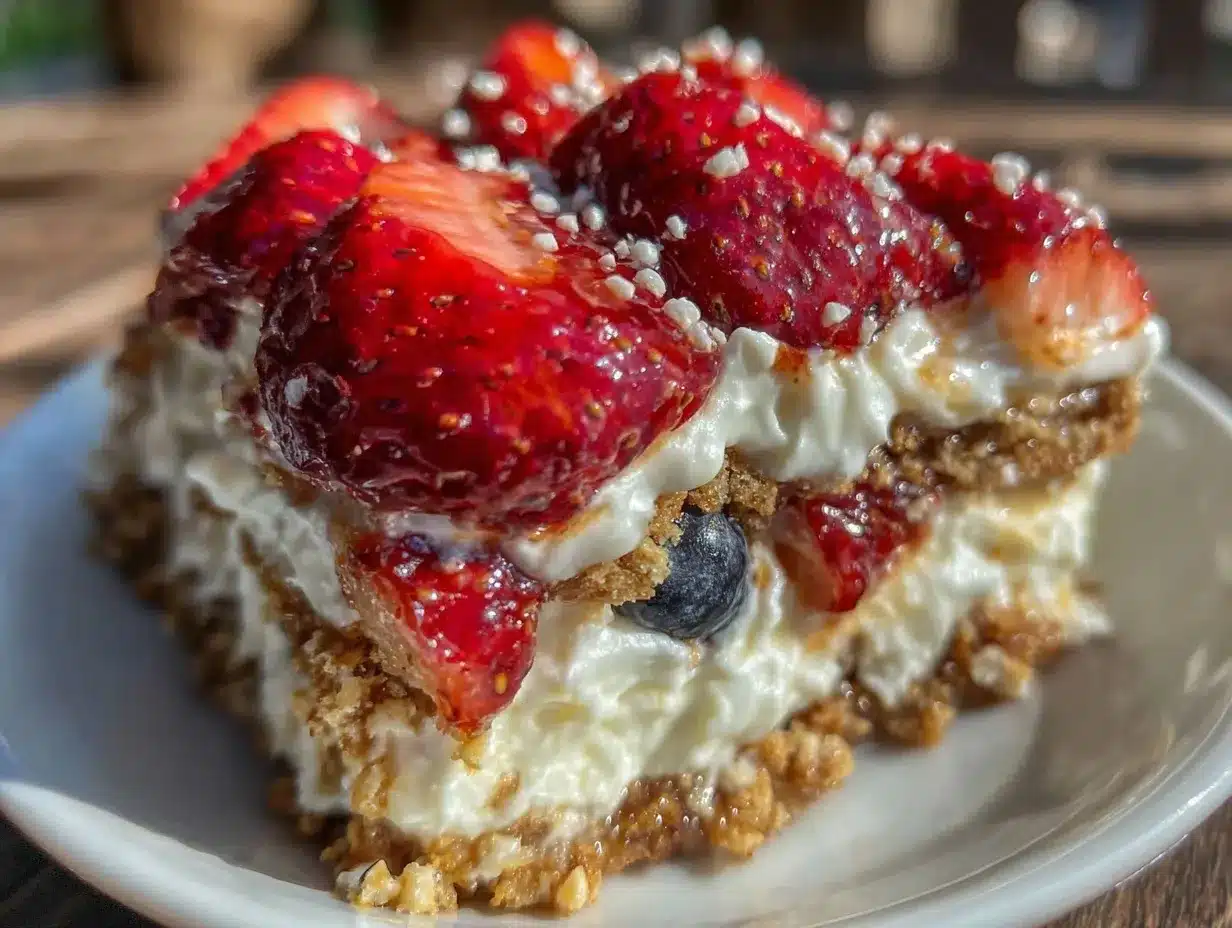
What sets this recipe apart? It’s the layering technique—using store-bought graham crackers (or digestive biscuits) layered with a fluffy cream cheese and whipped topping mix, then topped with fresh berries arranged like a flag. The no-bake method means you get that soft, melt-in-your-mouth texture without turning on the oven or fussing over complicated steps.
It’s not just a dessert, it’s a little celebration on a plate. One bite and you’ll see why this recipe gets a starring role every summer.
What Ingredients You Will Need
This Easy No-Bake Berry Flag Icebox Cake uses straightforward, fresh ingredients to create a bold, refreshing dessert without any fuss. Most of these are pantry staples or easy to find in the produce section during berry season.
- For the Cream Layer:
- 8 oz (225g) cream cheese, softened (I prefer Philadelphia for its smoothness)
- 1 cup (240ml) heavy whipping cream, cold
- ½ cup (60g) powdered sugar, sifted
- 1 tsp pure vanilla extract
- For the Layers:
- 1 package graham crackers or digestive biscuits (about 14 oz / 400g) – use gluten-free crackers if needed
- For the Berry Flag Topping:
- 1 cup (150g) fresh strawberries, sliced
- 1 cup (150g) fresh blueberries
- Optional: a handful of raspberries or blackberries for extra color
Fresh berries are definitely the star here, so pick ripe, firm ones. If fresh aren’t available, frozen berries can work but thaw and drain well to avoid sogginess. And if you want a dairy-free twist, swap cream cheese and heavy cream for coconut-based alternatives (though texture will vary).
Equipment Needed
- Mixing bowls (medium and large)
- Electric mixer or stand mixer (for whipping cream and cream cheese mixture)
- Spatula (for folding and spreading)
- 9×13 inch (23×33 cm) rectangular baking dish or similar shallow pan
- Measuring cups and spoons
- Knife and cutting board (for slicing berries)
If you don’t have an electric mixer, a whisk can work for the cream—but it’ll take some arm power and patience! As for the pan, I’ve used glass and metal pans with great results, just make sure it’s shallow enough so the layers stack nicely. A silicone spatula makes spreading the cream easier and helps keep those layers neat.
Preparation Method
- Prepare the cream layer: In a medium bowl, beat the softened cream cheese until smooth (about 2 minutes). In a separate large bowl, whip the cold heavy cream with powdered sugar and vanilla extract until stiff peaks form (about 3-4 minutes on medium-high speed). Gently fold the whipped cream into the cream cheese until just combined—don’t overmix or it might deflate. The texture should be light and fluffy.
- Layer the base: Spread a thin layer (about ½ cup / 120ml) of the cream mixture evenly on the bottom of your baking dish. This prevents the crackers from slipping later.
- Add the first cracker layer: Arrange graham crackers in a single layer over the cream, breaking crackers as needed to fit. It’s okay if they overlap slightly, just cover the surface.
- Spread cream over crackers: Spoon about 1½ cups (360ml) of the cream mixture over the crackers, smoothing it out with your spatula. Try to get an even layer so every bite gets cream and crunch.
- Repeat layers: Add another cracker layer, then cream, and finish with a final cracker layer on top. Reserve about 1 cup (240ml) of cream mixture for the berry flag topping.
- Chill the cake: Cover the dish tightly with plastic wrap and refrigerate for at least 4 hours, preferably overnight. This step is key—crackers soften and soak up that creamy goodness, melding flavors beautifully.
- Create the berry flag: Just before serving, spread the reserved cream mixture evenly over the top cracker layer. Arrange sliced strawberries in the upper left corner to form the stripes, then fill the rest with blueberries to mimic the flag’s blue field. Use raspberries or blackberries if you want to add more color or texture.
- Final chill (optional): If you’re not serving immediately, pop the cake back in the fridge to set the berry topping for 15-30 minutes.
Pro tip: When slicing the strawberries, keep them thin and uniform to lay flat and look neat. Also, don’t rush the chilling process—this cake tastes best when fully set.
Cooking Tips & Techniques
While this is a no-bake recipe, a few tricks can make it foolproof and photo-ready:
- Softening cream cheese: Don’t microwave it! Let it sit at room temp for about 30 minutes. That way, it blends smoothly without lumps.
- Whipping cream: Cold cream whips better. Pop your mixing bowl and beaters in the fridge for 10-15 minutes before starting if you can.
- Folding technique: Use a gentle folding motion when combining whipped cream and cream cheese to keep the airy texture intact—this makes the final cake light, not dense.
- Layering crackers: If your crackers have sharp edges, gently press them down so the cake layers set evenly. Overlapping too much can make cutting messy.
- Berry prep: Wash and dry berries thoroughly, then slice strawberries just before assembling the flag to avoid sogginess.
- Multitasking: While the cake chills, it’s a great opportunity to prep other dishes like a fresh keto coleslaw or marinate some smokeless BBQ chicken for your party menu.
One time, I accidentally swapped the sugar for salt (don’t ask how), and the resulting cake was… well, memorable but not in a good way. Lesson learned: measure carefully and taste as you go. Also, patience with chilling is your friend—don’t rush serving.
Variations & Adaptations
This berry flag icebox cake is pretty flexible, so feel free to mix it up depending on your mood, dietary needs, or what’s in the fridge:
- Dietary swaps: Use dairy-free cream cheese and coconut whipped cream for a vegan and dairy-free version. Gluten-free graham crackers also make this safe for gluten-sensitive guests.
- Seasonal berries: Swap strawberries and blueberries for raspberries and blackberries in late summer or freeze-dried berries for a crunchy topping twist.
- Flavor twists: Add a tablespoon of lemon zest to the cream cheese mixture for a bright citrus note, or swirl in a little almond extract instead of vanilla for a nutty undertone.
- Alternate layers: Try layering thin slices of pound cake or ladyfingers instead of crackers if you want a softer, sponge-like texture.
- Personal favorite: I once added a drizzle of homemade blueberry sauce between layers for an extra punch of flavor—totally optional but highly recommended if you like fruitier desserts.
Serving & Storage Suggestions
This cake is best served chilled, straight from the fridge. The creamy layers are cool and refreshing, making it perfect for those hot summer afternoons. Use a sharp knife dipped in hot water to slice neat squares without crumbling.
Pair it with light beverages like iced tea, lemonade, or even a sparkling rosé for a festive touch. It’s a natural fit alongside other easy sides like gluten-free cornbread muffins or a fresh green salad.
To store, cover tightly with plastic wrap or transfer to an airtight container and refrigerate for up to 3 days. The flavors meld over time, making leftovers even tastier. Avoid freezing, as the texture of the cream and berries can suffer.
Reheat? Nope, this is a cold treat meant to be enjoyed chilled. Just let it sit out 5-10 minutes before serving if it’s too cold to taste all those lovely berry notes.
Nutritional Information & Benefits
This no-bake berry flag icebox cake offers a moderate-calorie dessert option that includes fresh fruit and a creamy base. Per serving (about 1/12th of the cake), you’re looking at approximately:
| Calories | 220 |
|---|---|
| Fat | 14g |
| Carbohydrates | 20g |
| Protein | 3g |
| Fiber | 2g |
Key benefits come from the antioxidants and vitamins in the berries, especially vitamin C and dietary fiber. The cream cheese and whipping cream provide calcium and a satisfying dose of healthy fats. If you opt for gluten-free crackers or dairy-free cream alternatives, this dessert can fit a variety of dietary needs.
From a wellness standpoint, it’s a reminder that dessert can be both joyful and somewhat nourishing—no need to feel guilty about enjoying a slice (or two) during summer celebrations.
Conclusion
This Easy No-Bake Berry Flag Icebox Cake is one of those recipes that feels like a little summer party on its own. It’s approachable, beautiful, and reliably delicious, with just enough flair to make you smile. You can tweak it to suit your taste, whether you’re avoiding gluten, dairy, or just craving a fresh berry twist.
For me, it’s become a go-to for when summer’s rolling in and I want something that’s as easy as it is pretty—plus, it’s a fun way to bring a bit of festivity without fuss. I hope you find it as satisfying as I do and don’t be surprised if it becomes a staple at your get-togethers.
Feel free to leave a comment sharing your own berry twists or how this cake worked out for you—there’s always room for sweet stories in the kitchen. Here’s to many more summer memories, one chilled slice at a time.
FAQs About Easy No-Bake Berry Flag Icebox Cake
Can I make this cake ahead of time?
Absolutely! It actually tastes better after chilling overnight because the flavors meld and the crackers soften just right. Just cover tightly and refrigerate.
What can I use if I don’t have graham crackers?
Digestive biscuits are a great substitute, or even thin ladyfingers if you want a softer texture. Just keep in mind the flavor and sweetness may vary.
Can I use frozen berries instead of fresh?
You can, but make sure to thaw and drain them well to avoid excess moisture that can make the cake soggy. Fresh berries are best for the topping’s appearance.
Is there a dairy-free option for this recipe?
Yes, swap cream cheese for a plant-based cream cheese and heavy cream for coconut whipped cream. Texture might be slightly different but still delicious.
How long does this cake keep in the fridge?
It stays fresh for up to 3 days when covered well. After that, the texture of the crackers may start to get too soft.
Pin This Recipe!
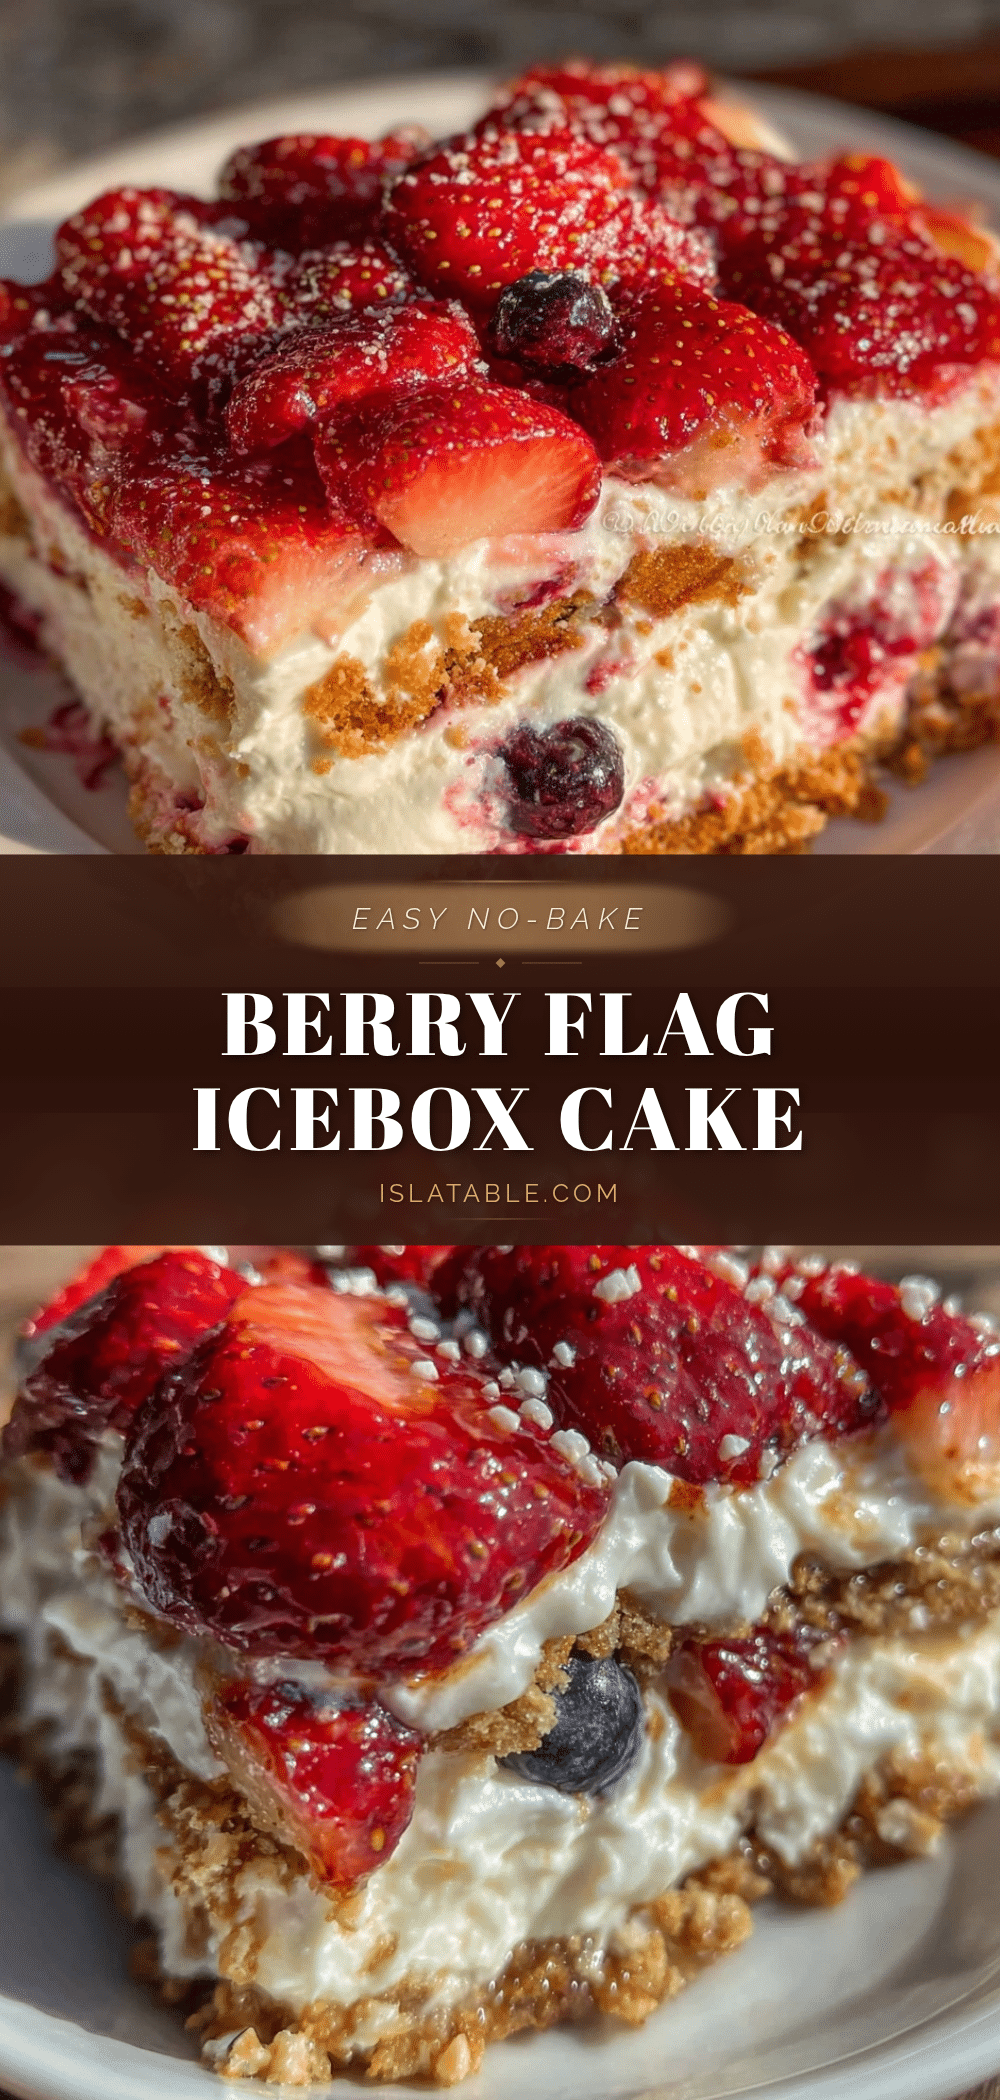
Easy No-Bake Berry Flag Icebox Cake Recipe Perfect for Summer Parties

A simple, no-bake icebox cake layered with cream cheese mixture, graham crackers, and fresh berries arranged like a flag. Perfect for summer celebrations and quick to prepare.
- Prep Time: 15 minutes
- Cook Time: 0 minutes
- Total Time: 4 hours 15 minutes
- Yield: 12 servings 1x
- Category: Dessert
- Cuisine: American
Ingredients
- 8 oz (225g) cream cheese, softened
- 1 cup (240ml) heavy whipping cream, cold
- ½ cup (60g) powdered sugar, sifted
- 1 tsp pure vanilla extract
- 1 package graham crackers or digestive biscuits (about 14 oz / 400g) – use gluten-free crackers if needed
- 1 cup (150g) fresh strawberries, sliced
- 1 cup (150g) fresh blueberries
- Optional: a handful of raspberries or blackberries for extra color
Instructions
- In a medium bowl, beat the softened cream cheese until smooth (about 2 minutes).
- In a separate large bowl, whip the cold heavy cream with powdered sugar and vanilla extract until stiff peaks form (about 3-4 minutes on medium-high speed).
- Gently fold the whipped cream into the cream cheese until just combined—don’t overmix or it might deflate. The texture should be light and fluffy.
- Spread a thin layer (about ½ cup / 120ml) of the cream mixture evenly on the bottom of your baking dish to prevent crackers from slipping.
- Arrange graham crackers in a single layer over the cream, breaking crackers as needed to fit. Overlapping slightly is okay.
- Spoon about 1½ cups (360ml) of the cream mixture over the crackers, smoothing it out evenly.
- Repeat layering: add another cracker layer, then cream, and finish with a final cracker layer on top. Reserve about 1 cup (240ml) of cream mixture for the berry flag topping.
- Cover the dish tightly with plastic wrap and refrigerate for at least 4 hours, preferably overnight.
- Just before serving, spread the reserved cream mixture evenly over the top cracker layer.
- Arrange sliced strawberries in the upper left corner to form the stripes, then fill the rest with blueberries to mimic the flag’s blue field. Add raspberries or blackberries if desired.
- Optional: Chill the cake again for 15-30 minutes to set the berry topping if not serving immediately.
Notes
Let cream cheese soften at room temperature for about 30 minutes for smooth blending. Chill mixing bowl and beaters before whipping cream for better results. Use gentle folding to keep mixture airy. Slice strawberries thin and uniform for neat layering. Chill cake overnight for best texture and flavor melding. Use gluten-free crackers or dairy-free cream alternatives for dietary needs. Avoid freezing to maintain texture. Use a sharp knife dipped in hot water to slice cleanly.
Nutrition
- Serving Size: 1 slice (1/12th of c
- Calories: 220
- Fat: 14
- Carbohydrates: 20
- Fiber: 2
- Protein: 3
Keywords: no-bake, icebox cake, berry flag cake, summer dessert, easy dessert, patriotic dessert, no oven dessert, berry dessert, quick dessert