The tiny plastic cup came back to the kitchen counter empty. Not just empty — licked clean. My seven-year-old had grabbed it off the snack board I’d made for a casual Friday night hangout, and she’d eaten every single olive, every cube of cheddar, and somehow even the cornichons. She asked me to make her another one. That’s when it clicked.
I’d spent years building big, sprawling charcuterie boards. You know the ones — the giant wooden slabs that take forty-five minutes to arrange and look like a magazine cover. But that night, I was tired. Honestly, I didn’t feel like fussing with rosemary sprigs and fanning out prosciutto roses. So I grabbed some small glass cups I usually use for desserts and just started layering things in. Meat, cheese, a few grapes, a cracker or two. It took maybe eight minutes.
The response was immediate. People grabbed their own cup and just went to town. No awkward reaching across the table. No double-dipping worries. No one standing around wondering where to start. Everyone just ate. And for me, that’s the whole point, isn’t it?
These Easy Build-Your-Own Charcuterie Cups are the kind of thing that makes you wonder why you didn’t think of it sooner. They’re portable, customizable, and somehow feel both fancy and completely unfussy. Whether you’re hosting a backyard barbecue or just need a quick snack that looks like you tried (when you really didn’t), this is your new go-to. Trust me on this one.
Why You’ll Love This Recipe
I’ve tested this concept at cookouts, birthday parties, and even a few lazy Sunday afternoons. Every single time, people light up. Here’s why these little cups work so well:
- Comes Together in Under 10 Minutes — No joke. Once you’ve got your ingredients, you’re basically just layering. Perfect for last-minute hosting or when you need a party snack fast.
- Simple Ingredients — No fancy grocery runs needed. Pick up your favorite meats, cheeses, and a few extras from whatever you already have in the fridge.
- Perfect for Parties and Gatherings — These cups are ideal for barbecues, potlucks, picnics, game nights, or even as a fun appetizer for holiday dinners. Everyone gets their own perfectly portioned snack.
- Crowd-Pleaser — Kids love the interactive build-your-own aspect, and adults appreciate the grab-and-go convenience. I’ve yet to see anyone turn one down.
- Unbelievably Versatile — You can make them keto-friendly, gluten-free, dairy-free, or whatever else your crowd needs. The base concept works with almost any combination of ingredients.
What makes these different from the standard charcuterie board is the practicality. A big board looks beautiful, but it gets messy fast. People hover. Dip gets everywhere. Crackers break. These cups solve all of that. They’re like a charcuterie board that learned to behave itself.
There’s also something deeply satisfying about handing someone their own little cup of goodies. It feels personal. Like you made them something special — even though it took almost no effort at all.
What Ingredients You Will Need
This recipe uses simple, flexible ingredients that deliver big flavor without the stress. The beauty is in the customization — you can swap based on what you love or what’s in season. Here’s what you’ll need to build the perfect cup:
Base Ingredients (for 6 cups)
- Cured Meats — 6 ounces total, sliced thin. Prosciutto, salami, soppressata, or pepperoni all work great. I like using a mix of two types for variety. (Pro tip: fold or roll the slices so they fit neatly in the cup.)
- Cheese — 6 ounces, cubed or sliced. Sharp cheddar, gouda, brie, or aged manchego are my go-tos. For a crowd, I’ll add a soft cheese like goat cheese or brie alongside a hard cheese.
- Fresh Fruit — 1 cup total. Red grapes, apple slices, or fresh figs. Grapes are the easiest because they don’t brown. If using apples, toss them in a little lemon juice first.
- Dried Fruit — ½ cup. Dried apricots, dates, or figs add a chewy sweetness that balances the salty meats.
- Nuts — ½ cup. Almonds, walnuts, or pecans. Toasted if you have time — it makes a difference.
- Pickled Items — ¼ cup. Cornichons, pickled onions, or olives. These little tangy bites cut through the richness beautifully.
- Crackers or Bread — 2 to 3 per cup. Small crackers, crostini, or gluten-free rice crackers. I recommend [brand] Simple Mills crackers for gluten-free options — they hold up well without getting soggy.
Optional Add-Ins
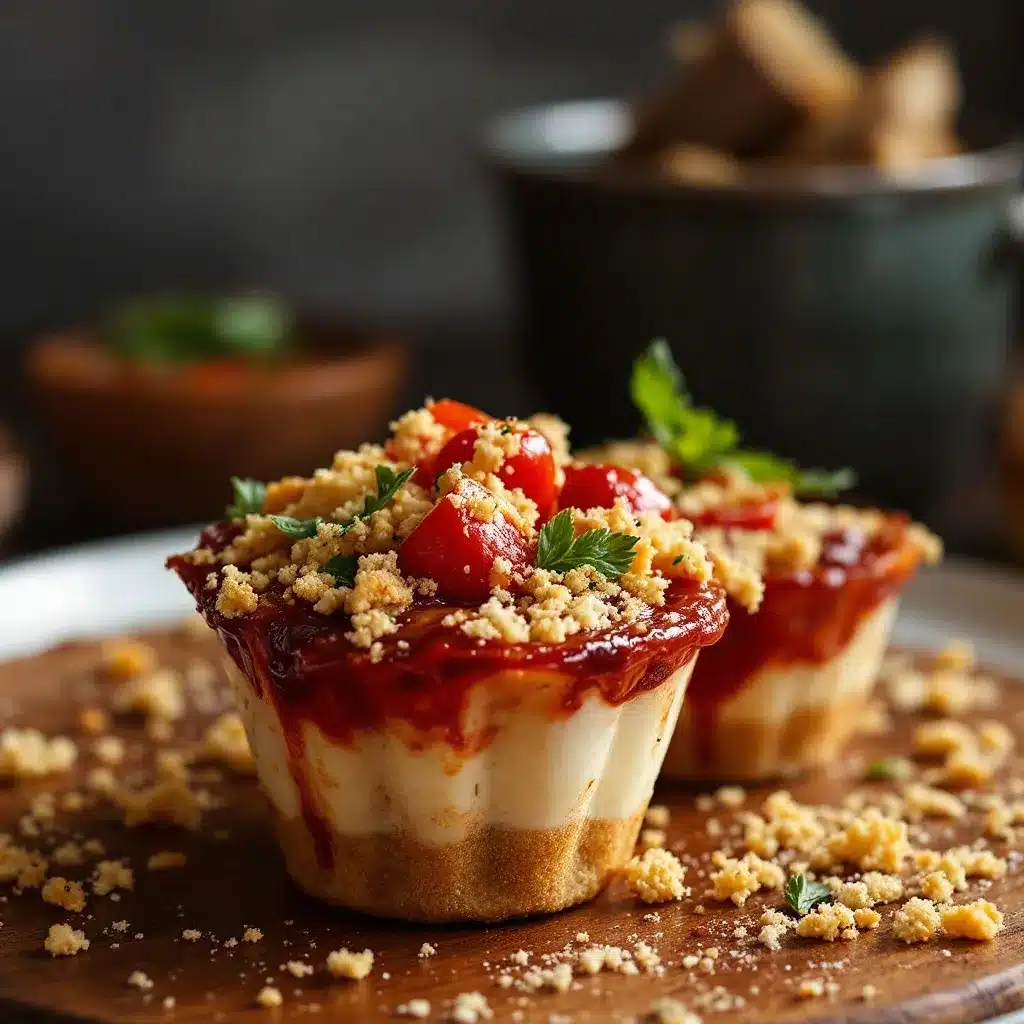
- Dips — Honey, whole-grain mustard, or fig jam in a tiny dollop on the side.
- Fresh Herbs — A sprig of rosemary or thyme for garnish (and a little aroma).
- Chocolate — A square of dark chocolate for a sweet-savory surprise. Trust me on this one.
- Vegetables — Cherry tomatoes, cucumber rounds, or bell pepper strips for extra crunch.
When choosing ingredients, look for quality over quantity. A few really good items beat a dozen mediocre ones every time. For the meats, I love getting prosciutto from the deli counter rather than pre-packaged — it’s thinner and more flavorful. For cheese, buy a block and cube it yourself. Pre-shredded or pre-cubed cheese just doesn’t taste as fresh.
Equipment Needed
You don’t need much for this recipe, which is part of the appeal. Here’s what you’ll want on hand:
- Small Cups or Jars — 6 to 8 ounce capacity works best. I use small glass dessert cups or wide-mouth mason jars. Plastic cups work fine for parties too.
- Cutting Board — For slicing cheese and fruit.
- Sharp Knife — A good chef’s knife makes cubing cheese and slicing fruit effortless.
- Small Bowls — For holding your ingredients as you assemble. Keeps things organized.
- Tongs or Small Spoons — For placing delicate items like olives or pickled onions.
If you don’t have glass cups, don’t stress. I’ve used disposable plastic cups, small ramekins, and even cleaned-out yogurt containers in a pinch. The key is that they’re sturdy enough to hold a few ounces without tipping over. For a party, I actually prefer clear cups so the layers are visible — it makes the presentation pop.
Preparation Method
This is the fun part. Each cup is a little edible work of art, and the assembly is quick once you get into a rhythm. Here’s how I do it:
- Prep Your Ingredients (5 minutes) — Slice your cheese into ½-inch cubes. Fold or roll your meat slices into small bundles. Wash and dry your grapes or fruit. If you’re using nuts, toast them in a dry pan over medium heat for 2-3 minutes until fragrant — it brings out their flavor.
- Choose Your Cup Order — I like to start with something heavy at the bottom. A few cubes of cheese or a folded piece of salami creates a base. This prevents lighter items from sinking and keeps the cup looking tidy.
- Layer the Meats (1 minute per cup) — Add 1 to 2 folded meat slices per cup. If you’re using prosciutto, let it drape slightly over the edge for a pretty look. Salami can be folded into quarters or rolled into little cylinders.
- Add the Cheese (1 minute per cup) — Drop in 3 to 4 cheese cubes. Mix textures if you’re using both hard and soft cheese. A cube of aged gouda next to a small wedge of brie looks lovely.
- Fill with Fruit and Nuts (1 minute per cup) — Add a small handful of grapes or a few apple slices. Tuck in a dried apricot or two. Sprinkle in a few almonds or walnuts. Don’t overfill — leave some space for the next layer.
- Tuck in the Pickles (30 seconds per cup) — Add 1 or 2 cornichons or olives. These little bursts of acidity brighten up every bite. Place them where they’re visible — they add nice color contrast.
- Finish with Crackers (30 seconds per cup) — Stand 2 to 3 crackers upright along the edge of the cup. This keeps them crisp and makes them easy to grab. If you’re adding a dip, place a tiny dollop on the side or in a separate mini cup.
- Garnish and Serve (optional, 30 seconds) — Add a small sprig of fresh rosemary or thyme for a pop of green. A drizzle of honey over the cheese is also gorgeous. Serve immediately or refrigerate for up to 2 hours before serving.
Here’s a tip I learned the hard way: don’t pack the cups too tightly. You want there to be a little air between the ingredients. It looks more intentional and makes it easier for people to pick things out. Also, if you’re making these ahead, keep the crackers separate and add them right before serving. Otherwise they get soft.
Cooking Tips & Techniques
After making these cups more times than I can count, I’ve picked up a few tricks that make the process smoother and the results better.
Don’t overthink the layers. I used to stress about making each cup look perfect. Then I realized that the slightly imperfect ones — where a grape is peeking out or a slice of salami is folded unevenly — look more inviting. They feel handmade, not factory-produced.
Temperature matters. Take your cheese out of the fridge 15 to 20 minutes before assembling. Cheese at room temperature tastes significantly better. Same with cured meats. Cold meat loses its texture and flavor.
Balance your flavors. Each cup should have a mix of salty, sweet, tangy, and creamy. If you’re using a very sharp cheddar, balance it with sweet grapes or honey. If you’re using salty prosciutto, add a mild cheese like mozzarella or brie. I once made cups with all sharp flavors — aged gouda, peppered salami, and pickled onions — and it was overwhelming. Learn from my mistake.
Use the right cup size. I’ve tried everything from tiny shot glasses (too small) to giant mason jars (too much). The sweet spot is 6 to 8 ounces. That’s enough for a satisfying snack without being overwhelming. For a party, I often make a mix of small and large cups so people can choose their portion.
Prep in an assembly line. When I’m making a big batch for a party, I line up all my cups on a baking sheet. Then I go through each ingredient one at a time — meat in all cups, then cheese, then fruit, and so on. It’s way faster than building each cup individually.
Variations & Adaptations
One of the best things about these cups is how easily they adapt. Here are a few variations I’ve tried and loved:
Keto-Friendly Cups: Skip the crackers and dried fruit. Load up on extra cheese, nuts, and cured meats. Add cucumber rounds or bell pepper strips for crunch. I’ve made these for friends on keto diets, and they disappear fast. Pair them with my Keto Mexican Cauliflower Rice Bowl for a full low-carb spread.
Vegetarian Cups: Skip the meat and double up on cheese. Add marinated artichoke hearts, roasted red peppers, or stuffed olives for savory depth. A dollop of hummus or Dairy-Free Queso Dip on the side adds protein and creaminess.
Sweet & Savory Cups: Add a square of dark chocolate or a few chocolate-covered almonds. Drizzle honey over the cheese. This combo is dangerously good — I once ate three cups in one sitting.
Seasonal Variations: In summer, swap grapes for fresh berries or sliced peaches. In fall, use sliced apples, dried cranberries, and toasted pecans. In winter, add pomegranate seeds and a sprinkle of cinnamon. The possibilities are endless.
Holiday-Themed Cups: For Christmas, use red and green grapes with cubes of white cheddar. For Valentine’s Day, add strawberries and dark chocolate. For the Fourth of July, try my Star-Spangled Fruit Pizza alongside these cups for a red, white, and blue spread.
Serving & Storage Suggestions
These cups are best served at room temperature, so take them out of the fridge about 15 minutes before you plan to serve. Arrange them on a large platter or wooden board so people can grab their own. I like to add a small name tag or label if I’m making different variations — it helps guests find what they like.
For presentation, I’ll often place the cups on a bed of fresh greens or scatter a few extra nuts and dried fruit around the platter. It fills the visual space and makes the whole thing look more intentional.
Storage: Assembled cups can be stored in the refrigerator for up to 24 hours. Cover them loosely with plastic wrap to prevent the crackers from getting stale. If you’re making them more than a few hours ahead, I recommend keeping the crackers separate and adding them just before serving.
Reheating: These are meant to be served cold or at room temperature, so no reheating needed. If you’ve added a warm element like toasted nuts, they’ll still taste great the next day — just a little less crunchy.
One thing I’ve noticed: the flavors actually meld together nicely after a few hours in the fridge. The cheese picks up hints of the dried fruit, and the meat absorbs a little tang from the pickles. If you can, make them an hour or two ahead for the best flavor.
Nutritional Information & Benefits
These cups are naturally high in protein and healthy fats, making them a satisfying snack that keeps you full. Here’s an approximate breakdown per cup (based on a standard mix of meats, cheese, nuts, and fruit):
- Calories: 250-350 (depending on ingredients)
- Protein: 15-20g
- Fat: 18-25g
- Carbohydrates: 12-18g
- Fiber: 3-5g
The protein from the meats and cheese helps with satiety, while the nuts provide healthy fats and vitamin E. Grapes and dried fruit offer natural sweetness along with antioxidants and fiber. If you’re watching your sodium, opt for low-sodium meats and unsalted nuts.
These cups are naturally gluten-free if you skip the crackers or use gluten-free alternatives. They’re also easy to make dairy-free by using vegan cheese and skipping the butter-based crackers. For a lower-carb option, focus on meat, cheese, and nuts while reducing the fruit and crackers.
Conclusion
These Easy Build-Your-Own Charcuterie Cups have honestly changed how I entertain. They’re simple enough for a Tuesday night snack but impressive enough for a holiday party. The best part? Everyone gets exactly what they want, and there’s zero cleanup drama at the end.
I love that this recipe adapts to whatever you have on hand. It’s not about following strict rules — it’s about creating something that tastes good and makes people happy. Whether you’re hosting a big gathering or just treating yourself, these cups deliver every single time.
I’d love to hear how you customize yours! Drop a comment below and tell me your favorite ingredient combinations. And if you try these for a party, let me know how they go over — I bet they disappear fast. Happy snacking!
Frequently Asked Questions
Can I make these cups ahead of time?
Yes, you can assemble them up to 24 hours in advance. Just keep the crackers separate and add them right before serving to keep them crisp. Cover the cups loosely with plastic wrap and refrigerate.
What are the best cups to use?
Small glass dessert cups, 6-8 ounce mason jars, or sturdy disposable plastic cups all work well. Clear cups are best because they show off the beautiful layers. Avoid paper cups — they can get soggy from the moisture in the fruit and pickles.
How do I keep the crackers from getting soft?
Add crackers at the last minute. If you’re making cups ahead, store crackers in a separate bag and let guests add their own. Standing crackers upright along the edge of the cup also helps keep them crisp because they’re not touching the moist ingredients.
Can I make these dairy-free or vegan?
Absolutely. Use vegan cheese, skip the meat and add extra nuts, roasted vegetables, and marinated artichokes. A dollop of Dairy-Free Queso Dip adds creaminess without dairy. The concept works with almost any combination.
How many cups should I make per person?
For a party where there are other snacks, plan on 1-2 cups per person. For a main snack or light meal, 2-3 cups per person is reasonable. I usually make 12 cups for a group of 6-8 people and they go fast.
Pin This Recipe!
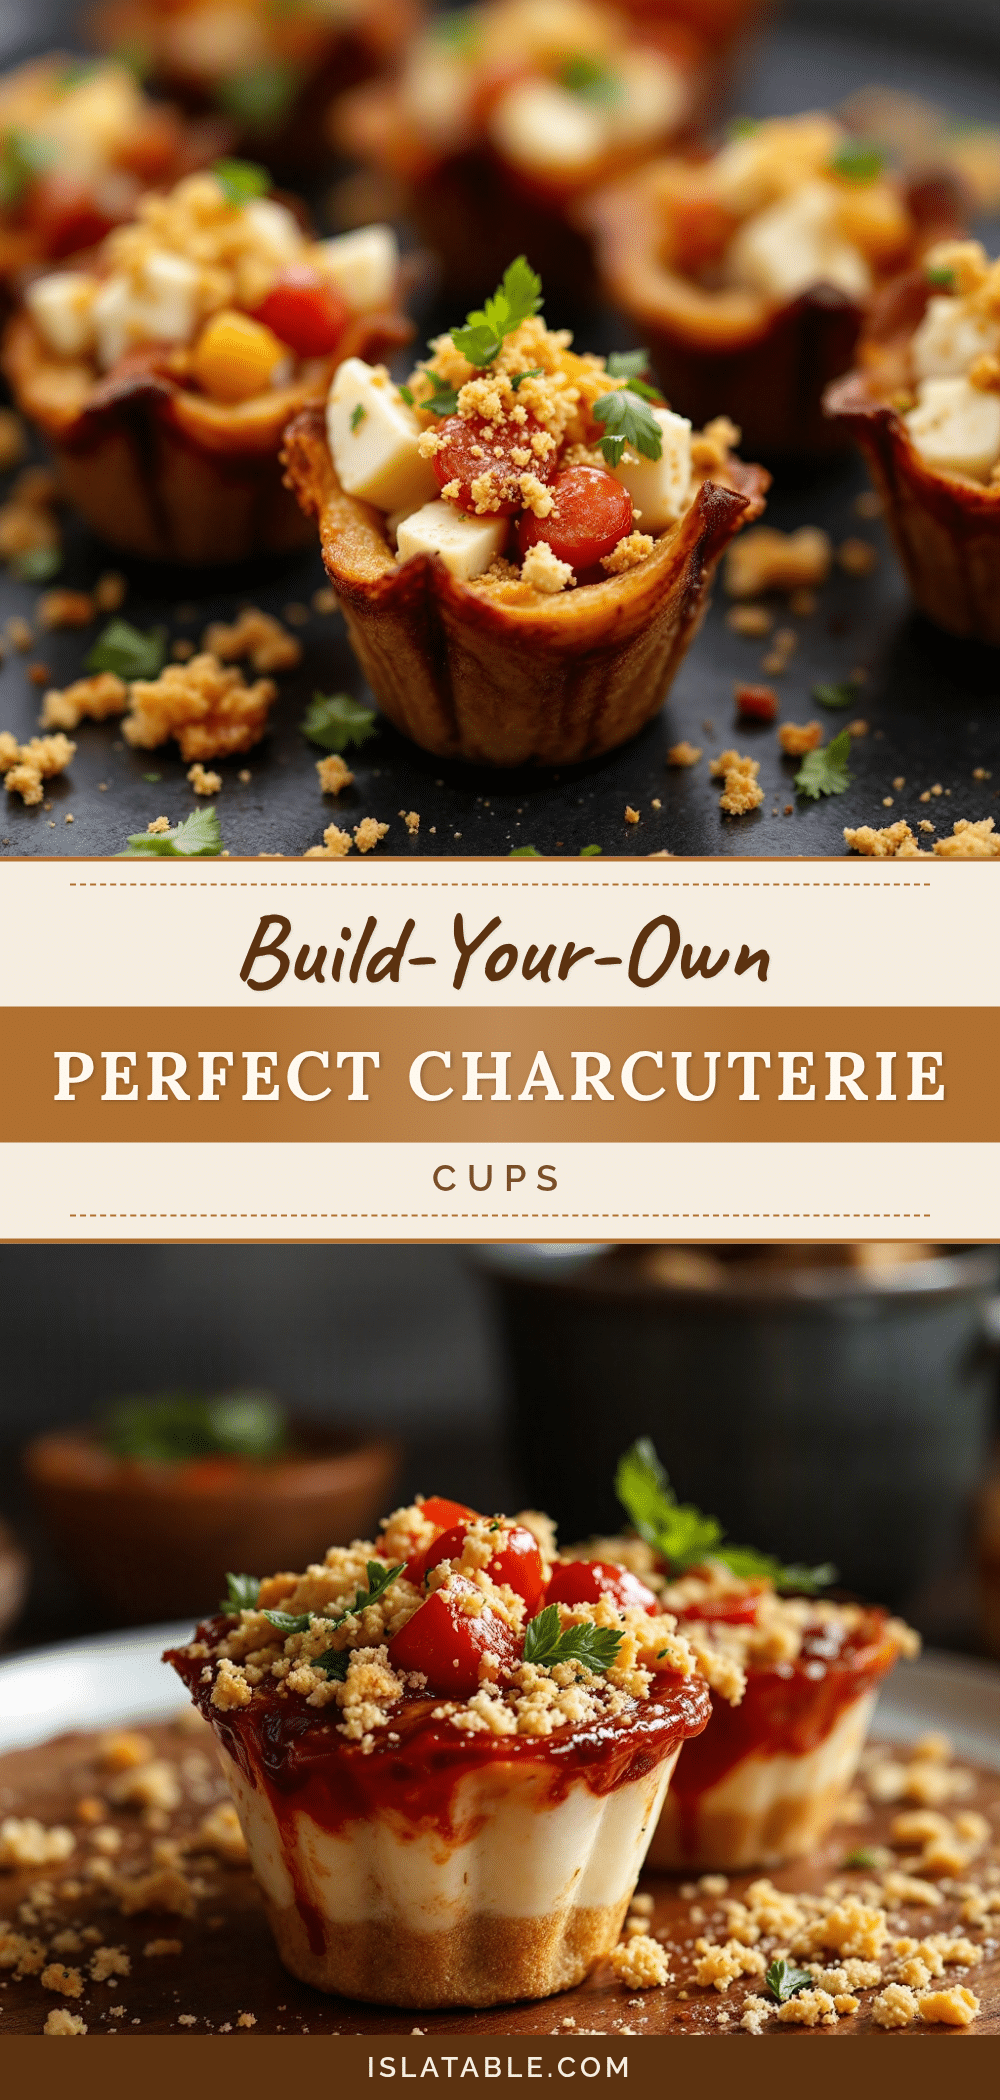
Easy Build Your Own Charcuterie Cups: Perfect Party Snack

These portable, customizable charcuterie cups come together in under 10 minutes and are perfect for parties, picnics, or a quick snack. Everyone gets their own perfectly portioned cup of meats, cheeses, fruits, nuts, and pickles.
- Prep Time: 10 minutes
- Cook Time: 0 minutes
- Total Time: 10 minutes
- Yield: 6 servings 1x
- Category: Appetizer
- Cuisine: American
Ingredients
- 6 ounces cured meats (prosciutto, salami, soppressata, or pepperoni), sliced thin
- 6 ounces cheese (sharp cheddar, gouda, brie, or manchego), cubed or sliced
- 1 cup fresh fruit (red grapes, apple slices, or fresh figs)
- ½ cup dried fruit (dried apricots, dates, or figs)
- ½ cup nuts (almonds, walnuts, or pecans), toasted if desired
- ¼ cup pickled items (cornichons, pickled onions, or olives)
- 12–18 crackers or bread (2–3 per cup; use gluten-free if needed)
- Optional: honey, whole-grain mustard, fig jam, fresh herbs, dark chocolate, cherry tomatoes, cucumber rounds, or bell pepper strips
Instructions
- Prep your ingredients: Slice cheese into ½-inch cubes. Fold or roll meat slices into small bundles. Wash and dry fruit. Toast nuts in a dry pan over medium heat for 2-3 minutes if desired.
- Choose your cup order: Start with a heavy base like cheese cubes or folded salami to prevent lighter items from sinking.
- Layer the meats: Add 1-2 folded meat slices per cup. Let prosciutto drape slightly over the edge for a pretty look.
- Add the cheese: Drop in 3-4 cheese cubes per cup. Mix textures if using both hard and soft cheese.
- Fill with fruit and nuts: Add a small handful of grapes or apple slices, a dried apricot or two, and a sprinkle of nuts. Leave some space.
- Tuck in the pickles: Add 1-2 cornichons or olives per cup for acidity and color contrast.
- Finish with crackers: Stand 2-3 crackers upright along the edge of the cup to keep them crisp. Add a dollop of dip if using.
- Garnish and serve: Add a sprig of fresh rosemary or thyme, or a drizzle of honey. Serve immediately or refrigerate for up to 2 hours.
Notes
Don’t pack cups too tightly; leave air between ingredients for a better look. For make-ahead, keep crackers separate and add just before serving. Take cheese out of fridge 15-20 minutes before assembling for best flavor. Use an assembly line for large batches.
Nutrition
- Serving Size: 1 cup
- Calories: 300
- Sugar: 8
- Sodium: 600
- Fat: 21
- Saturated Fat: 8
- Carbohydrates: 15
- Fiber: 4
- Protein: 17
Keywords: charcuterie cups, party snack, appetizer, easy, customizable, portable, gluten-free option, keto-friendly


