Introduction
I burned the first two batches of this Reese’s peanut butter chocolate layer cake before it even made it to the frosting stage. Honestly, I wasn’t even sure if I liked peanut butter cake much—always thought the peanut butter flavor could overpower or get too dry. But the combination of rich chocolate and creamy peanut butter frosting? That’s a different story. Something about how the smooth frosting melts into the moist layers just works… even if it took me a while to figure out how to get that perfect balance.
The kitchen smelled like a candy store after baking this cake—a warm mix of roasted peanuts and dark cocoa that’s impossible to ignore. My first attempt was a disaster; the layers were crumbly, and the frosting too sweet. But after tweaking ingredient ratios and paying close attention to baking times, I landed on this recipe that feels indulgent without being overwhelming. It’s the kind of cake you slice slowly, savoring each bite, and maybe even hiding a piece for yourself.
It stuck with me because it’s a celebration cake that’s not fussy but still impressive. Whether it’s for a birthday party or just a weekend treat, this Reese’s peanut butter chocolate layer cake with creamy frosting feels like a little hug you can eat. No frills, just honest, straightforward decadence.
Why You’ll Love This Recipe
After testing this cake multiple times (and yes, learning a bunch of hard lessons along the way), I’m confident it’s a winner for anyone who loves that peanut butter and chocolate combo:
- Quick & Easy: The batter comes together in about 15 minutes, and the whole cake is ready in under 90 minutes. Perfect for last-minute party plans.
- Simple Ingredients: No need to hunt down fancy stuff. You probably already have creamy peanut butter, cocoa powder, and basic baking staples in your pantry.
- Perfect for Parties: This cake’s layers and frosting give it a wow factor without requiring a pastry chef’s skills.
- Crowd-Pleaser: Kids, adults, peanut butter skeptics—everyone asks for seconds.
- Unbelievably Delicious: The moist chocolate layers paired with velvety peanut butter frosting create a texture and flavor combo that’s truly comforting.
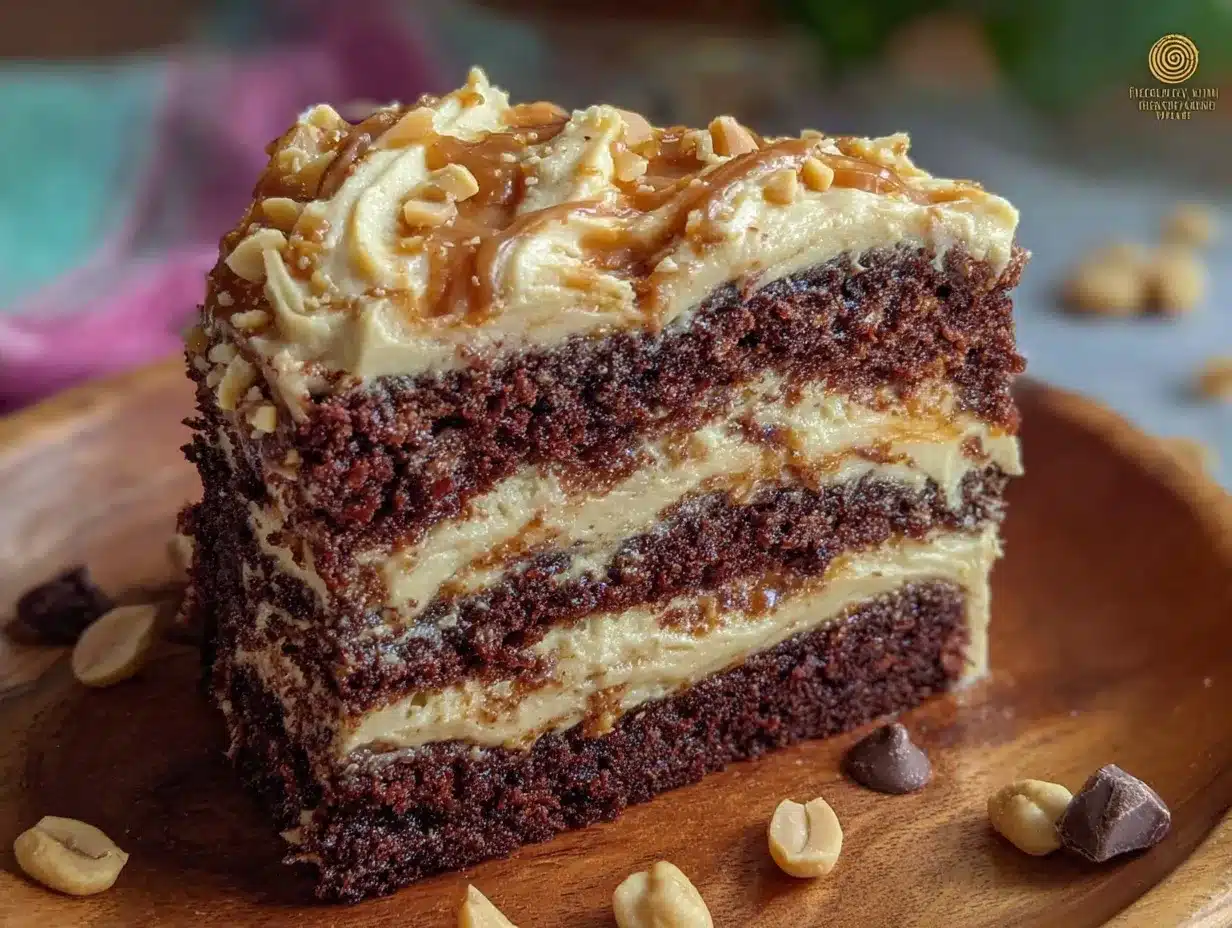
This isn’t your average peanut butter cake. The frosting blends cream cheese with peanut butter, giving it a tangy creaminess that cuts through the sweetness just right. I also fold in finely chopped Reese’s pieces for that signature crunch and surprise bite. It’s a recipe I trust to impress but also one that feels like home—no pretenses, just pure joy on a plate.
What Ingredients You Will Need
This recipe uses simple, wholesome ingredients to deliver bold flavor and satisfying texture without fuss. Most are pantry staples, and substitutions are easy if needed.
- For the Cake Layers:
- All-purpose flour – 2 ½ cups (315g), spooned and leveled
- Granulated sugar – 2 cups (400g)
- Natural unsweetened cocoa powder – ¾ cup (75g) (I prefer Hershey’s for deep flavor)
- Baking soda – 1 ½ teaspoons
- Baking powder – 1 teaspoon
- Salt – 1 teaspoon
- Large eggs – 2, room temperature
- Buttermilk – 1 cup (240ml), or homemade (milk + vinegar)
- Vegetable oil – ½ cup (120ml) (adds moistness without heaviness)
- Vanilla extract – 2 teaspoons
- Hot water – 1 cup (240ml) (helps bloom the cocoa for rich chocolate flavor)
- For the Creamy Peanut Butter Frosting:
- Cream cheese – 8 oz (225g), softened (adds tang and creaminess)
- Unsalted butter – ½ cup (115g), softened
- Powdered sugar – 3 cups (360g), sifted
- Creamy peanut butter – 1 cup (250g) (smooth style works best for texture)
- Vanilla extract – 1 teaspoon
- Heavy cream or whole milk – 2 to 3 tablespoons (to adjust consistency)
- Optional Add-ins:
- Chopped Reese’s peanut butter cups – ½ cup (for folding into frosting or sprinkling on top)
- Sea salt flakes – a pinch, to sprinkle on top for contrast
If you’re looking for a gluten-free option, swapping the all-purpose flour for a 1-to-1 gluten-free baking flour works well (I’ve tried Bob’s Red Mill with success). For a dairy-free twist, substitute the cream cheese and butter with vegan alternatives and use coconut milk in place of heavy cream. Just be mindful that these swaps slightly change the texture but keep the rich flavor intact.
Equipment Needed
- Two 9-inch (23 cm) round cake pans – essential for even layer baking. If you only have one, bake layers one at a time but watch timing closely.
- Mixing bowls – at least two: one for dry ingredients and one for wet.
- Electric mixer or stand mixer – makes frosting smooth and fluffy. A hand whisk works but takes more elbow grease.
- Measuring cups and spoons – accuracy matters here, especially with leaveners.
- Rubber spatula – for folding and scraping bowls clean.
- Cooling rack – to cool cakes evenly and prevent sogginess.
- Offset spatula or butter knife – for frosting the cake evenly.
I’ve tried using silicone cake pans for this recipe, and while they work, the traditional metal pans give a nicer crust and lift. If you invest in any specialty tools, a good offset spatula is worth it for smooth frosting. Also, keeping the cream cheese and butter at room temperature before whipping ensures no lumps in your frosting.
Preparation Method
- Preheat and Prepare Pans: Preheat your oven to 350°F (175°C). Grease two 9-inch round cake pans and line the bottoms with parchment paper. This makes sure the layers come out cleanly. (About 10 minutes prep)
- Mix Dry Ingredients: In a large bowl, sift together 2 ½ cups flour, 2 cups sugar, ¾ cup cocoa powder, 1 ½ tsp baking soda, 1 tsp baking powder, and 1 tsp salt. Whisk to combine evenly. This ensures your leavening is distributed well for a uniform rise.
- Combine Wet Ingredients: In a separate bowl, whisk 2 large eggs, 1 cup buttermilk, ½ cup vegetable oil, and 2 tsp vanilla extract until smooth. The buttermilk adds a pleasant tang and reacts with baking soda for fluffiness.
- Make the Batter: Gradually add the wet ingredients to the dry, stirring just until combined. Avoid overmixing to keep the cake tender. Then, slowly pour in 1 cup hot water, mixing gently until smooth. The batter will be thin—that’s normal and helps create moist layers.
- Bake: Divide batter evenly between the two pans. Bake for 30-35 minutes or until a toothpick inserted into the center comes out clean or with a few moist crumbs. Rotate pans halfway through for even baking. (Watch closely after 30 minutes to avoid drying out.)
- Cool Completely: Let cakes cool in pans for 10 minutes, then transfer to a wire rack to cool fully. Frosting warm cake will cause melting and sliding layers.
- Prepare Frosting: Beat 8 oz softened cream cheese and ½ cup softened butter together until smooth and creamy. Add 1 cup creamy peanut butter and 1 tsp vanilla, mixing until combined. Gradually add 3 cups powdered sugar, beating on low speed to avoid clouds of sugar dust. Add 2-3 tbsp heavy cream or milk to reach spreadable consistency. (Taste and adjust sweetness if needed.)
- Assemble: Place one cake layer on your serving plate. Spread about one-third of the frosting evenly on top. Add the second layer and frost the top and sides with remaining frosting. If using, fold chopped Reese’s cups into a small portion of frosting for textured topping or sprinkle on top. A pinch of sea salt flakes adds a lovely contrast.
- Chill and Serve: Refrigerate the cake for at least 30 minutes before slicing. This helps the frosting set and makes cutting cleaner.
Pro tip: If frosting feels too soft, pop it in the fridge for 10 minutes, then give it a quick whip before spreading. That little trick saved me after my second batch melted in the summer heat.
Cooking Tips & Techniques
One trick I learned the hard way was to always measure flour correctly—spoon it into your cup and level it off. Too much flour makes the cake dense and dry, which wrecks the peanut butter-chocolate magic. Also, using hot water in the batter isn’t just a random step; it “blooms” the cocoa powder, making the chocolate flavor much richer.
Don’t skip the buttermilk or its substitute. Its acidity interacts with baking soda for a light crumb and subtle tang that balances the sweetness. For the frosting, cream cheese and peanut butter need to be at room temperature to blend smoothly. If your frosting looks grainy, keep mixing—it usually comes together with a bit more time.
When assembling, use an offset spatula to spread frosting thinly between layers to avoid a top-heavy cake prone to sliding. Also, chilling the assembled cake before slicing really helps—trust me on that after many messy attempts.
If you want to multitask, bake the cake layers while prepping the frosting ingredients. This saves time and makes the process less daunting, especially when you’re juggling other dishes like a fresh keto-friendly salad or quick sheet pan chicken fajitas for the party.
Variations & Adaptations
Here are some ways to tweak this recipe to suit different tastes or dietary needs:
- Gluten-Free: Swap the all-purpose flour for a gluten-free blend like Bob’s Red Mill 1-to-1 baking flour. It holds up well and doesn’t change the flavor much.
- Vegan Version: Use vegan butter and cream cheese alternatives and a flax egg (1 tbsp ground flax + 3 tbsp water) instead of eggs. Coconut milk works as the liquid base. While the texture is a bit different, the flavor still shines.
- Peanut-Free: Replace peanut butter with almond or sunflower seed butter, and use chopped chocolate instead of Reese’s cups. This keeps the creamy texture and chocolate balance without peanuts.
- Extra Crunch: Add chopped roasted peanuts or peanut brittle pieces between layers or as garnish for texture contrast.
- Seasonal Twist: Swap chopped Reese’s cups for chopped salted pretzels or caramel bits for a sweet-salty spin. I once tried folding in bits of my gluten-free cornbread muffins crumbs into the frosting for a unique texture; it worked surprisingly well for a potluck treat.
Serving & Storage Suggestions
Serve this cake slightly chilled or at room temperature for the best flavor and texture. If you’re presenting it for a party, slice and arrange on a decorative platter with a few extra chopped Reese’s cups on the side.
This cake pairs beautifully with simple sides like a fresh fruit salad or a light coffee or milk to balance the richness. For a more substantial spread, consider adding something savory like the indoor smokeless BBQ chicken—the smoky notes contrast nicely.
Store leftovers covered in the refrigerator for up to 4 days. The frosting firms up nicely, and flavors meld even deeper overnight. To reheat, let slices sit at room temperature for 15-20 minutes before eating; avoid microwaving as it can melt the frosting.
Nutritional Information & Benefits
This cake is definitely an indulgence, but here’s a rough breakdown per slice (assuming 12 slices): approximately 450 calories, 25g fat, 50g carbs, and 6g protein. Peanut butter adds healthy monounsaturated fats and protein, and the cocoa powder provides antioxidants. Using natural peanut butter and unsweetened cocoa keeps it cleaner than many store-bought cakes.
For those watching carbs, you might want to enjoy this as an occasional treat. However, the quality of ingredients makes a difference—choosing real peanut butter and avoiding overly processed sugars improves the nutritional profile. If you want a lower-carb dessert option, you might like the keto coleslaw recipe as a fresh, guilt-free side to balance your party menu.
Allergy note: contains peanuts, dairy, and eggs. Substitutions can be made for most allergens as mentioned earlier.
Conclusion
This Decadent Reese’s Peanut Butter Chocolate Layer Cake with Creamy Frosting is a recipe I keep coming back to because it hits the right note between indulgence and familiarity. It’s approachable enough for a casual baker but impressive enough for celebrations. Whether you’re feeding a crowd or treating yourself, it’s a reliably delicious way to enjoy that classic peanut butter and chocolate duet.
I encourage you to make it your own—add more chopped Reese’s, swap the frosting to suit your tastes, or try the variations to see what fits your style. I’m always excited to hear how bakers personalize this recipe, so feel free to leave your thoughts or questions below. Baking is better when it’s shared, after all.
So, grab your mixing bowls and give it a shot. You might find yourself surprised by how quickly this cake becomes a favorite.
FAQs
- Can I make this cake a day ahead?
Yes, you can bake the layers a day before and store them wrapped tightly in the fridge. Assemble and frost the next day for best results. - How do I prevent the frosting from being too sweet?
Using cream cheese balances the sweetness, but if you prefer less sugar, reduce powdered sugar by ¼ cup and taste as you go. - Can I freeze this cake?
Absolutely. Wrap the unfrosted layers in plastic wrap and foil, freeze up to 3 months. Thaw in the fridge overnight before frosting. - What if I don’t have buttermilk?
Make a quick substitute by adding 1 tbsp vinegar or lemon juice to 1 cup milk, letting it sit 5 minutes before using. - Can I use crunchy peanut butter instead?
Yes, but it will add texture to the frosting. If you want a smoother frosting, stick to creamy peanut butter and add chopped Reese’s for crunch.
Pin This Recipe!
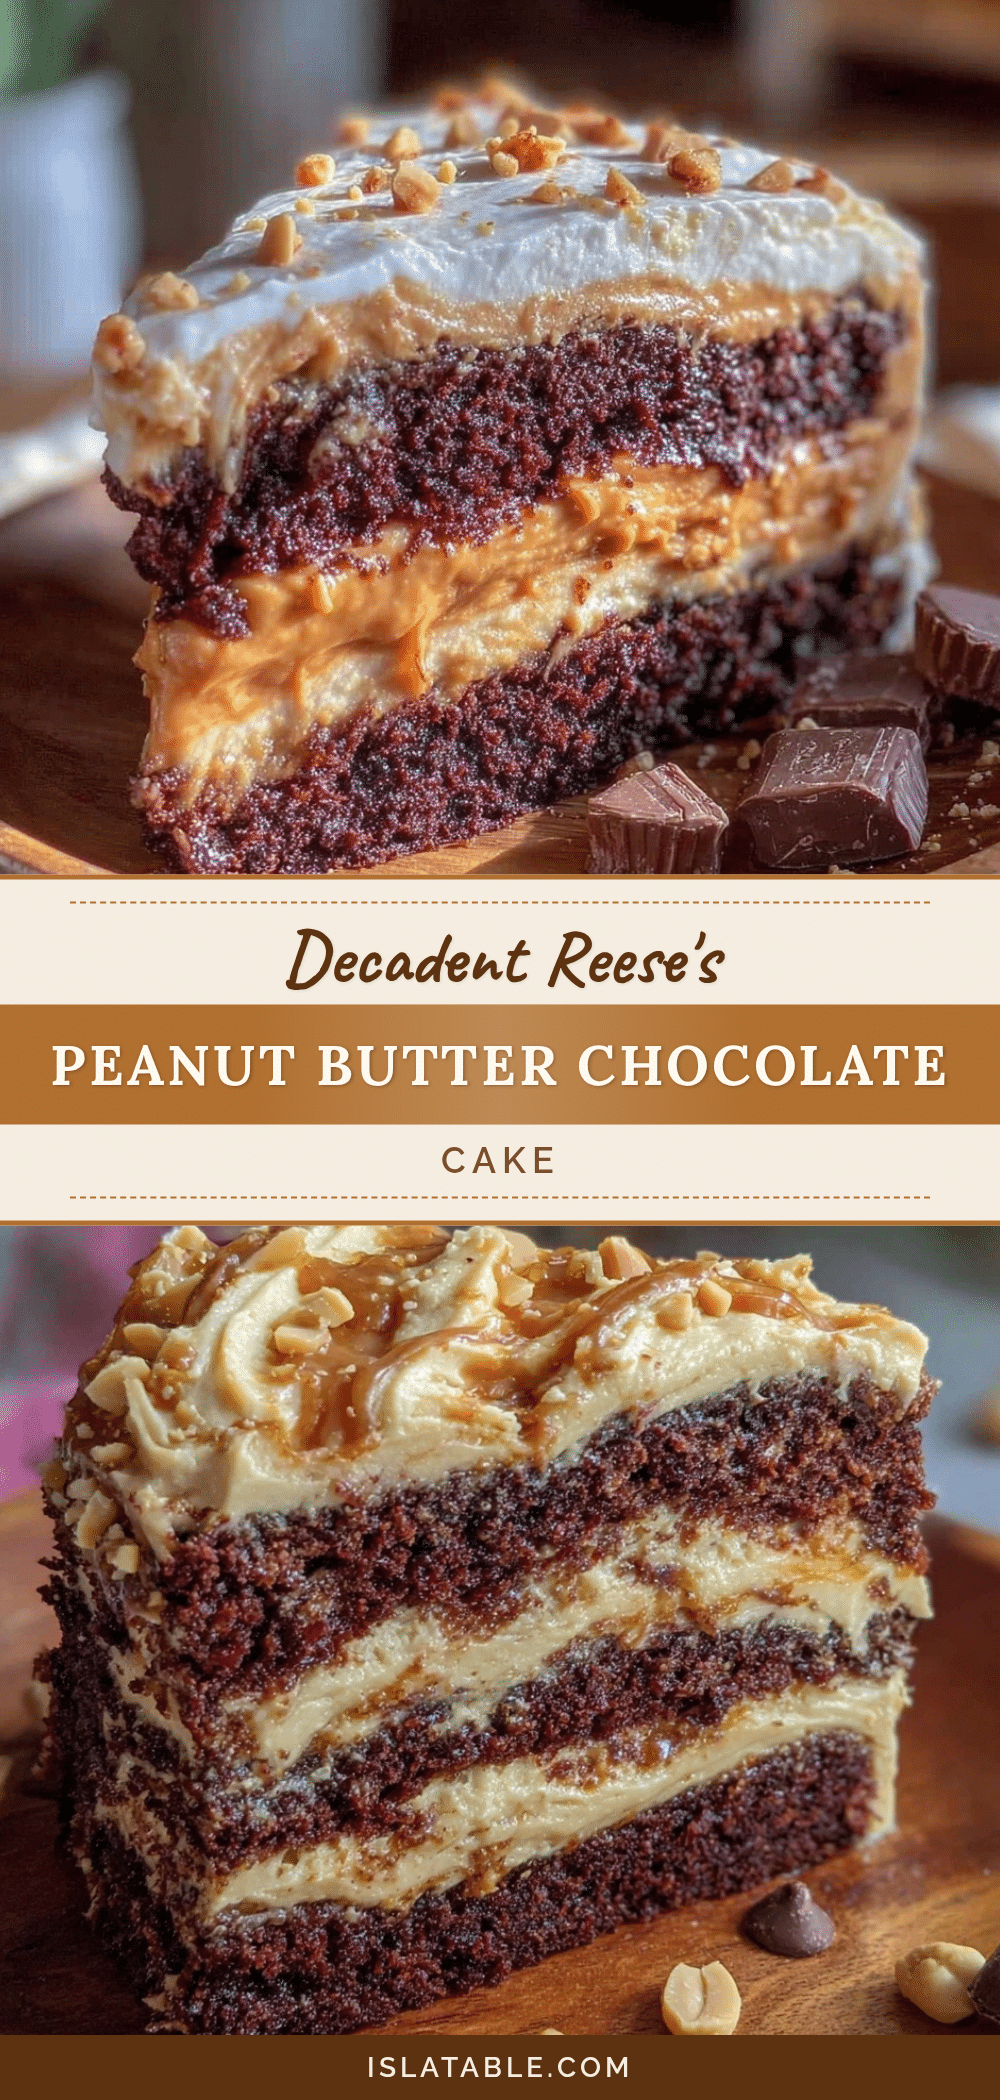
Decadent Reese’s Peanut Butter Chocolate Layer Cake
A rich and moist chocolate layer cake paired with creamy peanut butter cream cheese frosting, perfect for parties and celebrations. This cake balances indulgence with familiar flavors and is easy to make with simple pantry staples.
- Prep Time: 15 minutes
- Cook Time: 35 minutes
- Total Time: 50 minutes
- Yield: 12 servings 1x
- Category: Dessert
- Cuisine: American
Ingredients
- 2 ½ cups (315g) all-purpose flour, spooned and leveled
- 2 cups (400g) granulated sugar
- ¾ cup (75g) natural unsweetened cocoa powder
- 1 ½ teaspoons baking soda
- 1 teaspoon baking powder
- 1 teaspoon salt
- 2 large eggs, room temperature
- 1 cup (240ml) buttermilk or homemade (milk + vinegar)
- ½ cup (120ml) vegetable oil
- 2 teaspoons vanilla extract
- 1 cup (240ml) hot water
- 8 oz (225g) cream cheese, softened
- ½ cup (115g) unsalted butter, softened
- 3 cups (360g) powdered sugar, sifted
- 1 cup (250g) creamy peanut butter
- 1 teaspoon vanilla extract
- 2 to 3 tablespoons heavy cream or whole milk
- Optional: ½ cup chopped Reese’s peanut butter cups
- Optional: pinch of sea salt flakes
Instructions
- Preheat oven to 350°F (175°C). Grease two 9-inch round cake pans and line bottoms with parchment paper.
- In a large bowl, sift together flour, sugar, cocoa powder, baking soda, baking powder, and salt. Whisk to combine.
- In a separate bowl, whisk eggs, buttermilk, vegetable oil, and vanilla extract until smooth.
- Gradually add wet ingredients to dry ingredients, stirring just until combined. Slowly pour in hot water and mix gently until smooth. Batter will be thin.
- Divide batter evenly between pans. Bake 30-35 minutes or until toothpick inserted comes out clean or with a few moist crumbs. Rotate pans halfway through baking.
- Cool cakes in pans for 10 minutes, then transfer to wire rack to cool completely.
- For frosting, beat cream cheese and butter until smooth and creamy. Add peanut butter and vanilla, mixing until combined.
- Gradually add powdered sugar, beating on low speed to avoid sugar dust. Add heavy cream or milk to reach spreadable consistency.
- Place one cake layer on serving plate. Spread one-third of frosting evenly on top. Add second layer and frost top and sides with remaining frosting.
- If using, fold chopped Reese’s cups into a small portion of frosting for topping or sprinkle on top. Add a pinch of sea salt flakes if desired.
- Refrigerate cake for at least 30 minutes before slicing to set frosting.
Notes
Measure flour correctly by spooning and leveling to avoid dense cake. Use hot water to bloom cocoa powder for richer chocolate flavor. Keep cream cheese and butter at room temperature for smooth frosting. Chill assembled cake before slicing for cleaner cuts. Frosting can be refrigerated briefly if too soft before spreading.
Nutrition
- Serving Size: 1 slice (1/12 of cak
- Calories: 450
- Fat: 25
- Carbohydrates: 50
- Protein: 6
Keywords: peanut butter cake, chocolate cake, Reese’s cake, party cake, layered cake, creamy frosting, easy cake recipe


