The plate was empty before I even got a chance to grab one. Third time this Halloween season. Someone texted right after asking if I would share the recipe for those eerie, crispy witch finger cookies with almond nails. Honestly, I wasn’t expecting much fuss—just a fun experiment to make the spooky season a little more memorable. But those crunchy little fingers, with their perfectly scary almond nails, vanished faster than I’d imagined.
It all began on a quiet October afternoon when I was rummaging through my pantry, trying to come up with a Halloween treat that wasn’t just the usual pumpkin spice or candy overload. I wanted something playful, something that would make people smile (or maybe cringe just a bit) and remember the night. The idea of witch finger cookies popped into my head—fingers that look eerily real but taste like buttery, crispy cookies. The addition of almond nails was a last-minute touch, inspired by a Halloween party where someone had worn fake nails that looked just as odd and fascinating.
The texture is what really surprised me. Crispy, with just the right snap when you bite in, and the almonds add that perfect touch of crunch and authenticity. I found myself quietly proud when my friends kept sneaking back for more, and even my usually picky nephew gave them a thumbs up. The recipe stuck not just because it’s fun for Halloween but because it’s surprisingly simple and satisfying.
There’s something quietly thrilling about biting into a cookie that looks like a witch’s finger—especially when you realize it’s delightfully good. So, here it is, my recipe for crispy witch finger cookies with almond nails. A little spooky, a lot tasty, and definitely a treat that makes Halloween sweeter in a way only a good cookie can.
Why You’ll Love This Recipe
This crispy witch finger cookies recipe with almond nails isn’t just a Halloween gimmick. After testing it multiple times, here’s what makes it stand out:
- Quick & Easy: The dough comes together in under 20 minutes, making it perfect for last-minute party prep or spontaneous baking sessions.
- Simple Ingredients: No need for specialty stores—just pantry staples and a handful of almonds.
- Perfect for Halloween Parties: These cookies are a hit with kids and adults, adding a playful and spooky vibe to your dessert table.
- Crowd-Pleaser: The crispy texture and buttery flavor get rave reviews every time, and the almond nails add a fun, crunchy surprise.
- Uniquely Textured: Unlike chewy cookies, these are crispy with a satisfying crunch, and the finger shape makes them memorable.
- Creative Twist: The almond nails aren’t just decoration—they provide a subtle, nutty crunch that complements the cookie perfectly.
This isn’t your run-of-the-mill Halloween cookie. The balance of crispness with the almond detail makes it a standout, something I keep coming back to year after year. Honestly, it’s the kind of treat that makes you smirk a little as you eat it, knowing it’s both clever and delicious.
What Ingredients You Will Need
This recipe uses simple, wholesome ingredients to deliver bold flavor and that signature crisp texture without fuss. Most of these are probably already in your pantry, and the almonds are easy to find at any grocery store.
- All-purpose flour: 2 cups (240g) – Forms the base of the cookie dough, providing structure.
- Unsalted butter: 1 cup (226g), softened – Adds richness and creates that crispy texture.
- Granulated sugar: 3/4 cup (150g) – Sweetens and helps with crispness.
- Egg: 1 large, room temperature – Binds the ingredients together.
- Vanilla extract: 1 teaspoon – Adds warm, aromatic flavor.
- Almond extract: 1/2 teaspoon (optional but recommended) – Enhances the nutty note, pairing well with the almond nails.
- Baking powder: 1/2 teaspoon – Gives a slight lift without making the cookies cakey.
- Salt: 1/4 teaspoon – Balances sweetness and enhances flavor.
- Whole almonds: About 24, peeled if possible – These become the creepy “nails” that finish off each finger.
- Optional: Red food coloring or gel for a touch of “bloody” effect near the nails (adds fun Halloween flair).
For best results, I prefer using a quality unsalted butter like Kerrygold for flavor, and King Arthur’s flour gives a nice crispness to the dough. If you want to make these gluten-free, a 1:1 gluten-free baking flour substitute should work just fine, though texture might vary slightly.
The ingredients are straightforward, which makes this recipe ideal for a spontaneous baking day or when you want to impress guests without a fancy list of components.
Equipment Needed
- Mixing bowls: One large for dough mixing, and a small one for almonds.
- Electric hand mixer or stand mixer: Makes creaming butter and sugar easier, but you can also mix by hand with some patience.
- Baking sheet: A rimmed one works best to keep the cookies from sliding off.
- Parchment paper or silicone baking mat: Prevents sticking and promotes even baking.
- Measuring cups and spoons: For precise ingredient amounts.
- Cooling rack: Helps the cookies crisp up perfectly once out of the oven.
- Small knife or toothpick: For making the knuckle indentations on the fingers.
If you don’t have a stand mixer, no worries—I’ve made these by hand several times. Just be sure the butter is softened enough to cream well with the sugar. A silicone mat is a nice-to-have but parchment works just as well and is budget-friendly.
Preparation Method
- Preheat your oven to 350°F (175°C). Line two baking sheets with parchment paper or silicone mats. This step ensures even baking and easy cleanup. (5 minutes)
- Cream the butter and sugar: In a large bowl, beat 1 cup softened unsalted butter with 3/4 cup granulated sugar using an electric mixer until light and fluffy, about 3-4 minutes. This incorporates air for a crisp texture.
- Add the egg and extracts: Beat in 1 large room-temperature egg, 1 teaspoon vanilla extract, and 1/2 teaspoon almond extract (if using). Mix until combined but don’t overbeat.
- Combine dry ingredients: In a separate bowl, whisk together 2 cups all-purpose flour, 1/2 teaspoon baking powder, and 1/4 teaspoon salt. This ensures even distribution of leavening.
- Mix dry into wet: Gradually add the flour mixture to the butter mixture, stirring gently until a soft dough forms. If the dough feels too sticky, chill it for 15 minutes—this makes shaping easier.
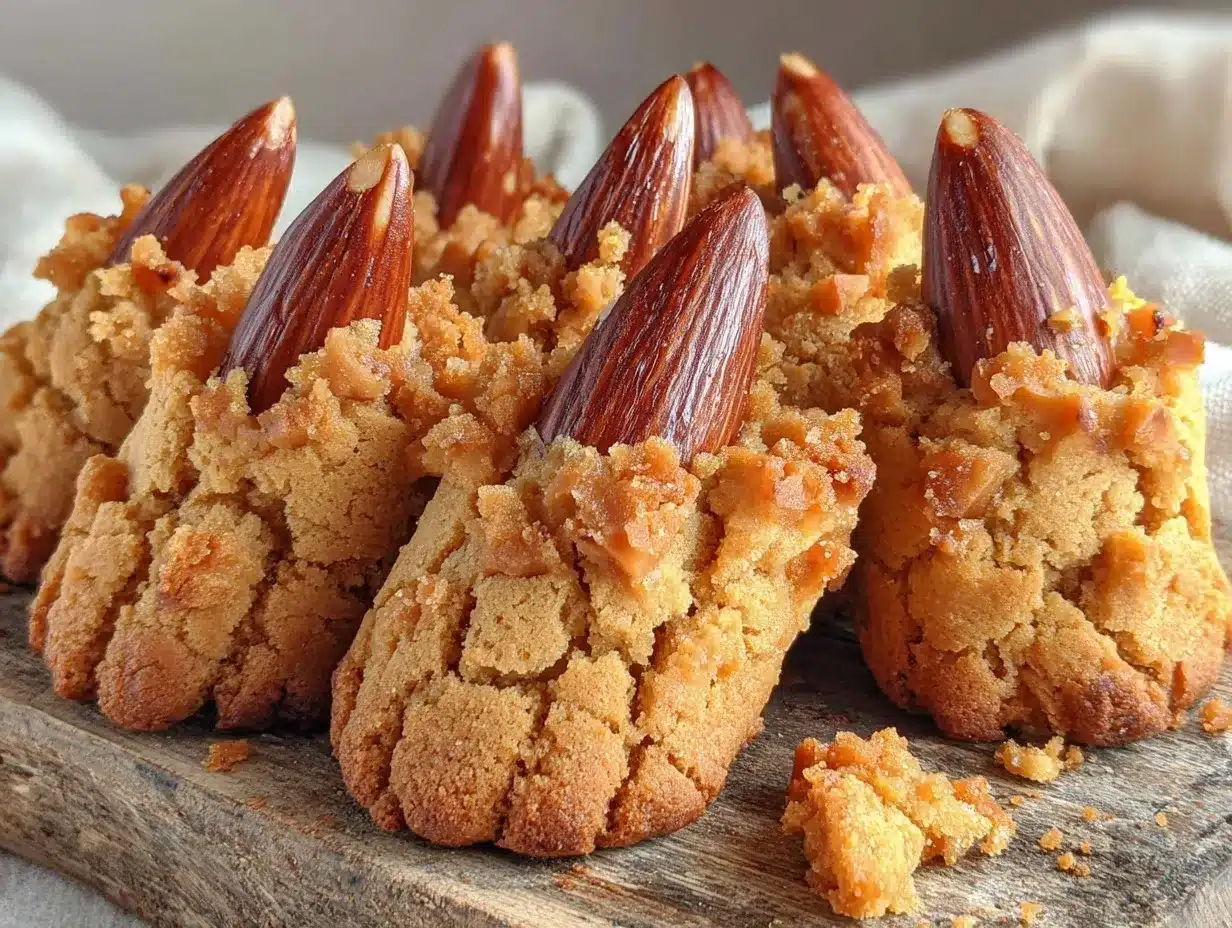
- Shape the fingers: Pinch off about 1 tablespoon (15g) portions of dough and roll into finger shapes roughly 3-4 inches (7.5-10 cm) long. Slightly taper one end to form the fingertip.
- Add knuckle details: Use a small knife or toothpick to make 2-3 shallow indentations along each finger to mimic knuckles. This detail really makes them look like creepy fingers.
- Attach almond nails: Gently press a peeled whole almond onto the tapered end of each finger to serve as the “nail.” If you want, add a tiny dab of red food coloring or gel at the base of the almond for a bloody effect.
- Bake: Arrange the fingers on the prepared baking sheets about 1 inch (2.5 cm) apart. Bake at 350°F (175°C) for 15-18 minutes, or until edges are lightly golden and cookies are crisp.
- Cool completely: Transfer cookies to a wire rack to cool. Cooling is important as it helps them crisp up perfectly and prevents breakage.
Tip: If your fingers puff up too much, gently press them back into shape while still warm using a spatula. Also, keep an eye on the almonds—they can brown quickly, so check midway through baking.
Cooking Tips & Techniques
Making these crispy witch finger cookies isn’t complicated, but a few tricks can make all the difference:
- Butter temperature matters: Softened, but not melted, butter will cream better with sugar, giving you a lighter dough and crispier cookie.
- Chill the dough if needed: If your kitchen is warm or the dough feels sticky, a quick 15-minute chill helps with shaping and prevents spreading.
- Shaping fingers: Don’t worry about perfection—slightly uneven fingers look more authentic and spooky.
- Knuckle details: Use a toothpick or small knife gently, so you don’t cut too deep, which might cause cracking.
- Almond nails: Press almonds firmly but gently so they stick during baking without falling off.
- Watch baking time: Overbaking leads to too-dark edges, underbaking yields soft cookies. Aim for light golden edges and firm centers.
- Cooling is crucial: Letting cookies cool on a rack helps them crisp up and keeps them from becoming soggy.
Honestly, the first batch I made had a few broken nails and overly puffy fingers, but these little lessons came from experience. If you bake these alongside smoky BBQ chicken or cornbread muffins from the site, you’ll notice how timing and multitasking in the kitchen can make things smoother. (For instance, these cookies can bake while you prep something savory like the smokeless BBQ chicken.)
Variations & Adaptations
This recipe is flexible and easy to tweak depending on dietary needs or flavor preferences:
- Gluten-Free Version: Swap all-purpose flour for a 1:1 gluten-free baking flour. The texture will be a little different but still tasty and crisp.
- Vegan Option: Use vegan butter and a flax egg (1 tablespoon ground flaxseed + 3 tablespoons water, chilled) instead of regular egg. Almond nails stay the same.
- Flavor Twists: Add a pinch of cinnamon or pumpkin pie spice to the dough for a subtle seasonal note. Or try lemon zest for a surprising zing.
- Almond Nail Alternatives: Use sliced almonds for a thinner nail look or colored candy melts shaped into nails for an extra spooky effect.
- Mini Witch Fingers: Make bite-sized fingers for easier snacking or classroom treats.
I once tried adding a tiny bit of black cocoa powder to make dark “witch fingers.” They looked wicked, but the texture was more crumbly, so I prefer the classic version for that perfect crispness.
Serving & Storage Suggestions
These crispy witch finger cookies are best served at room temperature, allowing their texture to shine through. Arrange them on a Halloween-themed platter—maybe with some dry ice fog for effect! They pair surprisingly well with a warm cup of spiced tea or a creamy pumpkin spice latte for an autumn vibe.
To store, keep the cookies in an airtight container at room temperature for up to 5 days. If you want to make them ahead, they freeze beautifully—just thaw at room temperature before serving. Avoid refrigerating as moisture can soften the crunch.
If you like your cookies a little softer, you can microwave them for 5-7 seconds before serving—just don’t overdo it or they’ll lose their signature crisp. Over time, the almond nails might darken slightly, but that just adds to the character.
Pairing these with other Halloween treats like the easy gluten-free cornbread muffins or a refreshing fruit salad can round out a festive spread perfectly.
Nutritional Information & Benefits
Each witch finger cookie contains roughly:
| Calories | 120-140 kcal |
|---|---|
| Fat | 7-8g (mostly from butter and almonds) |
| Carbohydrates | 14-16g |
| Protein | 2g |
| Fiber | 1g (from almonds and flour) |
The recipe includes wholesome ingredients like almonds, which provide healthy fats, vitamin E, and a bit of protein. Butter adds richness but also fat-soluble vitamins. Using pure vanilla and almond extracts adds flavor without extra calories.
These cookies are naturally gluten-containing unless you swap the flour, and they contain nuts (almonds), so keep that in mind for allergy considerations. For a lower-sugar option, you can reduce sugar slightly or try a natural sugar substitute, but the classic version is worth the indulgence on a festive night.
Conclusion
If you’re looking for a Halloween cookie that’s as fun to make as it is to eat, these crispy witch finger cookies with almond nails are a no-brainer. They bring a little playful spookiness to your kitchen without complicated steps or exotic ingredients. Plus, the crunch and almond detail consistently get compliments and requests for the recipe.
Feel free to customize the spices, shape size, or almonds to make them your own. Personally, I love how these cookies bring a subtle thrill to the table—just enough to spark smiles and a few playful shudders.
Give them a try this season and share your spooky baking stories or tweaks—I’m always curious how you make these fingers your own!
Frequently Asked Questions
How do I keep the almond nails from falling off?
Press the almonds firmly into the dough before baking, and make sure the cookie base isn’t too dry. A slightly sticky dough helps the nails stick better during baking.
Can I make these cookies ahead of time?
Yes! They store well in an airtight container for up to 5 days and freeze nicely. Just thaw at room temperature before serving.
What can I use instead of almonds for the nails?
Sliced almonds, candy melts, or even small pieces of colored fondant work as alternatives depending on your preference and allergies.
Will these cookies be soft or crunchy?
They’re designed to be crispy with a satisfying snap, but if you prefer softer cookies, bake a minute or two less and store them in an airtight container to retain moisture.
Can I make these gluten-free or vegan?
Absolutely. Use gluten-free baking flour for gluten-free, and swap butter and egg with vegan alternatives like plant-based butter and a flax egg for a vegan version.
Pin This Recipe!
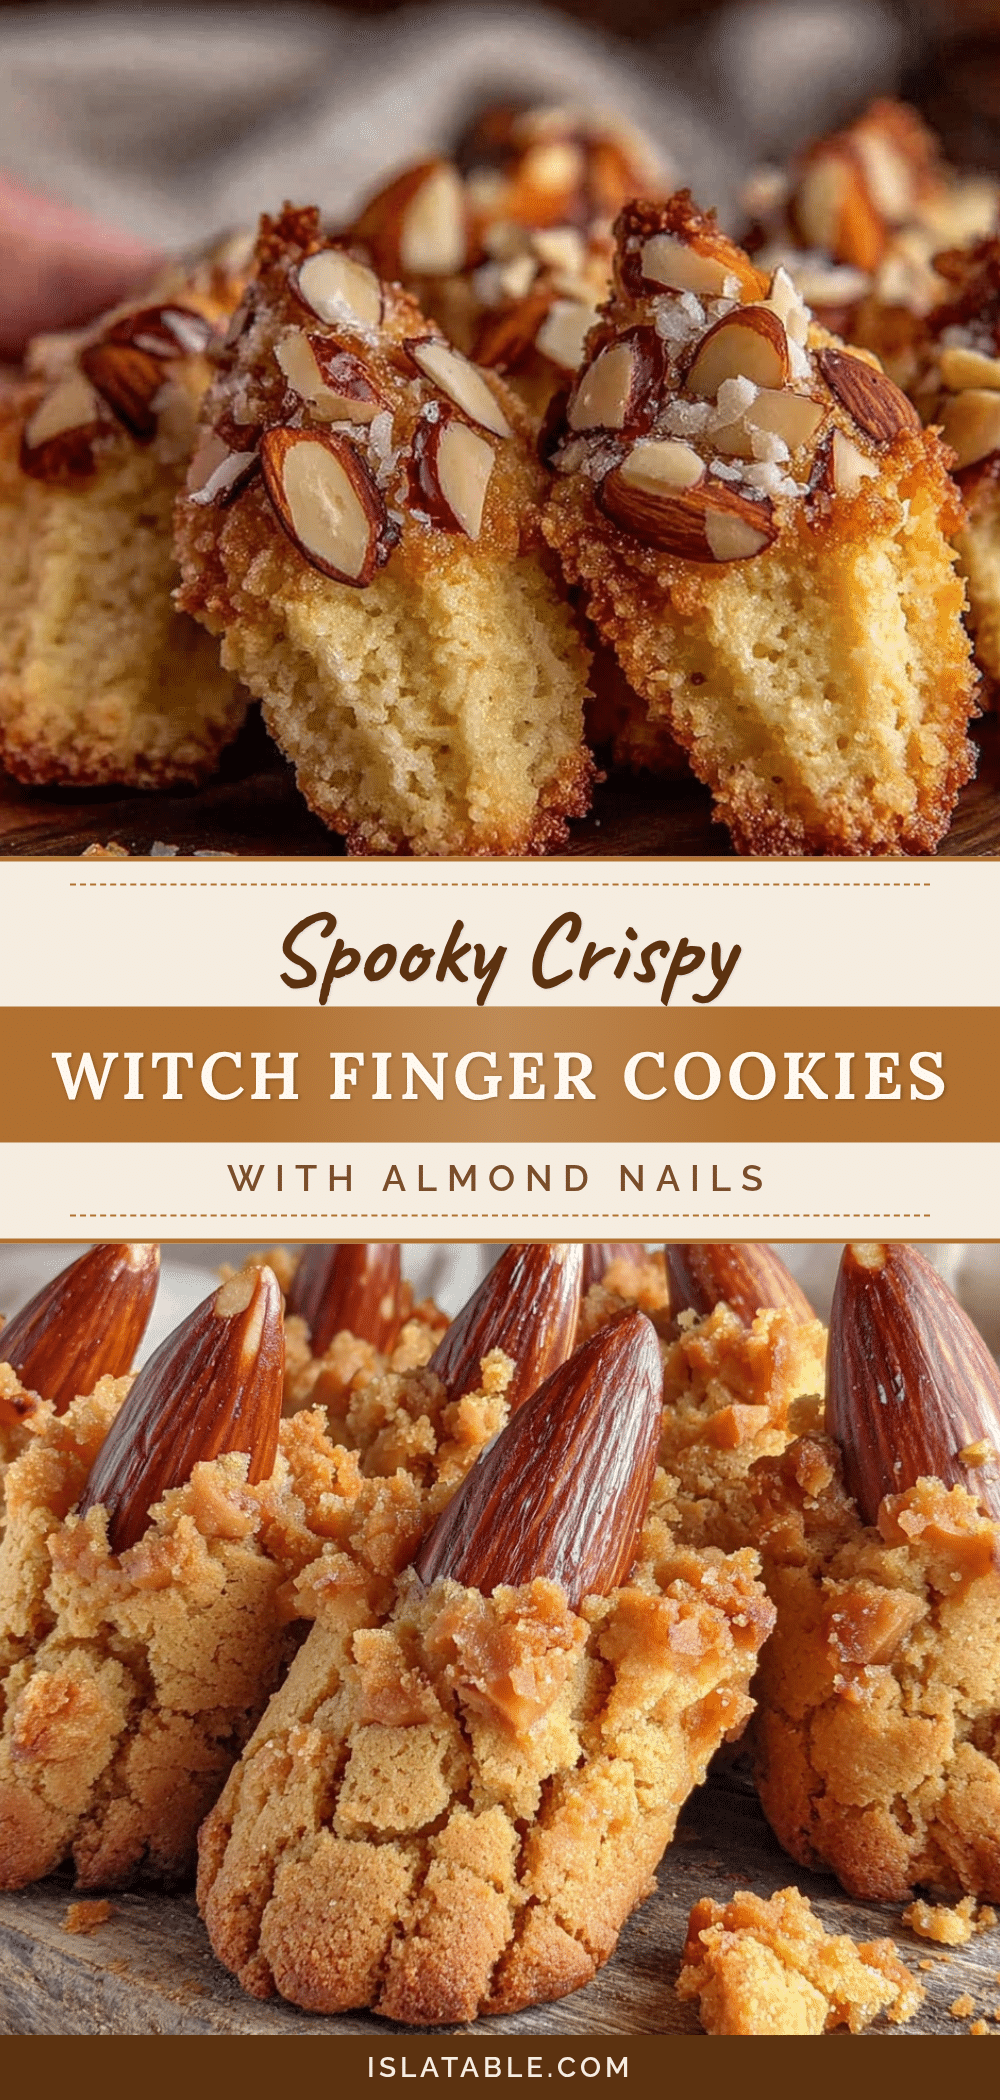
Crispy Witch Finger Cookies Recipe with Almond Nails

These crispy witch finger cookies with almond nails are a fun and spooky Halloween treat with a buttery, crunchy texture and a playful almond nail detail.
- Prep Time: 20 minutes
- Cook Time: 15-18 minutes
- Total Time: 35-38 minutes
- Yield: 24 cookies 1x
- Category: Dessert
- Cuisine: American
Ingredients
- 2 cups (240g) all-purpose flour
- 1 cup (226g) unsalted butter, softened
- 3/4 cup (150g) granulated sugar
- 1 large egg, room temperature
- 1 teaspoon vanilla extract
- 1/2 teaspoon almond extract (optional but recommended)
- 1/2 teaspoon baking powder
- 1/4 teaspoon salt
- About 24 whole almonds, peeled if possible
- Optional: red food coloring or gel for a bloody effect
Instructions
- Preheat your oven to 350°F (175°C). Line two baking sheets with parchment paper or silicone mats.
- In a large bowl, beat 1 cup softened unsalted butter with 3/4 cup granulated sugar using an electric mixer until light and fluffy, about 3-4 minutes.
- Beat in 1 large room-temperature egg, 1 teaspoon vanilla extract, and 1/2 teaspoon almond extract (if using). Mix until combined but don’t overbeat.
- In a separate bowl, whisk together 2 cups all-purpose flour, 1/2 teaspoon baking powder, and 1/4 teaspoon salt.
- Gradually add the flour mixture to the butter mixture, stirring gently until a soft dough forms. Chill for 15 minutes if dough is too sticky.
- Pinch off about 1 tablespoon (15g) portions of dough and roll into finger shapes roughly 3-4 inches (7.5-10 cm) long, tapering one end to form the fingertip.
- Use a small knife or toothpick to make 2-3 shallow indentations along each finger to mimic knuckles.
- Gently press a peeled whole almond onto the tapered end of each finger to serve as the nail. Add a tiny dab of red food coloring or gel at the base of the almond for a bloody effect if desired.
- Arrange the fingers on the prepared baking sheets about 1 inch (2.5 cm) apart. Bake at 350°F (175°C) for 15-18 minutes, or until edges are lightly golden and cookies are crisp.
- Transfer cookies to a wire rack to cool completely to help them crisp up and prevent breakage.
Notes
Use softened but not melted butter for best creaming results. Chill dough if sticky for easier shaping. Press almonds firmly but gently to keep nails attached. Watch baking time closely to avoid overbaking. Cool completely on a rack to maintain crispness. Optional red food coloring adds a bloody effect near the nails.
Nutrition
- Serving Size: 1 cookie
- Calories: 130
- Fat: 7.5
- Carbohydrates: 15
- Fiber: 1
- Protein: 2
Keywords: Halloween cookies, witch finger cookies, almond nails, crispy cookies, spooky treats, Halloween dessert


