For a while, I just accepted that refrigerator pickles weren’t going to taste like the crunchy, garlicky dill pickles I craved. I mean, sure, quick pickles were easy enough, but they often came out soggy or bland, lacking that satisfying snap that makes biting into a pickle so rewarding. I’d fiddle with brines and soak times, trying to get that perfect crunch, but it always felt a bit off—either too soft or too vinegary. It wasn’t about fancy ingredients or complicated steps; it was the absence of a method that genuinely delivered on the promise of “fast” and “crispy” at the same time.
One afternoon, while slicing cucumbers for a simple salad, I was thinking about how those quick pickles could be better. The kitchen smelled faintly of garlic and dill from a previous batch, but the texture still wasn’t right. The realization hit me quietly: maybe it wasn’t just the soaking time but the way the cucumbers were prepped and the exact balance of seasoning. So, I experimented, trying a few small jars in the fridge, and after a couple of days, the pickles were unexpectedly crisp and bursting with flavor—not just a briny snack, but something I genuinely looked forward to reaching for.
It’s not a story of instant success or a dramatic “aha” moment, but the kind of discovery that grew slowly and quietly stuck with me. These crispy garlic dill refrigerator pickles have since become a go-to, especially when I need a quick bite that pairs perfectly with a sandwich or a fresh salad, like the healthy keto coleslaw I often make alongside. They’re just the right mix of tangy, garlicky, and crunchy, and best of all—they’re ready fast enough to satisfy that pickle craving without a week of waiting. It’s the sort of recipe you trust to deliver every time without fuss, and honestly, that quiet reliability is why it’s still in regular rotation at my place.
Why You’ll Love This Recipe
This recipe for crispy garlic dill refrigerator pickles has been through enough kitchen tests to feel like a trusty sidekick in my culinary adventures. It’s not just about making pickles fast—it’s about making them right.
- Quick & Easy: Ready in just a couple of days, these pickles fit perfectly into busy schedules or last-minute snack cravings.
- Simple Ingredients: Nothing fancy here—just cucumbers, garlic, dill, and a balanced brine. No hunting down obscure spices.
- Perfect for Any Occasion: Whether it’s a casual lunch, a picnic, or paired with a smokeless BBQ chicken dinner, these pickles add a fresh crunch that complements any meal.
- Crowd-Pleaser: Family and friends always ask for more once they try these. The garlic and dill combo isn’t overpowering but just right.
- Unbelievably Delicious: The texture is crisp, the flavor is balanced, and the garlic adds a savory depth that feels homemade but effortless.
What sets this recipe apart is the little technique of salting the cucumbers first to draw out excess water, which keeps them crisp longer. Plus, the brine strikes a perfect harmony of tartness and herbaceous garlic dill that doesn’t overwhelm but leaves you wanting more. It’s the kind of pickle that makes you think, “I could eat these every day,” without feeling heavy or sour. Honestly, it’s comfort food with a fresh twist—quick, flavorful, and satisfying.
What Ingredients You Will Need
This recipe uses simple, wholesome ingredients to deliver bold flavor and satisfying texture without the fuss. Most are pantry staples, and you might already have everything ready to go.
- Cucumbers: About 4 cups (around 4-5 medium Kirby or pickling cucumbers), sliced into 1/4-inch thick rounds. Kirbys are ideal for their firm texture and small seeds.
- Garlic: 4 cloves, peeled and smashed. Fresh garlic gives that unmistakable pungency and depth.
- Dill: 3-4 sprigs of fresh dill, including the fronds and stems. Fresh dill is key here; dried just won’t do the same.
- White Vinegar: 1 cup (240 ml). Use a mild white vinegar or apple cider vinegar for a gentle tang. I usually go with Heinz or Bragg’s apple cider vinegar.
- Water: 1 cup (240 ml). This balances the acidity so the pickles aren’t too sharp.
- Salt: 1 tablespoon kosher salt or pickling salt (avoid iodized table salt as it can cloud the brine).
- Sugar: 1 teaspoon granulated sugar (optional, balances the tartness but you can skip for keto-friendly)
- Mustard Seeds: 1 teaspoon adds a subtle warmth and texture.
- Black Peppercorns: 1/2 teaspoon whole peppercorns for a mild spice note.
- Red Pepper Flakes: A pinch for a gentle kick; optional but recommended if you like a bit of heat.
These ingredients come together to create a brine that’s bright and flavorful without overpowering the crisp cucumber slices. If fresh dill isn’t available, you can use 1 tablespoon dried dill weed, but fresh gives the best aroma. For a gluten-free or paleo twist, this recipe fits right in, since it’s naturally free of gluten and grains.
Equipment Needed
- Glass Mason Jar or Pickling Jar: A quart-sized (1-liter) jar works great. Glass helps you see the pickles and won’t react with the vinegar.
- Sharp Knife or Mandoline Slicer: For even cucumber slices. A mandoline speeds things up and keeps slices uniform, but a good sharp knife works fine.
- Mixing Bowl: To toss the cucumbers with salt before packing them into the jar.
- Measuring Cups and Spoons: For precise brine measurements.
- Small Saucepan: To warm the brine ingredients just enough to dissolve salt and sugar.
If you don’t have a mandoline, slicing by hand is perfectly fine—just try to keep the slices consistent thickness so they pickle evenly. I recommend rinsing and drying your jar well to avoid any unwanted flavors. And if you want to make a bigger batch, a larger container or multiple jars will do the trick.
Preparation Method
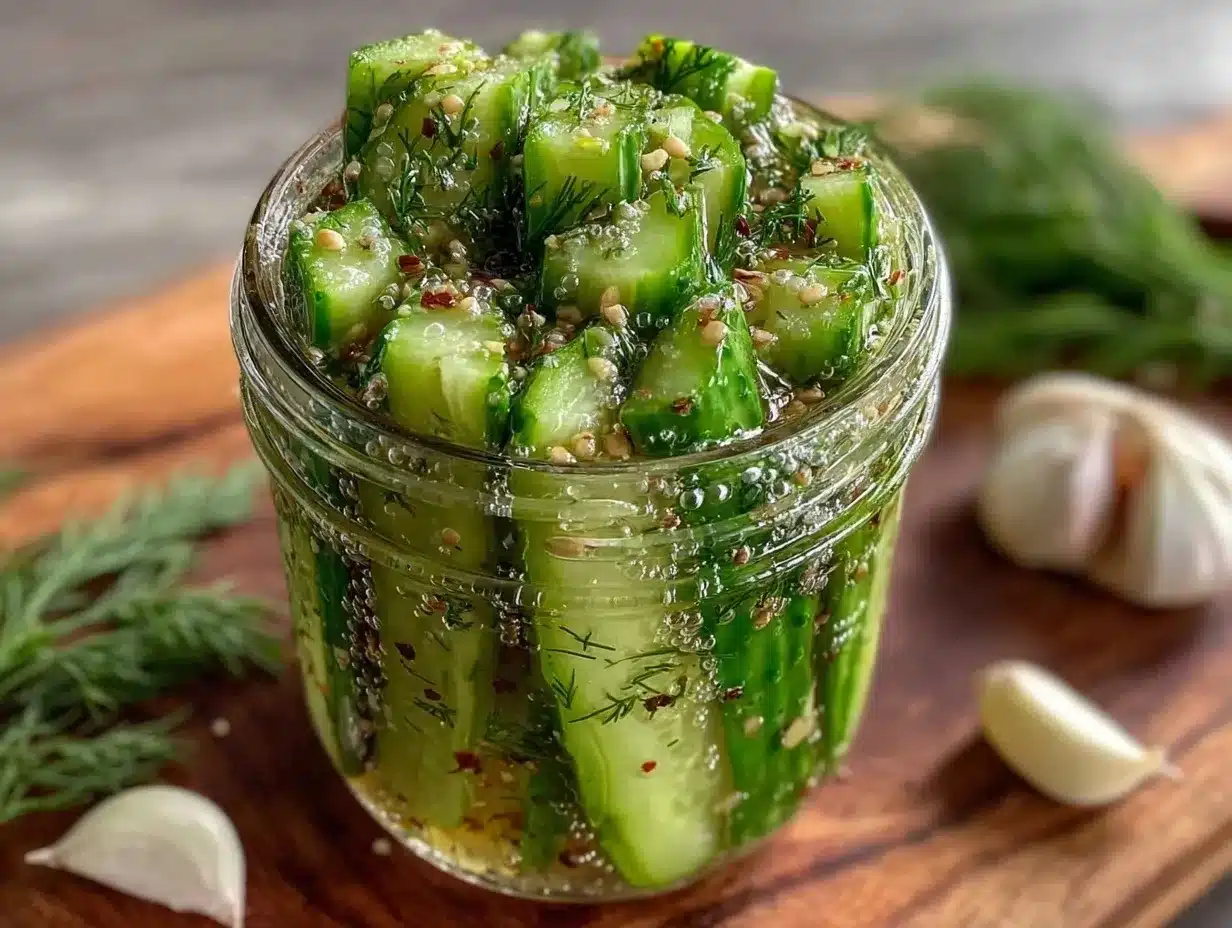
- Slice the Cucumbers: Start by washing your cucumbers well. Slice them into 1/4-inch (0.6 cm) thick rounds. Uniform slices ensure even pickling and consistent texture. This step usually takes about 5 minutes.
- Salt the Cucumbers: Place the cucumber slices in a mixing bowl. Sprinkle 1 tablespoon kosher salt evenly over them and toss gently to coat. Let them sit for 1 hour at room temperature. This draws out excess water, which is the secret to keeping the pickles crisp.
- Prepare the Brine: While the cucumbers are salting, combine 1 cup (240 ml) white vinegar, 1 cup (240 ml) water, 1 teaspoon sugar, 1 teaspoon mustard seeds, 1/2 teaspoon black peppercorns, and a pinch of red pepper flakes in a small saucepan. Heat over medium heat just until the sugar and salt dissolve—about 3-4 minutes. Do not boil; just warm enough to meld the flavors.
- Rinse and Drain Cucumbers: After an hour, rinse cucumbers thoroughly under cold water to remove excess salt and pat dry with a clean kitchen towel or paper towels. This step prevents the pickles from becoming too salty.
- Pack the Jar: Tightly pack the cucumber slices into the clean jar along with smashed garlic cloves and fresh dill sprigs. The jar should be full but not overflowing, leaving about 1/2-inch (1.3 cm) headspace.
- Pour in the Brine: Carefully pour the warm brine over the cucumbers, ensuring all slices are submerged. You can place a small clean weight or extra cucumber slice on top to keep everything below the liquid line.
- Seal and Refrigerate: Seal the jar with a lid and place it in the refrigerator. Let the pickles marinate for at least 48 hours before tasting. The flavors develop quickly, but they get better after 3 days. These pickles keep well for up to 2 weeks.
Quick tip: If your cucumbers feel a little soft at the start, the salting step usually restores some firmness. Also, using fresh garlic rather than pre-minced really makes a difference in flavor depth. I’ve found that gently smashing the garlic releases just the right amount of pungency without overwhelming the brine.
Cooking Tips & Techniques
Getting crispy garlic dill refrigerator pickles just right requires a few kitchen tricks I’ve picked up over time. One common mistake is skipping the salting step—trust me, it’s key for crunch. Skipping it often leads to soggy pickles that just don’t have that satisfying snap.
Another tip is to avoid boiling the brine. Just warming it enough to dissolve salt and sugar keeps the vinegar’s brightness intact without cooking off the sharpness. I’ve learned the hard way that a boiling brine can make pickles taste dull or overly soft.
When packing the jar, press the cucumbers firmly but gently so you maximize space without crushing slices. Leaving some headspace ensures that the brine covers everything, preventing air pockets that could spoil the batch.
Timing-wise, these pickles are great after 48 hours, but if you can wait 3-4 days, the flavor deepens nicely. Multi-tasking tip: prep these while making a quick dinner like gluten-free cornbread muffins, so you have snacks ready to go the next day.
Lastly, remember to keep the pickles refrigerated after sealing. This recipe is not for canning or shelf storage, so the fridge is your friend here. I’ve kept batches for up to two weeks, but honestly, they rarely last that long in my kitchen.
Variations & Adaptations
This recipe is flexible enough to suit different tastes and dietary needs.
- Spicy Garlic Dill Pickles: Add 1-2 sliced jalapeños or increase red pepper flakes for a noticeable heat kick.
- Low Sodium Version: Reduce salt by half in the salting step and brine, but keep in mind the texture might be slightly less crisp.
- Herb-Infused Pickles: Swap dill for fresh tarragon or add a few fresh thyme sprigs for a different herbal note.
- Vegan-Friendly Twist: This recipe is naturally vegan, but for a smoky flavor, try adding a small piece of smoked paprika or a few dried chipotle flakes to the brine.
For an interesting take, I once stirred in a splash of keto coleslaw dressing after pickling for a creamy, tangy pickle salad that was a hit at potlucks. Also, if you want to speed up the process even more, cut the cucumbers into spears instead of rounds; they tend to pickle faster and are great for snacking.
Serving & Storage Suggestions
These pickles are best served chilled straight from the fridge. Their crisp texture and bright garlicky flavor pair wonderfully with sandwiches, burgers, or even on their own as a quick snack. They complement smoky dishes, like smokeless BBQ chicken, and add a refreshing contrast to rich, savory meals.
Store pickles in their brine in the refrigerator for up to 2 weeks. Over time, the flavor will deepen, and the pickles might soften slightly but remain tasty. If reheating is necessary (rare for pickles), warm gently but avoid microwaving to keep texture intact.
For a quick serving hack, drain the pickles and toss with a sprinkle of extra fresh dill and a squeeze of lemon juice to brighten flavors before plating. They also make a fantastic crunchy topping for salads or tacos.
Nutritional Information & Benefits
One serving (about 3-4 slices) of these crispy garlic dill refrigerator pickles is low in calories—around 10-15 calories—and packed with flavor. The cucumbers provide hydration and fiber, while the garlic offers immune-boosting compounds. Dill adds antioxidants and a fresh herbal note without calories.
This recipe is naturally gluten-free, low-carb, and vegan, making it suitable for most diets. The vinegar in the brine may aid digestion, and avoiding added sugars keeps it friendly for keto or diabetic meal plans. Just watch the salt if you’re monitoring sodium intake.
Conclusion
These crispy garlic dill refrigerator pickles fill a quiet gap in the quick pickle world—combining crunch, flavor, and speed without fuss. They’re easy enough to make on a whim and rewarding enough to keep coming back to.
Feel free to tweak the garlic and dill levels to match your taste or try the spicy variation if you want a little kick. For me, they’re a dependable fridge staple that always perks up a meal or snack, especially when paired with dishes like those tender small batch BBQ pulled pork recipes I love experimenting with.
Give them a try and let the crunch and flavor speak for themselves—sometimes the simplest recipes make the biggest difference. I’m confident you’ll appreciate how these pickles fit into your kitchen rhythm, just as they have in mine.
FAQs About Crispy Garlic Dill Refrigerator Pickles
How long do refrigerator pickles last?
Stored properly in the fridge, these pickles stay fresh and tasty for up to 2 weeks. After that, they may soften but will still be safe to eat.
Can I use regular cucumbers instead of Kirby cucumbers?
You can, but Kirby cucumbers are best for pickling because of their firm texture and fewer seeds. Regular slicing cucumbers might yield softer pickles.
Do I need to boil the brine?
No, just warming it enough to dissolve the salt and sugar is enough. Boiling can mellow the vinegar’s sharpness and soften the cucumbers.
Can I make these pickles spicy?
Absolutely! Adding sliced jalapeños or extra red pepper flakes gives a nice heat that complements the garlic and dill.
Are these pickles keto-friendly?
Yes, they’re low in carbs and sugar (especially if you skip the optional sugar), making them a great keto snack or condiment.
Pin This Recipe!
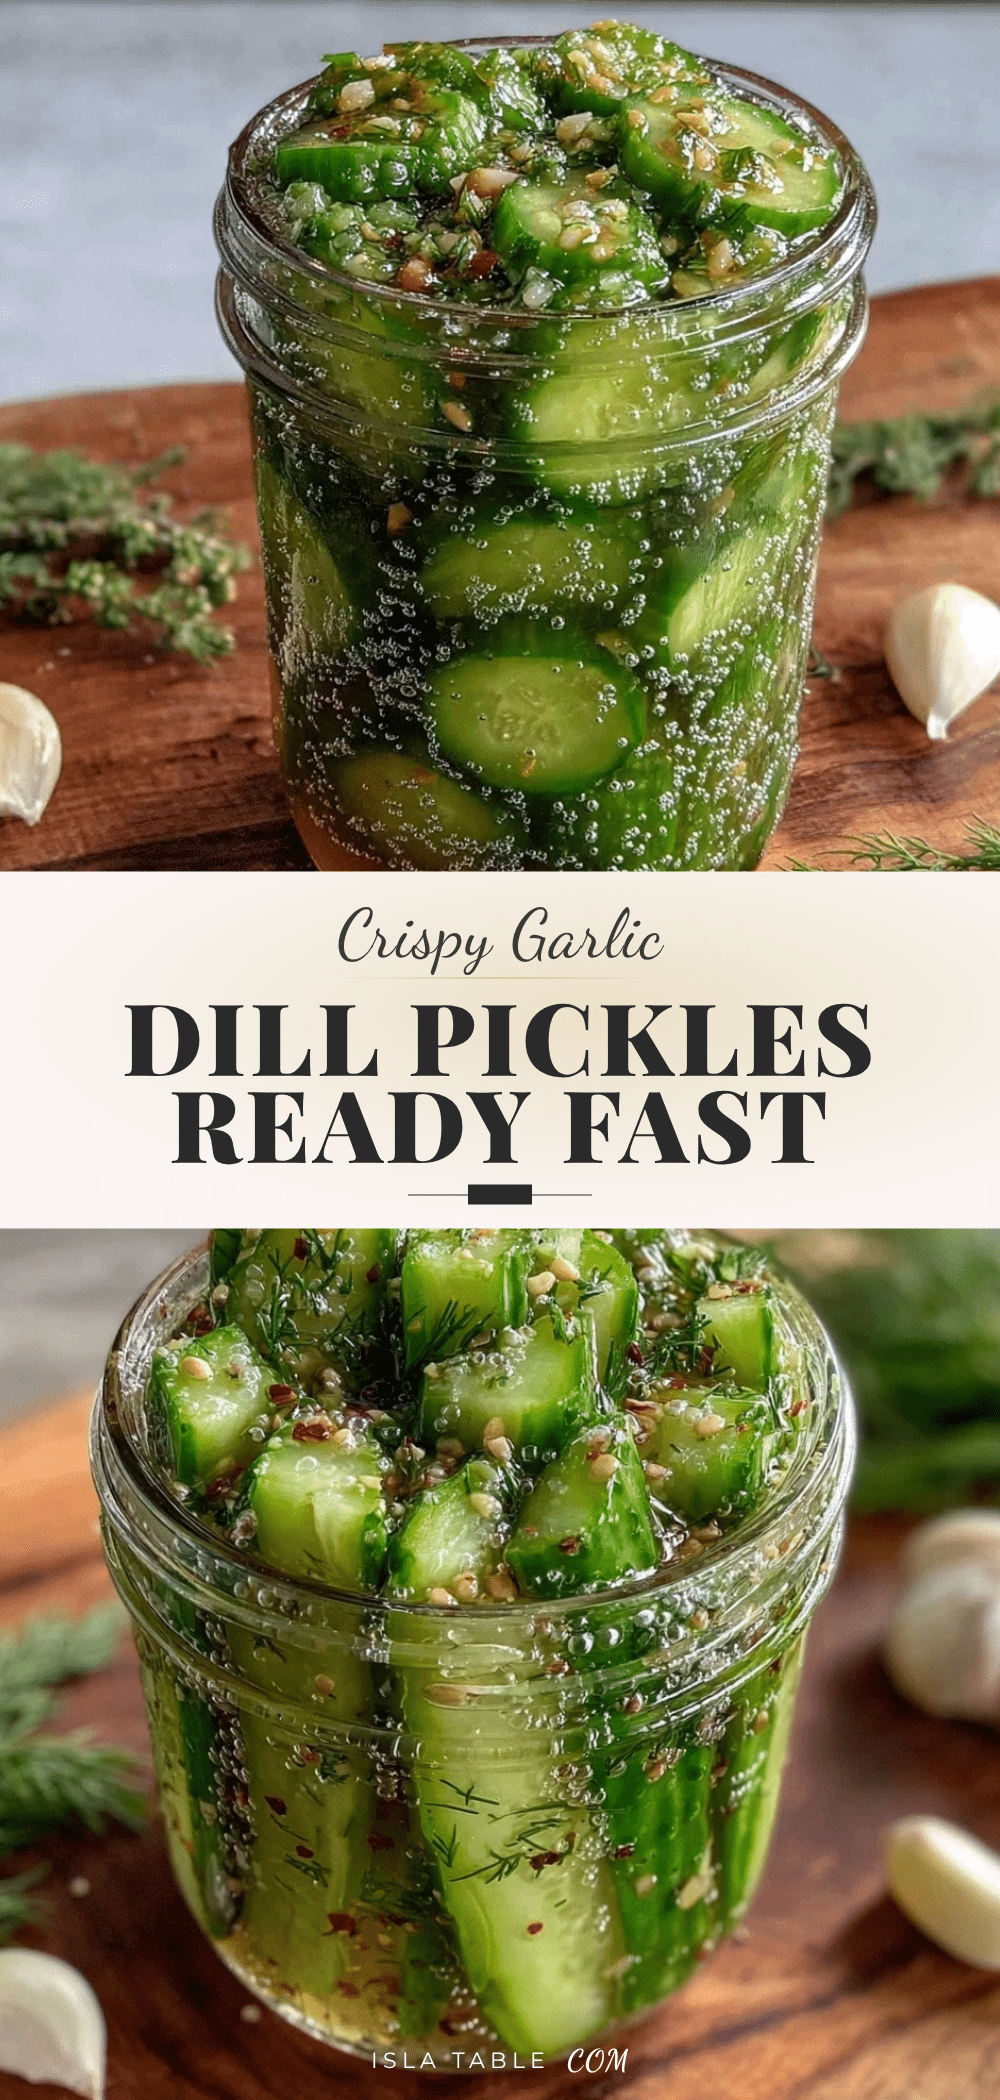
Crispy Garlic Dill Refrigerator Pickles
These crispy garlic dill refrigerator pickles are quick, easy, and ready in just a couple of days. They offer a perfect balance of tangy, garlicky flavor with a satisfying crunch, ideal for snacking or pairing with meals.
- Prep Time: 10 minutes
- Cook Time: 5 minutes
- Total Time: 2 days 15 minutes
- Yield: 4 servings 1x
- Category: Condiment
- Cuisine: American
Ingredients
- 4 cups sliced Kirby or pickling cucumbers (about 4–5 medium), 1/4-inch thick rounds
- 4 cloves garlic, peeled and smashed
- 3–4 sprigs fresh dill, including fronds and stems
- 1 cup white vinegar (240 ml) or apple cider vinegar
- 1 cup water (240 ml)
- 1 tablespoon kosher salt or pickling salt
- 1 teaspoon granulated sugar (optional)
- 1 teaspoon mustard seeds
- 1/2 teaspoon whole black peppercorns
- Pinch of red pepper flakes (optional)
Instructions
- Wash cucumbers and slice into 1/4-inch thick rounds.
- Place cucumber slices in a mixing bowl, sprinkle with 1 tablespoon kosher salt, and toss gently to coat. Let sit at room temperature for 1 hour to draw out excess water.
- While cucumbers salt, combine vinegar, water, sugar, mustard seeds, black peppercorns, and red pepper flakes in a small saucepan. Warm over medium heat for 3-4 minutes until salt and sugar dissolve, do not boil.
- Rinse cucumbers thoroughly under cold water to remove excess salt and pat dry.
- Pack cucumber slices tightly into a clean quart-sized glass jar with smashed garlic cloves and fresh dill sprigs, leaving about 1/2-inch headspace.
- Pour warm brine over cucumbers ensuring all slices are submerged. Use a small weight or extra cucumber slice to keep submerged if needed.
- Seal jar with lid and refrigerate for at least 48 hours before tasting. Flavor improves after 3 days. Keep refrigerated and consume within 2 weeks.
Notes
Salting cucumbers before pickling is key to maintaining crispness. Warm the brine just enough to dissolve salt and sugar without boiling to preserve vinegar brightness. Use fresh garlic for best flavor. Store pickles refrigerated and consume within 2 weeks. Variations include adding jalapeños for spice or swapping dill for other herbs.
Nutrition
- Serving Size: About 3-4 pickle sli
- Calories: 1015
- Sugar: 0.5
- Sodium: 600
- Carbohydrates: 2
- Fiber: 0.5
- Protein: 0.3
Keywords: refrigerator pickles, garlic dill pickles, quick pickles, crispy pickles, easy pickles, keto pickles, vegan pickles


