Introduction
Unexpected company showed up right when the fridge was looking pretty bare—just a handful of pantry staples and a small bag of Hatch chiles leftover from a farmer’s market haul. Honestly, I wasn’t sure how I’d pull off a meal that felt cozy and satisfying out of so little, but that roasted hatch chile mac and cheese idea slowly took shape. The air filled with that smoky, slightly spicy aroma as I roasted the chiles, and the kitchen started feeling like a proper dinner spot again.
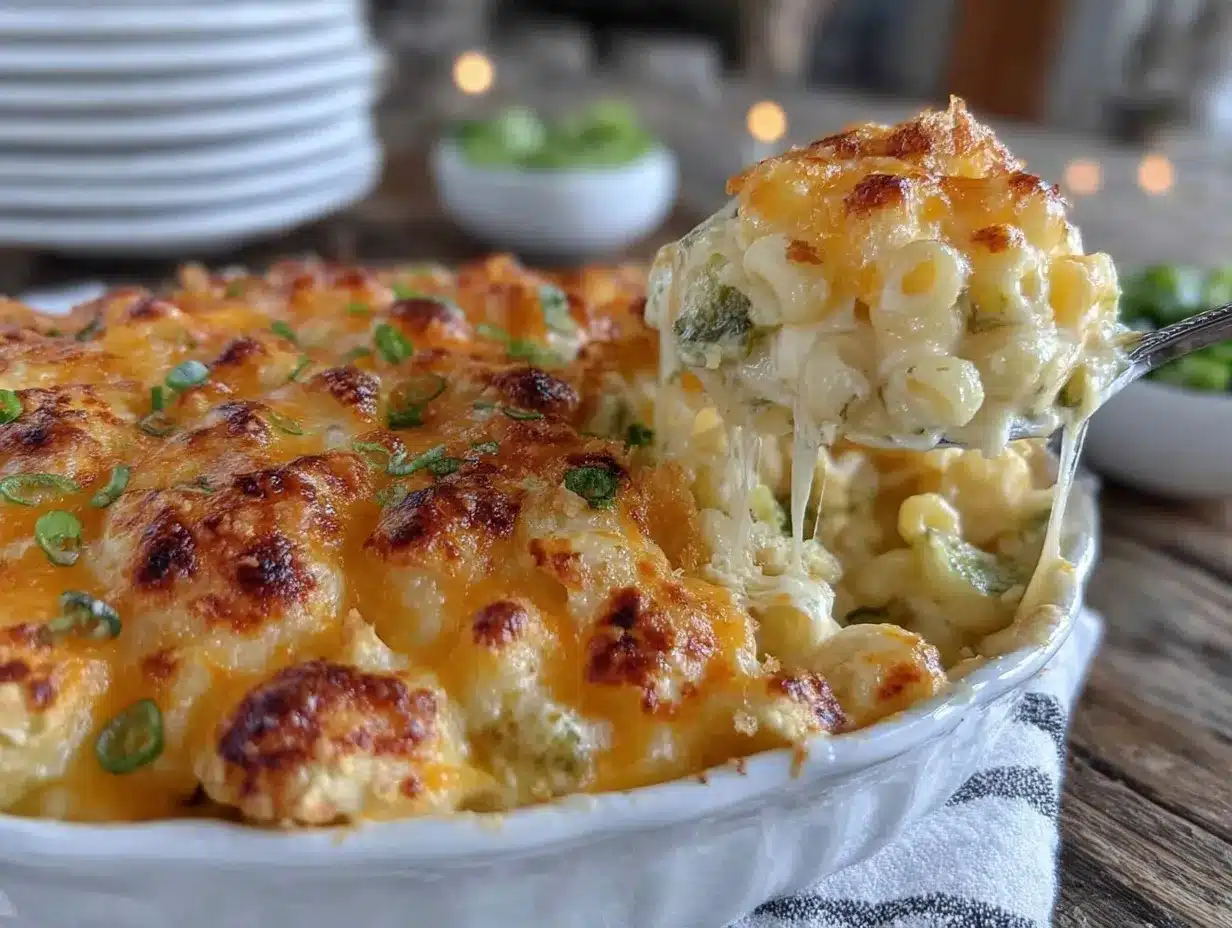
The pasta boiled, cheese melted, and before I knew it, there was this bubbling, creamy dish with a golden crust that looked unassuming but tasted like a hug in a bowl. It wasn’t planned, but it stuck around on my menu for good—something about how those Hatch chiles bring a subtle heat and earthy depth to the creamy cheese sauce makes it feel like fall in every bite. You know that comfort food you want on a chilly evening? Yeah, this is it.
And the best part? That golden crust on top, crispy and buttery, makes every forkful a little celebration. This recipe became my go-to when I need something quick but still a bit special, using what I have without fuss. You might find it becomes a staple in your kitchen too, especially when you want a dish that’s creamy, a little spicy, and just downright comforting.
Why You’ll Love This Recipe
After testing this creamy roasted Hatch chile mac and cheese a bunch of times (and yes, sampling every single batch), I can say it really nails that balance of smoky, spicy, and cheesy goodness. It’s not your average mac and cheese, but it’s not complicated either. Here’s why this recipe has earned a permanent spot in my rotation:
- Quick & Easy: It comes together in about 30 minutes—perfect for busy weeknights or when unexpected guests pop in.
- Simple Ingredients: Nothing fancy needed beyond pantry staples, pasta, cheese, and those star Hatch chiles. You probably have most of these already.
- Perfect for Fall: The roasted chiles add a warm, smoky kick that fits the season without overwhelming the dish.
- Crowd-Pleaser: Kids and adults alike love it, especially when you get that golden crust just right on top.
- Unbelievably Delicious: The creamy cheese sauce combined with the slight heat from the roasted chiles creates a flavor combo that’s both comforting and exciting.
What makes this version stand out is the roasting technique for the Hatch chiles. Roasting them brings out a smoky sweetness that blends beautifully with the cheese sauce, instead of the usual straightforward heat you’d get from raw chiles. Plus, the golden crust on top isn’t just for looks—it adds texture and a buttery crunch that turns this from simple comfort food into something special.
Whenever I’m in the mood for something that feels like a warm blanket in food form but with a bit of a kick, this recipe is what I reach for. It’s the kind of dish that makes you pause after the first bite and think, “Yep, this is exactly what I needed.”
What Ingredients You Will Need
This recipe uses simple, wholesome ingredients to deliver bold flavor and satisfying texture without fuss. The roasted Hatch chiles are the secret weapon here, but everything else plays a key supporting role. Most ingredients are pantry staples or easy to find, making this a stress-free meal option.
- For the roasted Hatch chiles:
- 4-5 fresh Hatch chiles (look for firm, bright green pods)
- 1 tablespoon olive oil (for roasting)
- For the mac and cheese:
- 8 ounces elbow macaroni (about 225 grams)
- 3 tablespoons unsalted butter (for roux and topping)
- 3 tablespoons all-purpose flour (or gluten-free flour blend)
- 3 cups whole milk (720 ml, warmed)
- 1 cup sharp cheddar cheese, shredded (100 grams)
- 1 cup Monterey Jack cheese, shredded (100 grams)
- ½ cup cream cheese, softened (115 grams)
- 1 teaspoon garlic powder
- 1 teaspoon smoked paprika
- Salt and freshly ground black pepper to taste
- For the golden crust topping:
- ½ cup panko breadcrumbs (50 grams) — I like Kikkoman brand for a nice crunch
- 2 tablespoons unsalted butter, melted
- ½ teaspoon chili powder (optional, for extra heat)
If Hatch chiles aren’t in season, roasted poblano peppers make a good substitute, but Hatch’s unique flavor really shines here. For a dairy-free twist, swap the milk and cheeses for your favorite plant-based alternatives. I’ve found that almond or oat milk works well, and vegan cream cheese keeps the sauce silky.
Equipment Needed
- Large pot for boiling pasta
- Medium saucepan for making the cheese sauce
- Sheet pan or cast iron skillet for roasting Hatch chiles
- Baking dish (8×8 inch or similar) for assembling and baking the mac and cheese
- Whisk for making the roux and sauce
- Mixing bowls
- Measuring cups and spoons
You don’t need any fancy gadgets for this recipe—just basic kitchen tools. A cast iron skillet for roasting gives a nice char on the chiles, but a simple sheet pan under the broiler works just fine. If you don’t have panko breadcrumbs, regular breadcrumbs will do, though the texture won’t be quite as crisp. For a budget-friendly option, roasting the chiles directly on the gas stove flame is a classic technique (just watch your fingers!).
Preparation Method
- Roast the Hatch chiles: Preheat your oven’s broiler or grill. Toss the fresh Hatch chiles with 1 tablespoon olive oil and place on a sheet pan. Roast for 10-15 minutes, turning occasionally, until the skins are blistered and blackened in spots. Remove and place in a covered bowl or plastic bag to steam for 10 minutes—this makes peeling easier. Once cooled, peel off skins, remove stems and seeds, and chop finely. (If you like a bit more heat, leave a few seeds in.)
- Cook the macaroni: Bring a large pot of salted water to a boil. Add 8 ounces (225 grams) elbow macaroni and cook until just al dente (about 7-8 minutes). Drain and set aside.
- Make the cheese sauce: In a medium saucepan, melt 3 tablespoons butter over medium heat. Whisk in 3 tablespoons flour and cook for 1-2 minutes until the mixture turns a light golden color (this is your roux). Slowly pour in 3 cups warmed whole milk, whisking constantly to avoid lumps. Continue whisking and cooking until the sauce thickens and coats the back of a spoon (about 5-7 minutes).
- Add cheeses and seasonings: Lower the heat and stir in 1 cup sharp cheddar, 1 cup Monterey Jack, and ½ cup cream cheese until melted and smooth. Stir in the roasted Hatch chile, 1 teaspoon garlic powder, 1 teaspoon smoked paprika, and salt and pepper to taste. Keep warm on very low heat.
- Combine pasta and sauce: Add drained macaroni to the cheese sauce, stirring gently to coat all the noodles evenly.
- Prepare the topping: In a small bowl, mix ½ cup panko breadcrumbs with 2 tablespoons melted butter and ½ teaspoon chili powder if using.
- Assemble and bake: Pour the mac and cheese into a buttered 8×8 inch baking dish. Sprinkle the breadcrumb mixture evenly over the top. Bake in a preheated oven at 375°F (190°C) for 20-25 minutes until bubbly and golden brown on top.
- Rest and serve: Let the dish sit for 5 minutes before serving to allow the sauce to set and flavors to meld. You’ll notice that crispy golden crust and creamy interior—pure joy.
If your sauce feels too thick before baking, whisk in a splash of milk to loosen it. Alternatively, if it’s too thin, add a little extra shredded cheese or cook it a bit longer on the stovetop to thicken.
Cooking Tips & Techniques
Roasting the Hatch chiles properly is key. Don’t rush the blistering step—those blackened skins add smoky depth that you just can’t fake. Steaming the chiles after roasting makes peeling easier and keeps the flesh tender, which melts perfectly into the sauce.
When making the roux, low and slow is the way to go—cooking the flour briefly removes that raw taste, but don’t let it brown too much or your sauce might taste nutty instead of creamy. Whisking constantly while adding milk prevents lumps and ensures a smooth cheese sauce.
For the cheese, mixing sharp cheddar with Monterey Jack balances tangy sharpness and creamy meltability. Cream cheese adds silkiness and body—honestly, I don’t skip it. Keep the heat low once you add cheese to avoid graininess.
Breadcrumb topping—don’t skip the butter! It helps the crumbs brown and crisp up beautifully. Panko breadcrumbs are lighter and crunchier than regular ones, but if you’re out, just toast your breadcrumbs a bit before topping.
A common mistake is overcooking the pasta before mixing with the sauce. Al dente pasta will hold up better during baking and keep the dish from getting mushy. Also, don’t overcrowd the baking dish; spreading the mac and cheese evenly helps the crust brown uniformly.
Variations & Adaptations
- Spicy Kick: Add diced jalapeños or a pinch of cayenne pepper to the cheese sauce if you want more heat beyond the Hatch chiles.
- Vegan Version: Use plant-based milk (unsweetened almond or oat), vegan cream cheese, and a vegan cheddar-style cheese. Swap panko for gluten-free breadcrumbs if needed.
- Protein Boost: Stir in cooked shredded chicken or crispy bacon bits before baking for a heartier dish. This pairs nicely with the smoky flavors.
- Gluten-Free: Use gluten-free elbow macaroni and substitute the all-purpose flour in the roux with a gluten-free flour blend or cornstarch.
- Seasonal Twist: In summer, swap roasted Hatch chiles with fresh roasted sweet peppers or fire-roasted tomatoes for a different smoky flavor.
One of my favorite adaptations was adding a handful of fresh spinach stirred into the cheese sauce just before baking—it adds a nice pop of color and nutrition without messing with the creamy vibe.
Serving & Storage Suggestions
This creamy roasted Hatch chile mac and cheese is best served hot straight from the oven, when the crust is still crisp and the cheese sauce is silky. Pair it with a fresh, crunchy salad—something like the healthy keto coleslaw I’ve shared before works perfectly to balance the richness.
Leftovers keep well in the refrigerator for up to 3 days in an airtight container. Reheat gently in the oven at 350°F (175°C) until warmed through; microwave reheating is fine too but can soften the crust.
You can freeze portions for longer storage—just thaw overnight in the fridge before reheating. Keep in mind the crust won’t be quite as crisp after freezing, but the creamy sauce holds up beautifully.
Flavors actually deepen if you let the dish sit a few hours after baking—so it’s great for making ahead when hosting. Just add a few extra minutes in the oven to revive the crust before serving.
Nutritional Information & Benefits
This dish packs a comforting punch but also brings some nutritional perks. Hatch chiles are rich in vitamins A and C and add antioxidants and capsaicin, which may have metabolism-boosting properties. Cheese provides calcium and protein for satiety.
One serving (about 1 cup) contains roughly 450 calories, 20 grams of fat, 30 grams of carbs, and 18 grams of protein, depending on the cheese and milk used. For those watching carbs, swapping regular pasta for chickpea or lentil-based pasta cuts the carbs and adds fiber.
If dairy is a concern, using lactose-free or plant-based dairy alternatives keeps the dish accessible. Just be mindful of sodium content in cheeses and adjust salt accordingly.
Overall, this mac and cheese feels indulgent but can fit within balanced eating when paired with veggies or lighter sides.
Conclusion
This creamy roasted Hatch chile mac and cheese with golden crust isn’t just a recipe—it’s a little kitchen rescue and a soul-soother all in one. The way the smoky, spicy chiles mingle with the cheesy sauce makes it feel special yet totally doable on a busy night or when you want something cozy without fuss.
I love how it’s flexible enough to suit different diets and tastes, and that crispy topping always gets a nod of approval. Whether you’re feeding family, unexpected guests, or just yourself, it’s the kind of dish that feels like a warm welcome in every bite.
If you try it, I’d love to hear how you make it your own—maybe with a bit of extra heat, a twist on the cheese, or a side from your pantry staples. Cooking should feel like an adventure, even when it’s born from a fridge that’s a little too empty.
Frequently Asked Questions
Can I use canned Hatch chiles if fresh aren’t available?
You can, but fresh roasted Hatch chiles have a brighter, smokier flavor. Canned chiles tend to be milder and sometimes a bit watery, so drain well and add less liquid in the sauce.
How spicy is this mac and cheese?
The roasted Hatch chiles give a mild to moderate smoky heat—nothing overwhelming. You can adjust spiciness by leaving in seeds or adding extra chili powder or jalapeños.
Can I make this mac and cheese ahead of time?
Yes! Prepare up to the baking step, cover, and refrigerate overnight. When ready, add the breadcrumb topping and bake until bubbly and golden.
What’s the best cheese combination for creamy texture?
Sharp cheddar offers flavor, Monterey Jack melts smoothly, and cream cheese adds silkiness. Together they create a rich, creamy sauce with depth.
Is there a gluten-free version of this recipe?
Absolutely. Use gluten-free pasta and substitute the flour in the roux with a gluten-free blend or cornstarch. Also, check your breadcrumbs or use gluten-free panko.
While you’re at it, pairing this mac and cheese with a gluten-free cornbread muffin or a fresh green side rounds out a satisfying meal that’s full of texture and flavor. Enjoy the cozy vibes!
Pin This Recipe!
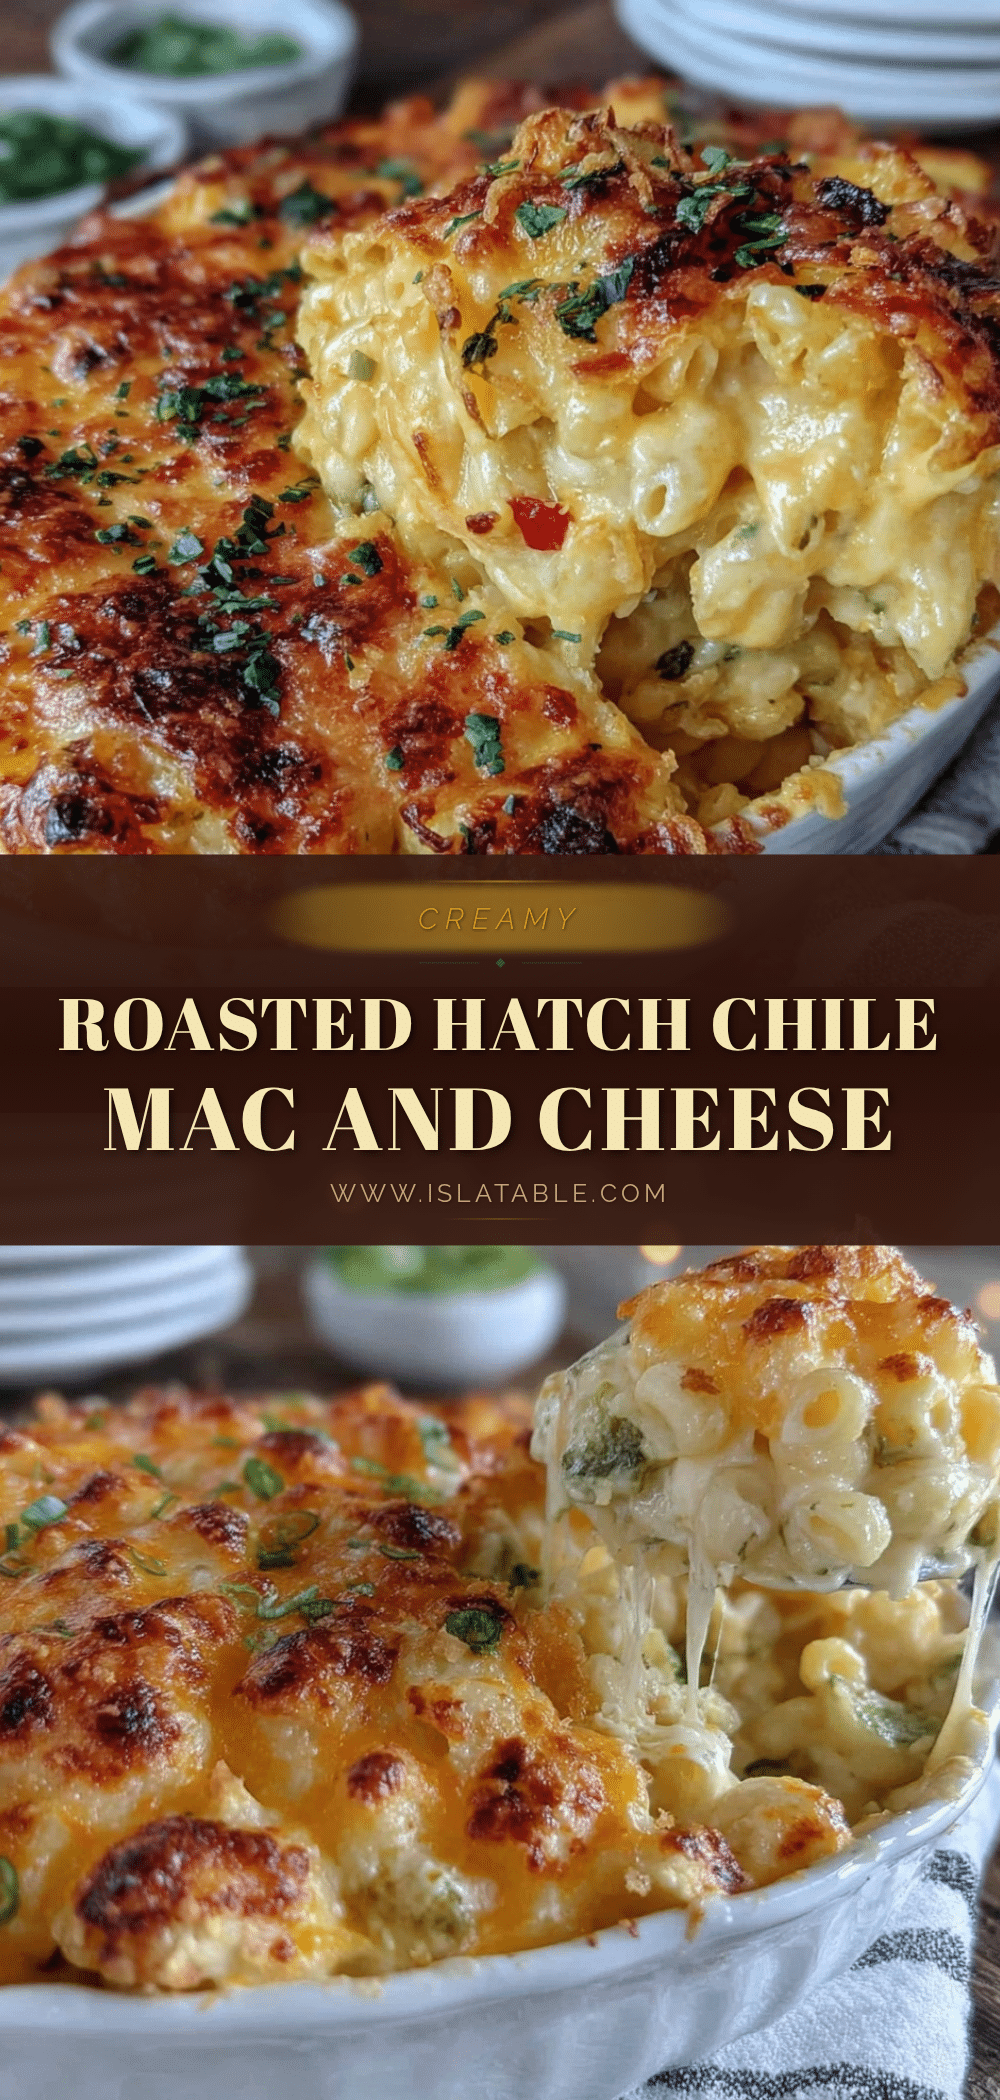
Creamy Roasted Hatch Chile Mac and Cheese Recipe with Golden Crust

A cozy and satisfying mac and cheese featuring smoky roasted Hatch chiles, creamy cheese sauce, and a crispy golden crust, perfect for fall and quick weeknight meals.
- Prep Time: 15 minutes
- Cook Time: 25 minutes
- Total Time: 40 minutes
- Yield: 4 servings 1x
- Category: Main Course
- Cuisine: American
Ingredients
- 4–5 fresh Hatch chiles
- 1 tablespoon olive oil (for roasting)
- 8 ounces elbow macaroni (about 225 grams)
- 3 tablespoons unsalted butter (for roux and topping)
- 3 tablespoons all-purpose flour (or gluten-free flour blend)
- 3 cups whole milk (720 ml, warmed)
- 1 cup sharp cheddar cheese, shredded (100 grams)
- 1 cup Monterey Jack cheese, shredded (100 grams)
- ½ cup cream cheese, softened (115 grams)
- 1 teaspoon garlic powder
- 1 teaspoon smoked paprika
- Salt and freshly ground black pepper to taste
- ½ cup panko breadcrumbs (50 grams)
- 2 tablespoons unsalted butter, melted
- ½ teaspoon chili powder (optional)
Instructions
- Preheat oven broiler or grill. Toss Hatch chiles with olive oil and roast on a sheet pan for 10-15 minutes, turning occasionally, until skins are blistered and blackened.
- Place roasted chiles in a covered bowl or plastic bag to steam for 10 minutes. Peel skins, remove stems and seeds, and chop finely.
- Bring a large pot of salted water to a boil. Cook elbow macaroni until just al dente (7-8 minutes). Drain and set aside.
- In a medium saucepan, melt butter over medium heat. Whisk in flour and cook 1-2 minutes until light golden (roux).
- Slowly whisk in warmed milk, cooking until sauce thickens and coats the back of a spoon (5-7 minutes).
- Lower heat and stir in sharp cheddar, Monterey Jack, cream cheese, roasted Hatch chile, garlic powder, smoked paprika, salt, and pepper until smooth.
- Add drained macaroni to cheese sauce and stir gently to coat evenly.
- In a small bowl, mix panko breadcrumbs with melted butter and chili powder if using.
- Pour mac and cheese into a buttered 8×8 inch baking dish. Sprinkle breadcrumb mixture evenly on top.
- Bake at 375°F (190°C) for 20-25 minutes until bubbly and golden brown.
- Let rest for 5 minutes before serving.
Notes
Roast chiles until skins are blistered for smoky flavor. Steam chiles after roasting to ease peeling. Keep heat low when adding cheese to avoid graininess. Use butter in breadcrumb topping for crispness. Al dente pasta prevents mushiness. If sauce is too thick, add milk; if too thin, add cheese or cook longer.
Nutrition
- Serving Size: About 1 cup
- Calories: 450
- Sugar: 6
- Sodium: 450
- Fat: 20
- Saturated Fat: 12
- Carbohydrates: 30
- Fiber: 2
- Protein: 18
Keywords: mac and cheese, Hatch chiles, roasted chiles, creamy, comfort food, fall recipe, cheesy, golden crust, easy dinner


