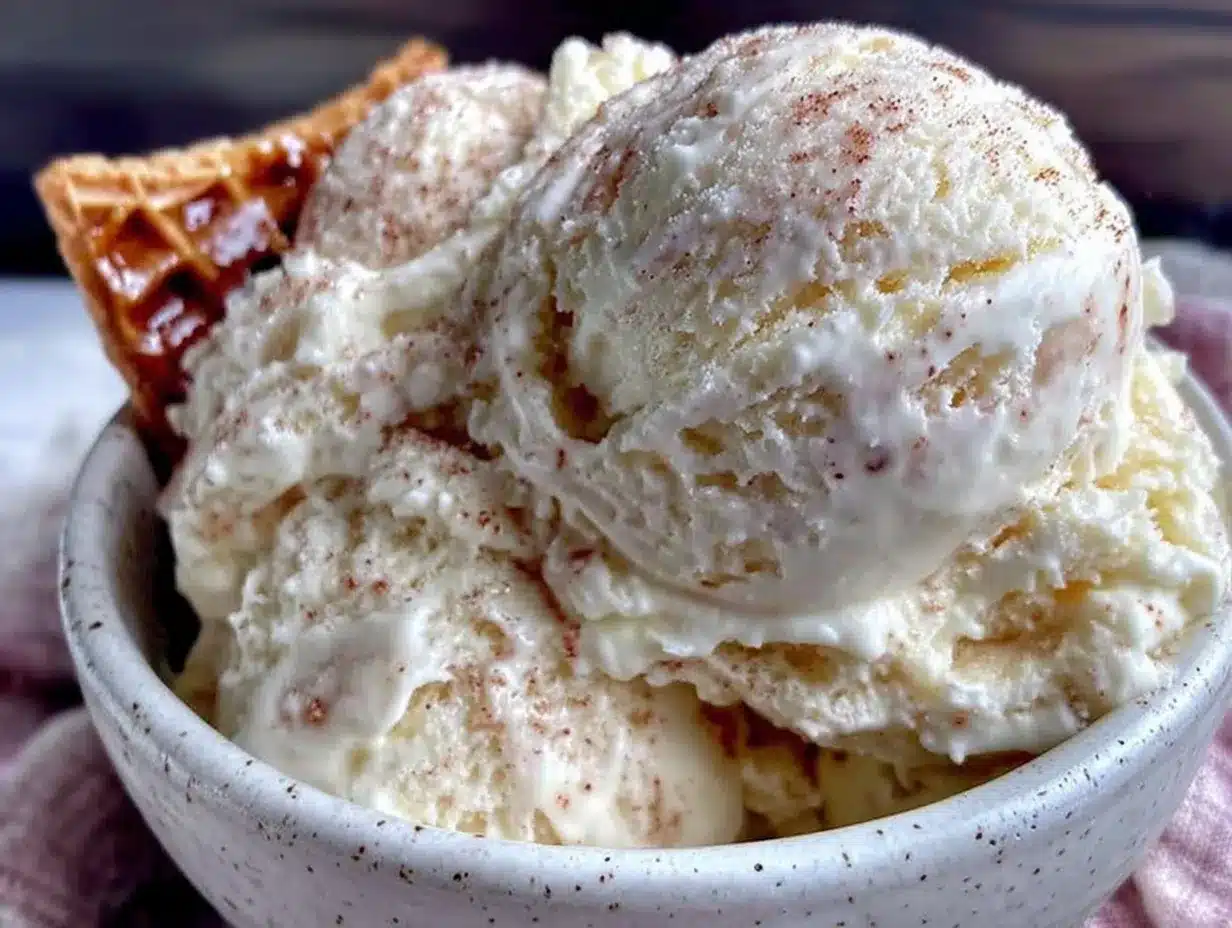
“You really don’t need a fancy ice cream maker for this,” my friend said, handing me a small bowl of the silkiest, coldest dessert I’d tasted all summer. I was skeptical, honestly. Ice cream usually means all sorts of complicated steps and endless stirring or that hum of a machine. But here I was, spoon in hand, tasting a three-ingredient ice cream that felt like a secret shortcut to happiness. It was late afternoon, the kind of sticky heat that makes you crave cold things, and this recipe came to the rescue—quick, creamy, no fuss.
I first stumbled on this creamy no-churn ice cream without machine recipe during a random text exchange with a friend who swore it was the easiest way to beat the heat. I figured, why not give it a shot? The simplicity caught me off guard—just heavy cream, sweetened condensed milk, and vanilla extract. No churning, no crazy gadgets. After making it a couple of times (okay, maybe three or four times in one week), it became my go-to summer treat and the perfect way to impress guests without breaking a sweat.
What’s funny is how this little recipe also nudged me into trying other no-fuss dishes, like the creamy chicken salad with sweet grapes that’s just as effortless and crowd-pleasing. There’s something about simple recipes that just stick with you—and this ice cream, with its lush texture and sweet, mellow flavor, is definitely one of those.
It’s a quiet kind of joy, really—like sitting on the porch with a bowl of this ice cream melting slowly, the sun dipping low, and knowing you nailed something easy but unforgettable. That’s why this creamy no-churn ice cream without machine recipe has stayed in my rotation season after season.
Why You’ll Love This Recipe
This creamy no-churn ice cream without machine recipe isn’t just a lifesaver on hot days—it’s a little slice of frozen joy you can whip up in minutes. From my experience, here’s why it’s become a staple in my kitchen:
- Quick & Easy: Ready in under 10 minutes of prep, perfect when you want a cool treat without the wait.
- Simple Ingredients: No hunting for weird stuff—just heavy cream, sweetened condensed milk, and vanilla, all pantry staples.
- Perfect for Summer: Whether it’s a backyard hangout or a spontaneous dessert, it’s the ultimate cool-down snack.
- Crowd-Pleaser: I’ve served it to kids, neighbors, and coworkers—they all ask for seconds.
- Unbelievably Delicious: The texture is creamy and smooth, almost like gelato, but without the fuss.
What makes this ice cream stand apart is how it nails a rich texture without any churning or fancy equipment. The sweetened condensed milk adds subtle sweetness and creaminess that blends perfectly with whipped cream, giving it that dreamy mouthfeel. Plus, the vanilla extract lifts the flavor just enough, making every bite feel indulgent but still fresh.
Honestly, it’s like having your own little ice cream parlor at home without the hassle. This recipe pairs beautifully with other easy favorites I love making, like the creamy crunchy BLT pasta salad, making any summer meal feel complete. It’s not just ice cream—it’s comfort food redefined for busy days and chill nights.
What Ingredients You Will Need
This creamy no-churn ice cream without machine recipe uses simple, wholesome ingredients to deliver a bold flavor and satisfyingly smooth texture without any fuss. You’re likely to have everything you need right in your kitchen already.
- Heavy Cream (1 cup / 240 ml): Use cold, fresh heavy cream for the best whipping results. I prefer brands like Land O’Lakes for their consistent creaminess.
- Sweetened Condensed Milk (1 can, 14 oz / 396 g): This is the secret weapon for sweetness and creaminess. Make sure it’s the regular kind, not evaporated milk. Eagle Brand is a solid choice.
- Vanilla Extract (1 ½ teaspoons): Pure vanilla extract adds warmth and depth to the ice cream. Avoid imitation vanilla if you can.
Optional additions (not in the basic recipe but fun to try):
- Pinch of salt to balance flavors.
- Fresh berries or chocolate chips folded in after whipping.
- A splash of coffee or liqueur for an adult twist.
If you want to experiment, you can swap the heavy cream for coconut cream to make a dairy-free version, though the texture will be slightly different. For a lower-sugar option, try using a sugar-free condensed milk alternative, but keep in mind it might affect the creaminess.
Equipment Needed
- Mixing Bowl: A large, chilled bowl works best for whipping the cream efficiently.
- Hand Mixer or Stand Mixer: Essential for whipping the heavy cream to stiff peaks. A whisk can work, but expect a workout!
- Spatula: For folding the condensed milk and vanilla into the whipped cream gently.
- Freezer-Safe Container: A loaf pan or airtight container to freeze your ice cream.
If you don’t have a mixer, a sturdy whisk and some elbow grease can do the trick, but it’ll take a bit longer. I’ve tried both ways, and while hand whisking works, the mixer definitely saves time and results in a fluffier texture. For budget-friendly options, basic hand mixers are widely available and very effective.
Preparation Method
- Chill your mixing bowl and beaters: Pop them in the fridge or freezer for about 15 minutes. This helps the cream whip up quicker and fluffier.
- Pour the heavy cream into the chilled bowl: Start whipping on medium speed using your hand or stand mixer. This usually takes around 3-5 minutes.
- Whip until soft peaks form: When you lift the beaters, the cream should hold a gentle peak but still be soft and creamy.
- Slowly add the sweetened condensed milk: Pour it in while continuing to whip on low speed. This helps combine the sweetness without deflating the whipped cream.
- Stir in vanilla extract: Add your vanilla and give a few gentle pulses or fold it in carefully with a spatula.
- Whip until stiff peaks form: The mixture should be thick enough to hold its shape well. This usually takes another 2-3 minutes, but watch closely—you don’t want it to turn into butter!
- Transfer mixture to your freezer-safe container: Spread it out evenly with a spatula, cover with a lid or plastic wrap.
- Freeze for at least 4-6 hours: Let it set until firm but scoopable. Overnight is fine too.
- Serve and enjoy: Scoop out your creamy no-churn ice cream into bowls or cones. It’s ready to impress!
Pro tip: If you notice the ice cream is too hard straight from the freezer, let it sit at room temperature for 5-10 minutes before scooping. This softens it just enough without melting.
Cooking Tips & Techniques
Getting that perfect creamy texture is all about technique. Whipping cream can be tricky if you rush or use warm equipment.
- Keep everything cold: Chill your bowl and beaters before starting. Warm cream won’t whip properly, and you’ll end up with runny ice cream.
- Watch your peaks: Soft peaks mean the cream holds shape but still moves. Stiff peaks are firmer and hold shape well—aim for stiff peaks after folding in the condensed milk.
- Fold gently: When adding vanilla or any mix-ins, fold with a spatula rather than beat. This keeps the air in, making your ice cream lighter.
- Don’t overwhip: If you whip too long, you’ll get butter. Stop as soon as the cream is thick and stable.
- Freezing time matters: Let it freeze long enough to firm up but not so long that it becomes icy. The sweetened condensed milk helps keep it creamy and less icy than regular homemade ice creams.
One time, I forgot to chill my bowl and ended up with a sad puddle instead of whipped cream. Lesson learned—cold tools make all the difference. Also, if you want to mix in extras like chocolate chips or fruit, fold them in right before freezing to keep the texture just right.
Variations & Adaptations
This basic creamy no-churn ice cream without machine recipe is a fantastic canvas for all sorts of flavor twists and dietary needs. Here are a few ways I’ve played around with it:
- Chocolate Lover’s Version: Add ¼ cup (25 g) cocoa powder to the condensed milk before folding into the whipped cream for a rich chocolate ice cream.
- Fruit Swirl: Fold in fresh pureed strawberries or blueberries before freezing. In summer, fresh fruit adds a bright, refreshing note.
- Dairy-Free Option: Substitute coconut cream for heavy cream and use sweetened condensed coconut milk. The texture varies slightly but remains creamy and delicious.
- Nutty Crunch: Stir in chopped toasted almonds or pecans for some satisfying texture.
- Adult Twist: Add a tablespoon of bourbon or coffee liqueur to the vanilla mixture before folding in for a grown-up treat.
I once tried a peanut butter swirl by folding in some creamy peanut butter with a bit of honey—unexpected but a total hit with friends. This flexibility makes the recipe fun and easy to customize, much like my favorite creamy boursin cheese pasta which always invites experimentation.
Serving & Storage Suggestions
Serve your creamy no-churn ice cream straight from the freezer for the best texture. Scoop it into bowls or cones, and if you want to get fancy, top it with fresh berries, chocolate shavings, or a drizzle of caramel sauce.
This ice cream pairs beautifully with warm desserts like a slice of pie or crisp, or even on its own with a few sprinkles of toasted nuts. For a fun twist, try it alongside a savory dish like the savory Italian beef sandwiches—the contrast is a real crowd-pleaser.
Store leftovers in an airtight container in the freezer for up to 2 weeks. When you want to enjoy again, let it sit at room temperature for 5 to 10 minutes to soften before scooping. Over time, the flavors mellow and deepen, making it even tastier the next day.
Nutritional Information & Benefits
This creamy no-churn ice cream without machine recipe is simple and indulgent. Here’s an approximate breakdown per serving (½ cup / 125 ml):
| Calories | 250-280 |
|---|---|
| Fat | 18-20 g |
| Sugar | 22-25 g |
| Protein | 3-4 g |
Heavy cream provides a good source of fat which helps with satiety, and sweetened condensed milk adds natural sugars and calcium. While it’s definitely a treat, this ice cream is free of artificial additives and preservatives, making it a cleaner choice than many store-bought options.
For those watching carbs or dairy, try the coconut cream variation or reduce serving size. Be mindful of allergens—this recipe contains dairy and may contain traces of nuts if you add toppings.
Conclusion
There’s something wonderfully satisfying about making a creamy no-churn ice cream without machine recipe that requires just three ingredients and zero fuss. Whether you’re new to homemade ice cream or looking for a quick fix on a hot day, this recipe delivers every time.
Feel free to tweak it with your favorite add-ins or flavors to make it truly yours. Personally, I love having this recipe on standby—it’s perfect for last-minute guests or when I just need a little sweet comfort. If you’ve enjoyed this, I’d love to hear about your favorite variations or how you serve it up.
Here’s to simple treats that bring big smiles, no machine necessary!
FAQs
Can I use low-fat cream or milk instead of heavy cream?
Low-fat cream won’t whip properly, so for the best texture, stick with heavy cream or full-fat coconut cream for dairy-free.
How long can I store this no-churn ice cream in the freezer?
Up to 2 weeks is best to enjoy its creamy texture and fresh flavor. Beyond that, it might become icy.
Can I add mix-ins like chocolate chips or fruit?
Absolutely! Fold in your favorite add-ins gently before freezing to keep the texture smooth and creamy.
What if I don’t have sweetened condensed milk?
It’s a key ingredient for sweetness and creaminess. You can try making your own at home or look for substitutes, but results may vary.
Is this recipe suitable for vegans?
Not as written, but you can use coconut cream and sweetened condensed coconut milk to make a vegan-friendly version.
Pin This Recipe!
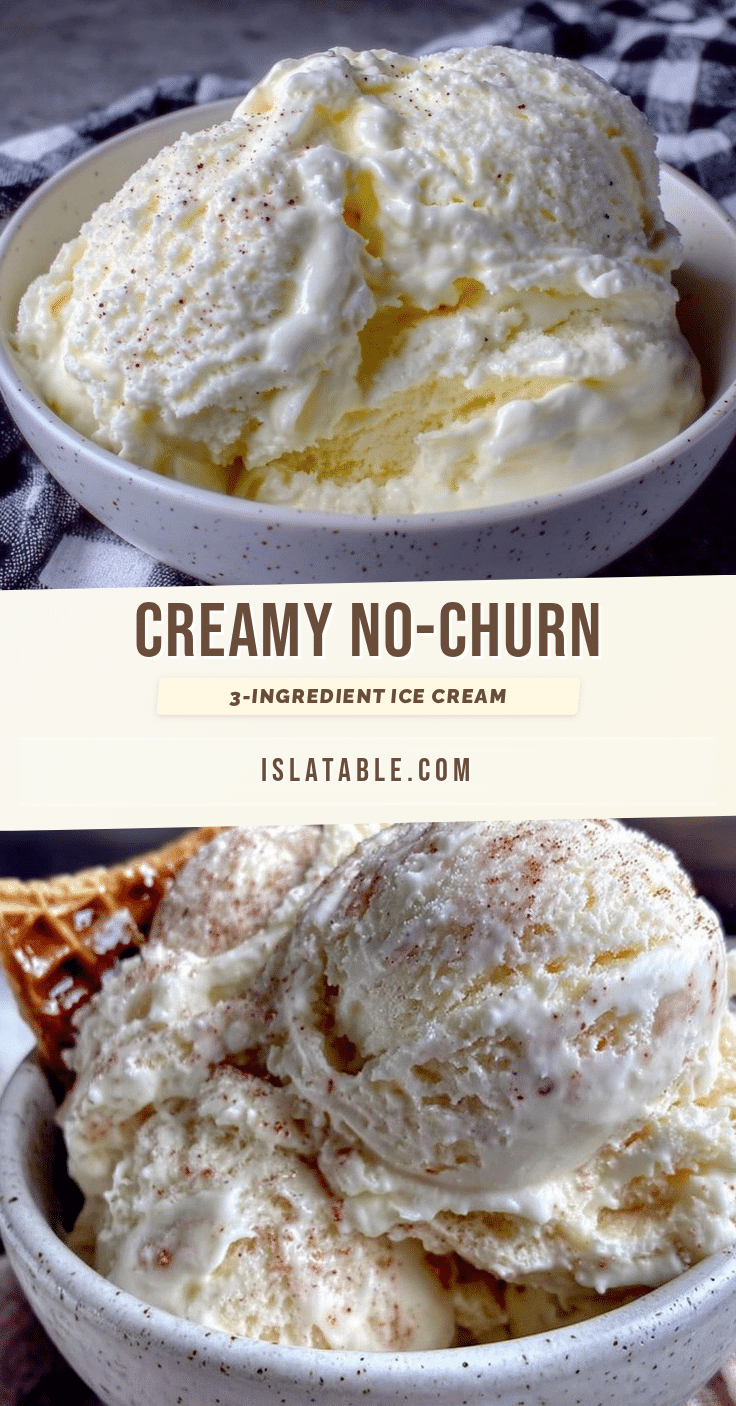
Creamy No-Churn Ice Cream Recipe 3 Easy Ingredients Perfect for Summer
A quick and easy no-churn ice cream recipe using just heavy cream, sweetened condensed milk, and vanilla extract. Perfect for a creamy, smooth summer treat without any fancy equipment.
- Prep Time: 10 minutes
- Cook Time: 0 minutes
- Total Time: 4 hours 10 minutes
- Yield: 6 servings 1x
- Category: Dessert
- Cuisine: American
Ingredients
- 1 cup (240 ml) cold heavy cream
- 1 can (14 oz / 396 g) sweetened condensed milk
- 1 ½ teaspoons pure vanilla extract
Instructions
- Chill your mixing bowl and beaters in the fridge or freezer for about 15 minutes.
- Pour the heavy cream into the chilled bowl and whip on medium speed using a hand or stand mixer for 3-5 minutes until soft peaks form.
- Slowly add the sweetened condensed milk while continuing to whip on low speed.
- Stir in vanilla extract gently with a spatula or give a few pulses.
- Whip until stiff peaks form, about 2-3 more minutes, being careful not to overwhip.
- Transfer the mixture to a freezer-safe container and spread evenly.
- Cover with a lid or plastic wrap and freeze for at least 4-6 hours until firm but scoopable.
- Serve and enjoy. Let sit at room temperature for 5-10 minutes if too hard.
Notes
Chill bowl and beaters before whipping for best results. Do not overwhip or you will get butter. Let ice cream soften 5-10 minutes at room temperature before scooping if too hard. Optional add-ins include fresh berries, chocolate chips, or a splash of coffee or liqueur. For dairy-free, substitute coconut cream and sweetened condensed coconut milk.
Nutrition
- Serving Size: ½ cup (125 ml)
- Calories: 265
- Sugar: 23
- Sodium: 50
- Fat: 19
- Saturated Fat: 12
- Carbohydrates: 24
- Protein: 3.5
Keywords: no churn ice cream, easy ice cream recipe, summer dessert, creamy ice cream, no machine ice cream