I burned the first batch of creamy Biscoff Halloween cheesecake bars because I didn’t wait for the crust to cool. I was so excited to get that orange swirl going that I just dumped the filling onto a warm, greasy base. The result was a sad, greasy mess that slid apart when I tried to cut it. You know how it feels when you ruin a good dessert before it even starts? It stings.
Let’s face it, Halloween baking is chaotic. You have parties to plan, costumes to sew, and candy to buy. I wanted something spooky but delicious that wouldn’t take all day. I saw these bars online and thought they looked easy. Just mix, swirl, and bake. Simple, right? Wrong.
After three failed attempts, I finally got the timing right. The secret isn’t the recipe itself, but the patience to let each layer set properly. Now, these bars are my go-to for October. They are creamy, spiced, and look like little jack-o’-lanterns when cut. Honestly, the kids think they are magic because of the color change during baking.
I still make mistakes in the kitchen, but this one stuck. It’s the kind of treat that brings people together, even if you mess up the first time. Once you get it right, you’ll wonder why you ever bought store-bought Halloween snacks again.
Why You’ll Love This Recipe
There is a specific joy in making a dessert that looks complicated but is actually quite forgiving. These creamy Biscoff Halloween cheesecake bars hit that sweet spot between impressive and accessible. I’ve tested this recipe enough times to know that the texture is consistently perfect if you follow the cooling steps. It’s not just another cheesecake; it’s a structured bar that holds its shape, which is rare for Biscoff-heavy desserts.
- Quick & Easy: The prep work is minimal. You likely have most of these ingredients already, making it perfect for a last-minute Halloween party or a weekday treat.
- Simple Ingredients: No fancy grocery trips needed. You just need cream cheese, Biscoff spread, cookies, and a few pantry staples. It’s wholesome and straightforward.
- Perfect for Halloween: The orange and brown swirl mimics autumn colors. It’s festive without being overly artificial or sugary.
- Crowd-Pleaser: Even people who don’t usually like cheesecake love these. The cookie crust adds a crunch that balances the soft filling.
- Unbelievably Delicious: The caramel notes from the Biscoff spread are rich and deep. It feels like eating a cookie and cheesecake at the same time.
What makes this different from other recipes is the ratio of spread to cream cheese. Most recipes use too much spread, making it runny. I adjusted it to keep it firm. This version has soul. It’s comfort food reimagined for the spooky season.
What Ingredients You Will Need
This recipe uses simple, wholesome ingredients to deliver bold flavor and satisfying texture without the fuss. The key is quality. Since there are only a few components, each one needs to shine. I recommend using full-fat cream cheese for the best texture, and real butter for the crust. Avoid margarine if you can; it changes the flavor profile entirely.
For the Crust
- Nilla Wafers or Vanilla Wafers: About 1 ½ cups of crumbs. They provide a neutral, buttery base that lets the Biscoff flavor take center stage. (Use gluten-free wafers if needed)
- Unsalted Butter: ¼ cup, melted. This binds the crumbs. (Ensure it is completely melted but not hot)
- Granulated Sugar: 1 tablespoon. Just a touch to sweeten the base slightly.
- Cinnamon: ¼ teaspoon. Adds a warm, autumnal note that pairs with the cookies.
For the Cheesecake Filling
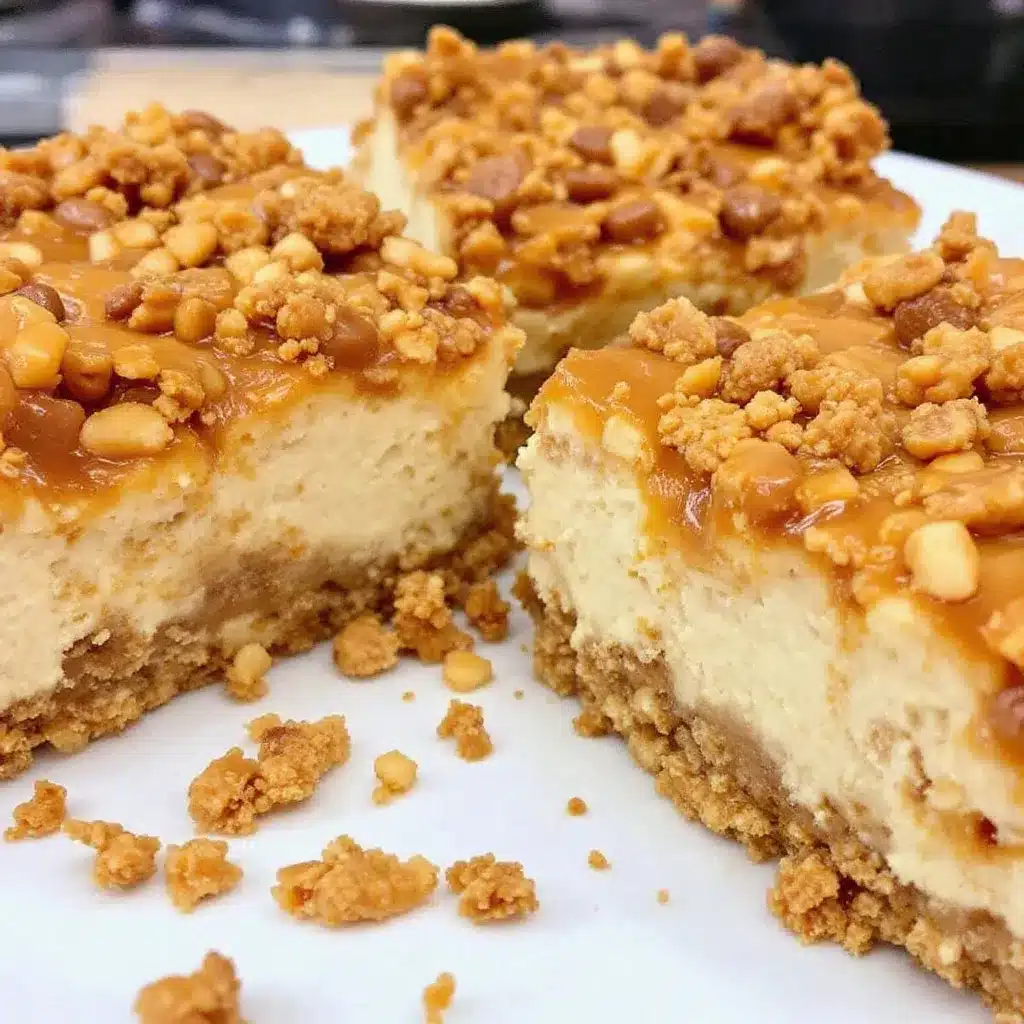
- Full-Fat Cream Cheese: 16 oz (450g), softened to room temperature. This is crucial. Cold cream cheese creates lumps. (I prefer Philadelphia brand for consistency)
- Biscoff Cookie Butter: ½ cup (120g). Use a smooth spread like Lotus. (Check labels for nut-free if hosting allergic guests)
- Granulated Sugar: ¾ cup. Adjust down to ½ cup if you prefer less sweetness.
- Large Eggs: 2 eggs, room temperature. Adds structure. (Do not substitute with flax eggs for this recipe)
- Heavy Cream: ¼ cup. Gives it that extra creamy, rich mouthfeel.
- Vanilla Extract: 1 teaspoon. Pure vanilla makes a big difference.
- Orange Food Coloring: Gel-based orange food coloring. Liquid coloring will make the batter too watery. (Just a few drops are enough)
If you can’t find Biscoff spread, you can try a similar caramel cookie butter, but the flavor will be slightly different. For a gluten-free option, swap the wafers for a gluten-free cookie crumb base.
Equipment Needed
You don’t need a fancy kitchen to make these bars. A standard 8×8 inch baking pan is all you need. I use a glass pan because I can see the bottom browning, which helps me avoid burning the crust. If you use a metal pan, keep an eye on the edges so they don’t get too dark.
A hand mixer or stand mixer is helpful for beating the cream cheese smoothly. I’ve tried doing this by hand, and it takes forever and leaves lumps. Trust me, use a mixer. You’ll also need a small saucepan or microwave-safe bowl to melt the butter for the crust.
A rubber spatula is essential for scraping the bowl and swirling the batter. Don’t use a spoon; it won’t get into the corners. If you have a small offset spatula, it’s great for creating the Halloween swirl pattern. Keep it simple and clean. These tools are things most people already own, so you’re ready to go.
Preparation Method
Start by preheating your oven to 350°F (175°C). Line your 8×8 inch baking pan with parchment paper, leaving an overhang on the sides. This is the most important step for easy removal. If you don’t have parchment, grease the pan well with butter or non-stick spray, but parchment is better.
- Make the Crust: Place your cookies in a food processor and pulse until they are fine crumbs. Alternatively, put them in a ziplock bag and crush them with a rolling pin. Transfer the crumbs to a bowl. Add the melted butter, sugar, and cinnamon. Stir until the mixture looks like wet sand. Press this mixture firmly into the bottom of your prepared pan. Use the bottom of a glass to pack it down tight. Bake this crust for 8 minutes. Remove it from the oven and let it cool completely while you make the filling. This prevents the crust from getting soggy.
- Beat the Cream Cheese: In a large mixing bowl, add the softened cream cheese and sugar. Beat on medium speed until smooth and creamy. This should take about 2-3 minutes. Scrape down the sides of the bowl with your spatula. Make sure there are no lumps. If you rush this, your bars will have a grainy texture.
- Add Wet Ingredients: Add the Biscoff spread and vanilla extract to the cream cheese mixture. Beat again until fully combined. The mixture will look pale orange now. Scrape the bowl one more time to ensure everything is mixed evenly.
- Incorporate Eggs: Add the eggs one at a time. Beat on low speed just until the yolks disappear. Do not overmix once the eggs are in, as this can incorporate too much air and cause cracking. Add the heavy cream and mix briefly.
- Color the Batter: Divide the batter in half. Leave one half plain (or slightly darker if you prefer contrast). Add the gel food coloring to the other half. Mix until you get a vibrant orange color. You want a clear distinction between the two colors for the swirl effect.
- Assemble: Pour the plain batter over the cooled crust. Smooth it out with a spatula. Then, dollop the orange batter on top in random spots. Take a toothpick or a small knife and gently swirl through the two batters. Don’t mix them completely. You want distinct veins of orange and white/brown. It should look like a marbled pumpkin.
- Bake: Bake at 350°F (175°C) for 35-40 minutes. The edges should be set, but the center should still have a slight jiggle. It will firm up as it cools. If the top starts browning too quickly, cover it loosely with foil.
- Cool and Chill: Let the bars cool in the pan on a wire rack for at least 1 hour. Then, refrigerate for at least 4 hours, preferably overnight. This chilling time is non-negotiable for clean cuts.
Cooking Tips & Techniques
Room temperature ingredients are your best friend here. If your cream cheese is cold, it won’t blend smoothly. Take it out of the fridge an hour before you start. Same with the eggs. Cold eggs can shock the cream cheese and cause curdling.
Don’t overbeat the batter after adding the eggs. Overmixing introduces air bubbles. When the cheesecake bakes, these bubbles expand and then collapse, leading to cracks on the surface. I learned this the hard way on my third attempt. Now, I mix gently and quickly.
For the swirl, use a light hand. If you swirl too much, the colors will muddy and turn brown. You want contrast. A simple zig-zag pattern with a toothpick works best. Also, ensure your crust is completely cool before adding the filling. A warm crust will melt the bottom layer of the cheesecake, creating a gap.
If your bars crack, don’t worry. They still taste good. You can cover cracks with a dollop of whipped cream or extra Biscoff spread. But with the low-speed mixing and proper cooling, cracks are rare.
Variations & Adaptations
While the classic orange and white swirl is festive, you can get creative. Try using green food coloring for a “monster” theme. Or use purple for a spooky vibe. Gel colors work best here.
For a lighter version, you can substitute half of the cream cheese with Neufchâtel cheese. It has less fat but still holds up well. If you want a nutty twist, add chopped pecans to the crust. It adds a nice crunch that complements the caramel flavor.
For a dairy-free option, use vegan cream cheese and dairy-free butter. However, the texture might be slightly softer, so you’ll need to chill them longer. I haven’t tested this extensively, but many readers have had success with specific vegan brands.
You can also add a layer of pumpkin puree for a pumpkin spice variation. Just mix ½ cup of pumpkin puree with a teaspoon of pumpkin pie spice into one of the batters. It adds moisture, so reduce the heavy cream slightly.
Serving & Storage Suggestions
These bars are best served chilled. The cold temperature enhances the creamy texture and makes the Biscoff flavor pop. Cut them into 12 or 16 squares depending on how hungry your guests are. They look beautiful dusted with a little powdered sugar or placed on a plate with fresh berries.
For storage, keep them in an airtight container in the refrigerator. They will last for up to 5 days. If you want to make them ahead, you can freeze them. Wrap the whole pan in plastic wrap and foil, or wrap individual bars. They will keep for up to 2 months. Thaw them in the fridge overnight before serving.
Reheating is not recommended for cheesecake bars, as it can make them greasy. But if you must, warm a slice in the microwave for 10 seconds. The flavors develop more complexity after a day in the fridge, so they often taste better on day two.
Nutritional Information & Benefits
These bars are rich in calories due to the cream cheese and butter. Each square contains approximately 350-400 calories, depending on the size. They are a source of calcium from the dairy, but they are high in saturated fat and sugar. Enjoy them as an occasional treat rather than a daily snack.
If you are watching your carb intake, note that the Biscoff spread and wafers are high in carbohydrates. For a lower-sugar option, you can use a sugar-free Biscoff spread and sugar-free wafers, though the texture may vary. They are not gluten-free unless you use GF ingredients. Always check labels if you have allergies.
Conclusion
Making creamy Biscoff Halloween cheesecake bars is a fun way to embrace the season. It’s a recipe that rewards patience and results in a delicious, festive treat. I hope you try it and enjoy it as much as I do. Feel free to customize the colors and flavors to suit your party theme.
Let me know how they turn out for you. Did you add any extra swirls? Did you use green food coloring? Share your experiences in the comments below. And if you make these, please share a photo. It’s always nice to see what you create.
Happy baking, and enjoy every bite of your spooky treat!
FAQs
Can I use a different cookie for the crust?
Yes, you can use graham crackers or any buttery cookie. Nilla wafers work best because they are sweet and vanilla-flavored, which pairs well with Biscoff.
Why did my cheesecake bars crack?
Cracks usually happen from overmixing or overheating. Make sure to mix on low speed after adding eggs and don’t bake them until they are dry. They should have a slight jiggle in the center.
Can I make these in a 9×13 pan?
Yes, but you will need to double the recipe. The baking time will be similar, but check for doneness a few minutes earlier since the layer is thinner.
How do I get clean cuts?
Chill the bars thoroughly for at least 4 hours. Use a sharp knife and wipe it clean between each cut. For even cleaner cuts, dip the knife in hot water and dry it before slicing.
Can I freeze the unbaked bars?
It’s better to bake and then freeze. Unbaked cheesecake can separate when thawed. Freeze the baked and cooled bars for best results.
Pin This Recipe!
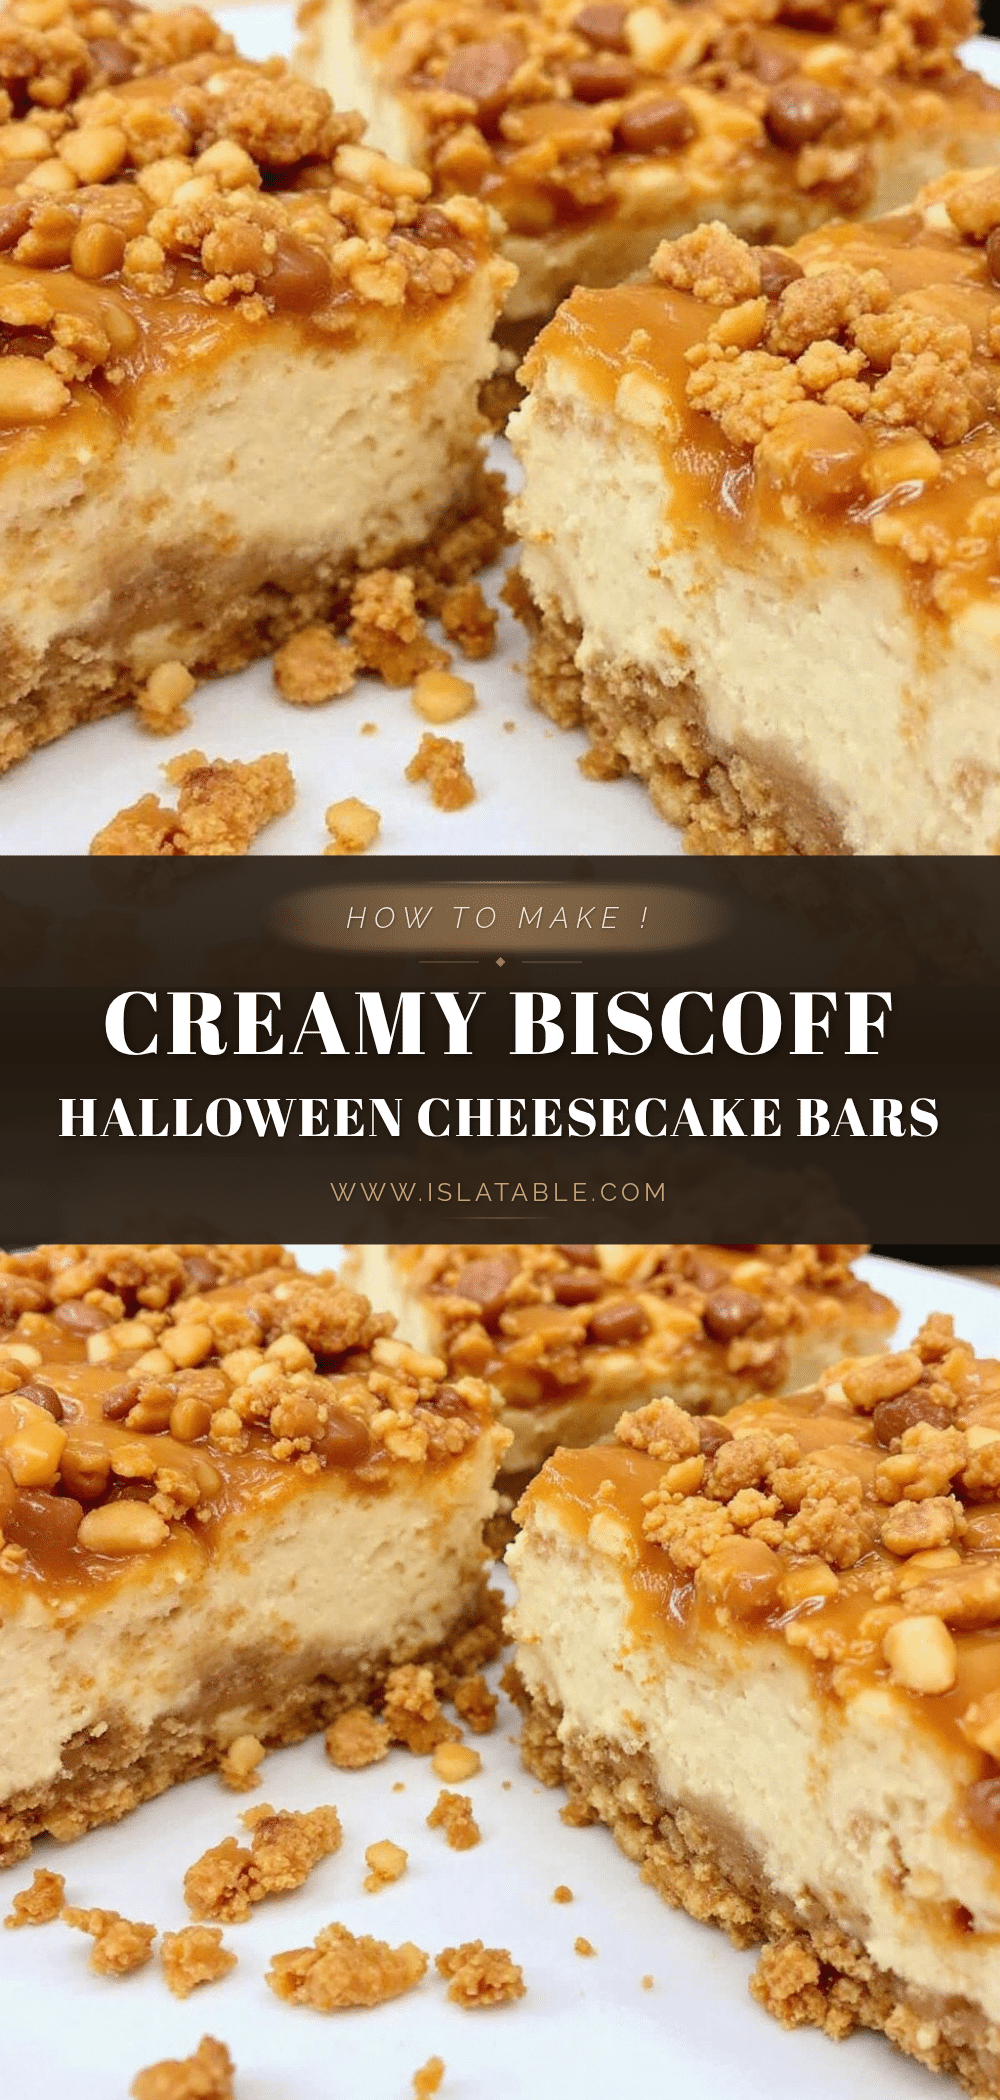
Creamy Biscoff Halloween Cheesecake Bars
A festive and creamy Halloween dessert featuring a buttery cookie crust and a rich Biscoff cheesecake filling with an orange swirl. These bars are easy to make, crowd-pleasing, and perfect for spooky season celebrations.
- Prep Time: 15 minutes
- Cook Time: 48 minutes
- Total Time: 1 hour 3 minutes
- Yield: 12 servings 1x
- Category: Dessert
- Cuisine: American
Ingredients
- 1 ½ cups Nilla Wafers or Vanilla Wafers, crushed into crumbs
- ¼ cup unsalted butter, melted
- 1 tablespoon granulated sugar
- ¼ teaspoon cinnamon
- 16 oz (450g) full-fat cream cheese, softened to room temperature
- ½ cup (120g) Biscoff cookie butter
- ¾ cup granulated sugar
- 2 large eggs, room temperature
- ¼ cup heavy cream
- 1 teaspoon vanilla extract
- Gel-based orange food coloring
Instructions
- Preheat oven to 350°F (175°C). Line an 8×8 inch baking pan with parchment paper.
- Crush cookies into fine crumbs. Mix with melted butter, sugar, and cinnamon until resembling wet sand.
- Press the crust mixture firmly into the bottom of the prepared pan. Bake for 8 minutes, then remove and let cool completely.
- In a large bowl, beat softened cream cheese and sugar on medium speed until smooth (2-3 minutes). Scrape down sides.
- Add Biscoff spread and vanilla extract; beat until combined.
- Add eggs one at a time on low speed, mixing just until yolks disappear. Add heavy cream and mix briefly.
- Divide batter in half. Add gel food coloring to one half to create a vibrant orange color.
- Pour plain batter over the cooled crust. Dollop orange batter on top. Swirl gently with a toothpick or knife to create a marbled pattern.
- Bake at 350°F (175°C) for 35-40 minutes until edges are set but center has a slight jiggle.
- Cool in pan on a wire rack for 1 hour, then refrigerate for at least 4 hours (preferably overnight) before cutting.
Notes
Ensure cream cheese and eggs are at room temperature to prevent lumps and curdling. Do not overmix after adding eggs to avoid cracks. The crust must be completely cool before adding filling to prevent a soggy base. For clean cuts, chill thoroughly and use a hot, wiped knife.
Nutrition
- Serving Size: 1 bar
- Calories: 375
- Sugar: 32
- Sodium: 250
- Fat: 22
- Saturated Fat: 12
- Carbohydrates: 42
- Fiber: 1
- Protein: 6
Keywords: Biscoff, Halloween, Cheesecake Bars, Dessert, Easy Recipe, Fall Treat, Cookie Butter


