For a while, I just accepted that holiday baking wasn’t going to taste like the soft, spiced crumb I remembered from my grandmother’s kitchen. You know how it is. You try those box mixes or fancy bakery versions, and they’re either too dry, too dense, or just completely lacking that warm ginger snap punch. I had spent years settling for hard ginger snaps that cracked my teeth or dense loaves that tasted more like molasses syrup than actual cake. It was a gap in my holiday routine that I’d been looking for a way to fill, honestly.
The problem wasn’t just the flavor. It was the texture. I wanted something that felt like a hug in dessert form. Something you could hold in one hand while wrapping presents or hanging lights. Cake pops seemed like the answer, but most recipes I found were fiddly, required too much chocolate tempering, and ended up with a lopsided mess that looked more like a science experiment than a treat. I didn’t want to spend hours dipping and decorating. I just wanted the cozy flavor without the stress.
So I started tinkering. I adjusted the spice ratios, swapped out some of the heavy flours, and played around with the binding agents. I wanted to see if I could make a gingerbread cake pop that was actually moist inside and held its shape without cracking. It took a few tries. Some batches were too crumbly. Others were too sweet. But eventually, I hit on a ratio that worked perfectly. The white chocolate coating added a nice creamy contrast to the spicy cake, and the whole thing came together faster than I expected.
Now, these cozy gingerbread cake pops with white chocolate are my go-to for December. They’re not fancy. They don’t need a gold leaf flake or a sugar-piping masterclass. They just taste like home. And honestly, that’s what I was looking for all along. A simple, spiced treat that brings a little bit of that old-fashioned warmth back to the table.
Why You’ll Love This Recipe
Let’s face it, baking during the holidays can get overwhelming. Between the main dishes, the side platters, and the endless cookie trays, you don’t need another project that requires tempering chocolate or three days of prep time. This recipe is different because it cuts out the fuss while keeping the soul. I’ve tested this method dozens of times to make sure the cake stays moist and the coating doesn’t crack, so you can trust it’ll work the first time.
- Quick & Easy: You can have these ready in under an hour if you already have the cake baked and cooled. It’s perfect for those last-minute holiday parties or when you just need a sweet fix after dinner.
- Simple Ingredients: No fancy grocery trips needed. You likely already have ginger, molasses, and white chocolate chips in your pantry. This isn’t a recipe that requires obscure spices from a specialty shop.
- Perfect for Gifting: These are incredibly portable. Pop them in a nice tin or a cellophane bag with a ribbon, and you’ve got a thoughtful, homemade gift that actually tastes better than store-bought.
- Crowd-Pleaser: Kids love the sweet white chocolate, and adults appreciate the sophisticated spice blend. It’s a flavor profile that works for all ages.
- Unbelievably Delicious: The texture is the real star here. It’s cakey, soft, and moist, with a coating that snaps gently when you bite into it. It’s comfort food reimagined.
What makes this version stand out is the balance. Too much ginger can be peppery and harsh, while too little makes it taste like plain spice cake. I’ve found that using fresh grated ginger alongside ground ginger gives it that bright, zesty kick that cuts through the sweetness of the white chocolate. It’s not just another version of a classic; it’s the version that actually stays soft for days.
What Ingredients You Will Need
This recipe relies on simple, wholesome ingredients to deliver bold flavor and satisfying texture without the fuss. The key is quality. Since there are so few components, each one needs to do its job well. I’ve found that using real molasses instead of blackstrap makes a huge difference in the moisture and color.
For the Cake Base
- All-purpose flour (1 ½ cups) – The standard structure builder. I recommend Gold Medal for consistent results.
- Baking soda (1 tsp) – Helps the cake rise and react with the acidic molasses.
- Salt (½ tsp) – Essential for balancing the sweetness.
- Ground ginger (1 tsp) – Provides that classic warm spice note.
- Ground cinnamon (1 tsp) – Adds depth and warmth.
- Ground cloves (¼ tsp) – Use sparingly; it’s potent but adds complexity.
- Unsalted butter, softened (½ cup) – Adds richness and moisture. Room temperature is key here.
- Granulated sugar (½ cup) – For structure and slight crispness.
- Packed brown sugar (½ cup) – Adds chewiness and caramel notes.
- Molasses (¼ cup) – Dark or light works, but dark has a stronger flavor. This is the flavor backbone.
- Eggs, large (1) – Binds the ingredients together.
- Vanilla extract (1 tsp) – Enhances the overall sweetness.
For the Coating & Topping
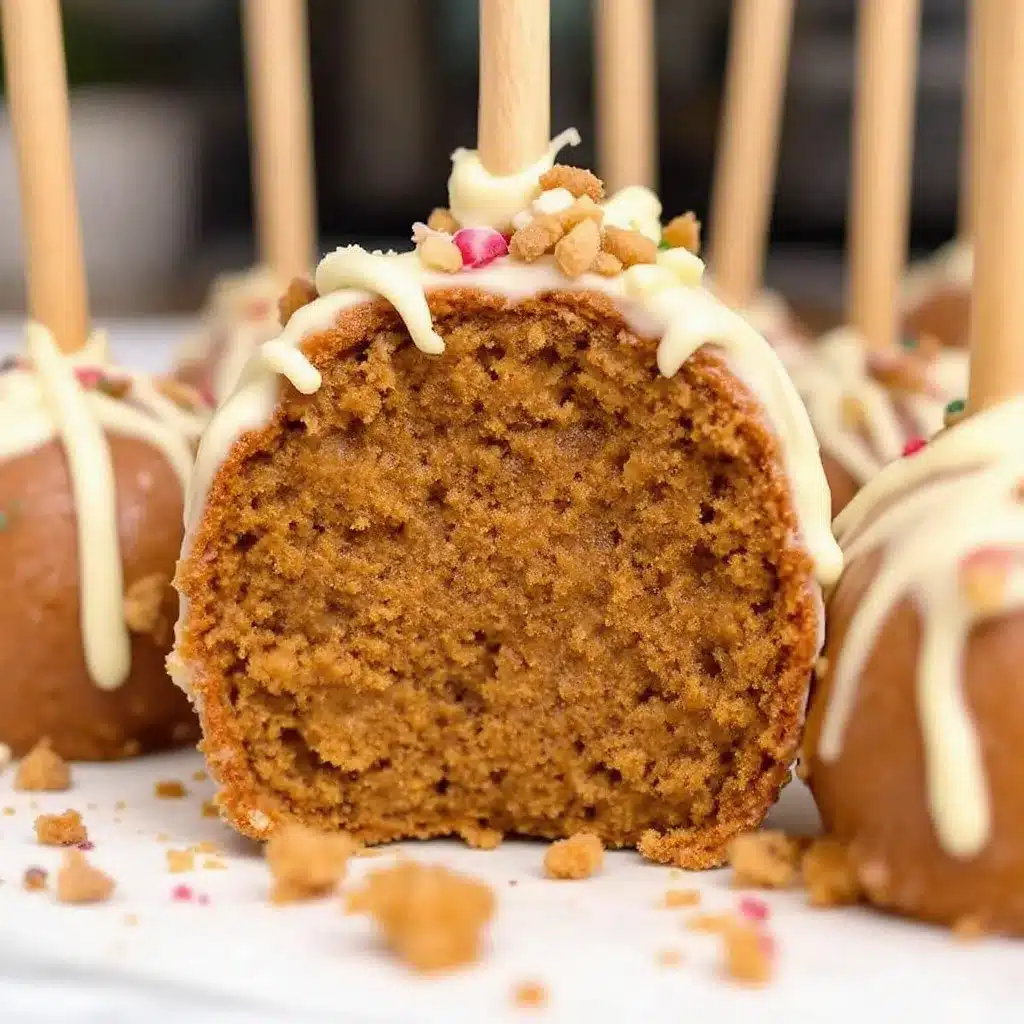
- White chocolate chips (2 cups) – I prefer Ghirardelli or Callebaut for a smoother melt. Avoid cheap brands as they often contain vegetable oils that can make the coating grainy.
- Coconut oil (1 tbsp) – Optional, but helps thin the chocolate for a smoother dip.
- Edible glitter or sprinkles – For that festive holiday look.
If you want to make these gluten-free, you can swap the all-purpose flour for a 1:1 gluten-free baking blend. Just make sure the blend includes xanthan gum, or add ½ tsp separately. For a dairy-free option, use vegan white chocolate chips and coconut oil instead of butter in the cake (though the cake texture will be slightly denser).
Equipment Needed
You don’t need a fancy kitchen to make these, but having the right tools makes the process much less frustrating.
- Mixer: A stand mixer or hand mixer is helpful for creaming the butter and sugars, but you can do it by hand with a sturdy whisk if you’re willing to put in a little elbow grease.
- 9-inch round cake pan: Any standard cake pan works. Line it with parchment paper for easy removal.
- Cooling rack: Essential for cooling the cake completely. If the cake is even slightly warm, it will melt the chocolate and make the pops soggy.
- Bowl: A large mixing bowl for crumbling the cake.
- Piping bag or ziplock bag: Used to bind the cake crumbs with frosting. Snip off a small corner to pipe the mixture.
- Lollipop sticks: Wooden or plastic sticks specifically made for cake pops. Dip the tips in chocolate before inserting to help them stick.
- Double boiler or microwave-safe bowl: For melting the white chocolate gently. Direct high heat can burn white chocolate quickly.
If you don’t have a piping bag, a ziplock bag works fine. Just be sure to reinforce the seal with tape so it doesn’t burst under pressure. Also, investing in a styrofoam block or a muffin tin to hold the pops while they set saves a lot of headaches compared to trying to balance them on wax paper.
Preparation Method
Getting these right comes down to patience and technique. Here is exactly how to make them.
- Bake the Cake: Preheat your oven to 350°F (175°C). Grease and flour your 9-inch cake pan, or line it with parchment. In a medium bowl, whisk together the flour, baking soda, salt, ginger, cinnamon, and cloves. Set aside. In a large bowl, beat the softened butter, granulated sugar, and brown sugar until light and fluffy, about 3-4 minutes. Add the egg and vanilla, then mix in the molasses. Gradually add the dry ingredients to the wet, mixing just until combined. Do not overmix. Pour the batter into the prepared pan and bake for 20-25 minutes, or until a toothpick inserted in the center comes out clean. Let it cool completely in the pan for 10 minutes, then transfer to a wire rack to cool fully. This step is critical; warm cake equals messy pops.
- Crumble the Cake: Once the cake is completely cool, break it into large chunks and place it in a large mixing bowl. Use your hands or a fork to crumble it into fine, sand-like crumbs. You should have about 2 to 2.5 cups of crumbs. The finer the crumb, the smoother your cake pops will be.
- Bind the Mixture: Here is the trick: you don’t actually need frosting to bind this cake because the molasses makes it sticky. However, if your cake feels dry, you can add 2-3 tablespoons of heavy cream or a little extra molasses. Mix it in until the crumbs clump together when squeezed. If the mixture is too wet to handle, add more crumbs. If it’s too dry, add a tiny bit more liquid. You want a consistency like damp sand that holds its shape.
- Form the Pops: Pinch off pieces of the cake mixture, about 1 tablespoon each, and roll them into smooth balls between your palms. Place them on a baking sheet lined with parchment paper. If you have time, chill them in the fridge for 30 minutes. This helps them hold their shape when dipped. If you’re in a rush, you can skip this, but chilling makes dipping much easier.
- Melt the Chocolate: Place the white chocolate chips in a microwave-safe bowl. Heat in 30-second intervals, stirring in between, until smooth. If it’s too thick, stir in the coconut oil. Alternatively, use a double boiler over low heat. Be careful not to overheat; white chocolate burns easily.
- Dip the Sticks: Dip the tip of a lollipop stick about ½ inch into the melted chocolate, then insert it into a cake ball. This creates a “glue” that keeps the pop on the stick. If the stick falls out, your chocolate was too cool or the cake ball was too hard.
- Dip the Pops: Hold the stick and dip the cake ball into the melted white chocolate, swirling to coat completely. Tap the stick gently against the side of the bowl to remove excess chocolate. You can use a fork to help if you’re nervous about dropping them. Place the dipped pop into a styrofoam block or muffin tin to set.
- Decorate: While the chocolate is still wet, add your sprinkles or edible glitter. If the chocolate sets before you can decorate, it will be too late. Let them set at room temperature for about 15-20 minutes until the coating is firm.
Cooking Tips & Techniques
I’ve made my share of mistakes with cake pops, so you don’t have to. The biggest issue people face is the coating cracking. This usually happens because the cake ball is too cold and the chocolate is too hot, causing thermal shock. To avoid this, let your cake balls sit out for 10 minutes before dipping if you’ve chilled them. The chocolate should be warm, not hot. If it’s too thick, it will pull away from the cake as it contracts while cooling.
Another common mistake is using too much frosting to bind the cake. In this recipe, I’m relying on the sticky molasses, but if you add too much extra moisture, the pops will become heavy and might slide off the sticks. If you must add binding, use heavy cream or a tiny bit of buttercream, not milk.
When melting white chocolate, patience is key. High heat seizes chocolate, turning it into a grainy, unusable mess. If your chocolate does seize, you can sometimes rescue it by adding a teaspoon of warm water or cream and whisking vigorously, but it’s better to prevent it in the first place. Stir constantly and remove from heat before it looks fully melted, as residual heat will finish the job.
For a smoother finish, you can use a spoon to drizzle extra chocolate over the top of the pop after dipping it, rather than dipping it twice. Double dipping can sometimes lead to a thick, uneven shell that cracks. A single, smooth coat is usually best for these cozy gingerbread pops.
Variations & Adaptations
One of the best things about this recipe is how adaptable it is. Here are a few ways to change it up:
- Dark Chocolate Drizzle: Instead of a full white chocolate coating, dip the bottom half of the pop in dark chocolate and drizzle white chocolate over the top. The contrast looks stunning and the bitterness of the dark chocolate pairs well with the ginger.
- Peppermint Twist: Add ½ teaspoon of peppermint extract to the melted white chocolate. It’s a classic holiday flavor combination that feels fresh and festive.
- Maple Glaze: Skip the chocolate entirely and dip the pops in a simple maple glaze made from powdered sugar and maple syrup. This gives a more traditional gingerbread cookie flavor.
- Nutty Crunch: Roll the dipped pops in crushed pistachios or pecans before the chocolate sets. The nuts add a nice texture and visual appeal.
- Spiced Sugar Rim: Mix some turbinado sugar with a pinch of extra ginger and cinnamon, then roll the bottom of the dipped pop in the sugar for a crunchy, spiced base.
I once tried making these with pumpkin puree instead of molasses, and while they tasted good, they were too wet to hold a stick. Stick to the molasses for structural integrity. If you want to make them for a specific dietary need, the gluten-free swap I mentioned earlier works well, and the dairy-free version is surprisingly rich thanks to the coconut oil.
Serving & Storage Suggestions
These cake pops are best served at room temperature. If they’re too cold, the white chocolate can become brittle and snap sharply. If they’re too warm, the cake center can become soft. Let them sit out for about 10 minutes after taking them out of the fridge.
They pair beautifully with a hot cup of coffee or a glass of cold milk. The spice and sweetness cut through the bitterness of coffee nicely. For a holiday spread, arrange them on a tiered stand or in a mason jar tied with a ribbon.
For storage, keep them in an airtight container at room temperature for up to 3 days. If you live in a very hot or humid environment, you might need to refrigerate them, but let them come to room temperature before eating to avoid condensation on the chocolate. They can also be frozen for up to 2 months. Freeze them on a baking sheet first, then transfer to a freezer bag. Thaw overnight in the fridge before serving.
Don’t worry if the sprinkles fall off after a day or two. It’s normal, and they still taste great. The flavor of the ginger actually mellows and blends better with the chocolate after a day, so these are often better the next day than the day they’re made.
Nutritional Information & Benefits
While these are definitely a treat, they’re not devoid of some nutritional value. Ginger is known for its anti-inflammatory properties and can aid in digestion, which is helpful after a big holiday meal. Molasses is a source of iron and calcium. White chocolate provides calcium from the milk solids, though it is high in sugar and fat.
Each cake pop is approximately 150-180 calories, depending on the size and coating thickness. They are not gluten-free unless you use a gluten-free flour blend, and they contain dairy and eggs. For a lower-sugar option, you can use a sugar-free white chocolate alternative, though the texture may vary. Overall, they’re a moderate indulgence that fits well into a balanced holiday diet.
Conclusion
Making cozy gingerbread cake pops with white chocolate is a small project with a big reward. They bring that warm, spiced comfort of the holidays into a portable, easy-to-eat format. Whether you’re making them for a family gathering, a teacher gift, or just because you crave something sweet, they’re sure to be a hit. Don’t be afraid to experiment with the spices or the coatings. Make them your own.
I hope this recipe becomes a new tradition in your kitchen. If you try them, I’d love to hear how they turned out. Leave a comment below with your tips or variations. And if you have friends who love baking, share this post with them. Happy baking!
FAQs
Can I use cake mix instead of scratch?
Yes, you can use a spice or yellow cake mix. Just follow the package directions, but reduce the liquid slightly since the mix is drier than scratch batter. You’ll still need to add molasses to get that gingerbread flavor.
Why did my cake pops crack?
Cracking usually happens if the cake ball is too cold and the chocolate is too hot. Let the cake balls sit out for 10-15 minutes before dipping. Also, ensure the chocolate isn’t overheated.
How do I keep the sticks from falling out?
Dip the tip of the stick into the melted chocolate before inserting it into the cake ball. This acts as glue. Also, make sure the cake balls are firm but not rock hard.
Can I make these ahead of time?
Absolutely. You can make the cake balls days in advance and freeze them. Just thaw them slightly before dipping. The finished pops can be stored at room temperature for 3 days.
What if I don’t have lollipop sticks?
You can skip the sticks and just roll the cake balls in the chocolate to make truffles. They’ll be a bit messier to eat, but the flavor will be the same.
Pin This Recipe!
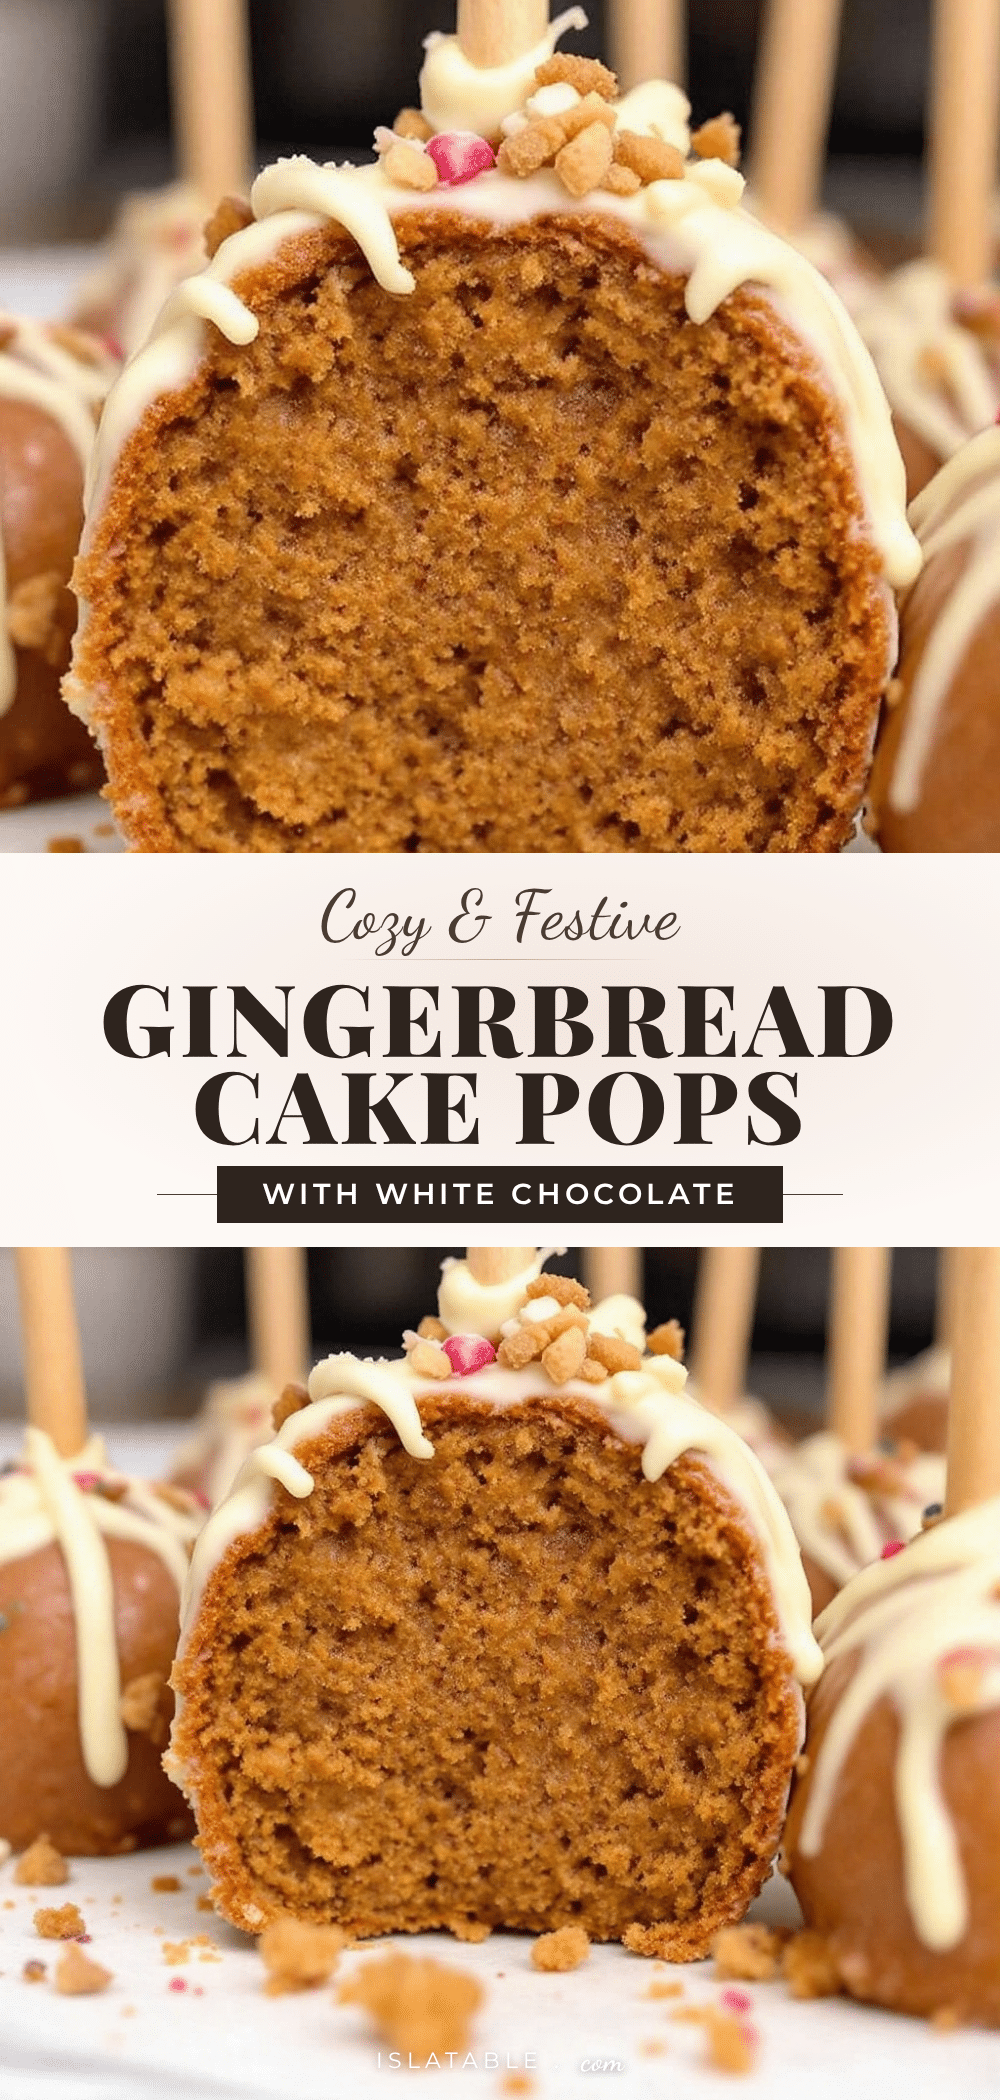
Cozy Gingerbread Cake Pops: Easy 15-Minute White Chocolate Treat
A simple, moist gingerbread cake pop coated in creamy white chocolate. These festive treats are easy to make, require no tempering, and capture the warm, spiced flavor of holiday baking without the stress.
- Prep Time: 30 minutes
- Cook Time: 25 minutes
- Total Time: 55 minutes
- Yield: 20-24 cake pops 1x
- Category: Dessert
- Cuisine: American
Ingredients
- 1 ½ cups all-purpose flour
- 1 tsp baking soda
- ½ tsp salt
- 1 tsp ground ginger
- 1 tsp ground cinnamon
- ¼ tsp ground cloves
- ½ cup unsalted butter, softened
- ½ cup granulated sugar
- ½ cup packed brown sugar
- ¼ cup molasses
- 1 large egg
- 1 tsp vanilla extract
- 2 cups white chocolate chips
- 1 tbsp coconut oil (optional)
- Edible glitter or sprinkles for decoration
Instructions
- Preheat oven to 350°F (175°C). Grease and flour a 9-inch cake pan or line with parchment.
- In a medium bowl, whisk together flour, baking soda, salt, ginger, cinnamon, and cloves.
- In a large bowl, beat butter, granulated sugar, and brown sugar until light and fluffy (3-4 minutes).
- Add egg and vanilla, then mix in molasses.
- Gradually add dry ingredients to wet ingredients, mixing just until combined. Do not overmix.
- Pour batter into prepared pan and bake for 20-25 minutes or until a toothpick comes out clean.
- Cool in pan for 10 minutes, then transfer to a wire rack to cool completely.
- Crumble the completely cooled cake into fine crumbs (about 2-2.5 cups).
- Mix crumbs until they clump like damp sand. Add heavy cream or extra molasses only if too dry.
- Roll mixture into 1-tablespoon balls and place on a parchment-lined sheet. Chill for 30 minutes if possible.
- Melt white chocolate chips in 30-second intervals or using a double boiler. Stir in coconut oil if needed.
- Dip the tip of a lollipop stick into melted chocolate and insert into a cake ball to act as glue.
- Dip the entire cake ball into melted chocolate, swirl to coat, and tap off excess.
- Place on a styrofoam block or muffin tin to set. Add sprinkles while chocolate is wet.
- Let set at room temperature for 15-20 minutes until firm.
Notes
Ensure the cake is completely cool before crumbling to prevent melting the chocolate. If the cake balls are too cold when dipping, the chocolate may crack due to thermal shock; let them sit out for 10 minutes if chilled. For gluten-free, use a 1:1 gluten-free flour blend. For dairy-free, use vegan white chocolate and coconut oil instead of butter.
Nutrition
- Serving Size: 1 cake pop
- Calories: 165
- Sugar: 16
- Sodium: 120
- Fat: 9
- Saturated Fat: 5
- Carbohydrates: 22
- Fiber: 1
- Protein: 2
Keywords: gingerbread, cake pops, white chocolate, holiday baking, easy dessert, gingerbread cookies, festive treats, winter baking


