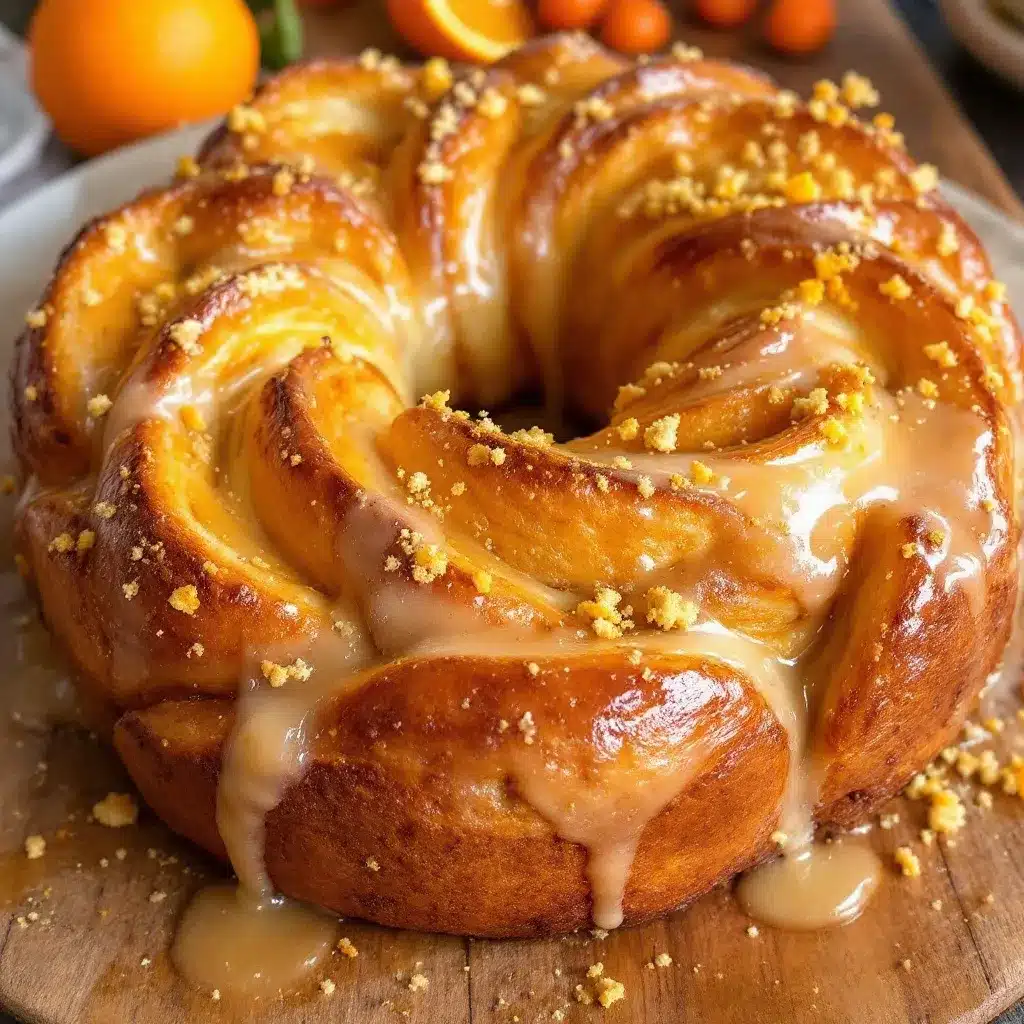
The surface is dusted with sugar that catches the light like tiny, scattered stars, but it’s the give of the bread that matters most. You press your thumb into it, and it springs back slowly, holding the indentation for a heartbeat before relaxing. That elasticity is what I chase. It’s not just about the flavor of orange or the hint of anise; it’s about that specific, cloud-like resistance.
I remember the first time I tried to bake pan de muerto. I was in a cramped kitchen, flour everywhere, trying to force the dough to behave. It was dense. Heavy. A brick, honestly. My abuela shook her head, tapped my knuckles with a wooden spoon, and said nothing. She just pointed to the window, to the warm afternoon sun hitting the tiles. She wanted me to wait. To let the dough rise until it felt alive, not just full of air.
For years, I rushed it. I used instant yeast because I didn’t have time for the slow rise. The result was always flat, lacking that soulful puff that defines a good loaf. It tasted like sweet bread, sure, but it didn’t feel like the holiday. It didn’t feel like remembering.
This classic pan de muerto with orange glaze is different because it respects the wait. It starts with a simple sponge, a pre-ferment that wakes up the flour. The dough is enriched with butter and egg yolks, making it rich enough to feel luxurious but airy enough to melt on your tongue. The bones on top aren’t just decoration; they’re structural reminders of the cycle of life, but let’s be real, they’re also where you get the best crunchy, sugary bite.
I make this for Día de Muertos, but honestly, I make it whenever I need a reminder to slow down. The smell of orange zest and vanilla filling the house feels like a hug. It’s not complicated. It just requires patience. And once you taste that soft, sweet crumb dipped in your coffee, you’ll understand why we keep the tradition alive. It’s not just bread. It’s memory.
Why You’ll Love This Recipe
Making bread from scratch can feel intimidating, but this recipe is designed for the home baker who wants professional results without the stress. I’ve tested this dough through dozens of batches, adjusting hydration and rise times to find the perfect balance. It’s foolproof if you pay attention to the texture, not just the clock.
Here is why this version stands out:
* **Quick & Easy Prep:** While the dough needs time to rise, the active hands-on time is minimal. You’re mostly waiting, which means you can multitask. It’s perfect for busy weekends or when you want to fill the house with a warm, inviting scent without spending hours in the kitchen.
* **Simple Ingredients:** You don’t need fancy specialty stores for this. Flour, butter, sugar, eggs, milk, yeast, and orange—items you likely have on hand. No obscure flours or hard-to-find spices. Just wholesome, real food.
* **Perfect for Holiday Gatherings:** Whether it’s Día de Muertos, Christmas, or just a cozy Sunday morning, this bread fits any occasion. It’s a centerpiece that looks impressive but tastes comforting.
* **Crowd-Pleaser:** Kids love the sweet, brioche-like texture. Adults appreciate the subtle anise and orange notes. It’s a crowd-pleaser that disappears quickly, especially when served warm.
* **Unbelievably Delicious:** The combination of the soft, pillowy interior and the crunchy, sugary exterior is next-level. The orange glaze adds a bright, tangy finish that cuts through the richness of the butter.
What makes this recipe different is the emphasis on the *sponge* method. By pre-mixing a small amount of flour and yeast with milk, you develop flavor before the main dough comes together. It’s a technique that adds depth you won’t get from a quick-mix recipe. Also, the addition of orange blossom water (or fresh zest) provides that authentic, floral aroma that defines traditional pan de muerto. It’s not just sweet bread; it’s a celebration.
I’ve seen people swap in heavy cream for milk, which works, but I find whole milk gives the best crumb structure. It’s the kind of recipe that makes you close your eyes after the first bite. It’s comfort food reimagined—traditional, but accessible. Perfect for impressing guests without stress, or turning a simple meal into something memorable. If you enjoy baking other sweet treats, you might also appreciate the technique used in my easy gluten-free cornbread muffins, which also relies on proper ingredient temperature for the best rise.
What Ingredients You Will Need
This recipe uses simple, wholesome ingredients to deliver bold flavor and satisfying texture without the fuss. The magic lies in the ratio of fat to flour and the quality of your yeast. You don’t need expensive imports, but you do need fresh yeast and good butter.
Here is what you’ll need, grouped by function:
**For the Sponge (Pre-ferment):**
* **Warm Whole Milk (1 cup / 240ml):** Must be between 105°F–110°F (40°C–43°C). Too hot kills the yeast; too cold won’t activate it.
* **Active Dry Yeast (2 packets / 14g):** I recommend Fleischmann’s or Red Star for consistent results. Make sure it’s not expired.
* **Sugar (2 tbsp / 25g):** Granulated white sugar helps feed the yeast.
* **All-Purpose Flour (1 cup / 120g):** Just a small amount to kickstart the fermentation.
**For the Main Dough:**
* **All-Purpose Flour (4 to 4.5 cups / 480g–540g):** This is the base. I prefer King Arthur brand for its protein content, which gives a better chew.
* **Granulated Sugar (½ cup / 100g):** Adds sweetness and helps with browning.
* **Salt (1 tsp / 6g):** Essential for balancing the sweetness and strengthening the gluten.
* **Unsalted Butter (½ cup / 113g):** Softened to room temperature. This makes the crumb tender.
* **Large Eggs (2):** Room temperature. They add structure and richness.
* **Egg Yolks (2):** Extra richness and a golden color.
* **Vanilla Extract (1 tsp / 5ml):** Pure extract, not imitation.
* **Orange Zest (1 medium orange):** Freshly grated. The oils in the zest are key.
* **Anise Seeds (1 tsp / 2g):** Whole or lightly crushed. This is the traditional flavor profile. If you dislike anise, you can omit it, but it adds authenticity.
* **Orange Blossom Water (1 tsp / 5ml):** Optional but recommended for that authentic floral note.
**For the Topping and Glaze:**
* **Butter (2 tbsp / 30g):** For brushing the baked bread.
* **Granulated Sugar (½ cup / 100g):** For rolling the shaped dough.
* **Orange Juice (¼ cup / 60ml):** Freshly squeezed.
* **Powdered Sugar (1 cup / 120g):** For the glaze.
*Note: For a dairy-free option, you can swap the butter for a high-quality vegan butter stick and use plant-based milk. The texture will be slightly different but still delicious.*
How do I know if my yeast is active?
If your sponge doesn’t get bubbly and increase in volume after 10–15 minutes, your yeast is dead. Discard it and start over with fresh yeast. This step is crucial for a good rise.
Equipment Needed
You don’t need a lot of fancy gear, but having the right tools makes the process smoother.
* **Large Mixing Bowl:** A glass or stainless steel bowl is best for observing the dough’s rise.
* **Stand Mixer with Dough Hook:** Highly recommended. Kneading this enriched dough by hand can be tiring and inconsistent. If you don’t have one, you can knead by hand, but it will take 15–20 minutes of effort.
* **Measuring Cups and Spoons:** Precision matters in baking. Use standard US cups and metric grams if possible.
* **Instant-Read Thermometer:** Essential for checking the milk temperature and the internal temperature of the bread.
* **Baking Sheets:** Heavy-gauge sheets prevent burning. Line them with parchment paper for easy cleanup.
* **Pastry Brush:** For applying the butter and glaze.
* **Zester or Microplane:** For getting fine orange zest without the bitter pith.
* **Cooling Rack:** Allows air circulation so the bottom of the bread doesn’t get soggy.
*Personal Tip: I’ve tried using non-stick baking sheets, but they can cause the bottoms to brown too quickly. Parchment paper is your best friend here. Also, keep your dough hook clean between additions to ensure even mixing.*
Preparation Method
Follow these steps carefully. The timing is flexible, but the order is not.
**Step 1: Make the Sponge (15 minutes + 10 minutes rest)**
In a small bowl, combine the warm milk, yeast, sugar, and 1 cup of flour. Whisk until smooth. It should look like pancake batter. Cover with plastic wrap and let it sit in a warm spot for 10–15 minutes until it becomes bubbly and frothy. This proves your yeast is alive and starts developing flavor.
**Step 2: Mix the Dough (5 minutes)**
In the bowl of a stand mixer fitted with a dough hook, combine the sponge, remaining 4–4.5 cups of flour, sugar, salt, eggs, egg yolks, vanilla, orange zest, anise seeds, and orange blossom water. Mix on low speed for 2 minutes until a shaggy dough forms.
**Step 3: Knead the Dough (8–10 minutes)**
Increase the speed to medium-low. Add the softened butter, one tablespoon at a time. Let each addition incorporate before adding the next. Continue kneading for 8–10 minutes. The dough should become smooth, elastic, and slightly sticky but not tacky. It should pass the “windowpane test”—stretch a small piece thin enough to see light through it without tearing. If it tears, keep kneading.
**Step 4: First Rise (1.5–2 hours)**
Place the dough in a lightly oiled bowl. Cover with a damp towel or plastic wrap. Let it rise in a warm, draft-free area until doubled in size. This takes about 1.5 to 2 hours. Punch it down gently after it rises to release large air bubbles.
**Step 5: Shape the Loaves (20 minutes)**
Divide the dough into two equal halves. Take one half and divide it into four smaller pieces. Roll these into balls. These will be the “bones” and cross.
Roll the remaining larger piece of dough into a thick log or oval shape. This is the body of the bread.
Place the body on a parchment-lined baking sheet. Arrange the smaller balls on top to form a cross and bones. Pinch the ends firmly to attach them to the body. Repeat with the second loaf.
**Step 6: Second Rise (45–60 minutes)**
Cover the shaped loaves loosely with plastic wrap. Let them rise again until puffy and nearly doubled. They should jiggle slightly when you shake the pan. Preheat your oven to 350°F (175°C) during the last 15 minutes of rising.
**Step 7: Bake and Glaze (30 minutes)**
Brush the risen loaves with a beaten egg wash (1 egg yolk + 1 tbsp milk) for a shiny crust. Bake for 25–30 minutes until golden brown and the internal temperature reaches 190°F (88°C).
While baking, mix the orange juice and powdered sugar for the glaze.
Immediately after baking, brush the hot loaves with melted butter. Then, roll them in granulated sugar. While still warm, drizzle the orange glaze over the top.
What if my dough is too sticky?
Add flour one tablespoon at a time. Enriched doughs are naturally sticky, but if it sticks to your hands excessively, it needs a bit more flour. Don’t add too much, or the bread will be dense.
Cooking Tips & Techniques
Getting the rise right is the hardest part. Here’s how to avoid common pitfalls.
* **Temperature Control:** Yeast is sensitive. If your kitchen is cold, rise times will double. If it’s hot, they’ll be faster. Aim for a consistent 75°F–80°F (24°C–27°C) environment. A turned-off oven with the light on is a great proofing box.
* **Don’t Over-Knead:** With a stand mixer, it’s easy to overwork the dough. Stop when it’s smooth and elastic. Over-kneading can break down the gluten network, leading to a flat loaf.
* **The Windowpane Test:** This is the best way to know if your dough is ready. Take a small piece and stretch it. If it tears easily, keep kneading. If it stretches thin without breaking, it’s ready.
* **Shaping Firmly:** When attaching the “bones” to the body, pinch the dough firmly. If they aren’t attached well, they might fall off during baking. You can also use a toothpick to secure them, but pinching works if you’re gentle.
* **Brushing with Butter:** Brushing the bread with melted butter immediately after taking it out of the oven adds a soft crust and rich flavor. Don’t skip this step.
* **Glaze Consistency:** If the glaze is too thick, add a few drops of orange juice. If it’s too thin, add more powdered sugar. You want it to drizzle easily but still coat the bread.
I once made this bread during a heatwave, and the dough rose too fast, resulting in large, uneven holes. The next time, I used cooler water for the milk and proofed it in the fridge overnight. The flavor was deeper, and the texture was more even. Learn from my mistakes!
Variations & Adaptations
This recipe is versatile. Here are some ways to customize it:
* **Gluten-Free Option:** Substitute the all-purpose flour with a 1-to-1 gluten-free flour blend that contains xanthan gum. You may need to add an extra tablespoon of liquid if the dough feels dry.
* **Dairy-Free/Vegan:** Use plant-based milk (almond or oat) and vegan butter. Replace the egg wash with a mixture of plant milk and maple syrup. The texture will be slightly less rich but still delicious.
* **Flavor Twist:** Add ½ cup of raisins or chopped figs to the dough for a fruitier version. This is common in some regions of Mexico.
* **Chocolate Glaze:** Swap the orange glaze for a chocolate glaze by mixing cocoa powder, powdered sugar, and a little milk.
* **Single Loaf:** You can make just one loaf by dividing the dough differently. The baking time will be slightly less, so check at 25 minutes.
I’ve tried adding a pinch of cardamom to the dough, and it adds a lovely, warm spice that pairs well with the orange. It’s a nice twist for the holidays.
Serving & Storage Suggestions
Serve pan de muerto warm or at room temperature. It pairs beautifully with coffee, hot chocolate, or atole. For a festive presentation, slice it thick and serve on a wooden board with a dusting of powdered sugar.
* **Storage:** Store leftovers in an airtight container at room temperature for up to 3 days. It stays soft and fresh.
* **Freezing:** You can freeze the baked bread for up to 2 months. Wrap it tightly in plastic wrap and then in aluminum foil. Thaw at room temperature before serving.
* **Reheating:** Warm individual slices in the microwave for 10–15 seconds or in a toaster oven for 2–3 minutes. This restores the soft texture.
The flavors meld and deepen over the first day. It’s actually better on the second day, as the moisture redistributes.
Nutritional Information & Benefits
One slice (approx. 150g) contains roughly:
* **Calories:** 350
* **Carbohydrates:** 50g
* **Protein:** 7g
* **Fat:** 12g
* **Sugar:** 20g
This bread is a source of carbohydrates for energy and contains some protein from the eggs and flour. It is not suitable for low-carb or keto diets unless modified with almond flour. It does contain gluten, eggs, and dairy, so those with allergies should take care.
From a wellness perspective, this is a treat to be enjoyed in moderation. The orange zest provides vitamin C, and the anise seeds can aid digestion. It’s a comforting, soulful food that brings people together, which is good for mental health too.
Conclusion
Making classic pan de muerto with orange glaze is more than just baking; it’s a ritual. It’s about slowing down, connecting with tradition, and filling your home with the scent of orange and anise. This recipe is reliable, delicious, and deeply satisfying.
I encourage you to try it. Don’t be afraid of the rise times. Let the dough do its work. Customize it with your favorite flavors, and share it with loved ones. Whether you stick to the traditional recipe or add your own twist, the result will be a loaf that tastes like home.
If you make this, I’d love to hear how it turned out! Leave a comment below with your thoughts or photos of your creation. And if you enjoyed this sweet bread, check out my soft gluten-free pretzel bites for another comforting baked good. Happy baking!
FAQs
Can I use instant yeast instead of active dry yeast?
Yes, you can use instant yeast. You can mix it directly with the dry ingredients without activating it in milk first. The rise time may be slightly faster, so keep an eye on the dough.
Why did my pan de muerto turn out dense?
This usually happens if the yeast was dead, the dough was over-kneaded, or it didn’t rise enough. Make sure your milk is warm, not hot, and let the dough rise until it’s visibly doubled in size.
Can I make the dough ahead of time?
Yes! After the first rise, you can shape the loaves, place them on the baking sheet, cover them, and refrigerate them overnight. Let them come to room temperature and rise for 1–2 hours before baking the next day.
What is the best way to store the orange glaze?
The glaze is best made fresh. If you have leftovers, store it in an airtight container in the fridge for up to 3 days. Reheat it slightly before drizzling, as it may thicken when cold.
Can I use orange extract instead of orange zest?
You can, but fresh zest provides a brighter, more authentic flavor. If you use extract, add 1–2 teaspoons to the dough. Be careful, as extract is very potent and can taste bitter if used in excess.
Pin This Recipe!
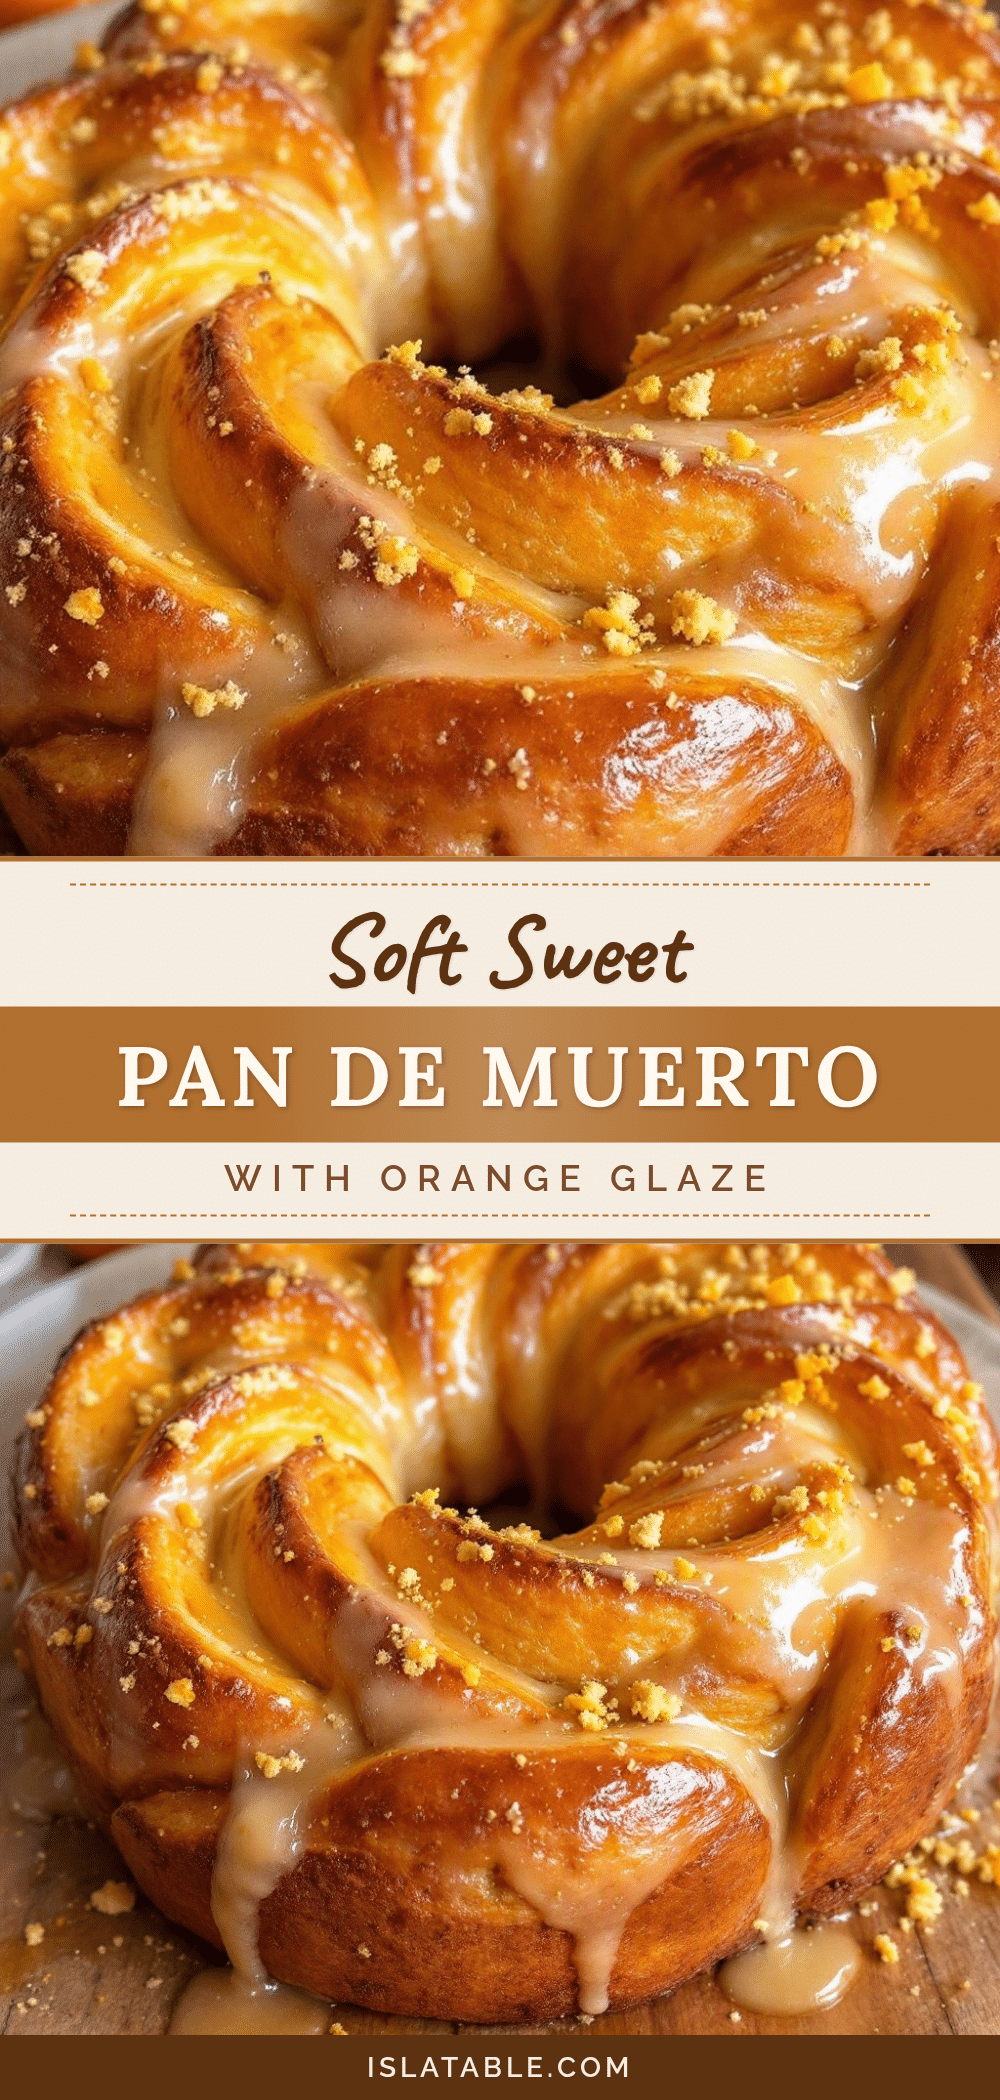
Classic Pan De Muerto with Orange Glaze

A traditional Mexican sweet bread enriched with butter and egg yolks, flavored with orange zest and anise, featuring a soft, pillowy crumb and a crunchy, sugary exterior with an orange glaze.
- Prep Time: 40 minutes
- Cook Time: 30 minutes
- Total Time: 3 hours 10 minutes
- Yield: 2 loaves 1x
- Category: Dessert
- Cuisine: Mexican
Ingredients
- 1 cup warm whole milk (105°F–110°F)
- 2 packets active dry yeast (14g)
- 2 tbsp granulated sugar (for sponge)
- 1 cup all-purpose flour (for sponge)
- 4 to 4.5 cups all-purpose flour (480g–540g)
- ½ cup granulated sugar (100g)
- 1 tsp salt (6g)
- ½ cup unsalted butter, softened (113g)
- 2 large eggs, room temperature
- 2 egg yolks
- 1 tsp vanilla extract
- 1 medium orange, zested
- 1 tsp anise seeds
- 1 tsp orange blossom water
- 2 tbsp butter (for brushing)
- ½ cup granulated sugar (for rolling)
- ¼ cup fresh orange juice
- 1 cup powdered sugar (for glaze)
- 1 egg yolk + 1 tbsp milk (for egg wash)
Instructions
- Make the sponge: Whisk warm milk, yeast, 2 tbsp sugar, and 1 cup flour until smooth. Cover and let sit in a warm spot for 10–15 minutes until bubbly.
- Mix the dough: In a stand mixer with a dough hook, combine the sponge, remaining flour, ½ cup sugar, salt, eggs, egg yolks, vanilla, orange zest, anise seeds, and orange blossom water. Mix on low for 2 minutes until shaggy.
- Knead the dough: Increase speed to medium-low. Add softened butter one tablespoon at a time, incorporating fully before adding the next. Knead for 8–10 minutes until smooth, elastic, and passes the windowpane test.
- First rise: Place dough in a lightly oiled bowl, cover, and let rise in a warm, draft-free area for 1.5–2 hours until doubled. Punch down gently.
- Shape the loaves: Divide dough into two halves. Divide one half into four small pieces for ‘bones’ and a cross. Roll the other half into a log for the body. Place body on a parchment-lined sheet and arrange bones on top, pinching firmly to attach.
- Second rise: Cover shaped loaves and let rise for 45–60 minutes until puffy and nearly doubled. Preheat oven to 350°F (175°C) during the last 15 minutes.
- Bake: Brush loaves with egg wash. Bake for 25–30 minutes until golden brown and internal temperature reaches 190°F (88°C).
- Glaze: While baking, mix orange juice and powdered sugar. Immediately after baking, brush hot loaves with melted butter, roll in granulated sugar, and drizzle with orange glaze while warm.
Notes
Ensure milk is between 105°F–110°F to activate yeast without killing it. The dough should pass the windowpane test for proper gluten development. For dairy-free options, substitute butter with vegan butter and milk with plant-based milk. The bread is best enjoyed warm or at room temperature.
Nutrition
- Serving Size: 1 slice (approx. 150
- Calories: 350
- Sugar: 20
- Sodium: 300
- Fat: 12
- Saturated Fat: 7
- Carbohydrates: 50
- Fiber: 2
- Protein: 7
Keywords: pan de muerto, dia de los muertos, mexican sweet bread, orange glaze, anise bread, holiday baking, traditional bread


