The cake stand came back empty. Not a crumb, not a smear of frosting—just the clean white ceramic, like it had never held anything at all. My neighbor texted me later that night: “Did you hide the rest? I need that recipe.”
Honestly, I wasn’t surprised. This triple chocolate fudge bundt cake has a way of disappearing. It’s the kind of dessert that makes people close their eyes after the first bite, then reach for a second slice before they’ve even swallowed. I first made it for a potluck where I was supposed to bring something “chocolatey but not too fussy.” Classic bundt cakes seemed like the easy way out, right? But I’d been playing around with cocoa percentages and fudge ratios for weeks, trying to get that perfect balance of rich, dark chocolate and sweet, creamy indulgence.
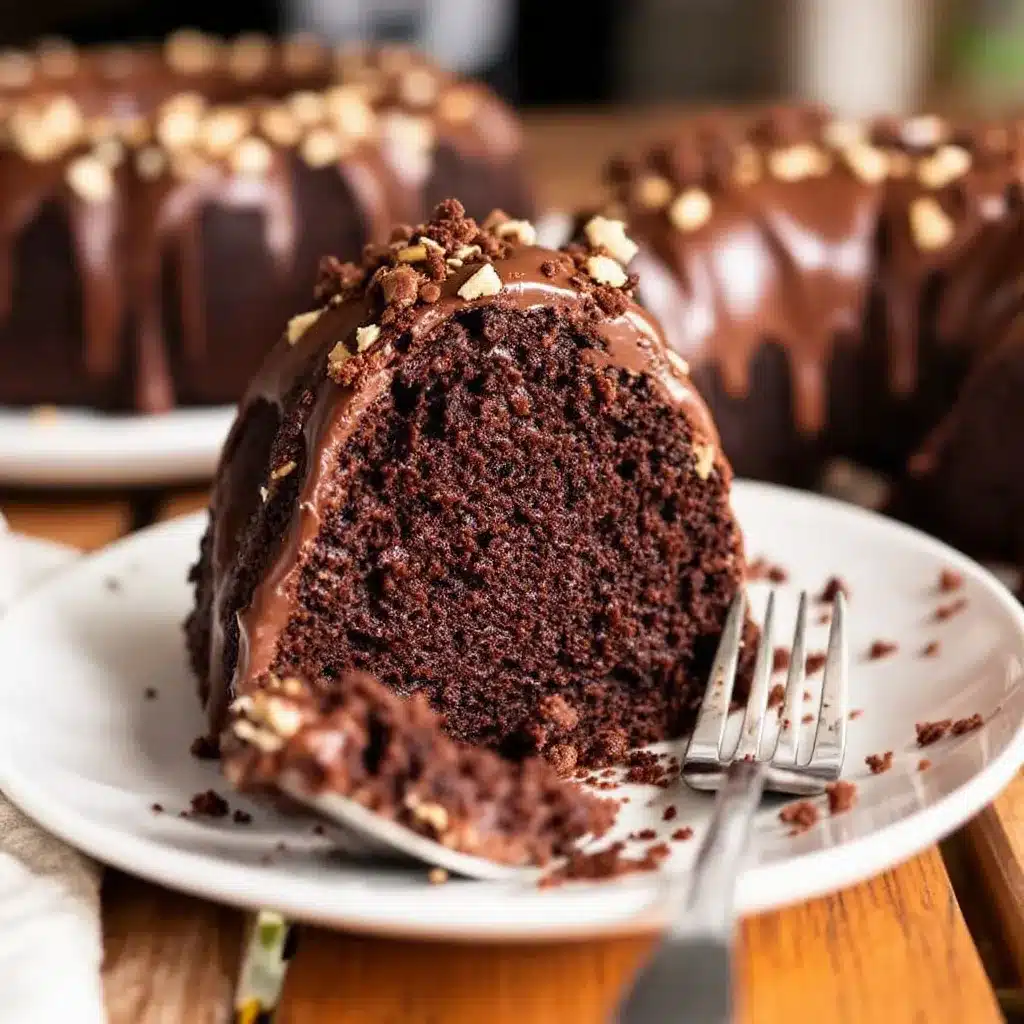
The first version was too dense. The second was too sweet. But this one—this one hit just right. The secret is a combination of three different chocolate forms working together, creating layers of flavor that unfold with every bite. It’s moist without being gummy, fudgy without being heavy, and the crackly top gives way to a tender, almost brownie-like interior. I’ve brought it to birthdays, holiday dinners, and random Tuesday night cravings. Every single time, someone asks for the recipe. And honestly? I’m happy to share it—because some desserts are too good to keep to yourself.
Why You’ll Love This Recipe
This isn’t just another chocolate cake recipe. After countless trials in my kitchen—and a few spectacular failures, including one that stuck to the pan like cement—I can confidently say this version is something special. Here’s why it works:
- Rich, Complex Flavor : Three types of chocolate (unsweetened cocoa powder, semi-sweet chocolate chips, and dark chocolate chunks) create a depth that single-source chocolate just can’t match. It’s chocolatey in a way that feels luxurious without being overwhelming.
- Perfect Texture Every Time : The combination of sour cream and hot coffee keeps the cake incredibly moist while the right flour-to-fat ratio ensures it doesn’t collapse. You get a tender crumb with that satisfying fudgy density.
- Deceptively Simple : Despite looking like something from a fancy bakery, this recipe comes together in one bowl with basic pantry ingredients. No complicated techniques, no special equipment—just a bundt pan and some patience while it bakes.
- Crowd-Pleasing Reliability : I’ve made this for everything from casual family dinners to holiday gatherings where people had high expectations. It never fails. Kids love the chocolate chips, adults appreciate the sophisticated cocoa notes, and everyone goes back for seconds.
- Make-Ahead Friendly : The flavors actually deepen overnight, making this a perfect dessert to prepare the day before a party. Covered tightly, it stays moist and delicious for days.
What really sets this apart from other bundt cakes is the fudge factor. Most chocolate bundt cakes lean more toward a fluffy, cake-like texture. This one walks the line between cake and brownie, with a dense, almost truffle-like interior that feels indulgent without being heavy. It’s the kind of dessert that makes you slow down and savor each bite—exactly what a great chocolate cake should do.
What Ingredients You Will Need
This recipe relies on simple, everyday ingredients that work together to create something extraordinary. Most of these are pantry staples, but a few key choices make all the difference.
- All-Purpose Flour (2 cups / 250g) : Provides structure without making the cake tough. Spoon and level your flour for accuracy—scooping directly from the bag can add too much, resulting in a dry cake.
- Unsweetened Cocoa Powder (3/4 cup / 75g) : I recommend Dutch-processed cocoa for a smoother, less acidic chocolate flavor. My go-to is Rodelle or Droste, but any high-quality brand works well. The cocoa provides the deep chocolate base that makes this cake so rich.
- Granulated Sugar (2 cups / 400g) : Sweetens the cake and helps create that tender crumb. Don’t reduce the sugar—it affects both texture and moisture.
- Brown Sugar (1/2 cup / 100g, packed) : Adds moisture and a subtle molasses note that complements the chocolate. Light or dark brown sugar both work, but dark gives a deeper flavor.
- Baking Soda (1 1/2 teaspoons) & Baking Powder (1/2 teaspoon) : The combination provides the perfect rise. The baking soda reacts with the acidic sour cream and coffee to create a light, airy crumb.
- Salt (1 teaspoon) : Enhances the chocolate flavor and balances sweetness. I use fine sea salt for even distribution.
- Large Eggs (3, room temperature) : Room temperature eggs incorporate more easily into the batter, creating a smoother emulsion and better texture. Let them sit on the counter for 30 minutes before starting.
- Vegetable Oil (1 cup / 240ml) : Keeps the cake incredibly moist. Unlike butter, oil stays liquid at room temperature, which means this cake stays tender even after refrigeration. Canola or grapeseed oil both work well.
- Sour Cream (1 cup / 240g, room temperature) : The secret ingredient for extra moisture and a slight tang that balances the sweetness. Full-fat sour cream gives the best results, but Greek yogurt works in a pinch.
- Hot Coffee (1 cup / 240ml, freshly brewed) : Don’t skip this! The coffee doesn’t make the cake taste like coffee—it enhances the chocolate flavor, making it deeper and more complex. Use strong brewed coffee for the best results.
- Vanilla Extract (2 teaspoons) : Adds warmth and rounds out the chocolate flavor. Pure vanilla extract is worth the splurge here.
- Semi-Sweet Chocolate Chips (1 cup / 175g) : These melt into pockets of chocolate throughout the cake, creating that fudgy texture. I prefer Ghirardelli or Guittard for their consistent melting properties.
- Dark Chocolate Chunks (1/2 cup / 85g) : Chopped from a high-quality dark chocolate bar (70% cocoa or higher). These add intense, bittersweet pockets that contrast beautifully with the sweeter cake base.
For the Glaze:
- Semi-Sweet Chocolate (4 oz / 115g, finely chopped) : Melts smoothly for a glossy finish. Use a good-quality chocolate bar, not chocolate chips, which contain stabilizers that prevent smooth melting.
- Heavy Cream (1/2 cup / 120ml) : Creates a rich, pourable ganache. For a dairy-free version, canned coconut cream works surprisingly well.
- Butter (1 tablespoon / 14g) : Adds shine and a silky texture to the glaze. Unsalted butter gives you control over the salt level.
- Vanilla Extract (1/2 teaspoon) : Enhances the chocolate flavor in the glaze.
Equipment Needed
You don’t need a professional bakery setup for this cake, but a few key tools make the process smoother and the results more reliable.
- 10-12 Cup Bundt Pan : The most important piece of equipment. A non-stick bundt pan with detailed designs works beautifully, but even a basic aluminum pan will do if properly greased. I’ve had great results with Nordic Ware’s classic bundt pans—they distribute heat evenly and release cakes cleanly.
- Stand Mixer or Hand Mixer : While you can mix this batter by hand, an electric mixer ensures thorough incorporation without overworking the gluten. A hand mixer works perfectly fine if you don’t have a stand mixer.
- Large Mixing Bowl : You’ll need room to whisk dry ingredients and combine the wet ingredients without splashing.
- Whisk and Rubber Spatula : A whisk for dry ingredients and a spatula for folding in the chocolate chips and scraping down the bowl.
- Cooling Rack : Essential for even cooling and preventing a soggy bottom. If you don’t have one, inverted ramekins or a wire rack from a baking sheet work in a pinch.
- Small Saucepan : For making the chocolate glaze. A double boiler also works, but a saucepan over low heat is simpler.
- Measuring Cups and Spoons : Accurate measurements are crucial for baking success. I prefer metal measuring cups for dry ingredients and glass liquid measuring cups for wet ingredients.
Pro tip: Invest in a good quality pastry brush for greasing your bundt pan. It reaches every nook and cranny of the pan’s design, ensuring your cake releases perfectly every time.
Preparation Method
Let’s walk through this step by step. Take your time with each stage—rushing is the most common reason for baking mishaps.
Step 1: Prep the Pan and Preheat
Preheat your oven to 350°F (175°C). Grease your bundt pan thoroughly with softened butter or baking spray that contains flour. Pay special attention to all the crevices and the center tube. Dust the greased pan with a light coating of cocoa powder instead of flour—this prevents white streaks on your finished cake. Tap out any excess cocoa.
Step 2: Whisk Dry Ingredients
In a large bowl, whisk together 2 cups all-purpose flour, 3/4 cup cocoa powder, 1 1/2 teaspoons baking soda, 1/2 teaspoon baking powder, and 1 teaspoon salt. Whisking aerates the mixture and ensures even distribution of leavening agents. Set aside.
Step 3: Combine Wet Ingredients
In the bowl of your stand mixer (or a large bowl if using a hand mixer), beat 2 cups granulated sugar and 1/2 cup packed brown sugar with 3 room-temperature eggs on medium speed until light and fluffy, about 3 minutes. The mixture should be pale and thick. Add 1 cup vegetable oil, 1 cup sour cream, and 2 teaspoons vanilla extract, beating until smooth. The batter will look glossy and well-emulsified.
Step 4: Alternate Dry and Wet Ingredients
With the mixer on low speed, add the dry ingredients in three additions, alternating with the hot coffee. Start and end with the dry ingredients. Mix just until combined after each addition—overmixing develops gluten and makes the cake tough. The batter will be thin and silky, which is exactly what you want.
Step 5: Fold in Chocolate
Remove the bowl from the mixer and gently fold in 1 cup semi-sweet chocolate chips and 1/2 cup dark chocolate chunks using a rubber spatula. Don’t overmix—you want distinct pockets of melted chocolate throughout the cake, not a uniformly chocolate batter.
Step 6: Fill the Pan
Pour the batter into the prepared bundt pan. It should fill the pan about 3/4 full. Gently tap the pan on the counter a few times to release any air bubbles. Smooth the top with a spatula.
Step 7: Bake
Bake for 50-60 minutes, or until a long skewer or cake tester inserted into the thickest part comes out with a few moist crumbs attached (not wet batter). The cake should also pull away slightly from the sides of the pan. Start checking at 50 minutes—ovens vary, and overbaking dries out the cake.
Step 8: Cool in Pan
Place the pan on a cooling rack and let the cake cool in the pan for exactly 15 minutes. This is crucial—cooling too long makes the cake stick, but turning it out too soon causes it to fall apart. After 15 minutes, place a wire rack or serving plate over the pan and carefully invert. Lift the pan off gently. If any pieces stick, let the cake cool a few more minutes on the rack before trying again.
Step 9: Make the Glaze
While the cake cools completely, make the glaze. Place 4 oz finely chopped semi-sweet chocolate in a heatproof bowl. Heat 1/2 cup heavy cream in a small saucepan until it just begins to simmer (small bubbles around the edges). Pour the hot cream over the chocolate and let sit for 2 minutes. Add 1 tablespoon butter and 1/2 teaspoon vanilla, then whisk gently until smooth and glossy. Let the glaze cool for 5-10 minutes until it thickens slightly but is still pourable.
Step 10: Glaze and Serve
Once the cake is completely cool (this takes about 1-2 hours), transfer it to a serving plate. Pour the glaze over the top, letting it drip down the sides naturally. Use a spatula to spread it evenly if needed. Let the glaze set for 15-20 minutes before slicing. For clean slices, use a sharp, serrated knife and wipe it clean between cuts.
Cooking Tips & Techniques
After making this cake more times than I can count, I’ve learned a few things the hard way. Here are my best tips for success.
Don’t Skip the Coffee
I know it sounds weird, but the hot coffee does something magical to cocoa powder. It blooms the cocoa, intensifying the chocolate flavor without adding any coffee taste. If you’re caffeine-sensitive, use decaf—it works just as well. I once ran out of coffee and used hot water instead, and the cake was noticeably less chocolatey.
Room Temperature Ingredients Matter
Cold eggs and sour cream will seize the batter, creating a lumpy texture that doesn’t bake evenly. Set everything out 30-60 minutes before you start. If you’re in a hurry, place eggs in a bowl of warm water for 5 minutes and microwave the sour cream in 10-second bursts until it’s no longer cold.
Grease the Pan Like Your Life Depends on It
I cannot stress this enough. Use a pastry brush to get into every crevice of your bundt pan. After greasing, dust with cocoa powder and tap out the excess. If you’re nervous, use a baking spray that contains flour—it’s practically foolproof. I learned this lesson after losing half a cake to a stubborn pan, and trust me, it’s heartbreaking.
Check for Doneness Early
Every oven runs differently. Start checking your cake at 50 minutes, even if the recipe says 55-60. Insert a skewer into the thickest part of the cake (usually near the center tube). You want a few moist crumbs, not wet batter. If the skewer comes out clean, the cake is overbaked and will be dry.
Cooling is Non-Negotiable
That 15-minute rest in the pan is critical. Set a timer—I’ve forgotten and let the cake cool for 30 minutes, only to have it stick stubbornly to the pan. If your cake does stick, don’t panic. Let it cool completely in the pan, then place the pan in the freezer for 15 minutes. The contraction often releases the cake.
Glaze at the Right Temperature
Pour the glaze over a completely cool cake. If the cake is even slightly warm, the glaze will melt and run off, leaving you with a puddle instead of a glossy coating. Let the glaze cool until it’s thick enough to coat the back of a spoon but still pourable.
Variations & Adaptations
This recipe is incredibly versatile. Here are some ways to make it your own.
Gluten-Free Version
Substitute the all-purpose flour with a 1:1 gluten-free baking blend that contains xanthan gum. I’ve used King Arthur’s Measure for Measure blend with excellent results. The texture will be slightly more tender, but the chocolate flavor remains intact. No other adjustments needed.
Dairy-Free Adaptation
Replace the sour cream with full-fat coconut cream or a dairy-free yogurt alternative. Use a plant-based butter for greasing the pan and substitute the heavy cream in the glaze with canned coconut cream. The cake will be slightly less rich but still incredibly moist and chocolatey.
White Chocolate Raspberry Twist
Replace the dark chocolate chunks with 1/2 cup white chocolate chips and gently fold in 1 cup fresh or frozen raspberries at the end. The tart berries cut through the sweetness beautifully, and the white chocolate adds creamy pockets of flavor. If using frozen raspberries, toss them in a tablespoon of flour before folding to prevent them from sinking to the bottom.
Peppermint Chocolate Version
Add 1 teaspoon peppermint extract to the wet ingredients and fold in 1/2 cup crushed peppermint candies along with the chocolate chips. Top the glazed cake with additional crushed candy canes for a festive holiday treat. This variation is always a hit at Christmas parties.
Mocha Lover’s Cake
Dissolve 2 tablespoons instant espresso powder in the hot coffee before adding it to the batter. The extra coffee intensity pairs beautifully with the dark chocolate chunks. I’ve also added a teaspoon of cinnamon for a Mexican hot chocolate twist that’s absolutely divine.
Nutty Addition
Fold in 1/2 cup toasted pecans or walnuts along with the chocolate chips. Toasting the nuts first (5 minutes at 350°F) brings out their oils and adds a crunchy contrast to the tender cake. This is my husband’s preferred version—he says it adds “texture that makes each bite interesting.”
Serving & Storage Suggestions
How to Serve
This cake is best served at room temperature, which allows the flavors to fully develop and the texture to stay tender. Slice with a serrated knife for clean cuts. A dollop of lightly sweetened whipped cream or a scoop of vanilla ice cream takes it over the top. For an extra special presentation, dust the plate with cocoa powder and add fresh raspberries alongside each slice.
Complementary Pairings
This rich chocolate cake pairs beautifully with a glass of cold milk (classic for a reason), a strong cup of coffee, or a dessert wine like Ruby Port or Banyuls. For a non-alcoholic option, try a cherry or pomegranate spritzer—the tart fruit cuts through the chocolate richness.
Storing the Cake
Store the cake in an airtight container at room temperature for up to 5 days. If you’ve glazed the cake, place a piece of parchment paper between the cake and the container lid to prevent the glaze from sticking. The cake actually improves after a day—the flavors meld and the texture becomes even more fudgy.
Freezing Instructions
This cake freezes beautifully for up to 3 months. For best results, freeze the unglazed cake. Wrap it tightly in plastic wrap, then a layer of aluminum foil. When ready to serve, thaw overnight in the refrigerator, bring to room temperature, then glaze. If you’ve already glazed the cake, freeze it on a baking sheet until the glaze is solid, then wrap and freeze. Thaw in the refrigerator to prevent condensation from ruining the glaze.
Reheating Tips
For that fresh-from-the-oven experience, microwave individual slices for 10-15 seconds. The chocolate chips will soften and the cake will become incredibly moist. Alternatively, warm slices in a 300°F oven for 5-7 minutes. Serve immediately with a scoop of ice cream for maximum indulgence.
How Flavors Develop
Day one: The cake is moist and chocolatey, with distinct pockets of melted chocolate chips. Day two: The flavors have melded, and the cake tastes even more chocolatey. Day three: The texture becomes almost brownie-like—dense, fudgy, and incredibly satisfying. Honestly, I sometimes make this cake specifically to eat on day three.
Nutritional Information & Benefits
Let’s be real—this is an indulgent dessert, not a health food. But knowing what’s in it helps you enjoy it mindfully.
Estimated Per Slice (based on 16 servings):
- Calories: 420
- Total Fat: 24g
- Saturated Fat: 9g
- Cholesterol: 55mg
- Sodium: 280mg
- Total Carbohydrates: 50g
- Dietary Fiber: 3g
- Sugars: 35g
- Protein: 6g
Health Benefits of Key Ingredients
- Dark Chocolate (70%+ cocoa) contains flavonoids that support heart health and improve blood flow. The darker the chocolate, the more antioxidants you get.
- Cocoa Powder is rich in magnesium, iron, and zinc. Dutch-processed cocoa retains these minerals while offering a smoother flavor.
- Coffee adds antioxidants and may improve cognitive function. Even in small amounts, it contributes beneficial compounds.
- Eggs provide high-quality protein, vitamin D, and choline, which supports brain health.
Dietary Considerations
- Contains : Wheat (gluten), dairy, eggs
- Can be made : Gluten-free (see variations), dairy-free (see variations)
- Not suitable for : Vegan diets (eggs and dairy are essential for texture), low-carb diets (high in sugar and carbohydrates)
Personal Wellness Perspective
I believe in balance. This cake is a celebration dessert—something you make for birthdays, holidays, or just because you need a little joy. One slice won’t derail your health goals, and the happiness it brings is a form of nourishment too. Pair it with a side of fresh fruit or a green salad if you’re feeling virtuous, but honestly? Sometimes you just need chocolate, and that’s okay.
Conclusion
This triple chocolate fudge bundt cake has become my go-to for every occasion that calls for something special. It’s the dessert I bring when I want to impress without stress, the cake I bake when I need a little comfort, and the recipe I share when someone asks for something truly memorable.
What I love most about it is how forgiving it is. You don’t need to be a pastry chef to nail this—just follow the steps, don’t rush the cooling process, and you’ll end up with a cake that looks and tastes like it came from a bakery. The first time I made it, I was nervous about the bundt pan release. When it came out perfectly, I actually cheered out loud. That feeling never gets old.
I’d love to hear how yours turns out. Did you try one of the variations? Add your own twist? Drop a comment below and let me know—I read every single one, and your feedback helps me create better recipes for you. And if you’re looking for more indulgent treats, you might enjoy our gluten-free cornbread muffins for a sweet-savory alternative, or our diabetic-friendly lemon cake when you need a lighter option.
Happy baking, friends. May your bundt pans release cleanly and your chocolate be forever rich.
Frequently Asked Questions
Can I make this cake without a bundt pan?
Absolutely. Pour the batter into two greased and floured 9-inch round cake pans and bake for 30-35 minutes. You can also use a 9×13 inch rectangular pan, baking for 40-45 minutes. Adjust your cooling time accordingly, and you’ll still get that amazing fudgy texture.
Why did my cake stick to the pan?
This usually happens for one of three reasons: the pan wasn’t greased thoroughly enough, the cake was cooled too long in the pan (more than 20 minutes), or the pan has worn non-stick coating. Next time, use a pastry brush to apply butter or baking spray into every crevice, and set a timer for exactly 15 minutes of cooling before inverting.
Can I reduce the sugar in this recipe?
I don’t recommend it. Sugar does more than sweeten—it provides moisture, tenderness, and structure. Reducing it significantly will result in a dry, dense cake. If you need a lower-sugar option, try our diabetic-friendly lemon cake instead, which is specifically designed with sugar alternatives in mind.
How do I know when the cake is done baking?
Use a long skewer or cake tester inserted into the thickest part of the cake (near the center tube). You want it to come out with a few moist crumbs attached—not wet batter, but not completely clean either. The cake should also pull away slightly from the sides of the pan. Start checking at 50 minutes to avoid overbaking.
Can I use milk instead of coffee?
You can, but the cake won’t be as chocolatey. The hot coffee blooms the cocoa powder, intensifying the chocolate flavor in a way that milk simply can’t replicate. If you’re avoiding caffeine, use decaf coffee or a combination of hot water and a teaspoon of instant espresso powder (decaf versions are available).
Pin This Recipe!
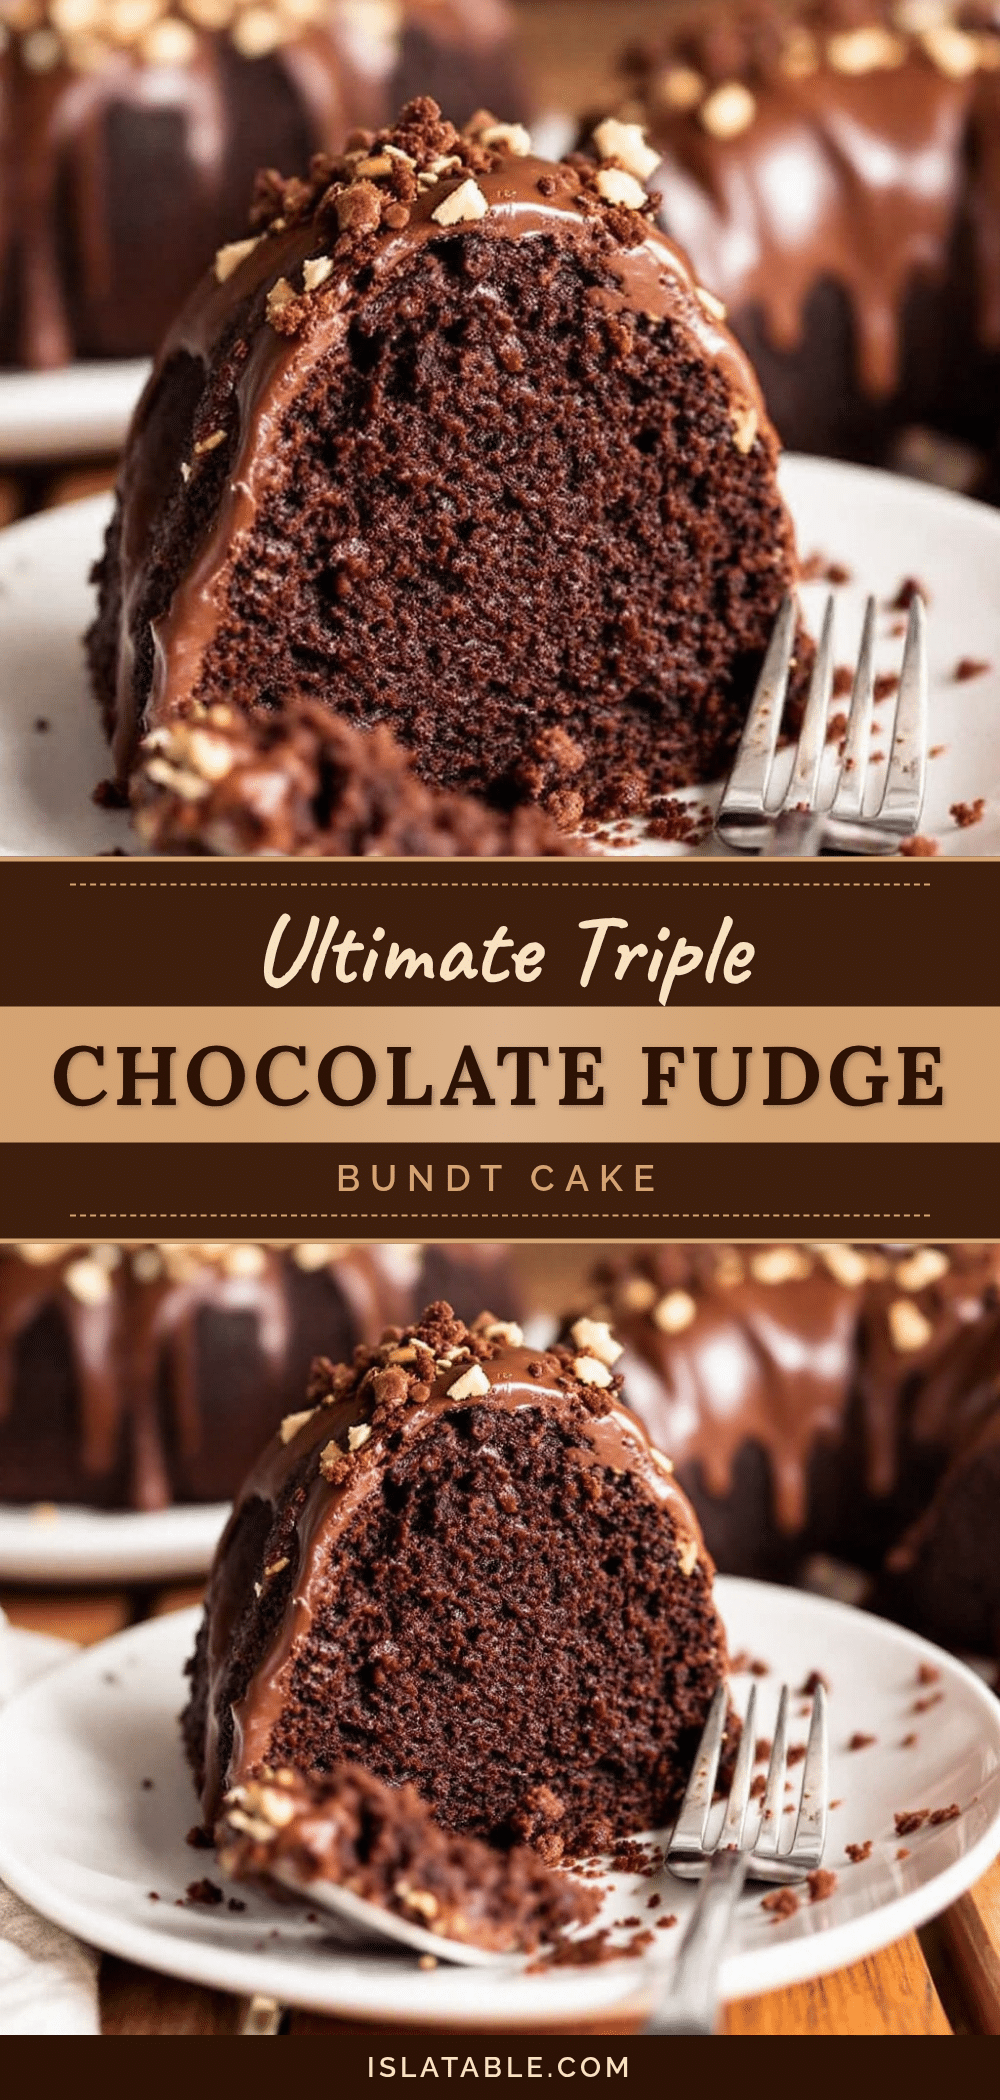
Best Triple Chocolate Fudge Bundt Cake – Easy Homemade Recipe
This triple chocolate fudge bundt cake is incredibly moist, fudgy, and rich with layers of chocolate flavor from cocoa powder, semi-sweet chips, and dark chocolate chunks. It’s a crowd-pleasing dessert that’s deceptively simple to make.
- Prep Time: 20 minutes
- Cook Time: 55 minutes
- Total Time: 1 hour 15 minutes
- Yield: 16 servings 1x
- Category: Dessert
- Cuisine: American
Ingredients
- 2 cups (250g) all-purpose flour
- 3/4 cup (75g) unsweetened cocoa powder (Dutch-processed recommended)
- 2 cups (400g) granulated sugar
- 1/2 cup (100g) brown sugar, packed
- 1 1/2 teaspoons baking soda
- 1/2 teaspoon baking powder
- 1 teaspoon salt
- 3 large eggs, room temperature
- 1 cup (240ml) vegetable oil
- 1 cup (240g) sour cream, room temperature
- 1 cup (240ml) hot coffee, freshly brewed
- 2 teaspoons vanilla extract
- 1 cup (175g) semi-sweet chocolate chips
- 1/2 cup (85g) dark chocolate chunks (70% cocoa or higher)
- For the glaze:
- 4 oz (115g) semi-sweet chocolate, finely chopped
- 1/2 cup (120ml) heavy cream
- 1 tablespoon (14g) unsalted butter
- 1/2 teaspoon vanilla extract
Instructions
- Preheat oven to 350°F (175°C). Grease a 10-12 cup bundt pan thoroughly with softened butter or baking spray containing flour. Dust with cocoa powder and tap out excess.
- In a large bowl, whisk together flour, cocoa powder, baking soda, baking powder, and salt. Set aside.
- In the bowl of a stand mixer (or large bowl with hand mixer), beat granulated sugar, brown sugar, and eggs on medium speed until light and fluffy, about 3 minutes. Add vegetable oil, sour cream, and vanilla extract; beat until smooth.
- With mixer on low speed, add dry ingredients in three additions, alternating with hot coffee, starting and ending with dry ingredients. Mix just until combined after each addition.
- Remove bowl from mixer and gently fold in semi-sweet chocolate chips and dark chocolate chunks with a rubber spatula.
- Pour batter into prepared bundt pan (fill about 3/4 full). Tap pan on counter to release air bubbles. Smooth top with spatula.
- Bake for 50-60 minutes, until a skewer inserted into thickest part comes out with a few moist crumbs attached. Start checking at 50 minutes.
- Cool cake in pan on a wire rack for exactly 15 minutes. Invert onto rack or serving plate and lift pan off gently. Cool completely (1-2 hours).
- While cake cools, make glaze: Place chopped chocolate in a heatproof bowl. Heat heavy cream in a small saucepan until it just simmers. Pour hot cream over chocolate; let sit 2 minutes. Add butter and vanilla; whisk until smooth. Let cool 5-10 minutes until slightly thickened but pourable.
- Once cake is completely cool, transfer to serving plate. Pour glaze over top, letting it drip down sides. Let set 15-20 minutes before slicing.
Notes
Don’t skip the coffee—it enhances the chocolate flavor without adding coffee taste. Room temperature ingredients are crucial for proper emulsion. Grease the bundt pan thoroughly to prevent sticking. Cool the cake in the pan for exactly 15 minutes before inverting. The cake improves after a day; flavors meld and texture becomes more fudgy.
Nutrition
- Serving Size: 1 slice
- Calories: 420
- Sugar: 35
- Sodium: 280
- Fat: 24
- Saturated Fat: 9
- Carbohydrates: 50
- Fiber: 3
- Protein: 6
Keywords: triple chocolate bundt cake, fudge bundt cake, chocolate cake, bundt cake, easy chocolate cake, homemade chocolate cake


