The last spoonful scraped against the bottom of the bowl, and my husband looked up with that expression I know well — the one that says he’s about to ask for something again. “Can you put this in the regular rotation?” he asked, already reaching for the ladle to check if there was more in the pot. There wasn’t. I’d made a double batch, and somehow it had vanished between dinner and his midnight snack.
Honestly, I wasn’t surprised. This chili had been a bit of an accident, born from a Wednesday night when I needed dinner fast and the ground turkey in the fridge was staring at me with a use-it-or-lose-it ultimatum. I wanted something hearty, something that would stick to your ribs without making you feel sluggish. I’d been playing around with high-protein meals for a while, trying to find that sweet spot between comfort food and something that actually fueled you properly.
What came together in that one pot surprised me. It wasn’t just good for a healthy chili — it was good, period. The ground turkey soaked up all those smoky spices, the beans added that creamy texture we all crave, and somehow it all came together in under thirty minutes. No complicated steps, no weird ingredients you have to hunt down at a specialty store. Just real food, fast.
I’ve made it at least a dozen times since that first night, tweaking little things here and there. And every single time, someone asks for the recipe. That’s when you know you’ve got something worth sharing.
Why You’ll Love This Recipe
Listen, I’ve tested a lot of chili recipes over the years. Some are too watery, some are too heavy, and some just taste like spiced tomato soup with meat thrown in. This one hits different. Let me break down why this will become your go-to dinner, especially on those nights when you need something satisfying without spending hours in the kitchen.
- Quick & Easy : From start to finish, you’re looking at about 30 minutes. That’s faster than ordering takeout in some neighborhoods. Perfect for those evenings when you walk through the door and everyone’s already asking what’s for dinner.
- Simple Ingredients : Ground turkey, canned beans, diced tomatoes, onions, garlic, and a handful of spices. Chances are you already have most of this in your pantry right now. No fancy trips to a specialty grocer required.
- High-Protein Powerhouse : Each serving packs around 30 grams of protein, thanks to the lean turkey and those fiber-rich beans. It keeps you full for hours without that heavy, weighed-down feeling you get from some chili recipes.
- Meal Prep Friendly : This chili actually gets better after a day or two in the fridge. Make a big batch on Sunday, and you’ve got lunches or quick dinners ready to go all week.
- Crowd-Pleaser : My kids devour this, and they’re usually suspicious of anything that looks too healthy. Top it with some shredded cheese and a dollop of sour cream, and nobody even thinks about the fact that it’s good for them.
What really sets this apart from other chili recipes I’ve tried is the technique. Instead of just browning the meat and dumping everything in, you take an extra minute to really caramelize the onions and toast the spices before adding the liquid. That small step makes a massive difference in depth of flavor. It’s the kind of trick you pick up from making a recipe over and over until you figure out what works.
This is the kind of meal that makes you feel good — both while you’re eating it and after. It’s comfort food that actually works with your goals, not against them. And honestly, isn’t that what we’re all looking for?
What Ingredients You Will Need
This recipe relies on simple, wholesome ingredients that work together to create something that tastes like it simmered all day. The beauty is in how these everyday staples transform with just a little heat and time.
For the Chili Base
- Ground turkey (93/7 lean) — 1 pound. I recommend 93% lean for the best balance of flavor and moisture. Too lean (like 99%) and the chili can turn out dry and crumbly. I usually grab the Jennie-O or Butterball brand, but any quality ground turkey works great.
- Yellow onion — 1 medium, diced. Sweet onions work too if that’s what you have. The onion forms the flavor foundation, so don’t skip it.
- Garlic cloves — 4 cloves, minced. Fresh garlic makes a difference here. The jarred stuff works in a pinch, but fresh gives you that punchy aroma that fills your kitchen.
- Green bell pepper — 1 medium, diced. Adds color, texture, and a subtle bitterness that balances the sweetness of the tomatoes. Red bell pepper works too if you prefer a sweeter taste.
- Canned diced tomatoes — 1 can (14.5 ounces), undrained. Fire-roasted adds a lovely smoky depth, but regular works perfectly. I like the Muir Glen brand for fire-roasted.
- Canned tomato sauce — 1 can (8 ounces). This gives the chili that thick, rich body. Don’t substitute with crushed tomatoes here — the sauce consistency is important.
- Canned kidney beans — 1 can (15 ounces), drained and rinsed. Dark red kidney beans hold their shape well and add that classic chili texture. Black beans or pinto beans also work beautifully.
- Canned black beans — 1 can (15 ounces), drained and rinsed. These add a creamy element and boost the protein content even more. If you’re watching carbs, you can reduce the beans and add extra vegetables instead.
- Low-sodium chicken broth — 1 cup. Controls the salt level while adding savory depth. Vegetable broth works too if that’s what you have.
For the Spice Blend
- Chili powder — 2 tablespoons. This is your backbone spice. I prefer the McCormick brand for consistency, but any standard chili powder works. If you like heat, look for one that includes cayenne in the blend.
- Cumin — 1 tablespoon, ground. Cumin adds that warm, earthy note that makes chili taste like chili. Toast it briefly in the pot for extra flavor.
- Smoked paprika — 1 teaspoon. This is my secret weapon. It adds a subtle smokiness that mimics the flavor of chili that’s been simmering with bacon or smoked meat. Regular paprika works, but smoked is worth seeking out.
- Dried oregano — 1 teaspoon. Adds a slightly floral, herbaceous note that cuts through the richness.
- Salt — 1 teaspoon, or to taste. Start with less and adjust at the end. Different brands of broth and canned tomatoes vary in saltiness.
- Black pepper — ½ teaspoon, freshly ground. Don’t skip this — it adds a subtle warmth that complements the chili powder.
- Cayenne pepper — ¼ teaspoon (optional). For heat lovers. Add more if you like it spicy, or leave it out for a milder chili that kids will enjoy.
For Garnish (Optional but Recommended)
- Shredded cheddar cheese — For topping. Sharp cheddar cuts through the richness nicely.
- Sour cream or Greek yogurt — A dollop adds creaminess and cools any heat.
- Fresh cilantro — Chopped, for brightness and color.
- Green onions — Sliced, for a mild onion kick.
- Avocado — Diced, for healthy fats and creaminess.
Ingredient Selection Tip : When buying ground turkey, look for packages that feel cold and firm, not soft or squishy. Check the sell-by date and use it within a day or two of purchase, or freeze it if you’re not cooking right away. For the beans, I prefer low-sodium versions so I can control the salt level myself.
Equipment Needed
One of the best things about this recipe is that it doesn’t require any fancy equipment. Here’s what you’ll need:
- Large pot or Dutch oven — A 5-6 quart pot works perfectly. I use my enameled cast iron Dutch oven because it holds heat evenly, but any heavy-bottomed pot will do. The key is having enough surface area to brown the meat properly without overcrowding.
- Wooden spoon or spatula — For breaking up the ground turkey as it cooks. A wooden spoon won’t scratch your pot and gives you good leverage.
- Sharp chef’s knife — You’ll be doing some chopping, so a sharp knife makes the job faster and safer. A dull knife is actually more dangerous because it slips.
- Cutting board — Any sturdy board works. I prefer a large wooden board because it’s gentle on knife edges and gives you plenty of room.
- Measuring spoons — For the spices. I keep a set dedicated to spices because the oils can linger on plastic.
- Can opener — Unless you’re using cans with pull-tops. I’ve learned the hard way that it’s worth having a reliable one.
- Colander — For rinsing and draining the beans. A fine-mesh strainer works too if that’s what you have.
- Ladle — For serving. A deep ladle makes portioning easy and neat.
Budget-Friendly Alternative : If you don’t own a Dutch oven, any large, deep skillet or stockpot will work fine. The key is having a lid that fits snugly. I’ve made this chili in a beat-up nonstick pot from college and it turned out just as delicious. Don’t let missing fancy equipment stop you from cooking.
Preparation Method
Alright, let’s get cooking. This comes together fast, so I recommend having all your ingredients prepped and measured before you turn on the heat. Trust me on this one — it makes the whole process smoother and more enjoyable.
- Prep your ingredients first. Dice the onion, mince the garlic, chop the bell pepper, and open all your cans. Rinse and drain the beans in a colander. Measure out your spices into a small bowl. This mise en place approach means you won’t be scrambling to chop an onion while your meat is burning.
- Heat your pot over medium-high heat. Add 1 tablespoon of olive oil and let it shimmer for about 30 seconds. The oil should move easily around the pan but not smoke. If it starts smoking, your heat is too high.
- Add the ground turkey. Break it up with your wooden spoon into bite-sized pieces. Let it cook without moving it too much for the first 3-4 minutes — this allows it to develop a nice brown crust. Then stir and continue cooking until it’s no longer pink, about 5-6 minutes total. Don’t drain the fat if you’re using 93% lean; there won’t be much, and it adds flavor.
- Remove the turkey to a plate. Use a slotted spoon to transfer it, leaving any rendered fat in the pot. If there’s more than a tablespoon, spoon some out. You want just enough to cook the vegetables.
- Add the diced onion and bell pepper. Cook for 4-5 minutes, stirring occasionally, until the onion is translucent and starting to brown at the edges. This caramelization adds sweetness and depth. Don’t rush this step — it’s where a lot of the flavor develops.
- Add the minced garlic and all your spices. Stir constantly for about 30-60 seconds until the spices are fragrant. You’ll know it’s ready when your kitchen smells incredible. Be careful not to burn the garlic — it turns bitter quickly.
- Pour in the diced tomatoes and tomato sauce. Stir well, scraping up any browned bits from the bottom of the pot. That’s pure flavor right there. Let it come to a simmer.
- Return the cooked turkey to the pot. Add the drained beans and pour in the chicken broth. Stir everything together until well combined.
- Bring the chili to a boil, then reduce the heat to low. Cover the pot with a lid slightly ajar to allow steam to escape. Let it simmer for 15-20 minutes, stirring occasionally. The longer it simmers, the more the flavors meld together. If you have time, 30 minutes is even better.
- Taste and adjust seasoning. This is the most important step. Add more salt if needed, a pinch more cumin if you want earthiness, or a dash of cayenne if you crave heat. Everyone’s palate is different, so trust your taste buds.
- Let the chili rest for 5 minutes off the heat. This allows the flavors to settle and the chili to thicken slightly. Serve hot with your favorite toppings.
Visual Cue : Your chili should be thick enough to coat the back of a spoon but still have some liquid. If it looks too soupy, let it simmer uncovered for another 5-10 minutes. If it’s too thick, add a splash of broth or water.
Personal Tip : I always make a double batch because this chili freezes beautifully. I portion it into quart-sized freezer bags, lay them flat to freeze, and then stack them like files. Having homemade chili in the freezer is like having a dinner insurance policy.
Cooking Tips & Techniques
After making this chili more times than I can count, I’ve picked up a few tricks that make a real difference. Some of these came from happy accidents, others from frustrating failures. Let me save you the trouble.
Don’t overcrowd the pot when browning the meat. If you add too much turkey at once, it steams instead of browning. Work in batches if necessary. That brown crust is where the flavor hides, and you want as much of it as possible.
Toast your spices. That 30-second window after adding the spices to the hot oil and vegetables is crucial. It wakes up the essential oils and transforms flat, dusty spices into something aromatic and complex. I learned this after years of wondering why restaurant chili tasted so much better than mine. This was the missing piece.
Let the chili sit overnight. I know, I know — you want to eat it now. But if you can make this a day ahead, do it. The flavors deepen and meld together in a way that’s hard to achieve in a single cooking session. It’s like the chili needs time to get to know itself. I’ve made this for Super Bowl parties the day before and it was always the first thing to disappear.
Common Mistake to Avoid : Adding too much liquid at the beginning. It’s tempting to dump in extra broth because you think it looks dry, but remember that the tomatoes release liquid as they cook, and the beans absorb some too. Start with the recommended amount and add more only if needed toward the end.
Timing Strategy : While the chili simmers, you can prep your toppings and make a quick side dish. I like to whip up a batch of easy gluten-free cornbread muffins to go alongside — they soak up the chili juices perfectly and take about 20 minutes from start to finish.
Consistency Tip : If you prefer a thicker chili, mash some of the beans against the side of the pot with your spoon before adding them. They’ll break down and thicken the chili naturally without needing any flour or cornstarch.
Variations & Adaptations
This recipe is a great starting point, but don’t be afraid to make it your own. Here are some variations I’ve tried and loved:
Spicy Chipotle Version
Add 1-2 chipotle peppers in adobo sauce, finely minced, along with the spices. This adds a smoky heat that’s completely different from regular chili powder. I did this on a whim one cold January night, and it’s become my go-to when I need something that really warms me from the inside out. If you like things spicy, this is your version.
Vegetarian Adaptation
Swap the ground turkey for an extra can of beans (try chickpeas or pinto beans) and a bag of frozen cauliflower rice. The cauliflower rice mimics the texture of ground meat surprisingly well. Add it frozen directly to the pot and let it simmer until tender. This version is still high in protein and fiber, and it’s perfect for meatless Mondays.
Slow Cooker Method
Brown the turkey and sauté the vegetables on the stovetop first (don’t skip this step — it makes a huge difference), then transfer everything to a slow cooker. Cook on low for 6-8 hours or high for 3-4 hours. The longer cooking time really develops the flavors. I do this on busy days when I know I won’t have time to cook dinner later. It’s like having a little kitchen elf working while I’m at my desk.
Keto-Friendly Version
Reduce the beans to just one can (or omit them entirely) and add extra vegetables like zucchini, bell peppers, and mushrooms. You can also add a tablespoon of coconut flour or almond flour to thicken the chili without adding carbs. This version still delivers on flavor and protein while keeping the carb count low. Pair it with a healthy keto Mexican cauliflower rice bowl for a complete low-carb meal that hits all the right notes.
Smoky Bacon Addition
Cook 3-4 slices of bacon in the pot before adding the turkey. Remove the bacon, crumble it, and reserve for garnish. Cook the turkey in the rendered bacon fat instead of oil. Stir the crumbled bacon back in at the end. This adds a smoky, savory depth that’s absolutely incredible. I only do this on special occasions because it adds calories, but man, is it worth it.
Serving & Storage Suggestions
This chili is versatile enough to serve in different ways depending on your mood and occasion. Here’s how I like to handle it:
Serving Temperature : Serve piping hot, straight from the pot. Ladle into deep bowls and let everyone customize their own toppings. I set out small bowls of shredded cheddar, sour cream, diced avocado, fresh cilantro, sliced jalapeños, and lime wedges. It turns dinner into a little DIY bar that everyone loves, especially kids who like having control over their food.
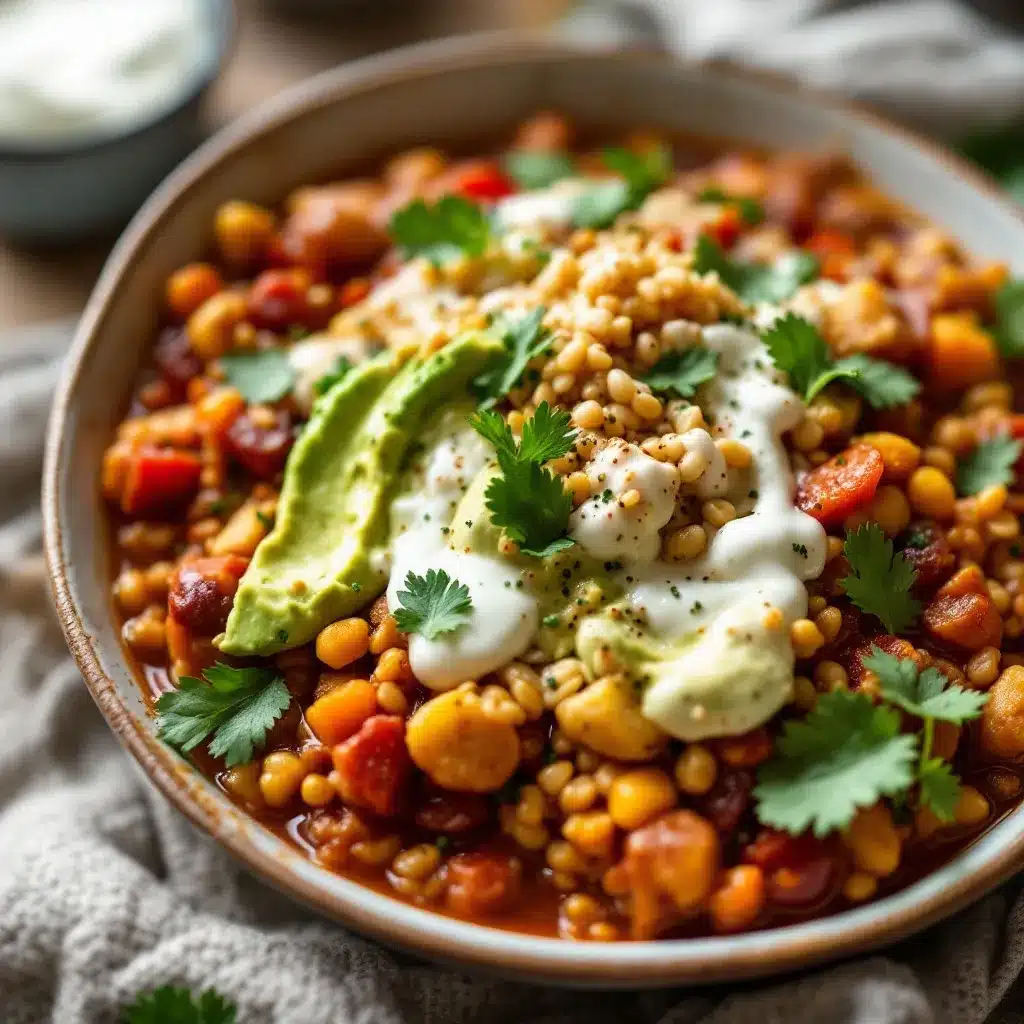
Presentation : For a prettier presentation, drizzle a little sour cream or Greek yogurt in a swirl on top, then sprinkle with fresh cilantro and a few slices of green onion. A wedge of lime on the side adds a pop of color and a bright squeeze of acidity that cuts through the richness.
Complementary Dishes : This chili pairs beautifully with so many things. I love serving it with those gluten-free cornbread muffins I mentioned earlier, or over a bed of healthy keto Mexican cauliflower rice for a low-carb option. A simple side salad with a tangy vinaigrette also works well to balance the hearty chili.
Storage Instructions : Let the chili cool completely before storing. Transfer to an airtight container and refrigerate for up to 5 days. The flavors actually improve after a day or two, so don’t be shy about making it ahead. For longer storage, portion into freezer-safe bags or containers and freeze for up to 3 months. I like to freeze in individual portions so I can grab one for lunch without defrosting the whole batch.
Reheating Methods : The best way to reheat is on the stovetop over medium-low heat, stirring occasionally. Add a splash of broth or water if it’s too thick. In a pinch, the microwave works fine — just heat in 30-second bursts, stirring between each, until hot throughout. The chili might be a little thicker after freezing, but the flavor will still be excellent.
Flavor Development Note : I’ve noticed that this chili tastes even better on day two or three. The spices mellow and blend together, and the beans absorb more of the tomato broth. If you can plan ahead, making this a day before you plan to serve it is a smart move.
Nutritional Information & Benefits
Let’s talk numbers, because I know that’s important to many of you. These values are approximate and based on a serving size of about 1.5 cups, using the ingredients as listed:
| Nutrient | Amount Per Serving |
|---|---|
| Calories | ~350 |
| Protein | 30g |
| Fat | 10g |
| Carbohydrates | 35g |
| Fiber | 12g |
| Sugar | 8g |
| Sodium | ~800mg (varies with broth and canned goods) |
Health Benefits : This chili is packed with lean protein from the turkey, which supports muscle maintenance and keeps you feeling full. The beans contribute a hefty dose of fiber, which is great for digestive health and stable blood sugar. Tomatoes provide lycopene, an antioxidant linked to heart health, while the spices — particularly cumin and chili powder — have anti-inflammatory properties. It’s a meal that works hard for your body.
Dietary Considerations : This recipe is naturally gluten-free and dairy-free (as written). It’s also relatively low in saturated fat compared to traditional beef chili. If you’re watching your sodium, use low-sodium broth and canned tomatoes, and adjust the added salt at the end. For a lower-carb version, reduce the beans as mentioned in the variations section.
Potential Allergens : None of the common allergens appear in this recipe, but always check labels on canned goods and spices if you have specific sensitivities. Some spice blends may contain traces of wheat or other allergens.
Personal Wellness Perspective : I started making this chili when I was trying to eat more protein without relying on shakes and bars. Having a meal that feels like comfort food but actually supports my goals made a huge difference in sticking with healthier eating habits. It’s not about deprivation — it’s about finding meals that make you feel good from the inside out.
Conclusion
This high-protein turkey chili has become a staple in my kitchen for good reason. It’s fast enough for a busy weeknight, hearty enough to satisfy even the pickiest eaters, and flexible enough to adapt to whatever you have in your pantry. The fact that it packs 30 grams of protein per serving is just the cherry on top.
I love that this recipe proves healthy eating doesn’t have to be complicated or boring. It’s real food, made with real ingredients, that happens to be good for you. No weird substitutions, no complicated techniques, no sacrificing flavor for nutrition. Just a damn good bowl of chili that makes you feel great.
I’d love to hear how this turns out for you. Did you add your own twist? Did your family love it? Did you discover a new favorite topping combination? Drop a comment below and let me know — your ideas might inspire someone else’s dinner tonight. And if you’re looking for more high-protein meal ideas, check out this healthy meal prep salmon bowls for weight loss recipe that’s been another game-changer in my kitchen.
Now go make some chili. Your future self (and your taste buds) will thank you.
Frequently Asked Questions
Can I use ground beef instead of turkey?
Absolutely. Ground beef works perfectly in this recipe. Use 85/15 or 90/10 lean for the best flavor. Just drain any excess fat after browning, especially if you’re using a higher fat content. The cooking time and spice amounts stay the same.
How can I make this chili less spicy for kids?
Easy. Skip the cayenne pepper entirely and use a mild chili powder blend. You can also reduce the chili powder to 1 tablespoon and add an extra teaspoon of smoked paprika for flavor without heat. Serve with a dollop of sour cream or Greek yogurt to cool things down even more.
Can I freeze this chili?
Yes, and it freezes beautifully. Let the chili cool completely, then portion into freezer-safe containers or bags. Leave a little room for expansion. It will keep for up to 3 months. Thaw overnight in the refrigerator and reheat on the stovetop or in the microwave.
What can I serve with turkey chili besides cornbread?
So many options! This chili is great over rice, quinoa, or cauliflower rice. It also works well as a topping for baked potatoes or sweet potatoes. A simple green salad with a citrus vinaigrette, tortilla chips for dipping, or even a grilled cheese sandwich on the side are all excellent choices.
How do I thicken chili that’s too watery?
If your chili is thinner than you’d like, try one of these methods: Let it simmer uncovered for 10-15 minutes to evaporate excess liquid. Mash some of the beans against the side of the pot to release their starches. Or mix 1 tablespoon of cornstarch with 2 tablespoons of cold water to make a slurry, then stir it into the simmering chili. It will thicken within a minute or two.
Pin This Recipe!
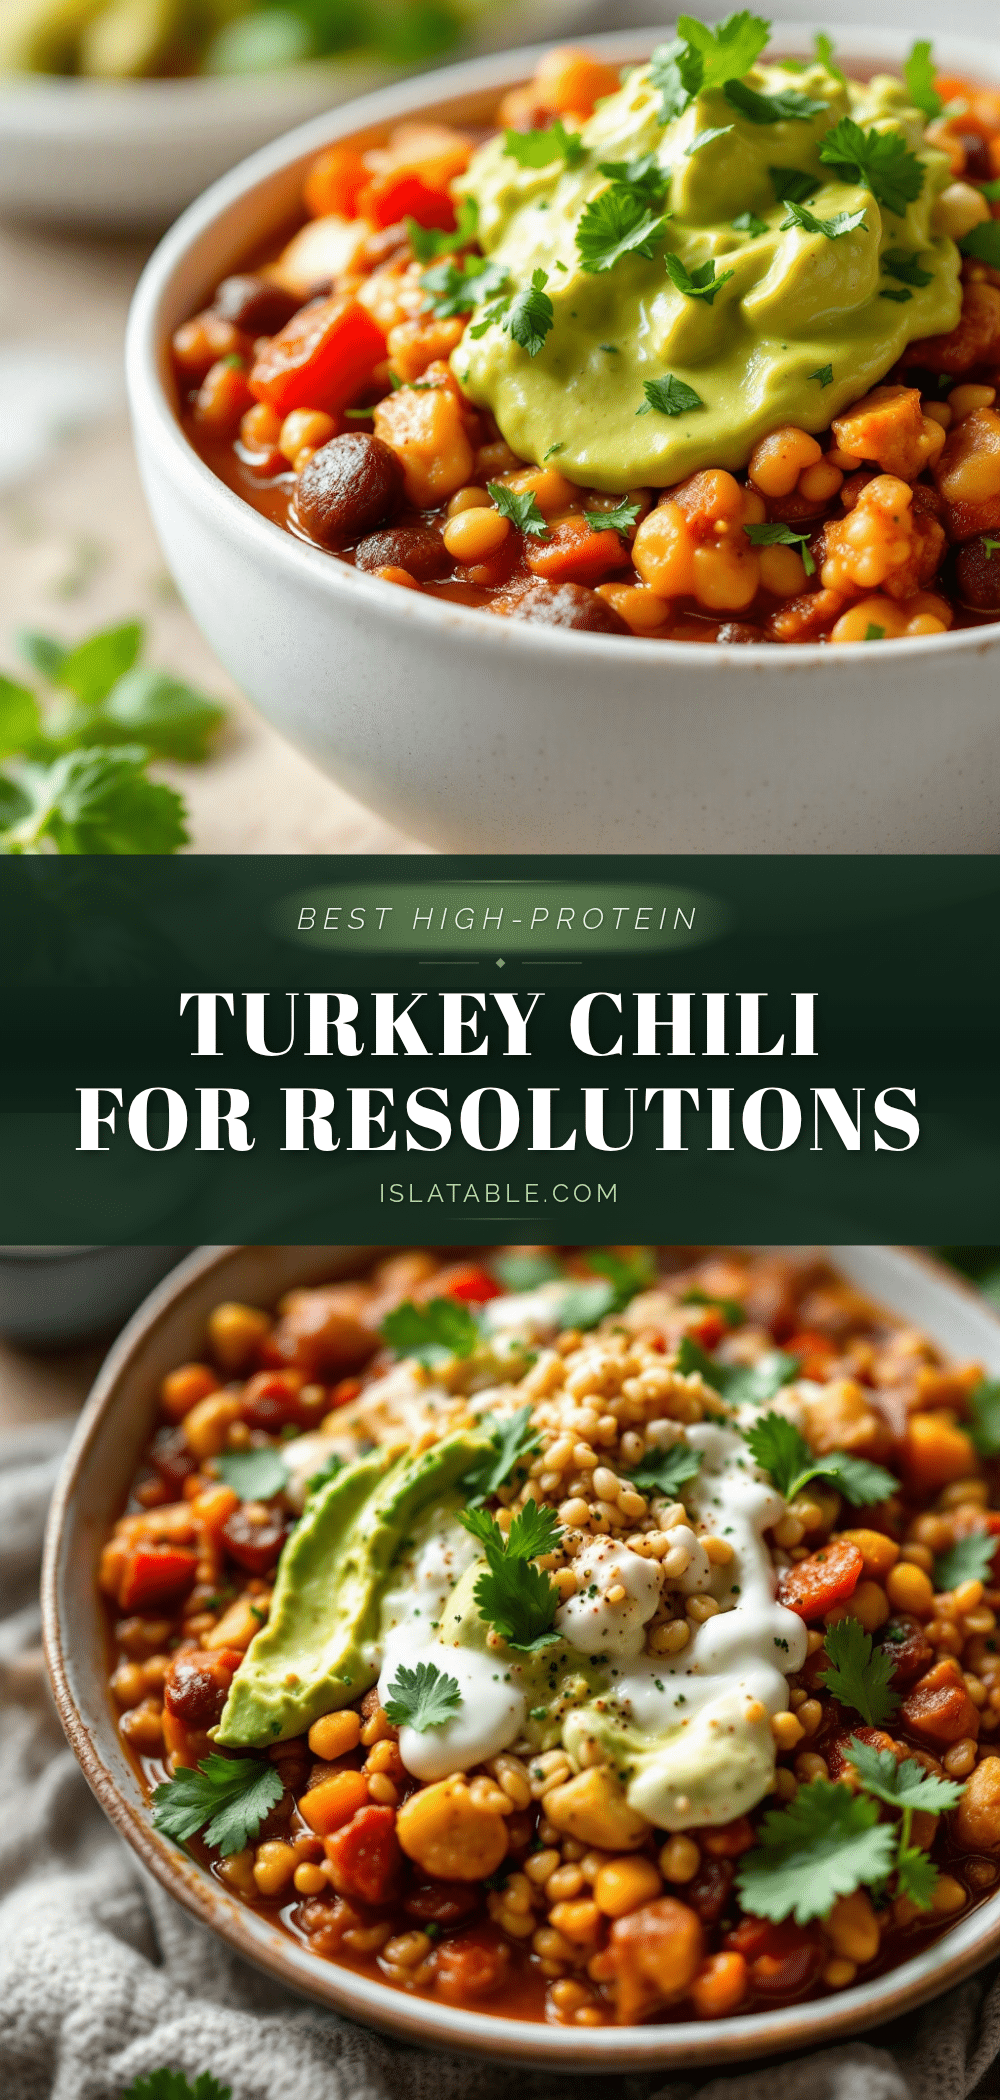
Best High-Protein Turkey Chili – Easy 30-Minute One-Pot Meal

A quick and hearty turkey chili packed with 30 grams of protein per serving, made in one pot in under 30 minutes. Perfect for busy weeknights and meal prep.
- Prep Time: 10 minutes
- Cook Time: 20 minutes
- Total Time: 30 minutes
- Yield: 4 servings 1x
- Category: Main Course
- Cuisine: American
Ingredients
- 1 pound ground turkey (93/7 lean)
- 1 medium yellow onion, diced
- 4 cloves garlic, minced
- 1 medium green bell pepper, diced
- 1 can (14.5 ounces) diced tomatoes, undrained
- 1 can (8 ounces) tomato sauce
- 1 can (15 ounces) kidney beans, drained and rinsed
- 1 can (15 ounces) black beans, drained and rinsed
- 1 cup low-sodium chicken broth
- 2 tablespoons chili powder
- 1 tablespoon ground cumin
- 1 teaspoon smoked paprika
- 1 teaspoon dried oregano
- 1 teaspoon salt
- 1/2 teaspoon black pepper
- 1/4 teaspoon cayenne pepper (optional)
- 1 tablespoon olive oil
- Shredded cheddar cheese (for garnish)
- Sour cream or Greek yogurt (for garnish)
- Fresh cilantro, chopped (for garnish)
- Green onions, sliced (for garnish)
- Avocado, diced (for garnish)
Instructions
- Prep your ingredients first: dice the onion, mince the garlic, chop the bell pepper, open all cans, rinse and drain the beans, and measure out spices into a small bowl.
- Heat a large pot or Dutch oven over medium-high heat. Add 1 tablespoon olive oil and let it shimmer for about 30 seconds.
- Add the ground turkey and break it up with a wooden spoon. Let it cook without moving too much for 3-4 minutes to develop a brown crust, then stir and cook until no longer pink, about 5-6 minutes total. Transfer the turkey to a plate using a slotted spoon, leaving any rendered fat in the pot.
- Add the diced onion and bell pepper to the pot. Cook for 4-5 minutes, stirring occasionally, until the onion is translucent and starting to brown at the edges.
- Add the minced garlic and all spices (chili powder, cumin, smoked paprika, oregano, salt, black pepper, cayenne if using). Stir constantly for 30-60 seconds until fragrant.
- Pour in the diced tomatoes and tomato sauce. Stir well, scraping up any browned bits from the bottom of the pot. Let it come to a simmer.
- Return the cooked turkey to the pot. Add the drained beans and chicken broth. Stir everything together until well combined.
- Bring the chili to a boil, then reduce heat to low. Cover the pot with a lid slightly ajar and let it simmer for 15-20 minutes, stirring occasionally.
- Taste and adjust seasoning as needed. Add more salt, cumin, or cayenne to your preference.
- Let the chili rest for 5 minutes off the heat. Serve hot with desired toppings.
Notes
For best flavor, toast the spices in the hot oil for 30 seconds. The chili tastes even better the next day. To thicken, mash some beans against the pot or let simmer uncovered. Freezes well for up to 3 months.
Nutrition
- Serving Size: 1.5 cups
- Calories: 350
- Sugar: 8
- Sodium: 800
- Fat: 10
- Saturated Fat: 2
- Carbohydrates: 35
- Fiber: 12
- Protein: 30
Keywords: turkey chili, high protein chili, easy chili, one pot meal, 30 minute dinner, healthy chili, meal prep chili


