My husband asked for the third time in two weeks if we had any of “that tomato sauce” left in the freezer, and I had to admit we were down to the last container. That’s when I realized this roasted cherry tomato sauce had officially become a household staple — not because I told anyone it was special, but because they kept reaching for it without being prompted. There’s something about watching someone else discover a recipe you made on a whim that hits different than any compliment you could give yourself.
I started making this sauce one August when our CSA box kept delivering pint after pint of cherry tomatoes we couldn’t eat fast enough. You know that panic when you see beautiful produce starting to wrinkle on the counter? I had about three pounds of tomatoes that needed using, and roasting them felt like the laziest possible solution. Honestly, I was just trying to buy myself some time before they turned into compost.
But here’s the thing about roasting cherry tomatoes — it does something magical to them. The heat concentrates their sweetness, the edges caramelize, and that burst of juice when you bite into one becomes something else entirely. This isn’t a sauce that tastes like you threw tomatoes in a blender. It tastes like summer concentrated into a jar, ready to be cracked open in the middle of January when you desperately need something that reminds you the sun still exists. And the best part? It freezes beautifully, so you can make a big batch when tomatoes are at their peak and enjoy them months later.
Why You’ll Love This Recipe
Let me tell you why this roasted cherry tomato sauce has earned permanent real estate in my freezer. I’ve tested this recipe more times than I can count, tweaking the roasting time, adjusting the garlic ratio, and figuring out exactly how long to let it simmer for the best texture. This isn’t just another tomato sauce recipe — it’s the one I turn to when I want something that tastes like I spent hours in the kitchen but actually came together with minimal effort.
- Incredibly Easy : Toss everything on a sheet pan, roast until jammy, then blend. That’s it. No chopping onions, no standing over a hot stove stirring for hours.
- Simple Ingredients : Cherry tomatoes, garlic, olive oil, salt, and maybe some herbs if you’re feeling fancy. You probably have most of this in your kitchen right now.
- Perfect for Meal Prep : Make a big batch on Sunday and portion it out for the freezer. Future you will be so grateful when dinner needs to happen in 20 minutes.
- Budget-Friendly : Cherry tomatoes go on sale all the time, and this recipe stretches them into multiple meals. It’s seriously economical.
- Unbelievably Versatile : Use it on pasta, pizza, as a base for soup, or even as a dipping sauce for crusty bread. It does it all.
What makes this recipe different from every other tomato sauce out there? It’s the roasting. That high heat transforms the tomatoes into something almost candy-like, with concentrated flavor that simmered sauces just can’t achieve. Plus, you don’t have to peel anything or remove seeds — the blender handles all of that. It’s the kind of recipe that makes you feel like a genius in the kitchen without actually having to do much work.
What Ingredients You Will Need
This recipe uses simple, wholesome ingredients that work together to create something far greater than the sum of their parts. Most of these are pantry staples, which means you can make this sauce whenever the mood strikes — no special grocery trips required.
- Cherry Tomatoes (2 pounds / 900g) : The star of the show. Look for firm, ripe cherry tomatoes with bright color and no soft spots. Grape tomatoes work great too, and if you’re growing your own, any variety will do. I’ve used everything from sweet Sungolds to classic red cherry tomatoes, and they all produce amazing results.
- Garlic (6-8 cloves, peeled) : Don’t skimp here. Roasted garlic turns sweet and buttery, melting into the sauce with a mellow depth you can’t get from raw garlic. I like to add a few extra cloves because I’m a garlic person, but adjust based on your preference.
- Extra Virgin Olive Oil (¼ cup / 60ml) : Use good quality olive oil here since it’s a primary flavor component. The oil helps the tomatoes caramelize and adds richness to the finished sauce. I prefer a medium-intensity olive oil that won’t overpower the tomatoes.
- Kosher Salt (1 teaspoon) : Salt is crucial for bringing out the natural sweetness of the tomatoes. I use Diamond Crystal kosher salt — if you’re using a different brand, you might need to adjust the amount.
- Fresh Basil (¼ cup, loosely packed) : Adds that classic Italian flavor that pairs so beautifully with tomatoes. If you don’t have fresh, dried basil works in a pinch — use about 1 tablespoon.
- Balsamic Vinegar (1 tablespoon) : This is my secret ingredient. A splash of balsamic vinegar enhances the tomatoes’ natural acidity and adds a subtle sweetness that rounds everything out. Don’t skip it.
- Red Pepper Flakes (½ teaspoon, optional) : For a little heat. I add this about half the time, depending on what I’m planning to use the sauce for. Leave it out if you’re serving kids or prefer a milder sauce.
- Fresh Thyme (3-4 sprigs) : Adds an earthy, slightly floral note that complements the roasted tomatoes beautifully. Rosemary works well too if that’s what you have on hand.
One thing I’ve learned through trial and error — don’t use the tiny, super sweet cherry tomatoes that are almost candy-like. They’re delicious for snacking, but they can make the sauce too sweet. Stick with standard-sized cherry tomatoes for the best balance of sweetness and acidity.
Equipment Needed
You don’t need much fancy equipment for this recipe, which is part of why I love it so much. Here’s what you’ll need:
- Baking Sheet (half-sheet pan) : A rimmed baking sheet is essential for catching all the juices that release during roasting. I prefer light-colored metal pans because they promote even browning without burning the tomatoes.
- Parchment Paper or Silicone Baking Mat : Makes cleanup a breeze and prevents the tomatoes from sticking to the pan. Trust me on this one — you don’t want to be scrubbing caramelized tomato juice off your baking sheet.
- Blender or Immersion Blender : A regular countertop blender gives you the smoothest results, but an immersion blender works great if you prefer a chunkier sauce. I’ve used both and honestly, the immersion blender is easier for cleanup.
- Large Bowl : For tossing the tomatoes with oil and seasonings before roasting.
- Freezer-Safe Containers or Bags : Mason jars work well (just leave headspace for expansion), or use freezer-safe ziplock bags laid flat for easy stacking. I use a combination of both depending on what I have on hand.
- Measuring Spoons and Cups : For accurate measurements, though this recipe is pretty forgiving.
If you don’t have a blender, you can mash the roasted tomatoes with a potato masher or fork for a chunkier texture. It won’t be as smooth, but it’s still delicious. And if you’re looking for a budget-friendly option, a simple $15 immersion blender from Amazon works just as well as the expensive ones.
Preparation Method
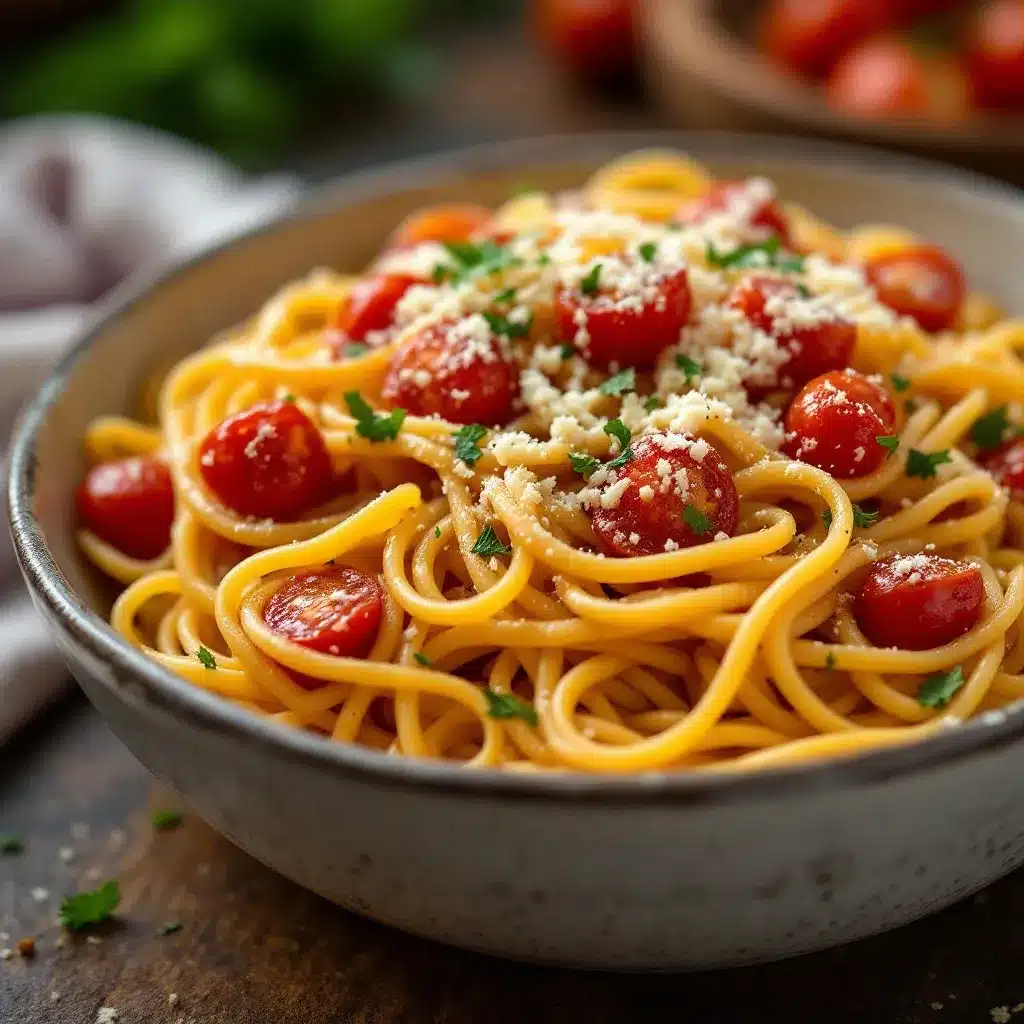
This method is straightforward, but I’ve included all the little details I’ve picked up from making this sauce dozens of times. Pay attention to the sensory cues — they’ll tell you when things are ready better than any timer can.
-
Preheat your oven to 400°F (200°C) with the rack positioned in the middle. While the oven heats, line your baking sheet with parchment paper or a silicone mat. This step matters more than you think — the parchment prevents sticking and makes cleanup almost nonexistent.
-
Wash and dry your cherry tomatoes thoroughly. Give them a good rinse in a colander, then pat them dry with a clean kitchen towel. Wet tomatoes won’t caramelize properly, so take the extra minute to dry them well. Remove any stems or leaves that are still attached.
-
In a large bowl, combine the tomatoes, garlic cloves, olive oil, salt, and red pepper flakes if using. Toss everything together gently with your hands or a spatula until every tomato is coated in oil and seasonings. The oil should glisten on the tomatoes — if it looks dry, add another tablespoon.
-
Spread the tomatoes in a single layer on your prepared baking sheet. Don’t crowd them — if they’re piled on top of each other, they’ll steam instead of roast. If you’re making a double batch, use two baking sheets. Nestle the thyme sprigs in between the tomatoes.
-
Roast for 35-45 minutes, giving the pan a gentle shake halfway through. You’re looking for the tomatoes to be wrinkled, blistered, and starting to caramelize around the edges. Some of them will have burst open, releasing their juices — that’s exactly what you want. The garlic should be soft and golden, smelling sweet and nutty.
-
Remove the pan from the oven and let it cool for 5 minutes. This brief rest allows the juices to settle and makes the next step easier. Discard the thyme sprigs — they’ve given up all their flavor at this point.
-
Transfer the roasted tomatoes, garlic, and all the pan juices to your blender. Scrape every last bit of that caramelized goodness off the baking sheet — that’s where so much flavor lives. Add the fresh basil and balsamic vinegar.
-
Blend until smooth, starting on low speed and gradually increasing to high. If you prefer a chunkier sauce, pulse a few times instead of letting it run continuously. For a smoother sauce, let it blend for 30-45 seconds. Taste and adjust salt if needed.
-
If you want a thicker sauce, transfer it to a saucepan and simmer over medium-low heat for 10-15 minutes. This step is optional but recommended if you’re planning to use the sauce on pizza or as a dipping sauce. The sauce will reduce slightly and concentrate even further.
-
Let the sauce cool completely before freezing. I usually let it sit on the counter for about an hour, then transfer it to the refrigerator for another hour before portioning. Hot sauce in the freezer creates ice crystals and can crack glass containers.
One thing I learned the hard way — don’t overfill your blender with hot ingredients. The steam can cause the lid to pop off, and nobody wants roasted tomato sauce all over their kitchen ceiling. Fill the blender no more than halfway, and hold the lid down with a folded kitchen towel while you blend.
Cooking Tips & Techniques
After making this sauce more times than I can count, I’ve collected some tips that make the process smoother and the results better. Here are the ones I wish someone had told me from the start:
Don’t skip the balsamic vinegar. I know it seems like an odd addition, but that tiny splash does something magical to the flavor profile. It doesn’t make the sauce taste like vinegar at all — instead, it brightens the tomatoes and adds a subtle depth that’s hard to identify but impossible to miss if you leave it out.
Roast at the right temperature. I’ve tried this recipe at 375°F and 425°F, and 400°F is the sweet spot. At lower temperatures, the tomatoes release too much liquid without caramelizing properly. At higher temperatures, the garlic can burn before the tomatoes are done. Trust me on this one — 400°F is where the magic happens.
Use a light-colored baking sheet. Dark pans absorb more heat and can cause the bottoms of your tomatoes to burn before the tops are caramelized. If all you have is a dark pan, reduce the oven temperature by 25°F and keep a close eye on things.
Let the sauce cool before blending. I know it’s tempting to blend everything while it’s still hot, but hot liquids expand in the blender and can cause the lid to pop off. I learned this lesson the messy way. Give it at least 5 minutes to cool down before you hit that blend button.
Freeze in portion sizes that make sense for your meals. I freeze my sauce in 1-cup and 2-cup portions because those are the amounts I typically use for pasta dishes. If you’re cooking for one, smaller portions work better. If you’re feeding a family, go with larger containers. Label everything with the date and portion size — trust me, you won’t remember six months from now.
One mistake I made early on was not roasting the garlic long enough. Raw garlic can be harsh and overpowering, while properly roasted garlic is sweet and mellow. If your garlic cloves still feel firm after 35 minutes, give them another 5-10 minutes. They should be soft enough to squish between your fingers.
Variations & Adaptations
This recipe is incredibly adaptable, which is one of the reasons I keep coming back to it. Here are some variations I’ve tried and loved:
- Herb-Infused Version : Swap the thyme for rosemary, oregano, or a combination of dried Italian herbs. Each herb brings a different character to the sauce. My personal favorite is a mix of rosemary and fresh basil.
- Spicy Arrabbiata Style : Double the red pepper flakes and add a whole dried chili pepper to the roasting pan. The heat infuses into the oil and creates a sauce with serious kick.
- Roasted Vegetable Medley : Add a chopped red bell pepper, a small zucchini, or a handful of mushrooms to the roasting pan along with the tomatoes. The extra vegetables add depth and make the sauce even more nutritious.
- Creamy Version : After blending, stir in ¼ cup of heavy cream or full-fat coconut milk for a luxurious, creamy tomato sauce that’s perfect for pasta.
- Smoky Roasted Sauce : Add ½ teaspoon of smoked paprika to the tomatoes before roasting. The smokiness pairs beautifully with the sweet roasted tomatoes and gives the sauce a completely different personality.
For a dairy-free version, simply skip the cream option and use the basic recipe as is. It’s naturally dairy-free and vegan-friendly. If you’re watching your sodium, reduce the salt to ½ teaspoon and adjust to taste after blending.
I once tried adding a roasted carrot to the blender along with the tomatoes, and honestly, it was fantastic. The carrot added natural sweetness and a velvety texture without making the sauce taste like carrots. It’s a sneaky way to add extra vegetables if you’re feeding picky eaters.
Serving & Storage Suggestions
This sauce is incredibly versatile, and how you serve it can change the whole meal. Here are my favorite ways to use it:
Serving Suggestions : Toss it with al dente pasta for a quick weeknight dinner, spread it on homemade pizza dough for the best pizza you’ll ever make, or use it as a dipping sauce for crusty bread, mozzarella sticks, or roasted vegetables. It’s also amazing as a base for shakshuka — just warm the sauce in a skillet, crack a few eggs on top, and bake until the eggs are set.
I love serving this sauce over gluten-free caprese pasta salad for a fresh summer meal that comes together in minutes. The roasted tomato flavor pairs beautifully with fresh mozzarella and basil.
Storage Instructions : Store the sauce in an airtight container in the refrigerator for up to 5 days. For longer storage, freeze in portion-sized containers or freezer bags. The sauce will keep in the freezer for up to 6 months without losing quality. I like to freeze it in silicone ice cube trays for individual portions, then pop the frozen cubes into a freezer bag for easy use.
Reheating Tips : Thaw frozen sauce in the refrigerator overnight, or run the container under warm water until the sauce releases. Reheat gently in a saucepan over medium-low heat, stirring occasionally. Add a splash of pasta water or broth if the sauce seems too thick after thawing.
The flavor actually improves after a day or two in the refrigerator. The herbs and garlic meld together, and the sauce becomes more cohesive. I’ve found that frozen sauce, when properly thawed and reheated, tastes almost as good as fresh — which is pretty amazing for a frozen product.
Nutritional Information & Benefits
This roasted cherry tomato sauce is not just delicious — it’s packed with nutrition too. Here’s what you’re getting in each serving (based on a ½ cup portion):
- Calories : Approximately 85
- Total Fat : 7g
- Carbohydrates : 6g
- Fiber : 2g
- Sugar : 4g (naturally occurring)
- Protein : 1g
- Sodium : 290mg
- Vitamin C : 20% of Daily Value
- Vitamin A : 15% of Daily Value
- Potassium : 8% of Daily Value
Cherry tomatoes are rich in lycopene, a powerful antioxidant that’s been linked to heart health and reduced inflammation. Interestingly, roasting tomatoes actually increases the bioavailability of lycopene, making it easier for your body to absorb. The olive oil adds healthy monounsaturated fats, which help with the absorption of fat-soluble vitamins.
This sauce is naturally gluten-free, dairy-free, vegan, and low-carb, making it suitable for a wide range of dietary needs. If you’re following a keto diet, this sauce fits perfectly — just pair it with zucchini noodles or shirataki noodles instead of traditional pasta.
For a lighter meal, try serving this sauce over keto Mexican cauliflower rice for a completely different flavor profile that still lets the roasted tomatoes shine.
Conclusion
This roasted cherry tomato sauce has become my go-to for so many reasons. It’s easy enough for a busy weeknight, impressive enough for company, and practical enough to make in big batches for the freezer. The flavor is concentrated and complex, thanks to the roasting process, and it’s versatile enough to work in countless dishes.
I hope you give this recipe a try, especially if you have cherry tomatoes that need using up. Don’t be afraid to play with the herbs and seasonings — make it your own. That’s the beauty of a simple recipe like this one. It’s a canvas for your creativity.
If you make this sauce, I’d love to hear about it. Drop a comment below and let me know how you used it, what variations you tried, or just say hello. And if you’re looking for more ways to use up summer produce, check out my easy gluten-free cornbread muffins — they’re perfect for sopping up every last drop of this sauce!
Happy cooking, friends. Your freezer is about to become your favorite kitchen appliance.
Frequently Asked Questions
Can I use regular tomatoes instead of cherry tomatoes?
Absolutely! Roma or plum tomatoes work great, but you’ll need to chop them into smaller pieces so they roast evenly. Cherry tomatoes are ideal because of their high sugar content and thin skins, but any tomato will work in a pinch.
Do I need to peel the tomatoes before roasting?
Nope! That’s one of the best parts of this recipe. The skins soften during roasting and blend completely into the sauce. No tedious peeling required.
How long does this sauce keep in the freezer?
Properly stored in airtight containers, this sauce will maintain its best quality for up to 6 months. After that, it’s still safe to eat but may lose some flavor intensity.
Can I can this sauce instead of freezing it?
This recipe is designed for freezing, not water bath canning. The low acid content and addition of olive oil make it unsafe for water bath canning. If you want to can tomato sauce, you’ll need to follow a tested recipe with added lemon juice or citric acid.
Why did my sauce turn out watery?
This usually happens when the tomatoes aren’t roasted long enough, or if you’re using very juicy tomatoes. Next time, try roasting for an additional 10-15 minutes, or simmer the blended sauce on the stovetop until it reaches your desired consistency.
Pin This Recipe!
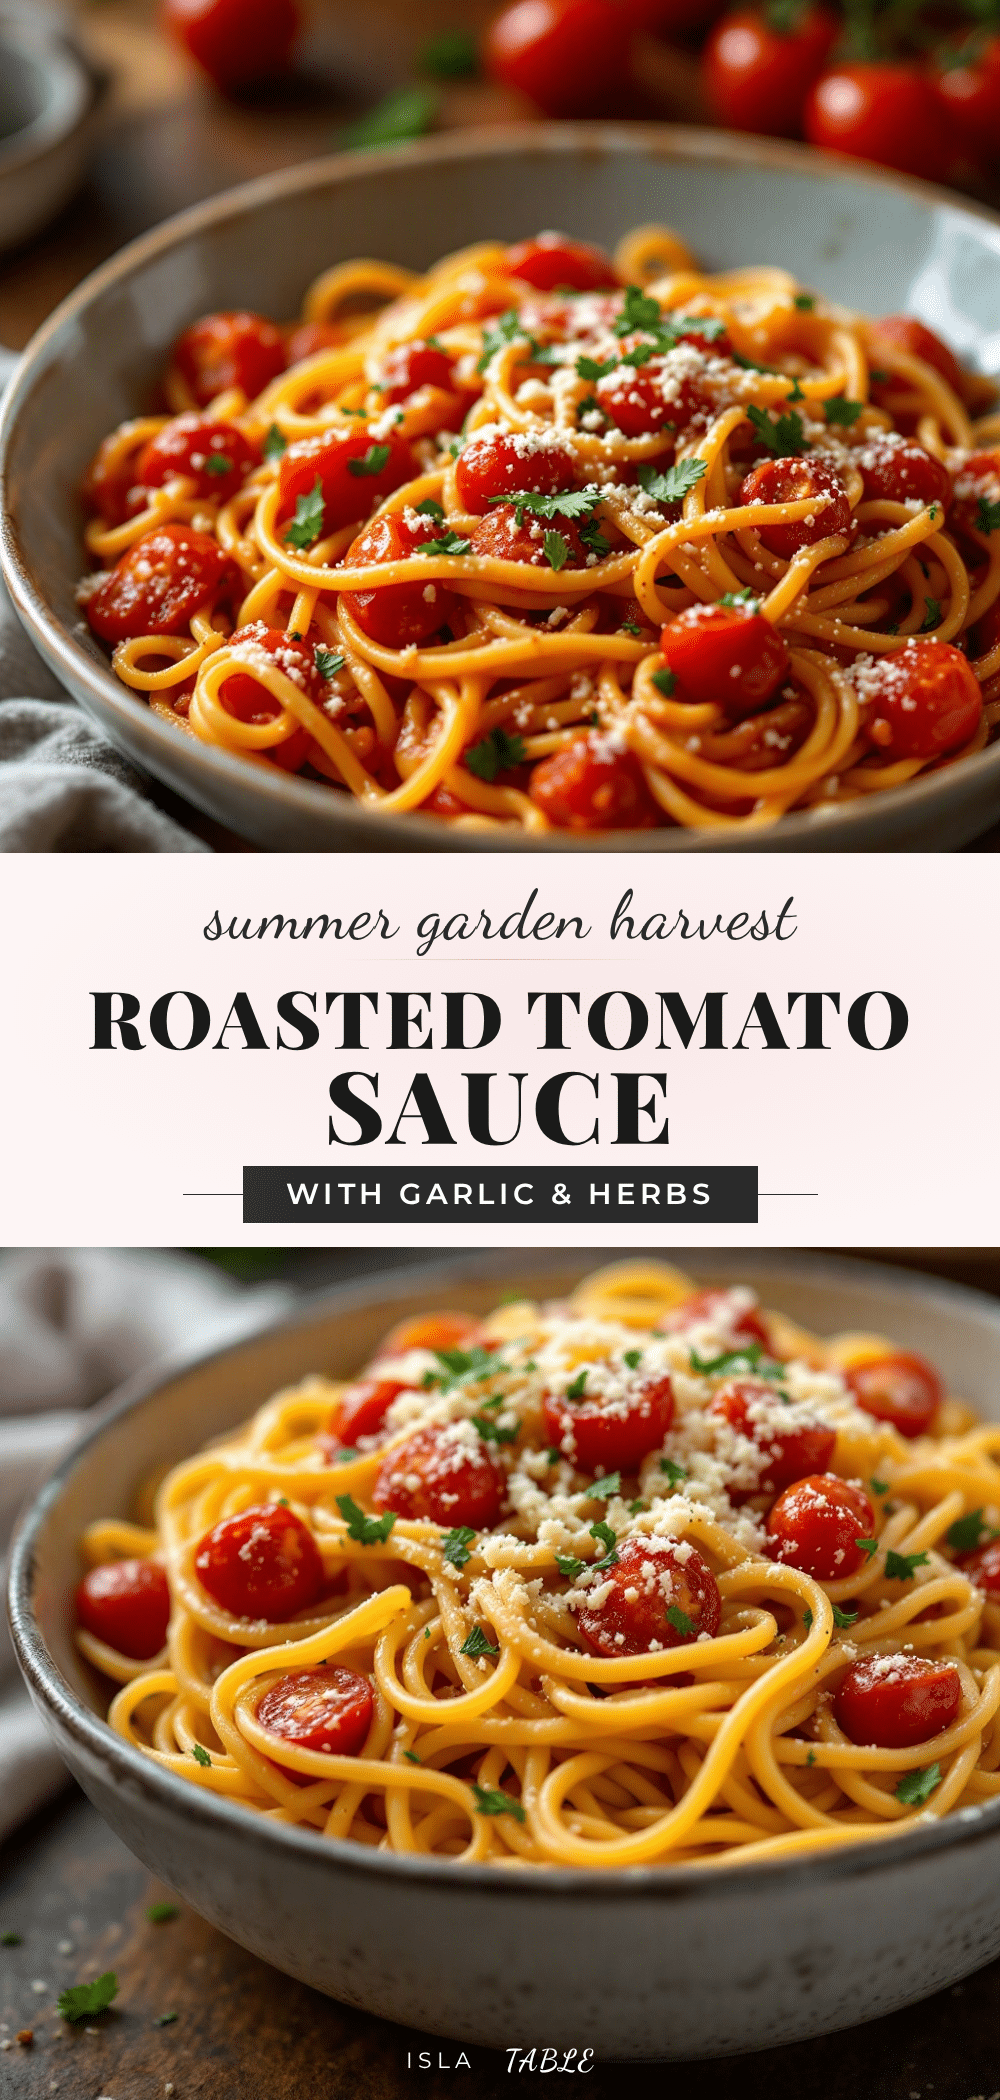
Best Easy Roasted Cherry Tomato Sauce for Freezing
This roasted cherry tomato sauce is a household staple that freezes beautifully. Made with simple ingredients like cherry tomatoes, garlic, and olive oil, it’s incredibly easy to prepare and perfect for meal prep.
- Prep Time: 15 minutes
- Cook Time: 45 minutes
- Total Time: 1 hour
- Yield: 4 servings 1x
- Category: Sauce
- Cuisine: Italian
Ingredients
- 2 pounds (900g) cherry tomatoes
- 6–8 cloves garlic, peeled
- 1/4 cup (60ml) extra virgin olive oil
- 1 teaspoon kosher salt
- 1/4 cup fresh basil, loosely packed
- 1 tablespoon balsamic vinegar
- 1/2 teaspoon red pepper flakes (optional)
- 3–4 sprigs fresh thyme
Instructions
- Preheat your oven to 400°F (200°C) with the rack positioned in the middle. Line your baking sheet with parchment paper or a silicone mat.
- Wash and dry your cherry tomatoes thoroughly. Remove any stems or leaves.
- In a large bowl, combine the tomatoes, garlic cloves, olive oil, salt, and red pepper flakes if using. Toss everything together gently until every tomato is coated.
- Spread the tomatoes in a single layer on your prepared baking sheet. Nestle the thyme sprigs in between the tomatoes.
- Roast for 35-45 minutes, giving the pan a gentle shake halfway through. The tomatoes should be wrinkled, blistered, and starting to caramelize around the edges. The garlic should be soft and golden.
- Remove the pan from the oven and let it cool for 5 minutes. Discard the thyme sprigs.
- Transfer the roasted tomatoes, garlic, and all the pan juices to your blender. Add the fresh basil and balsamic vinegar.
- Blend until smooth, starting on low speed and gradually increasing to high. For a chunkier sauce, pulse a few times. For a smoother sauce, blend for 30-45 seconds. Taste and adjust salt if needed.
- If you want a thicker sauce, transfer it to a saucepan and simmer over medium-low heat for 10-15 minutes.
- Let the sauce cool completely before freezing. Let it sit on the counter for about an hour, then transfer to the refrigerator for another hour before portioning.
Notes
Don’t skip the balsamic vinegar; it brightens the tomatoes and adds depth. Roast at 400°F for best results. Use a light-colored baking sheet to prevent burning. Let the sauce cool before blending to avoid the lid popping off. Freeze in portion sizes that make sense for your meals.
Nutrition
- Serving Size: 1/2 cup
- Calories: 85
- Sugar: 4
- Sodium: 290
- Fat: 7
- Saturated Fat: 1
- Carbohydrates: 6
- Fiber: 2
- Protein: 1
Keywords: roasted cherry tomato sauce, easy tomato sauce, freezer-friendly sauce, homemade tomato sauce, cherry tomato recipe


