The snap of the pickle is what I made this recipe for — everything else is secondary. That first satisfying crunch when you bite into a dill pickle, the way the cucumber’s firm flesh resists just enough before bursting with tangy flavor, is honestly the whole point of refrigerator pickles to me. I remember the first time I tried making these quick pickles at home; it was a spur-of-the-moment experiment sparked by a jar of sad, soggy pickles in the fridge. I wanted that crisp bite back. So I grabbed fresh cucumbers, some dill, garlic, and vinegar, tossed everything into a jar, and let it sit. The next day, biting into one, I was hooked. It wasn’t just about preserving cucumbers—it was about keeping that texture alive, that lively crunch that makes snacking feel like a little celebration. You know that feeling when you reach for a snack expecting something dull but get a burst of freshness instead? That’s what these pickles deliver.
What’s funny is how simple this recipe is, yet the texture and flavor somehow feel like a small miracle—bright, crisp, and tangy, all at once. Making refrigerator dill pickles this way became my quick fix for everything from sandwich toppings to snack time companions. It’s the kind of recipe that’s forgiving, fast, and still manages to impress. After all, not everyone has the patience or space for traditional canning, but almost everyone loves crunchy pickles. It quietly became one of my pantry staples, especially when I’m juggling a busy week and craving something fresh and homemade.
The best part? This recipe isn’t trying to reinvent the wheel. It’s just about doing simple ingredients right and respecting that delightful crunch. And honestly, it’s the texture that keeps me coming back, jar after jar. If you’re in the mood for a snack that feels homemade but comes together fast, these easy crunchy quick refrigerator dill pickles might just become your new favorite too.
Why You’ll Love This Recipe
I’ve made my fair share of pickles over the years, and these quick refrigerator dill pickles stand out for so many reasons. First off, they’re wonderfully crunchy — the kind of crunch you don’t usually get from store-bought versions. It’s almost like you’re biting into a fresh cucumber, but with that perfect tang and seasoning that hits all the right notes. Here’s why this recipe has stuck around in my kitchen:
- Quick & Easy: You can have pickles ready to enjoy in just 24 hours, making them perfect for last-minute cravings or quick homemade snacks.
- Simple Ingredients: No complicated spices or hard-to-find items. Just cucumbers, dill, garlic, vinegar, and a few pantry staples — easy and straightforward.
- Perfect for Any Occasion: Whether you’re making sandwiches, hosting a casual get-together, or just want a quick snack, these pickles fit right in.
- Crowd-Pleaser: I’ve watched these disappear fast at family dinners and potlucks. Kids, adults — everyone loves that crunch and tang.
- Unbelievably Delicious: The balance of dill and garlic with the vinegar brine is just right — not overpowering, but flavorful enough to keep you coming back.
What really sets these refrigerator dill pickles apart is the technique — soaking sliced cucumbers in a cold brine with fresh dill and garlic, no heat required, which preserves the crisp texture without softening them. I’ve tried other quick pickle recipes that ended up limp or mushy, but this one nails that satisfying crunch every time. Plus, it’s flexible enough to customize with extra spices or herbs if you want to get creative.
Honestly, these pickles aren’t just about flavor — they’re about that sound, that feel, that little moment when you know you made something fresh, simple, and just right. They’ve become my go-to when I want a quick snack that’s both wholesome and irresistibly crunchy.
What Ingredients You Will Need
This recipe uses simple, wholesome ingredients to deliver bold flavor and satisfying texture without the fuss. Most of these are pantry staples or easy to find fresh ingredients. Here’s what you’ll need:
- Fresh cucumbers: About 4-5 small to medium cucumbers (Kirby cucumbers work best for that classic crunch; if you can find them, they’re perfect)
- Fresh dill sprigs: 4-5 sprigs (fresh dill is essential for authentic flavor; dried dill won’t give the same bright taste)
- Garlic cloves: 3-4 cloves, peeled and lightly crushed (adds a punch of flavor that pairs perfectly with dill)
- White vinegar: 1 cup (240 ml) – I prefer distilled white vinegar for its clean acidity, but apple cider vinegar works too for a slightly sweeter note
- Water: 1 cup (240 ml) – Use filtered water if possible to keep the brine clean and crisp
- Pickling salt or kosher salt: 1 tablespoon (pickling salt dissolves well and doesn’t have additives that can cloud the brine)
- Granulated sugar: 1 teaspoon (optional, balances acidity just a bit without making it sweet)
- Black peppercorns: 1 teaspoon (whole peppercorns add mild heat and complexity)
- Red pepper flakes: ½ teaspoon (optional for a little kick)
Pro tip: I like to source my cucumbers from local farmers markets when possible — they’re fresher and crunchier than supermarket ones. If you want to try a gluten-free snack combo, these pickles pair beautifully with healthy keto coleslaw for a refreshing side dish.
Equipment Needed
- Glass jar or container with a tight-fitting lid: At least 1 quart (1 liter) size – I recommend a wide-mouth mason jar for easy packing and cleaning
- Measuring cups and spoons: For accuracy with the brine proportions
- Sharp knife and cutting board: For slicing cucumbers evenly — uniform slices help the pickles soak evenly in the brine
- Mixing bowl: To prepare the brine before pouring it into the jar
- Vegetable peeler or mandoline (optional): For thinner, even slices if you prefer quick pickles with more surface area
If you don’t have a mason jar handy, any clean, food-safe container with a lid will do — just make sure it seals well to keep the pickles fresh. I once tried using a plastic container, and while it worked in a pinch, the glass jar really keeps the flavor pure and the pickles crisp. Also, keeping your knives sharp helps get clean cuts without bruising the cucumbers, which can affect texture.
Preparation Method
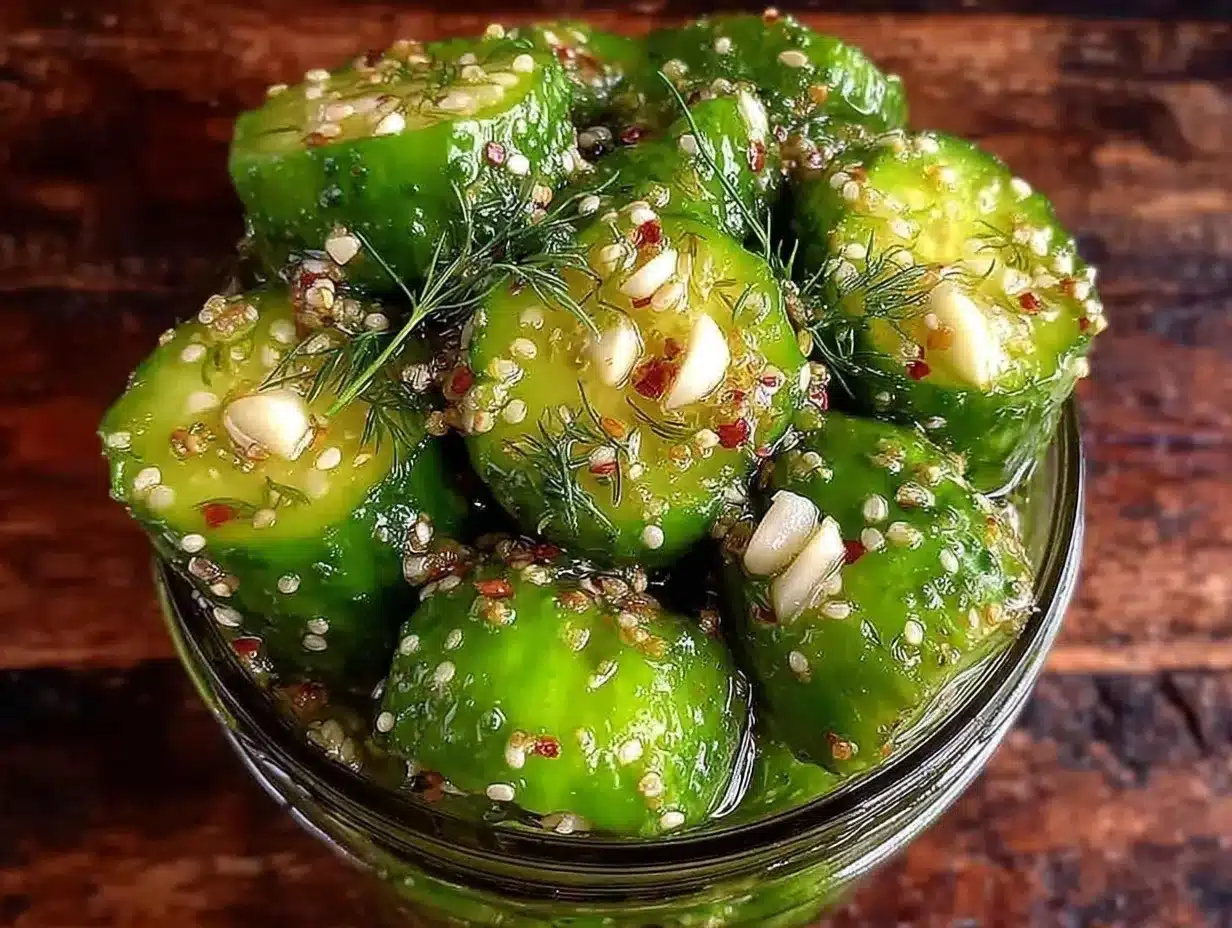
- Wash and slice the cucumbers: Rinse the cucumbers thoroughly under cold water. Slice them into ¼-inch (6 mm) thick rounds or spears, depending on your preference. Uniform slices help the pickles brine evenly. This step takes about 5-7 minutes.
- Prepare the brine: In a mixing bowl, combine 1 cup (240 ml) white vinegar, 1 cup (240 ml) water, 1 tablespoon pickling salt, and 1 teaspoon sugar (if using). Stir until the salt and sugar dissolve completely. This usually takes 2-3 minutes.
- Pack the jar: Place the fresh dill sprigs, crushed garlic cloves, black peppercorns, and red pepper flakes (if using) at the bottom of the jar. Then pack the cucumber slices tightly but without crushing them. Leave about ½ inch (1.3 cm) headspace at the top. This step takes 3-5 minutes.
- Pour the brine: Pour the prepared brine over the cucumbers, making sure they’re fully submerged. Tap the jar gently to release air bubbles and adjust the cucumbers if needed to keep them under the liquid.
- Seal and refrigerate: Screw the lid on tightly and place the jar in the refrigerator. The pickles will start to develop flavor in about 24 hours but taste best after 48 hours.
Note: If the cucumbers float, you can place a small clean weight or a folded piece of parchment paper on top to keep them submerged. Also, do not use regular table salt as it contains additives that may cloud the brine or affect taste.
Cooking Tips & Techniques
Honestly, the secret to crunchy pickles is all about fresh cucumbers and a cold, vinegar-based brine. Heat can soften cucumbers, so skipping the boiling step keeps them crisp. Here are some tips I’ve learned from trial and error:
- Use fresh, firm cucumbers: Older cucumbers or those stored too long tend to be softer and won’t snap back.
- Don’t slice too thin: Slices that are too thin can turn mushy fast. Around ¼ inch is a sweet spot for crunch and soak time.
- Keep everything cold: Refrigerate immediately after packing. Warm brine or room temperature storage softens pickles quickly.
- Wait at least 24 hours: Sure, you can sneak a taste sooner, but the flavors and texture really come together after a day.
- Use pickling salt: Regular table salt contains iodine and anti-caking agents which can discolor or cloud the brine.
- Don’t skip the garlic and dill: They add that classic pickle aroma and flavor that make refrigerator pickles feel homemade.
My first batch wasn’t perfect — I sliced the cucumbers too thin and ended up with limp pickles in just a day. Since then, I stick to the thickness and cold method, and they come out crunchy every time. Also, if you want to amp up the flavor, adding a few mustard seeds is a subtle upgrade I tried after a friend’s recommendation.
Variations & Adaptations
You can easily tweak this recipe to suit different tastes, diets, or occasions:
- Spicy Dill Pickles: Add extra red pepper flakes or a sliced jalapeño to the jar for a fiery kick.
- Garlic Lover’s Pickles: Double the garlic cloves or add some roasted garlic for a mellow, sweet garlic flavor.
- Low-Sodium Version: Cut down the salt by half and add a splash of lemon juice to brighten the flavor.
- Vegan-Friendly Sweet Pickles: Swap the sugar with maple syrup or agave nectar for a plant-based sweetener.
- Seasonal Freshness: In summer, try adding fresh herbs like tarragon or thyme for a garden-fresh twist.
I once replaced the white vinegar with apple cider vinegar and added a teaspoon of coriander seeds — the flavor was more rounded and slightly sweeter, which my family really enjoyed. For a gluten-free snack pairing, these pickles go great alongside easy gluten-free cornbread muffins for a Southern-inspired treat.
Serving & Storage Suggestions
Serve these refrigerator dill pickles cold right from the jar. They are fantastic as a crunchy topping for sandwiches, burgers, or alongside your favorite charcuterie board. You can also dice them up to add zing to salads or potato dishes. I love pairing them with creamy dishes like keto coleslaw for a refreshing contrast.
Store the pickles in the refrigerator for up to 3-4 weeks. The flavor actually deepens over time, though the crunch might soften slightly after a couple of weeks. To re-crisp slightly softened pickles, soak them in ice water for 15-20 minutes before serving.
For easy meal prep, keep a jar handy in the fridge. They’re perfect for quick snacks or to add a homemade touch to weeknight meals like indoor smokeless BBQ chicken. Just remember to always use a clean fork or tongs when grabbing pickles to avoid contamination and prolong freshness.
Nutritional Information & Benefits
These easy crunchy quick refrigerator dill pickles are low in calories (about 5-10 calories per slice), making them a guilt-free snack. They provide hydration and a small amount of vitamin K from cucumbers and dill, supporting bone health. The vinegar in the brine may aid digestion and blood sugar regulation, though research is ongoing.
This recipe is naturally gluten-free, low-carb, and vegan-friendly (if you omit any animal-derived additives). However, those sensitive to sodium should note the salt content and can adjust accordingly. Pickles are also a great way to enjoy fresh vegetables with added flavor, encouraging more veggie intake throughout the day.
Conclusion
Easy crunchy quick refrigerator dill pickles are proof that simple ingredients and attention to texture can create a snack that feels special and homemade without fuss. This recipe stays in my rotation because it delivers that crisp bite and bright flavor I crave, fast. You can tweak it to your liking, whether you want spicy, garlicky, or milder pickles, and they always come out tasty.
Remember, the crunch is what makes these pickles memorable, so keep your cucumbers fresh and your brine cold. I hope this recipe becomes a staple in your kitchen like it is in mine—ready to bring that satisfying snap to your meals and snacks. If you try it, I’d love to hear how you customize your pickles!
Frequently Asked Questions
How long do refrigerator dill pickles last?
They typically last 3-4 weeks in the fridge. For best texture and flavor, consume within 2 weeks.
Can I use regular cucumbers instead of Kirby cucumbers?
Yes, but Kirby cucumbers are firmer and hold their crunch better. Regular slicing cucumbers can work but may be softer.
Do I need to boil the brine?
No, this quick pickle recipe uses cold brine to keep cucumbers crisp. Boiling can soften them.
Can I make these pickles spicy?
Absolutely! Add red pepper flakes or sliced jalapeños to the jar for heat.
Are refrigerator pickles fermented?
No, refrigerator pickles are quick pickled in vinegar and refrigerated, not fermented like traditional sour pickles.
Pin This Recipe!
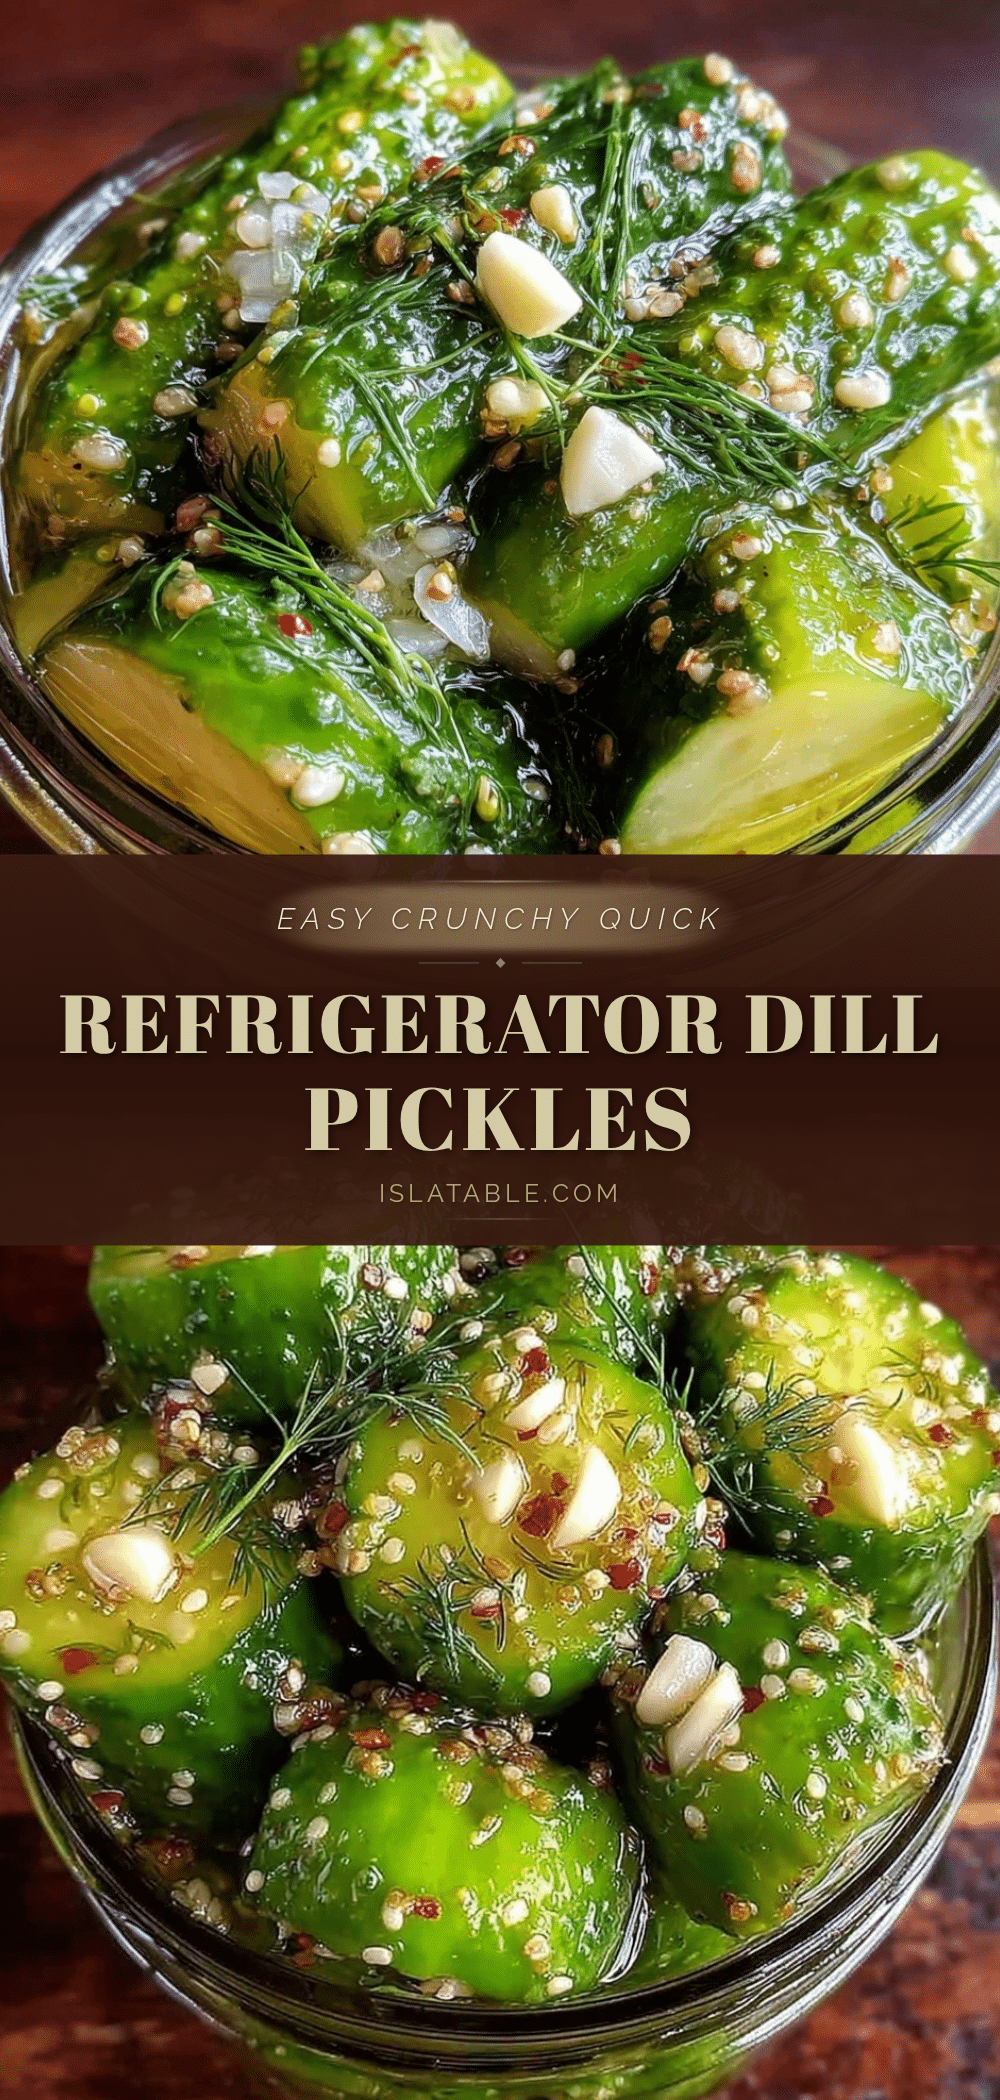
Easy Crunchy Quick Refrigerator Dill Pickles Recipe for Perfect Homemade Snacks
These refrigerator dill pickles deliver a satisfying crunch and tangy flavor with simple ingredients and no heat required. Ready in 24 hours, they make a perfect quick snack or sandwich topping.
- Prep Time: 10 minutes
- Cook Time: 0 minutes
- Total Time: 24 hours
- Yield: 4-5 servings 1x
- Category: Snack
- Cuisine: American
Ingredients
- 4–5 small to medium fresh cucumbers (Kirby cucumbers preferred)
- 4–5 fresh dill sprigs
- 3–4 garlic cloves, peeled and lightly crushed
- 1 cup (240 ml) white vinegar (distilled preferred, apple cider vinegar optional)
- 1 cup (240 ml) water (filtered recommended)
- 1 tablespoon pickling salt or kosher salt
- 1 teaspoon granulated sugar (optional)
- 1 teaspoon black peppercorns
- ½ teaspoon red pepper flakes (optional)
Instructions
- Wash and slice the cucumbers into ¼-inch (6 mm) thick rounds or spears.
- In a mixing bowl, combine 1 cup white vinegar, 1 cup water, 1 tablespoon pickling salt, and 1 teaspoon sugar (if using). Stir until dissolved.
- Place fresh dill sprigs, crushed garlic cloves, black peppercorns, and red pepper flakes (if using) at the bottom of a glass jar.
- Pack cucumber slices tightly into the jar without crushing, leaving about ½ inch headspace.
- Pour the prepared brine over the cucumbers, ensuring they are fully submerged. Tap the jar to release air bubbles.
- Seal the jar tightly and refrigerate. Pickles develop flavor in 24 hours and taste best after 48 hours.
Notes
Use fresh, firm cucumbers and keep the brine cold to maintain crunch. Avoid regular table salt to prevent cloudy brine. If cucumbers float, use a weight or parchment paper to keep them submerged. For re-crisping softened pickles, soak in ice water for 15-20 minutes before serving.
Nutrition
- Serving Size: About 1/2 cup (appro
- Calories: 10
- Sugar: 1
- Sodium: 500
- Carbohydrates: 2
- Fiber: 0.5
Keywords: refrigerator pickles, dill pickles, quick pickles, crunchy pickles, homemade pickles, easy pickles, snack, vegan pickles, gluten-free pickles


