I remember the smell of browning beef mixing with the sharp tang of cheddar, filling every corner of that tiny space until it felt less like a dorm and more like home. It was 2 a.m., and I was too tired to care about fancy techniques or perfect plating. I just wanted something hot, heavy, and comforting in the deepest sense.
That night, I threw together whatever was left in the fridge. Half a box of rice, some ground beef I’d been saving, and a handful of cheese that had started to sweat in the back of the drawer. It wasn’t gourmet. It was messy. But when I took that first spoonful, the creaminess coating my tongue made me close my eyes and just breathe.
Over the years, I’ve made this creamy cheesy ground beef and rice skillet hundreds of times. Sometimes I add green chiles for a kick, sometimes I keep it plain for the kids. But the core magic remains the same: one pan, minimal cleanup, and a flavor profile that feels like a warm hug on a cold night. This isn’t just dinner; it’s a memory you can eat.
There’s something profoundly satisfying about scraping the bottom of the pan, where the cheese has caramelized into little crispy bits. That’s the good stuff. That’s the part that keeps me coming back to this recipe, year after year. It’s simple, yes, but it’s also deeply soulful.
Why You’ll Love This Recipe
Let’s be honest, we all have those nights where cooking feels like a chore. You’re exhausted, the kids are hungry, and the last thing you want is to spend an hour chopping vegetables or cleaning five different pots. This creamy cheesy ground beef and rice skillet is your answer to that specific kind of stress. I’ve tested this recipe in every kitchen I’ve ever owned, from small studios to large family homes, and it works every single time.
- Quick & Easy: This comes together in under 30 minutes. It’s perfect for busy weeknights or when you’re craving something fast but don’t want takeout. The one-skillet method means less washing up, which is always a win in my book.
- Simple Ingredients: No fancy grocery trips needed. You likely already have ground beef, rice, and cheese in your kitchen. It’s pantry-friendly and budget-conscious, which is crucial these days.
- Perfect for Busy Families: Great for weeknight dinners, potlucks, or just a cozy night in. The mild flavor profile means even picky eaters will dig in without complaint.
- Crowd-Pleaser: Always gets rave reviews from kids and adults alike. It’s the kind of dish that disappears quickly, so you might want to double the batch.
- Unbelievably Delicious: The texture and flavor combo is next-level comfort food. The creaminess from the cheese and the savory depth of the beef create a balance that’s hard to beat.
What makes this recipe different from the rest? It’s the technique of simmering the rice directly in the beef mixture. Most people boil rice separately and then mix it in, but that loses flavor. By cooking the rice in the seasoned beef broth and cheese sauce, every grain absorbs that savory goodness. It’s a small tweak, but it makes all the difference. This isn’t just another version; it’s the best version because it maximizes flavor with minimal effort.
It’s comfort food reimagined—faster, but with the same soul-soothing satisfaction. It’s perfect for impressing guests without stress, or turning a simple meal into something memorable. Honestly, it’s the kind of meal that makes you forget about the dishes for a while because you’re too busy enjoying the food.
What Ingredients You Will Need
This recipe uses simple, wholesome ingredients to deliver bold flavor and satisfying texture without the fuss. The beauty of this dish lies in its accessibility. You don’t need specialty stores or hard-to-find items. Everything you need is likely already in your kitchen or easily found at any local grocery store. I prefer using pantry staples because it makes weeknight cooking feel less like a project and more like a routine.
- Ground Beef (1 lb): I recommend using 80/20 ground beef for the best balance of flavor and juiciness. Leaner beef can dry out, but you know, if you’re watching your fat intake, 90/10 works too, just add a splash more broth.
- Uncooked White Rice (1 cup): Long-grain white rice is the standard here. It stays fluffy and absorbs the sauce well. Avoid quick-cook rice as it can turn mushy too fast.
- Chicken Broth (2 cups): Use low-sodium broth so you can control the saltiness. Homemade broth is great if you have it, but store-bought is perfectly fine for this comfort food staple.
- Cream Cheese (8 oz): This is the secret to the creamy texture. Use full-fat, softened cream cheese. I prefer the block style over the spreadable kind in a tub for a richer flavor.
- Shredded Cheddar Cheese (1.5 cups): Freshly shredded cheese melts better than pre-shredded, which often contains anti-caking agents. Grab a block and shred it yourself for that silky smooth sauce.
- Onion (1 medium): Diced yellow onion adds sweetness and depth. If you’re not a fan of raw onion taste, make sure you cook it down until translucent before adding the beef.
- Garlic (2 cloves): Minced fresh garlic. Pre-minced garlic in a jar can sometimes taste metallic, so take the extra minute to mince it fresh.
- Taco Seasoning (1 packet or homemade): A standard taco seasoning mix works perfectly. If you make your own, you can control the spice level. I like a little cumin and chili powder in mine.
- Milk or Half-and-Half (1/4 cup): Helps thin out the cheese sauce to make it pourable and creamy. Whole milk or half-and-half works best for richness.
- Salt and Pepper: To taste. Always season in layers, so add a pinch when cooking the beef and another at the end.
If you want to switch things up, you can swap the white rice for brown rice, but you’ll need to pre-cook the brown rice or use more liquid and time. For a dairy-free option, you can use vegan cream cheese and dairy-free cheddar, though the texture will be slightly different. I’ve tried it, and it’s still good, just not as luxuriously creamy.
Equipment Needed
You really only need one major piece of equipment for this recipe: a large skillet. I recommend a 12-inch cast iron skillet or a heavy-bottomed stainless steel pan. Cast iron is my go-to because it retains heat incredibly well, which helps the cheese melt evenly without burning. However, if you don’t have cast iron, a non-stick skillet works just fine and makes cleanup even easier.
You’ll also need a wooden spoon or silicone spatula for stirring. A fine-mesh strainer is useful if you decide to rinse your rice, though I often skip that step for this recipe to keep the starch for thickening the sauce. A measuring cups and spoons set is essential for getting the rice-to-liquid ratio right. If you don’t have a lid for your skillet, you can use foil, but a proper lid helps trap steam to cook the rice evenly.
For maintenance, if you use cast iron, just clean it with hot water and a stiff brush, dry it thoroughly, and maybe rub a tiny bit of oil on it. It’s low maintenance and lasts forever. For non-stick, avoid metal utensils to keep the coating intact. Budget-friendly option? Any large frying pan you have lying around will work. You don’t need fancy tools to make great food.
Preparation Method
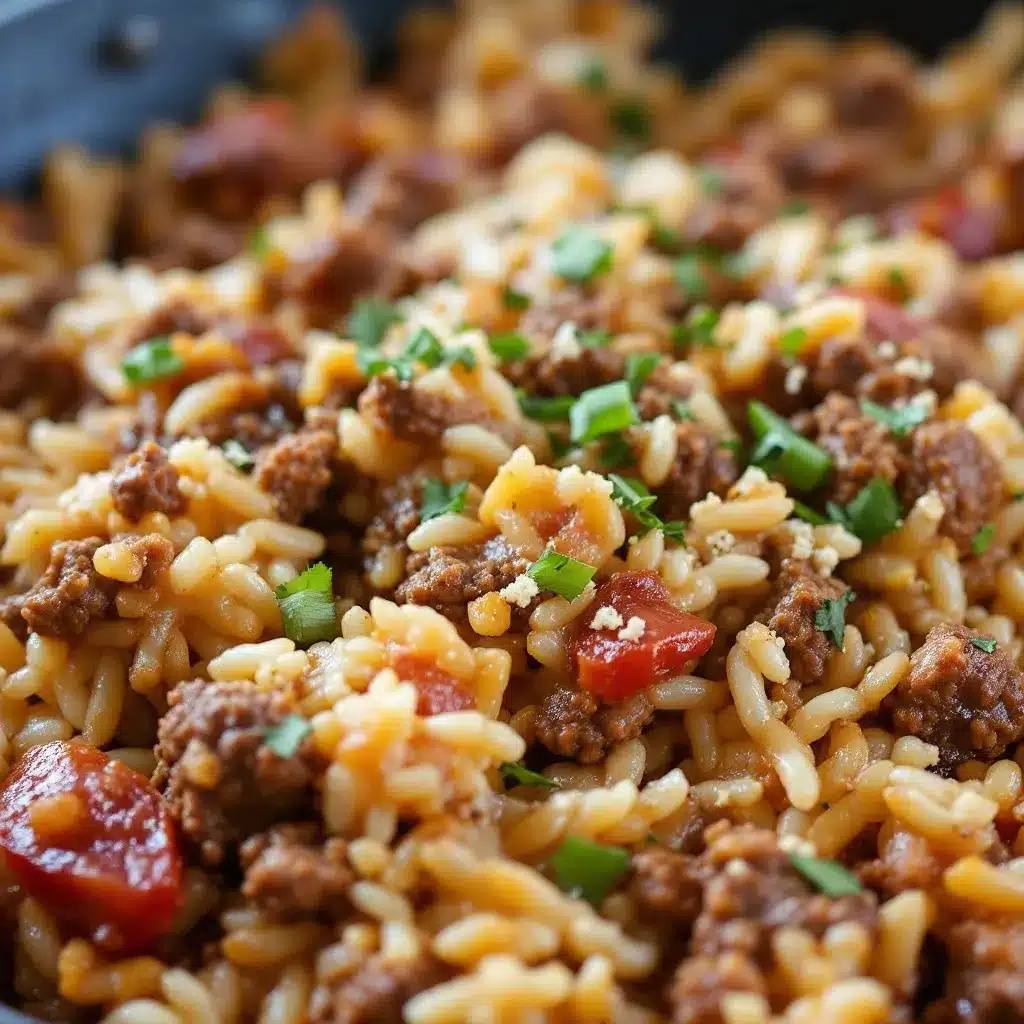
Start by heating your large skillet over medium-high heat. Add a splash of oil if your beef is very lean, otherwise, the beef fat will do the job. Once the pan is hot, add the diced onion and cook for about 3-4 minutes until they soften and become translucent. Stir occasionally so they don’t burn. This step builds the flavor base, so don’t rush it.
Add the ground beef to the pan with the onions. Break it up with your wooden spoon as it cooks. You want small, crumbly pieces, not large chunks. Cook until the beef is browned and no pink remains, about 5-7 minutes. If there’s excess grease, you can drain it now, but leaving a little bit adds flavor. Stir in the minced garlic and taco seasoning, cooking for another minute until fragrant. The kitchen should start smelling amazing here.
Pour in the chicken broth and add the uncooked rice. Stir well to combine, scraping up any browned bits from the bottom of the pan. Those bits are pure flavor. Bring the mixture to a boil, then immediately reduce the heat to low. Cover the skillet with a tight-fitting lid. Let it simmer gently for 15-18 minutes. Do not lift the lid during this time! You need the steam to cook the rice properly. If you peek too early, you’ll mess up the texture.
After 15 minutes, check the rice. It should be tender and most of the liquid should be absorbed. If it’s still crunchy, cover and cook for another 2-3 minutes. Once the rice is cooked, remove the pan from the heat. This is crucial; you don’t want to burn the cheese.
Add the softened cream cheese, shredded cheddar, and milk. Stir gently but thoroughly until the cheeses are completely melted and the mixture is smooth and creamy. It might look a bit separated at first, but keep stirring. The residual heat will help melt everything. Taste and add salt and pepper as needed. Serve immediately while hot and gooey.
Cooking Tips & Techniques
One common mistake people make is using too much liquid. Rice absorbs water differently depending on altitude and brand, so always check the rice texture before adding the cheese. If the rice is undercooked and you add the cheese, you’ll end up with a gummy, raw-rice mess. Conversely, if the rice is overcooked, it’ll be mushy. Aim for al dente before adding the dairy.
Another tip is to let your cream cheese soften beforehand. Cold cream cheese can be tricky to melt, leading to lumps in your sauce. If you forgot to take it out of the fridge, microwave it for 10-15 seconds to soften it up. This ensures a silky smooth sauce every time.
Don’t skip the browning step for the beef. Maillard reaction is your friend here. That browned crust on the meat adds a depth of flavor that boiling or steaming just can’t achieve. It’s the difference between “okay” and “delicious.”
If you’re making this for a crowd, you can double the recipe, but you’ll need a larger pan or two batches. Cooking it in one batch is better for texture control. Also, if you prefer a spicier dish, add some diced jalapeños or a dash of cayenne pepper when you add the seasoning.
Finally, let the dish rest for 5 minutes after adding the cheese. This allows the flavors to meld and the sauce to thicken slightly. It’s tempting to eat it right away, but patience pays off. The cheese will settle into the rice, creating that perfect creamy consistency.
Variations & Adaptations
This recipe is incredibly versatile, so don’t be afraid to tweak it to suit your tastes. One of my favorite variations is adding canned green chiles. Drain a 4-ounce can and stir them in with the beef. It adds a nice tang and mild heat that cuts through the richness of the cheese.
For a healthier twist, swap half the ground beef for lean ground turkey or chicken. You can also add diced bell peppers or spinach to the onion step to boost the vegetable content. The kids might not notice the spinach, but you’ll feel good about it.
If you’re gluten-free, this recipe is naturally gluten-free as long as your taco seasoning and broth are certified gluten-free. Some commercial seasonings contain wheat, so always check the label. For a dairy-free version, use vegan cream cheese and dairy-free cheddar. It won’t be exactly the same, but it’s still delicious.
I’ve also tried making this with leftover roasted vegetables, like broccoli or cauliflower. It adds a nice crunch and nutritional boost. And for a Mexican-inspired flair, top it with fresh cilantro, avocado slices, and a dollop of sour cream. The possibilities are endless, which is why I keep coming back to this base recipe.
Serving & Storage Suggestions
Serve this creamy cheesy ground beef and rice skillet hot, straight from the pan. It pairs wonderfully with a crisp green salad, especially if you dress it with a simple vinaigrette to balance the richness. I also like to serve it with some warm tortillas on the side for those who want to make little tacos or wraps.
Leftovers store well in an airtight container in the refrigerator for up to 4 days. The rice will absorb more liquid as it sits, so it might look a bit dry when you reheat it. To fix this, add a splash of water or broth when reheating. You can reheat it in the microwave with a damp paper towel over the top, or in a skillet over low heat with a little extra liquid.
Freezing is possible, but the texture of the cheese might change slightly upon thawing. It’s best enjoyed fresh. If you do freeze it, thaw it in the fridge overnight and reheat slowly. The flavors actually develop over time, so day-two leftovers are often just as good as day-one.
Nutritional Information & Benefits
This dish is a hearty source of protein from the beef and calcium from the cheese. It’s also a good source of energy from the rice. While it’s not a low-carb meal, it’s balanced enough to be part of a healthy diet when paired with vegetables. The ground beef provides iron and B vitamins, which are essential for energy levels.
If you’re watching your sodium, opt for low-sodium broth and control the amount of taco seasoning you use. You can also reduce the cheese amount slightly without sacrificing too much flavor. Overall, it’s a comforting, satisfying meal that hits all the right notes for a busy weeknight.
Conclusion
This creamy cheesy ground beef and rice skillet is more than just a meal; it’s a solution for those hectic evenings when you need something fast, filling, and delicious. It’s simple, affordable, and universally loved. I hope you give it a try and make it your own. Feel free to add your favorite veggies or spices to make it uniquely yours.
If you make this recipe, I’d love to hear how it turned out! Leave a comment below with your thoughts or share your variations. Don’t forget to tag me on social media if you post a picture. Thanks for cooking with me, and happy eating!
FAQs
Can I use brown rice instead of white rice?
Yes, but you’ll need to adjust the cooking time and liquid. Brown rice takes longer to cook and absorbs more water. You may need to add more broth and simmer for an additional 10-15 minutes. Pre-cooking the brown rice is also an option.
What cheese is best for this recipe?
Cheddar is the classic choice for its sharp flavor, but you can also use Monterey Jack, Pepper Jack for heat, or a Mexican cheese blend. Freshly shredded cheese melts better than pre-shredded.
How do I store leftovers?
Store leftovers in an airtight container in the refrigerator for up to 4 days. Reheat with a splash of water or broth to restore creaminess.
Can I make this in a slow cooker?
Yes, you can brown the beef and onions in a pan first, then transfer everything to a slow cooker. Cook on low for 2-3 hours until rice is tender. Add the cheese at the end and stir until melted.
Is this recipe gluten-free?
It is naturally gluten-free if you use gluten-free taco seasoning and broth. Always check labels to ensure no hidden gluten in processed ingredients.
Pin This Recipe!
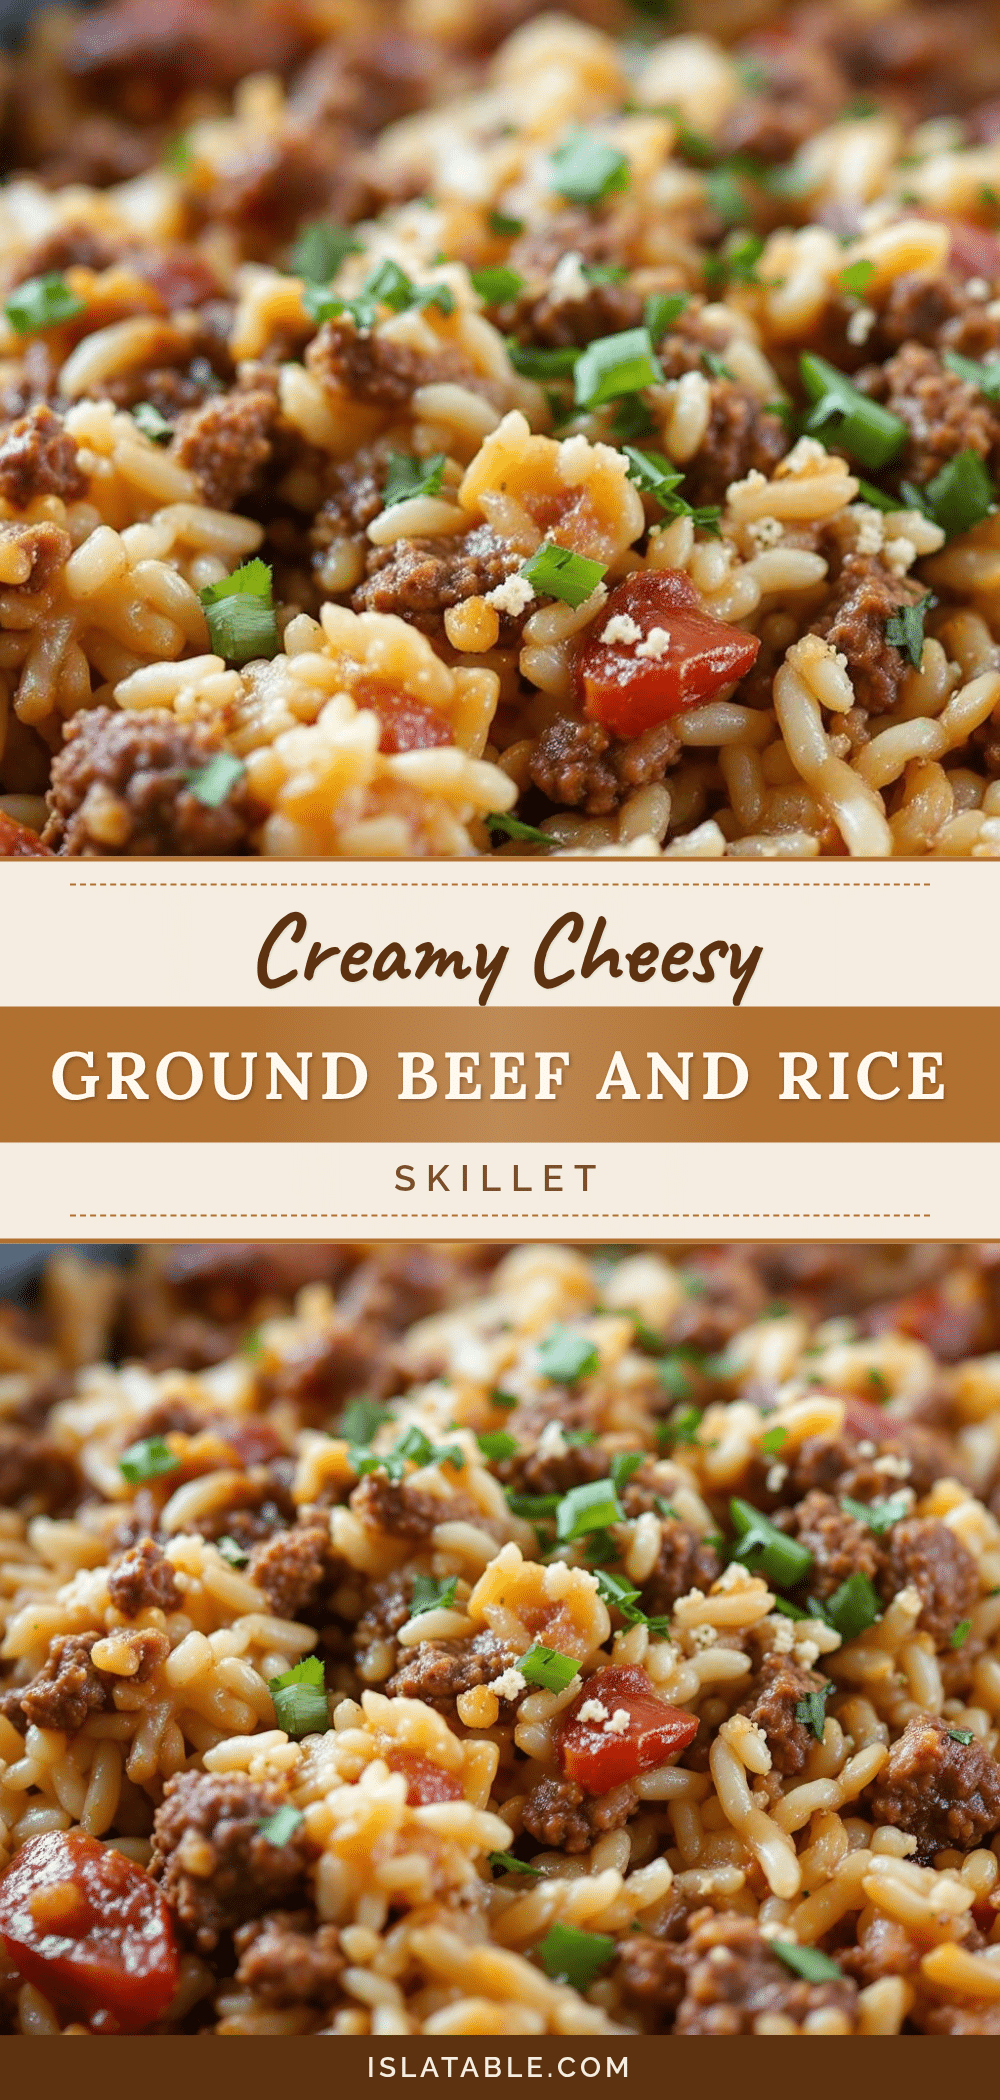
Creamy Cheesy Ground Beef and Rice Skillet

A quick, one-pan comfort food dish featuring ground beef, rice, and a rich cheddar-cream cheese sauce. Perfect for busy weeknights with minimal cleanup.
- Prep Time: 10 minutes
- Cook Time: 20 minutes
- Total Time: 30 minutes
- Yield: 4 servings 1x
- Category: Main Course
- Cuisine: American
Ingredients
- 1 lb ground beef (80/20 recommended)
- 1 cup uncooked long-grain white rice
- 2 cups low-sodium chicken broth
- 8 oz cream cheese (full-fat, softened)
- 1.5 cups shredded cheddar cheese
- 1 medium yellow onion, diced
- 2 cloves garlic, minced
- 1 packet taco seasoning (or homemade)
- 1/4 cup milk or half-and-half
- Salt and pepper to taste
- Oil (optional, if using lean beef)
Instructions
- Heat a large skillet over medium-high heat. Add diced onion and cook for 3-4 minutes until softened and translucent.
- Add ground beef to the pan. Break it up into small crumbles and cook until browned (5-7 minutes). Drain excess grease if desired, but leave some for flavor.
- Stir in minced garlic and taco seasoning; cook for 1 minute until fragrant.
- Pour in chicken broth and add uncooked rice. Stir well to combine, scraping up browned bits from the bottom of the pan.
- Bring the mixture to a boil, then immediately reduce heat to low. Cover with a tight-fitting lid and simmer for 15-18 minutes without lifting the lid.
- Check rice for tenderness. If needed, cover and cook for another 2-3 minutes. Remove pan from heat.
- Add softened cream cheese, shredded cheddar, and milk. Stir gently until cheeses are melted and the mixture is smooth and creamy.
- Season with salt and pepper to taste. Let rest for 5 minutes before serving.
Notes
For best results, use freshly shredded cheese as pre-shredded contains anti-caking agents. Ensure cream cheese is softened before adding to prevent lumps. Do not lift the lid while rice is simmering to ensure proper texture. Leftovers can be stored in the refrigerator for up to 4 days; reheat with a splash of water or broth to restore creaminess.
Nutrition
- Serving Size: 1/4 of the skillet
- Calories: 650
- Sugar: 3
- Sodium: 800
- Fat: 35
- Saturated Fat: 18
- Carbohydrates: 45
- Fiber: 2
- Protein: 35
Keywords: ground beef, rice skillet, creamy cheese, easy dinner, weeknight meal, one pan, comfort food, beef and rice


