It was supposed to be a “low-key” Friendsgiving. You know the type. Casual. Chill. No pressure. But then Sarah texted that she was bringing her new boyfriend, Mike, who is apparently a “cheese snob,” and suddenly my living room felt like a pressure cooker. I had no time to cook. No time to bake. Just time to grab whatever was in the pantry and make it look intentional.
I grabbed a large wooden board, tossed on some prosciutto, and started grabbing fruit. The autumn apples were starting to get a little soft, so I sliced them thin. I found a bag of pears that needed to be used yesterday. I dug out some leftover fig jam and a handful of walnuts that had been sitting in the back of the cupboard since October. It wasn’t perfect. The cheese wasn’t even at room temperature yet. But honestly? It worked.
That’s when I realized something about this Best Friendsgiving Charcuterie Board with Fall Fruit. It doesn’t need to be museum-quality. It needs to be accessible, colorful, and forgiving. This isn’t about buying the most expensive truffle honey or arranging grapes in a spiral pattern. It’s about grabbing what you have, adding a few seasonal touches, and creating a spread that makes everyone feel welcome. I’ve made this board a dozen times since that chaotic evening, and it has become the easiest way to impress a crowd without spending hours in the kitchen.
Looking back, the fact that the crackers were still on the floor when people sat down is a funny memory now. But the board itself? That stuck. It became the centerpiece of the night. Not because it was fancy, but because it was easy. And if you’re reading this because you’re standing in your kitchen right now, wondering how to pull something together before your friends arrive, this is the recipe for you.
Why You’ll Love This Recipe
There is a specific kind of magic that happens when you combine salty, sweet, and crunchy elements on a single platter. I tested this configuration over three different Friendsgiving parties, adjusting the ratios of fruit to cheese until I hit the sweet spot. Here is why this setup works so well for your next gathering:
- Quick & Easy: You can assemble this entire board in under 15 minutes. There is no cooking involved, no oven preheating, and no active stirring. It is perfect for busy weeknights or last-minute cravings when you need to look like you planned ahead.
- Simple Ingredients: No fancy grocery trips needed. You likely already have the basics in your fridge and pantry. The focus here is on seasonal produce that is easy to find at any local market.
- Perfect for Friendsgiving: This is great for brunch, potlucks, cozy dinners, or holiday mornings. It serves as both an appetizer and a dessert, making it incredibly versatile for any occasion.
- Crowd-Pleaser: Always gets rave reviews from kids and adults alike. The variety of textures ensures that even picky eaters find something they enjoy.
- Unbelievably Delicious: The texture and flavor combo is next-level comfort food. The contrast between the crisp apple, the creamy brie, and the salty prosciutto creates a sensory experience that keeps people coming back for more.
What makes this recipe different from the rest is the emphasis on fall fruit. Most charcuterie guides stick to grapes and strawberries, which feel out of place in November. By using pears, apples, and figs, you anchor the board in the season. It feels intentional and thoughtful, even if you just threw it together in a rush. Whether it is the specific pairing of sharp cheddar with spiced nuts or the creative twist of adding a little heat with pepperoni, this isn’t just another version—it’s your best version. This recipe isn’t just good—it is the kind that makes you close your eyes after the first bite. It’s comfort food reimagined—healthier, faster, but with the same soul-soothing satisfaction.
What Ingredients You Will Need
This recipe uses simple, wholesome ingredients to deliver bold flavor and satisfying texture without the fuss. The beauty of a charcuterie board lies in the balance of flavors: salty, sweet, creamy, and crunchy. By grouping these ingredients by function, you can easily swap items based on what is on sale or what you have on hand.
For the Cheese and Meat
- Soft Cheese: Brie or Camembert, sliced (adds creaminess; choose a wheel or a wedge for easy cutting)
- Hard Cheese: Sharp Cheddar or Gouda, cubed or sliced (provides a sturdy contrast to the soft cheese)
- Cured Meat: Prosciutto or Salami, folded (I recommend buying pre-sliced to save time, though buying a whole piece and slicing it yourself yields better texture)
- Optional Protein: Pepperoni or Chorizo slices (adds a nice spicy kick if your crowd likes heat)
For the Fall Fruit
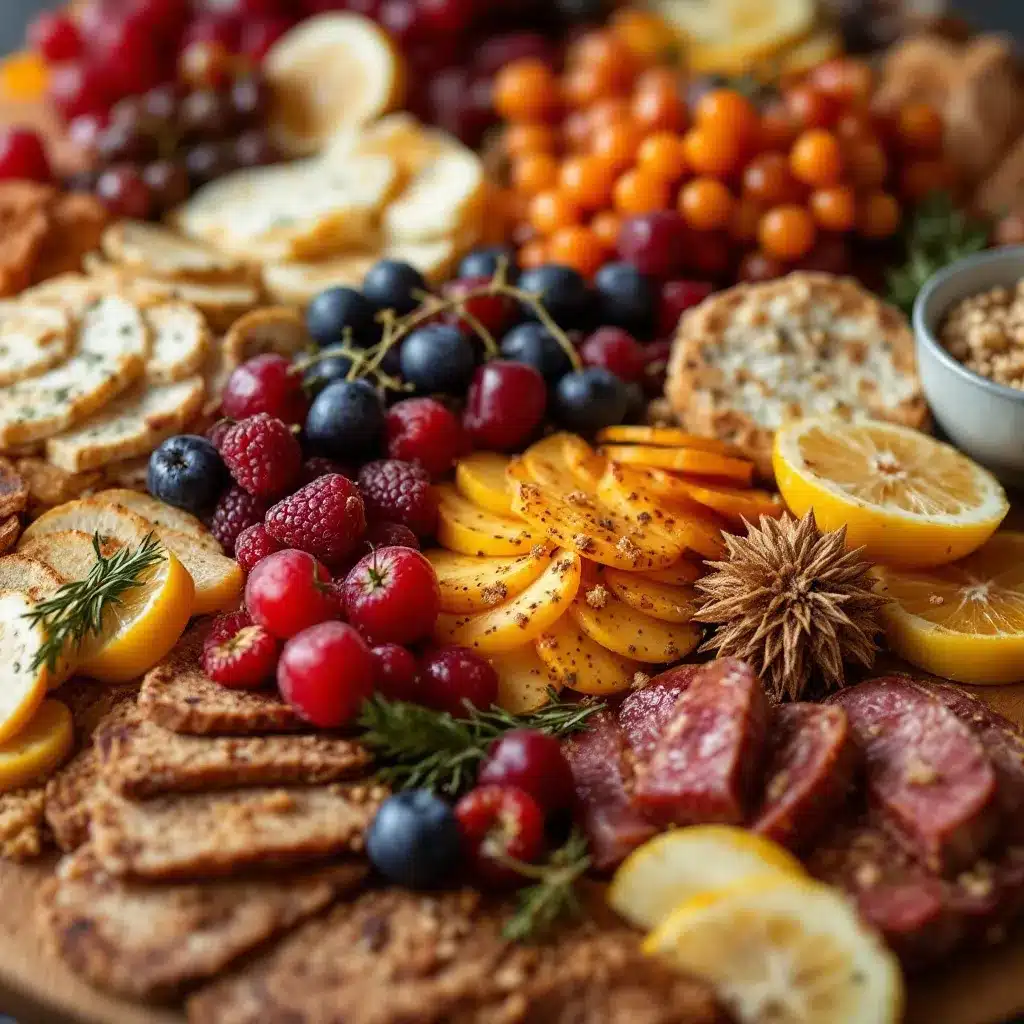
- Apples: Honeycrisp or Fuji, sliced thin (the crispness cuts through the rich cheese perfectly)
- Pears: Bosc or Anjou, sliced (use ripe but firm pears to prevent mushiness)
- Figs: Fresh or dried (fresh figs are beautiful in autumn, but dried figs offer a chewy sweetness)
- Grapes: Red or green seedless (classic addition for burst of juice and sweetness)
For Crunch and Dips
- Crackers: Water crackers or whole wheat crisps (neutral base that lets the toppings shine)
- Nuts: Walnuts or pecans, toasted (toasting releases essential oils and adds depth)
- Dried Fruit: Apricots or cranberries (adds a chewy texture and tartness)
- Jam or Honey: Fig jam or honey (for a sweet element to pair with the cheese)
I always keep a stash of good quality crackers in my pantry because they last for months. When buying cheese, look for firm, small-curd varieties if you are storing them for a while, but for a board, fresh is best. If you are hosting guests with dietary restrictions, remember that you can use almond flour crackers for a gluten-free option or swap dairy cheese with high-quality vegan alternatives if needed. In summer, swap in fresh berries instead of figs, but for this Best Friendsgiving Charcuterie Board with Fall Fruit, stick to the autumnal varieties for the best flavor profile.
Equipment Needed
You do not need anything fancy to pull this off. In fact, using too many special tools can make the process feel like a chore. Here is what you actually need:
- Serving Board: A large wooden cutting board, slate, or even a clean marble slab. Wood is traditional and adds warmth, which is perfect for fall. If you don’t have a large board, use two medium platters or even large ceramic plates.
- Cheese Knife: A standard chef’s knife works fine for hard cheeses. For soft cheeses like Brie, a thin paring knife is better to avoid crushing the rind.
- Small Bowls: For holding jams, honey, or olives.ramekins or small glass bowls work well. You can also use small espresso cups for a unique look.
- Small Spoon or Spreader: For serving the jam or honey. A small butter knife or a dedicated cheese spreader is ideal.
I’ve tried using plastic serving trays, but they just don’t hold up to the weight of heavy cheeses or look as inviting. A wooden board is worth the investment, but if you are on a budget, a large white platter from a thrift store can look stunning with the right arrangement. Just make sure your board is clean and dry before you start arranging. No one wants a soggy cracker from a damp surface.
Preparation Method
Assembling this board is less about precision and more about intuition. Follow these steps to create a balanced and visually appealing spread that will impress your friends.
- Prep Your Cheese (5 minutes): Take your cheeses out of the refrigerator at least 30 minutes before serving. Cheese tastes bland when it is cold. Slice your hard cheeses into cubes or triangles. For soft cheeses like Brie, you can leave it whole or slice it into wedges. Place these on your board first, as they are the anchors of the display. Space them out evenly around the board.
- Arrange the Meats (5 minutes): Fold or roll your prosciutto or salami. Don’t just lay it flat; creating folds adds volume and makes the board look more abundant. Place the meats in the empty spaces between the cheeses. If you are using pepperoni, scatter it loosely for a pop of color.
- Add the Fruit (5 minutes): Slice your apples and pears. To prevent browning, you can toss them in a little lemon juice, though for a quick assembly, it’s often unnecessary if you serve them within an hour. Arrange the fruit slices in small clusters near the cheeses. This allows guests to easily pick up a piece of fruit and cheese together. Add whole grapes and figs to fill in any gaps.
- Fill the Gaps (5 minutes): This is the fun part. Take your crackers and stand them up or fan them out. Add your nuts and dried fruits in small piles. The goal is to eliminate empty white space, but don’t overcrowd it. You want guests to be able to easily grab items without knocking everything over.
- Add the Wet Elements (2 minutes): Place your small bowls of jam or honey on the board. Spoon a little bit of honey onto a slice of cheese or drizzle it over the nuts for an extra touch of elegance. Add any olives or pickles if you like a briny contrast.
Keep in mind that the arrangement doesn’t need to be symmetrical. A slightly messy, abundant look is very trendy and feels more homemade. As you build the board, step back and check for color balance. You want a mix of reds, greens, browns, and creams. If the board looks too brown, add more green grapes or parsley. If it looks too sparse, add more crackers or nuts. The final step is to place small serving knives or toothpicks near the relevant items so guests know how to serve themselves.
Cooking Tips & Techniques
There is a common misconception that charcuterie boards require culinary school training. They don’t. Here are some professional techniques that will make your board look like it came from a high-end market:
- Temperature Matters: Always serve cheese at room temperature. Cold cheese is hard and flavorless. If you are in a rush, slice the cheese and let it sit on the counter for 20 minutes while you prep the fruit.
- Height and Texture: Use the height of your ingredients to create visual interest. Stand crackers up. Pile nuts high. Don’t lay everything flat. This makes the board look lush and inviting.
- Color Blocking: Try to group similar colors together slightly, but don’t be too rigid. Having a cluster of red grapes next to a pile of walnuts creates a nice contrast. Avoid having all the brown items clustered in one corner.
I once made the mistake of putting all the salty items on one side and all the sweet items on the other. Guests ended up eating only crackers and cheese for the first ten minutes because they didn’t realize the sweet fruit was on the other end of the table. Mixing the elements encourages guests to try combinations they might not have thought of. Also, avoid using pre-cut fruit that has been sitting out for hours. Freshly sliced apples and pears look vibrant and taste much better. If you have to prep early, keep the cut fruit in the fridge and bring it out 10 minutes before serving.
Variations & Adaptations
One of the best things about this Best Friendsgiving Charcuterie Board with Fall Fruit is its flexibility. You can adapt it to suit any dietary need or personal preference.
- Gluten-Free Option: Swap standard crackers for gluten-free rice crackers or almond flour crackers. Many brands now make excellent gluten-free options that are sturdy enough to hold cheese.
- Vegan Option: Use vegan cheese alternatives (many nut-based cheeses work well) and skip the meat. Add more roasted chickpeas or marinated tofu cubes for protein. The fruit and nuts remain the same.
- Low-Carb/Keto: Skip the crackers and dried fruit. Replace them with more nuts, olives, and hard-boiled eggs. The cheese and meat can stay, just ensure the meats are low-sugar.
- Spicy Twist: Add jalapeño slices or a spicy chorizo. Pair the heat with sweet fruit like mango or pear to balance the heat.
I personally love adding a splash of balsamic glaze to the figs. It adds a tangy sweetness that pairs beautifully with the salty prosciutto. If you have leftover cheese, try pairing it with the healthy high-protein low-carb chicken zucchini boats for a complete meal prep option later in the week. The versatility of this board means you can tweak it every time you make it.
Serving & Storage Suggestions
Serve this board at room temperature. It looks best when presented on a large, flat surface in the center of the table. Encourage your guests to start with a small plate and build their own bites. This interactive element is part of the fun of Friendsgiving.
If you have leftovers, store the cheese in airtight containers or wrapped in parchment paper and wax paper (avoid plastic wrap for soft cheeses as it can make them sweat). Keep the fruit in a separate container. The crackers should be kept in a sealed bag to maintain crunch. You can refrigerate the board components for up to two days, but the fruit may soften over time. For the best experience, try to eat it all in one sitting. The flavors develop slightly as the cheese warms up, so it actually tastes better an hour after you start eating than it does when you first set it out.
Nutritional Information & Benefits
While charcuterie boards are often seen as indulgent, they can offer a surprising amount of nutrition when balanced correctly. The cheeses provide calcium and protein, which help keep you full. The nuts offer healthy fats and fiber. The fruits provide essential vitamins and antioxidants.
A typical serving of this board might contain around 300-400 calories, depending on portion sizes. It is naturally gluten-free if you choose the right crackers, and it can easily be made dairy-free. For those watching their sodium intake, opt for lower-sodium deli meats and fresh fruits over processed options. I always include a variety of colors on the board because it ensures a wider range of nutrients. Eating a rainbow isn’t just a trend; it’s a practical way to get a broad spectrum of vitamins. This board is a great way to enjoy a social meal without feeling guilty about the calorie count.
Conclusion
Creating a Best Friendsgiving Charcuterie Board with Fall Fruit doesn’t have to be stressful. It is a flexible, forgiving, and delicious way to bring people together. Whether you are a seasoned entertainer or a beginner in the kitchen, this approach allows you to showcase your personality through your food choices. I love this recipe because it takes the pressure off cooking a full meal and puts the focus on connection and conversation. So, grab your board, slice some fruit, and invite your friends over. You might just find that the simplest meals are the ones we remember the most.
FAQs
Can I make this charcuterie board ahead of time?
You can prep the ingredients up to 24 hours in advance. Slice the fruit and store it in airtight containers. Cut the cheese and wrap it properly. However, it is best to assemble the board just before serving to keep the crackers crisp and the fruit fresh.
What is the best cheese to use for a fall board?
Hard cheeses like aged cheddar, gouda, or manchego pair beautifully with autumn fruits. Soft cheeses like brie or camembert add a luxurious texture. For a unique twist, try a blue cheese for a bold, tangy flavor.
How many people does this board serve?
This board is designed to serve 6-8 people as an appetizer or snack. If it is the main food source for the evening, you may want to double the quantities, especially the meats and cheeses.
Can I use frozen fruit?
Frozen fruit is not recommended for charcuterie boards as it tends to become mushy and releases water, which can make the crackers soggy. Fresh fruit is always the best choice for texture and presentation.
What drinks pair well with this board?
Apple cider, red wine, or a spiced beer are classic pairings for a fall charcuterie board. For a non-alcoholic option, try a hot tea or the healthy immunity boosting elderberry lemonade for a festive, warm drink option.
Pin This Recipe!
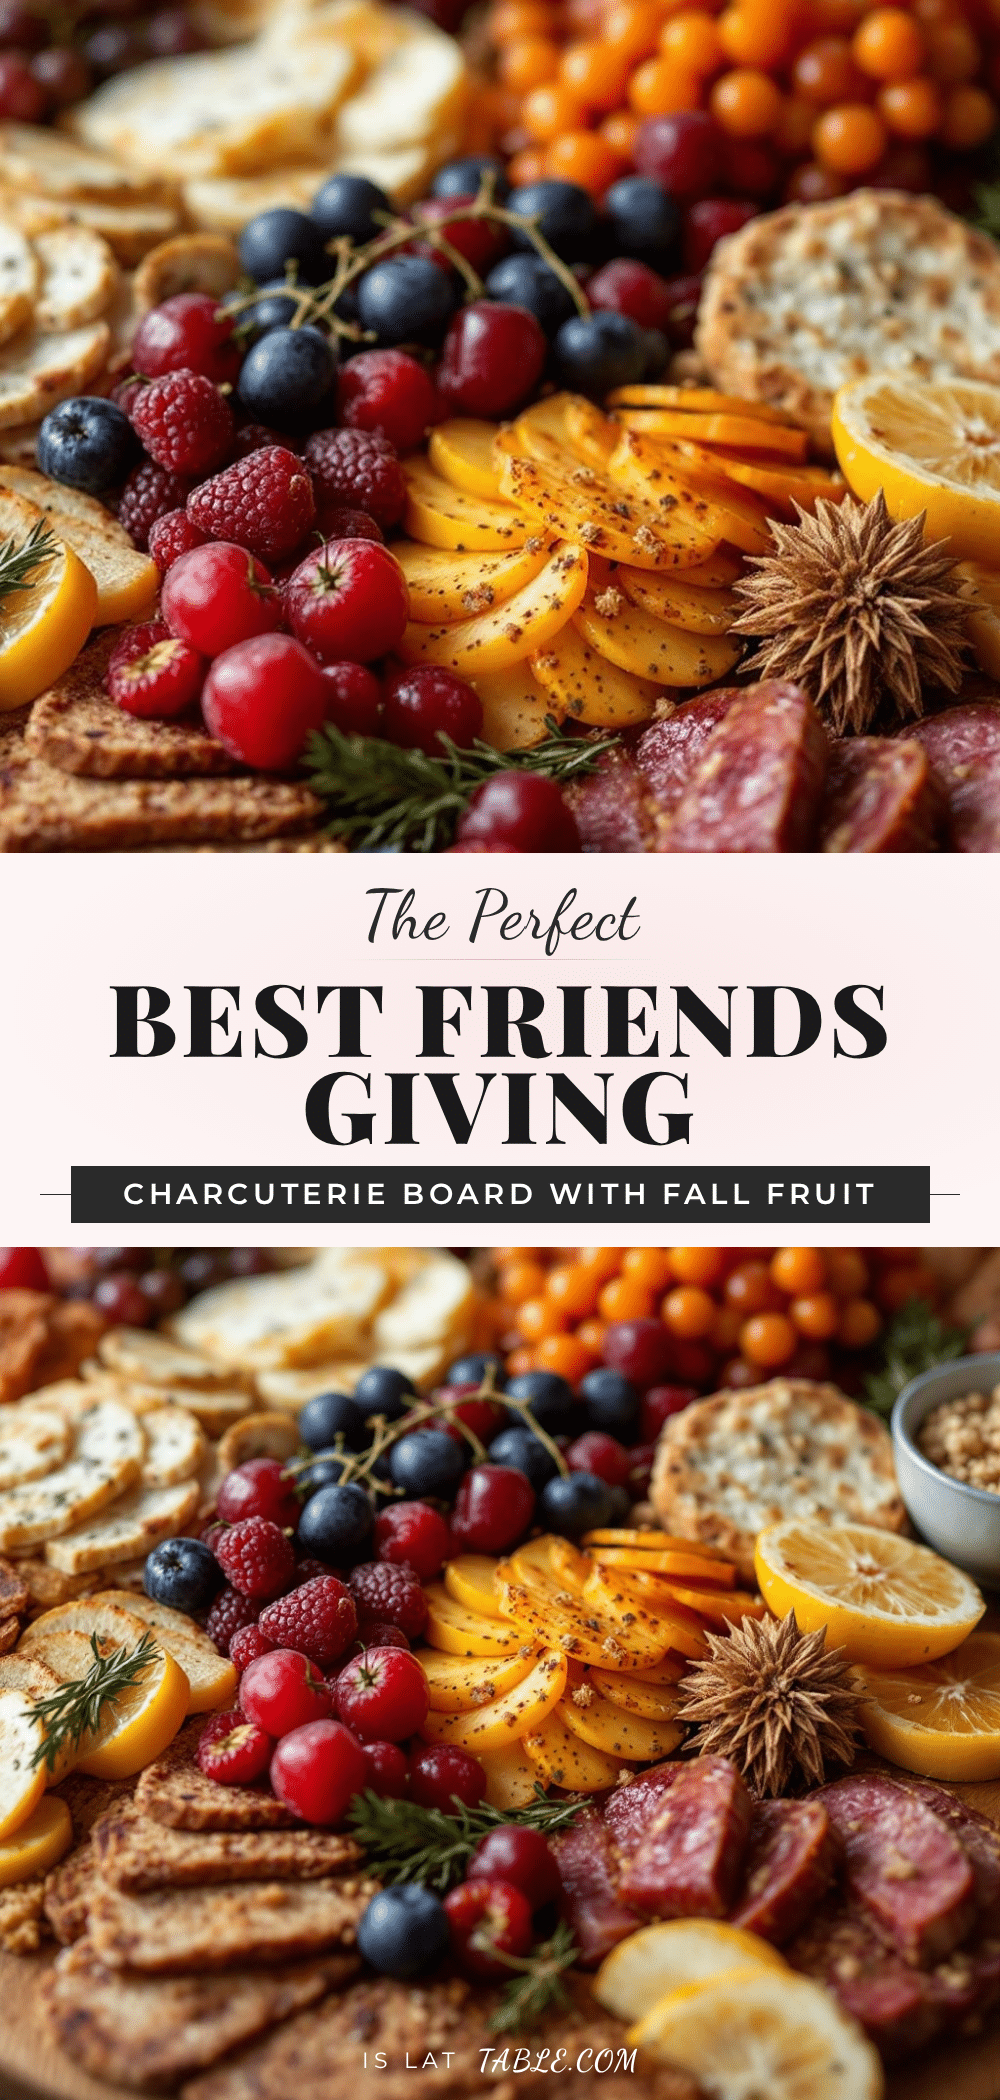
Best Friendsgiving Charcuterie Board: 5 Easy Fall Fruit Ideas

An easy, no-cook charcuterie board featuring seasonal fall fruits like apples, pears, and figs, paired with cheeses, cured meats, and crunchy accompaniments. Perfect for impressing guests without spending hours in the kitchen.
- Prep Time: 15 minutes
- Cook Time: 0 minutes
- Total Time: 15 minutes
- Yield: 6-8 servings
- Category: Appetizer
- Cuisine: American
Ingredients
- Soft Cheese (Brie or Camembert)
- Hard Cheese (Sharp Cheddar or Gouda)
- Cured Meat (Prosciutto or Salami)
- Optional Protein (Pepperoni or Chorizo)
- Apples (Honeycrisp or Fuji), sliced thin
- Pears (Bosc or Anjou), sliced
- Figs (Fresh or dried)
- Grapes (Red or green seedless)
- Crackers (Water crackers or whole wheat crisps)
- Nuts (Walnuts or pecans, toasted)
- Dried Fruit (Apricots or cranberries)
- Jam or Honey (Fig jam or honey)
Instructions
- Take cheeses out of the refrigerator at least 30 minutes before serving to bring to room temperature. Slice hard cheeses into cubes or triangles and place soft cheeses whole or in wedges on the board.
- Fold or roll the cured meats and place them in the empty spaces between the cheeses to add volume.
- Slice apples and pears. Arrange fruit slices in small clusters near the cheeses. Add whole grapes and figs to fill gaps.
- Stand crackers up or fan them out. Add nuts and dried fruits in small piles to eliminate empty white space without overcrowding.
- Place small bowls of jam or honey on the board. Drizzle honey over nuts or cheese for an elegant touch.
- Place small serving knives or toothpicks near relevant items for guests.
Notes
Serve cheese at room temperature for best flavor. Avoid using pre-cut fruit that has been sitting out for hours. If prepping ahead, store cut fruit in the fridge and bring out 10 minutes before serving. For a gluten-free option, use almond flour crackers. For a vegan option, use vegan cheese and skip the meat.
Nutrition
- Serving Size: Assorted bites from
- Calories: 350
- Sugar: 12
- Sodium: 600
- Fat: 25
- Saturated Fat: 10
- Carbohydrates: 20
- Fiber: 3
- Protein: 15
Keywords: Friendsgiving, charcuterie board, fall fruit, easy appetizer, no cook recipe, party food, autumn snacks, brie, prosciutto, honeycrisp apples


