The doorbell rang at 6:15 PM on a perfectly ordinary Tuesday. I wasn’t expecting anyone, and honestly, my kitchen was a disaster zone of half-washed pots and a fridge that looked like it had lost a fight with a raccoon. My husband, Mark, had just walked in the door, looking exhausted from a ten-hour shift, when he mentioned his coworkers were stopping by for a quick “pre-Halloween” drink. Panic is a funny thing. It doesn’t always make you run; sometimes it makes you rummage.
I opened the fridge. It was mostly empty, save for a tub of sour cream, a block of sharp cheddar cheese, a bag of hard-shell corn tortillas, and a jar of mild salsa that had been sitting there since October last year. No fancy cheese blends. No ground beef. No time to cook anything substantial. I stared at those three ingredients like they were magic spells I couldn’t quite pronounce. We could order pizza, but Mark looked like he needed comfort, not delivery grease. And I didn’t want to admit we had nothing to offer guests.
So, I did what I always do when the clock is ticking and the pantry is bare: I improvised. I grabbed a baking dish. I crushed the tortillas into coarse crumbs because I didn’t have a food processor handy and a rolling pin works just as well if you have a good wrist. I mixed the cheese, sour cream, and salsa. It was messy. It was loud. It smelled like sharp cheddar and hope. I threw it in the oven and waited.
When I pulled it out, the edges were bubbling and crispy, and the top was golden brown. I sprinkled more crushed tortilla on top for that “dirt” look. It wasn’t planned. It wasn’t elegant. But when my husband’s friends arrived, they didn’t ask for the menu. They just grabbed chips—wait, no chips, they grabbed the crispy edges—and asked for the recipe. That Crispy Graveyard Taco Dip with Crushed Tortilla Dirt wasn’t supposed to be a star. It was supposed to be a placeholder. Instead, it became the thing everyone was talking about. There’s something about making something great out of nothing that feels like a small victory. And tonight, that victory tasted like melted cheese and relief.
Why You’ll Love This Recipe
Let’s be honest for a second. Most Halloween appetizers are all about the look and forget about the taste. You end up with green deviled eggs or spider-shaped grapes, and while they’re cute, you don’t really crave them. This recipe is different because it hits that sweet spot of spooky aesthetics and actual comfort food flavor. I’ve tested this dip at least a dozen times over the past few years, tweaking the cheese ratios and the crunch factor, and I can tell you with confidence that this is the version that wins the room. It’s not just a party trick; it’s genuinely delicious.
Here is why this dip stays in rotation, even when October is long gone:
- Quick & Easy: You don’t need to spend hours in the kitchen. From crushing the tortillas to pulling the dish out of the oven, you’re looking at about 25 minutes of active time. It’s perfect for those weeknights when you want to look like a culinary wizard without the effort.
- Simple Ingredients: You likely have everything you need right now. No specialty stores, no hard-to-find spices. Just cheese, salsa, sour cream, and tortillas. It’s pantry-friendly cooking at its best.
- Perfect for Parties: Whether it’s a Halloween gathering, a tailgate, or just a casual Tuesday with friends, this dip travels well. It stays warm in the dish and is easy to scoop, which means less stress for you as the host.
- Crowd-Pleaser: Kids love the “dirt” and the crunch. Adults love the sharp cheddar and the mild kick from the salsa. It bridges the gap between picky eaters and foodies, which is a rare feat in appetizer land.
- Unbelievably Delicious: The texture contrast is what makes this next-level. You get the creamy, gooey center from the melted cheese and sour cream, contrasted by the crispy, salty “dirt” on top. It’s savory, it’s rich, and it’s satisfying.
What really sets this apart from other taco dips is the technique. By crushing the tortillas separately and sprinkling them on top *after* the initial bake, you create that distinct graveyard dirt effect that doesn’t get soggy. It stays crispy. I’ve tried mixing the crumbs in at the beginning, and let’s face it, it just turns into a mushy mess. This method keeps the structure intact. It’s a small detail, but it makes all the difference in the final bite. It’s the kind of recipe that makes you feel like you’ve cracked the code on easy entertaining.
What Ingredients You Will Need
This recipe relies on the power of simplicity. You aren’t hiding complex flavors here; you are highlighting the classic combo of cheese, dairy, and corn. The beauty of this dish is that the quality of your ingredients matters, but you don’t need expensive gourmet items. I prefer using a block of sharp cheddar because it melts more evenly and has a better flavor profile than the pre-shredded stuff, which often contains anti-caking agents that can make the dip grainy. If you’re in a rush, pre-shredded works, but grate it yourself if you can.
Here is what you need to gather:
- Sharp Cheddar Cheese: 2 cups, shredded. I recommend using a block of extra-sharp cheddar for that punchy flavor. Brands like Tillamook or Cabot are reliable choices for melting and taste. Grate it yourself for the smoothest texture.
- Sour Cream: 1 cup, full-fat. Don’t skimp here. The fat content helps create that creamy, rich base. If you need a lighter option, Greek yogurt can work, but the texture will be slightly tangier and less lush.
- Mild Salsa: 1 cup. I use a jarred mild salsa for consistency, but you can use fresh pico de gallo if you want more texture. Just note that fresh salsa has more water, so you might want to drain it slightly to keep the dip from becoming soupy.
- Hard-Shell Corn Tortillas: 1 bag (about 12-15 tortillas). These are crucial for the “dirt.” Look for thick, sturdy tortillas that won’t turn to dust too easily. Flour tortillas don’t get as crispy, so stick with corn.
- Garlic Powder: 1 teaspoon. This adds a subtle depth that balances the dairy. It’s an optional step, but I find it takes the flavor from “good” to “great.”
- Onion Powder: 1 teaspoon. Similar to the garlic, this adds a savory backbone without any chunky bits.
- Chili Powder: 1 teaspoon. Just a touch to bring in that classic taco flavor without making it spicy. If you like heat, add a pinch of cayenne or use a hot salsa instead.
- Green Onions: 2-3 stalks, chopped. These are for garnish. They add a pop of color and a fresh, oniony bite that cuts through the richness of the cheese.
Substitution tips: If you’re dairy-free, you can use a plant-based cheddar alternative, though the melt might not be as gooey. For a gluten-free version, just ensure your salsa and spices are certified gluten-free, though corn tortillas are naturally gluten-free. You can also swap the cheddar for a Mexican cheese blend if you prefer a milder taste.
Equipment Needed
You don’t need a fancy kitchen to make this. Here is what you’ll need:
- 9×13 Inch Baking Dish: A ceramic or glass dish works best. It distributes heat evenly and keeps the dip warm at the table. A metal pan works too, but it might brown the edges faster.
- Resealable Plastic Bags: You need a few large gallon-sized bags to crush the tortillas. This is much easier than using a food processor for this specific texture.
- Rolling Pin or Heavy Pan: To crush the tortillas inside the bags. A rolling pin gives you more control, but a heavy-bottomed skillet or a wine bottle works in a pinch.
- Mixing Bowl: A medium-sized bowl to combine the cheese, sour cream, and spices.
- Grater: A box grater is ideal for shredding the cheese block. If you don’t have one, a knife works, but it takes longer.
- Oven: Obviously, you need an oven preheated to 350°F (175°C).
If you don’t have a rolling pin, don’t worry. A heavy book or a bottle of wine will do the job. The goal is to get coarse crumbs, not powder, so keep an eye on the pressure you apply.
Preparation Method
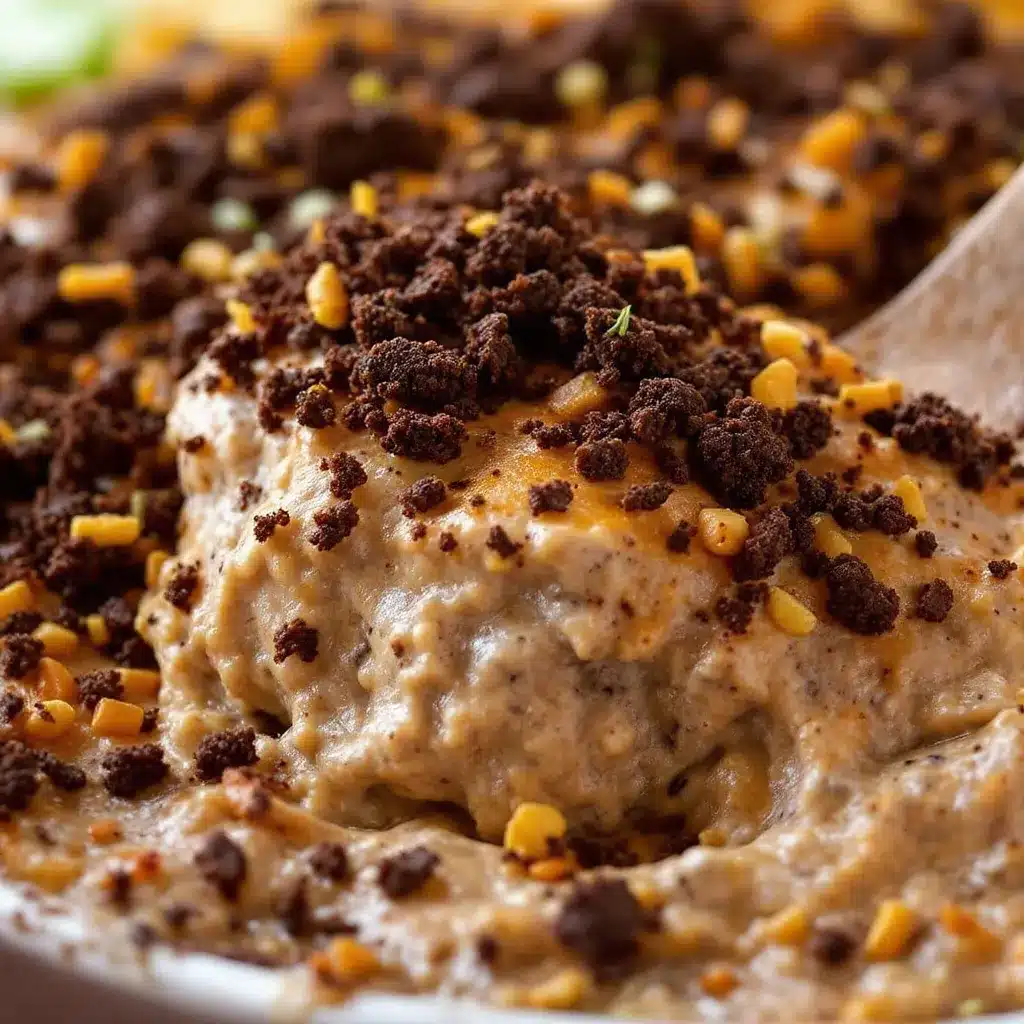
Let’s get this party started. It’s simpler than it looks, and I promise you won’t get overwhelmed.
- Preheat Your Oven: Start by heating your oven to 350°F (175°C). This ensures the oven is ready when your dip is ready, saving you time later. While it heats, grab your 9×13 baking dish and set it aside.
- Crush the Tortillas: Take your hard-shell corn tortillas and break them into quarters. Place about 6-8 tortillas into a large resealable plastic bag. Squeeze out as much air as possible and seal it tight. Use your rolling pin (or heavy pan) to crush them into coarse crumbs. You want them to look like gravel, not dust. Repeat with the remaining tortillas. You should have about 2-3 cups of crumbs total. Set aside half of these crumbs for later.
- Prepare the Cheese Mixture: In your mixing bowl, combine the shredded cheddar cheese, sour cream, and salsa. Add the garlic powder, onion powder, and chili powder. Stir everything together until it’s well combined. The mixture will be thick and chunky. This is normal. If it feels too dry, add a splash more salsa. If it’s too wet, add a bit more cheese.
- Assemble the Base: Pour the cheese mixture into your prepared baking dish. Spread it out evenly with a spoon. You want a flat surface so it bakes uniformly. Don’t worry if it’s not perfectly smooth; rustic is part of the vibe.
- Add the First Layer of Dirt: Sprinkle half of your crushed tortilla crumbs evenly over the top of the cheese mixture. Press them down gently with the back of a spoon so they stick to the cheese. This layer will bake into the dip, adding crunch throughout.
- Bake: Place the dish in the preheated oven and bake for 15-20 minutes. You’re looking for the cheese to be fully melted and bubbling around the edges. The top should be golden brown. If your oven runs hot, check it at 15 minutes to prevent burning.
- Add the Graveyard Dirt: Remove the dish from the oven. Immediately sprinkle the remaining half of the crushed tortilla crumbs over the top. This is your “graveyard dirt.” It will stay crispy because it’s added after the main bake. If you want a more dramatic effect, you can create small mounds or indentations with a spoon to look like a disturbed graveyard.
- Garnish and Serve: Let the dip cool for about 5 minutes. This allows the cheese to set slightly so it’s easier to scoop. Sprinkle the chopped green onions over the top for that pop of green. Serve immediately with sturdy tortilla chips or vegetable sticks.
Cooking Tips & Techniques
Here are some tricks I’ve learned along the way to make sure your dip turns out perfectly every time.
- Don’t Over-Crush the Tortillas: I know it’s tempting to make fine crumbs, but you want texture. Coarse crumbs hold up better against the hot cheese and don’t turn into a paste. Aim for pieces the size of small pebbles.
- Drain Your Salsa: If you’re using fresh salsa or a watery jarred salsa, drain off some of the liquid first. Too much moisture can make the dip runny and prevent the top from crisping up properly.
- Use Full-Fat Dairy: I know low-fat sounds healthier, but in a dip like this, fat equals flavor and texture. Low-fat sour cream and skim milk cheese can result in a rubbery or separated dip. Stick to full-fat for the best results.
- Watch the Bake Time: Every oven is different. Keep an eye on it around the 15-minute mark. You want the cheese melted and bubbly, not browned and crispy on top (except for the tortilla layer). If the cheese is browning too fast, you can loosely tent it with foil.
- Let It Rest: I know it’s hard to wait, but letting the dip sit for 5 minutes after taking it out of the oven helps it set. This makes it easier to serve and prevents the hot cheese from burning your mouth.
A common mistake I see is adding the green onions before baking. The heat will wilt them and turn them brown, which ruins the fresh green look. Always add them after baking for that vibrant contrast.
Variations & Adaptations
This recipe is a canvas. Once you master the base, you can tweak it to suit your taste or dietary needs.
- Spicy Version: Swap the mild salsa for a hot salsa or add a diced jalapeño to the cheese mixture. You can also stir in a can of drained black beans for extra protein and a bit of heat.
- Vegetarian Boost: Add a cup of cooked corn kernels or diced bell peppers to the cheese mixture. This adds sweetness and color, making it a more substantial dish.
- Gluten-Free: This recipe is naturally gluten-free as long as your salsa and spices are certified gluten-free. Corn tortillas are a safe bet, but double-check your labels.
- Dairy-Free: Use a vegan cheddar alternative and coconut yogurt or a vegan sour cream substitute. The texture might be slightly different, but the flavor profile will still be recognizable.
- Protein-Packed: Stir in a cup of cooked, seasoned ground turkey or chicken. This turns the dip into a heartier meal, perfect for a main course or a very hungry crowd.
I’ve also tried adding a layer of refried beans at the bottom of the dish for extra depth. It adds a creamy, earthy layer that pairs well with the sharp cheese. It’s a bit more work, but worth it if you’re feeding a large group.
Serving & Storage Suggestions
This dip is best served warm, straight from the oven. The contrast between the hot, gooey cheese and the cool, crisp tortilla dirt is what makes it special. Serve it with sturdy tortilla chips, pita chips, or even carrot and celery sticks for a lighter option. It pairs well with a cold beer or a glass of wine, especially if you’ve added some spice to the mix.
If you have leftovers (which I doubt), you can store them in an airtight container in the refrigerator for up to 3 days. To reheat, place the dip in the oven at 350°F for 10-15 minutes, or microwave individual portions for 1-2 minutes. The tortilla dirt might soften in the fridge, so you can crisp it up by sprinkling fresh crumbs on top before reheating.
The flavors actually meld and improve over time, so if you can make it a day ahead and reheat it, you might find the taste even better. Just remember to add the fresh green onions after reheating to keep them vibrant.
Nutritional Information & Benefits
While this is definitely a treat, it’s not without its merits. Cheddar cheese is a good source of protein and calcium. Corn tortillas provide complex carbohydrates and fiber, especially if you choose whole-grain or stone-ground options. The salsa adds vitamins A and C, depending on the tomatoes and peppers used.
Each serving (approximately 1/10 of the dish) contains roughly 250-300 calories, with a good balance of fat, protein, and carbs. It’s not a diet food, but it’s a balanced appetizer. For those watching their sodium, be mindful of the salsa and cheese brands, as some can be high in salt. Opt for low-sodium versions if that’s a concern for you.
Conclusion
This Crispy Graveyard Taco Dip with Crushed Tortilla Dirt is more than just a Halloween snack. It’s a testament to the fact that the best recipes often come from the simplest moments. You don’t need a lot of ingredients or fancy techniques to make something people love. You just need a little creativity and a willingness to improvise.
I encourage you to try this recipe and make it your own. Add some spice, swap some veggies, or just enjoy it as is. It’s a crowd-pleaser for a reason, and I think you’ll find it becomes a staple in your party rotation.
If you try this recipe, I’d love to hear how it went. Leave a comment below with your thoughts or share a photo of your graveyard dip. And if you have any variations, please share them too! Let’s inspire each other. Thanks for reading, and happy cooking!
Frequently Asked Questions
Can I make this dip ahead of time?
Yes, you can assemble the dip up to the baking step and refrigerate it for up to 24 hours. Just add 5-10 minutes to the baking time if you’re baking it straight from the fridge. Add the final layer of tortilla dirt and green onions after baking.
What kind of chips go best with this dip?
Thick, sturdy tortilla chips work best because they can handle the weight of the dip without breaking. Restaurant-style chips are ideal. You can also use pita chips or sturdy vegetable sticks like carrots and celery.
Can I use soft tortillas for the dirt?
It’s not recommended. Soft tortillas don’t get crispy in the oven the same way hard-shell corn tortillas do. They tend to stay chewy or turn into bread-like chunks. Hard-shell corn tortillas provide the necessary crunch.
Is this dip spicy?
The base recipe is mild. It’s savory and cheesy with a hint of taco seasoning. If you want it spicier, use hot salsa, add jalapeños, or include some cayenne pepper. You can control the heat level to suit your guests.
Can I freeze this dip?
It’s not recommended to freeze this dip after it’s baked. The texture of the cheese and sour cream can change when frozen and reheated, becoming grainy or separated. It’s best enjoyed fresh.
Pin This Recipe!
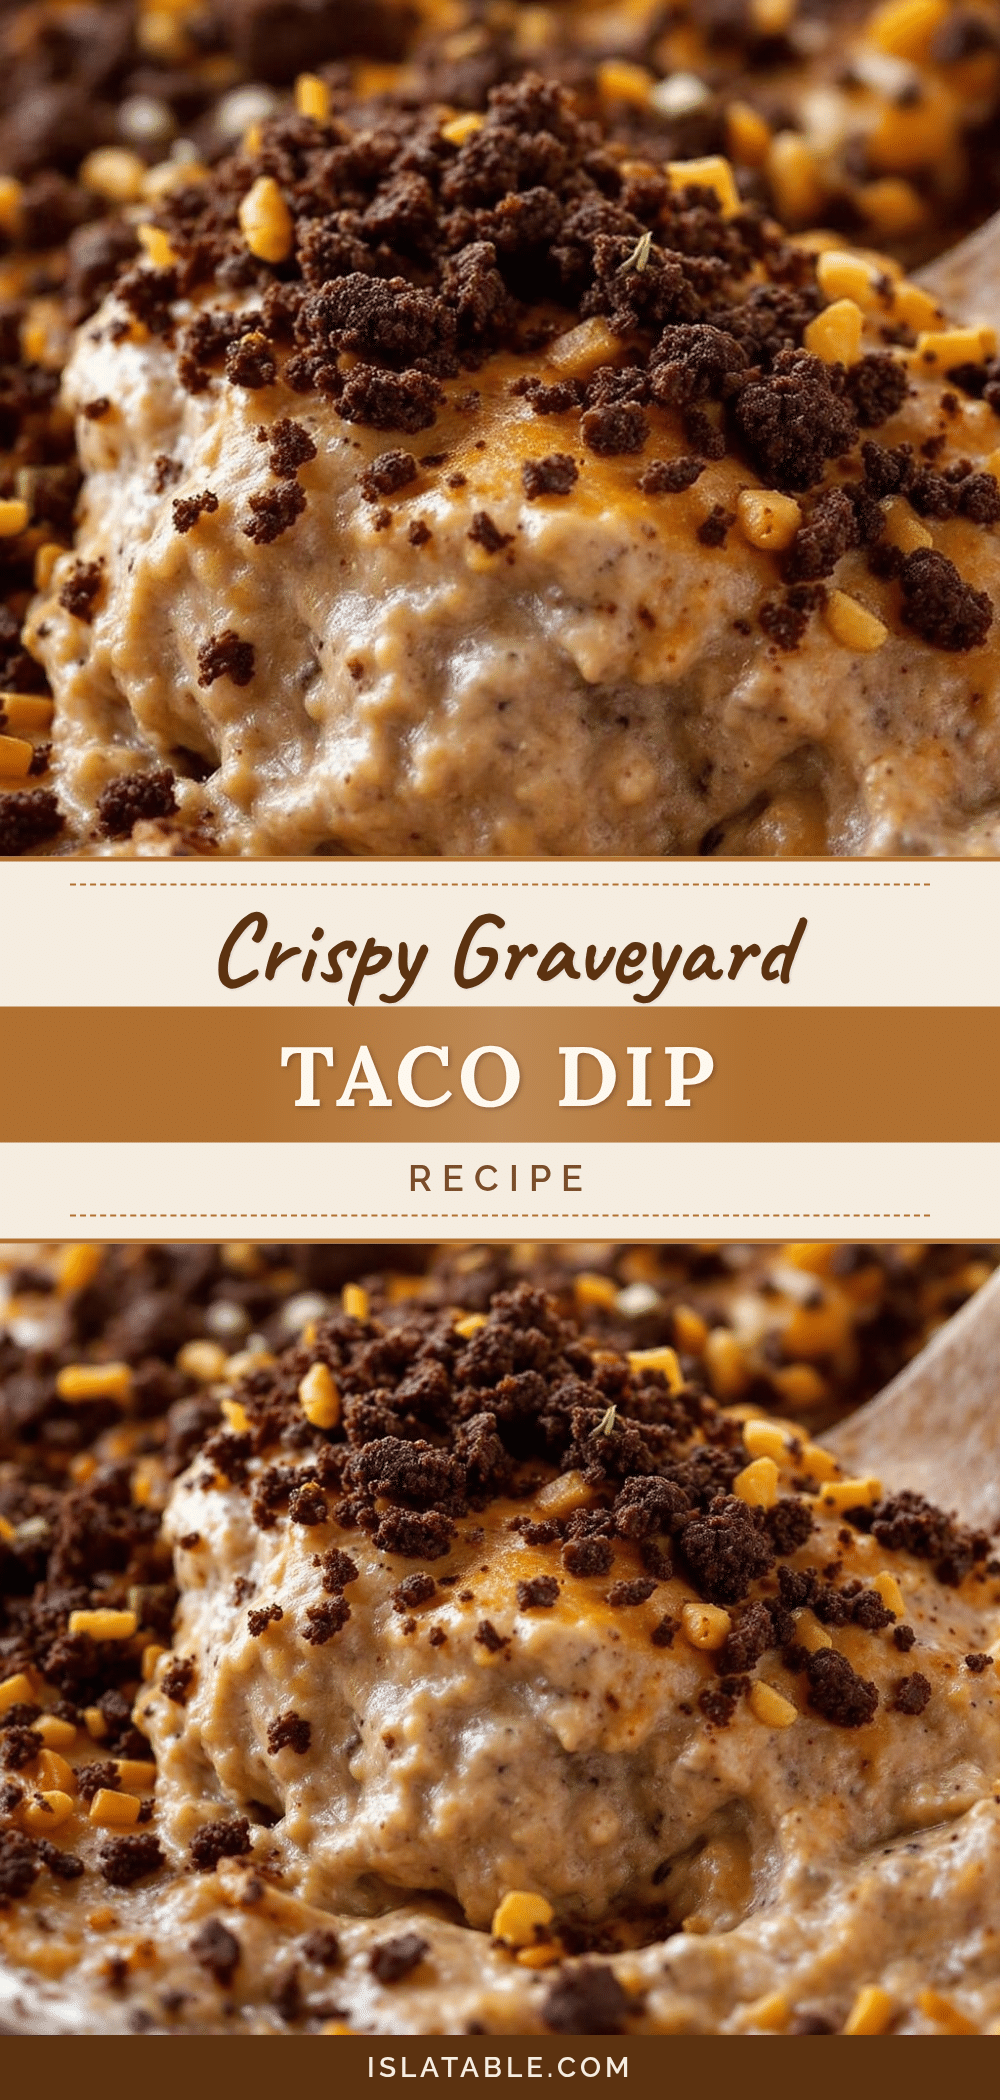
Crispy Graveyard Taco Dip: 3-Ingredient Easy Halloween Appetizer
A quick and easy Halloween appetizer featuring a creamy cheddar and salsa base topped with crispy crushed tortilla ‘dirt’. This crowd-pleasing dip is perfect for parties and requires minimal ingredients.
- Prep Time: 15 minutes
- Cook Time: 20 minutes
- Total Time: 35 minutes
- Yield: 8 servings 1x
- Category: Appetizer
- Cuisine: Mexican
Ingredients
- 2 cups sharp cheddar cheese, shredded
- 1 cup full-fat sour cream
- 1 cup mild salsa
- 1 bag (12-15) hard-shell corn tortillas
- 1 teaspoon garlic powder
- 1 teaspoon onion powder
- 1 teaspoon chili powder
- 2–3 stalks green onions, chopped
Instructions
- Preheat oven to 350°F (175°C).
- Break hard-shell corn tortillas into quarters and place 6-8 at a time into large resealable plastic bags. Crush into coarse crumbs using a rolling pin or heavy pan. Repeat with remaining tortillas to yield 2-3 cups of crumbs. Set aside half of the crumbs.
- In a mixing bowl, combine shredded cheddar cheese, sour cream, salsa, garlic powder, onion powder, and chili powder. Stir until well combined.
- Pour the cheese mixture into a 9×13 inch baking dish and spread evenly.
- Sprinkle half of the crushed tortilla crumbs over the cheese mixture and press down gently.
- Bake for 15-20 minutes until cheese is melted and bubbling.
- Remove from oven and immediately sprinkle the remaining crushed tortilla crumbs over the top to create the ‘graveyard dirt’ effect.
- Let cool for 5 minutes, then garnish with chopped green onions. Serve immediately.
Notes
For best results, use full-fat dairy for a creamier texture. If using fresh salsa, drain excess liquid to prevent a soupy dip. Add the final layer of tortilla crumbs and green onions after baking to maintain crunch and color. This recipe is naturally gluten-free if using certified gluten-free salsa and spices.
Nutrition
- Serving Size: Approximately 1/10 o
- Calories: 275
- Sugar: 3
- Sodium: 450
- Fat: 18
- Saturated Fat: 10
- Carbohydrates: 18
- Fiber: 2
- Protein: 12
Keywords: Halloween appetizer, taco dip, cheese dip, easy party food, crushed tortilla dip, spooky snacks, crowd pleaser


