Sunday night, around eight o’clock. The lunchboxes are lined up on the counter like little soldiers waiting for Monday morning duty. I had ground turkey in the fridge, a half-empty bag of baby spinach, and absolutely zero desire to make another sad sandwich. That’s when these mini turkey meatball cups happened. Not out of a grand plan, honestly, but out of pure necessity and a fridge that wasn’t giving me any other options.
I remember standing there, mixing the meat with my hands, thinking about how my kid would probably just pick them out and eat them cold anyway. (Spoiler: she did, and she loved them.) These little guys became our lunchbox hero, no exaggeration. They’re the kind of recipe that solves a real problem—the 10 a.m. panic of wondering if your child is actually eating anything nutritious—without making you spend your entire Sunday meal prepping.
There’s something deeply satisfying about pulling a baking sheet of these mini turkey meatball cups out of the oven. They smell like comfort, like something that took more effort than it actually did. And when you pop one in your mouth straight from the fridge the next day? Still good. Still juicy. That’s the kind of recipe that sticks around in your rotation for years.
So if you’re tired of the lunchbox struggle, or just want a protein-packed snack that doesn’t require a PhD in meal prep, you’re in the right place. Let’s make some meatball cups.
Why You’ll Love This Recipe
I’ve tested this one more times than I care to admit. The first batch was a little dry. The second batch fell apart. But this version? This is the one I keep coming back to, and here is why it works so well.
- Quick & Easy: From start to finish, you’re looking at about 30 minutes. That’s less time than it takes to argue about what’s for dinner.
- Simple Ingredients: Ground turkey, breadcrumbs, an egg, some cheese, and basic seasonings. You probably have most of this stuff already.
- Perfect for Meal Prep: Make a batch on Sunday, and you’ve got lunchbox solutions for the whole week. They reheat beautifully or taste great cold.
- Crowd-Pleaser: My kids eat these without complaint. My husband packs them for his work lunches. Even the picky neighbor kid asked for the recipe.
- Unbelievably Delicious: The secret is in the moisture—a little grated onion and a touch of olive oil keep these turkey meatballs from drying out. The flavor is savory, slightly cheesy, and just perfect.
What makes this recipe different from every other meatball recipe out there? It’s the cup shape. Baking them in a mini muffin tin means they cook faster, stay perfectly portioned, and have that adorable, lunchbox-friendly shape that kids actually want to eat. Plus, no standing over a hot skillet, turning meatballs one by one. The oven does all the work.
This isn’t just another recipe. It’s the one that makes you feel like you’ve got your life together, even on the busiest mornings.
What Ingredients You Will Need
This recipe uses simple, wholesome ingredients that come together to create something genuinely delicious. No fancy grocery store trips required—just good, basic food that works.
- Ground turkey (1 lb / 450 g): I prefer 93% lean for the best balance of flavor and moisture. Too lean (like 99%) and the meatballs can get dry. If you can find it, ground dark meat turkey works beautifully here.
- Panko breadcrumbs (½ cup / 60 g): Regular breadcrumbs work too, but panko gives a lighter texture. For a gluten-free version, use gluten-free panko or almond flour.
- Grated Parmesan cheese (⅓ cup / 30 g): Adds saltiness and helps bind everything together. The good stuff from a block, freshly grated, makes a noticeable difference.
- Large egg (1): The binder. No egg? Try a flax egg (1 tablespoon flaxseed meal + 3 tablespoons water) for an egg-free version.
- Small yellow onion (¼ cup, grated / 40 g): This is my secret ingredient. Grating the onion (instead of chopping) releases more moisture and flavor, keeping the meatballs juicy.
- Garlic (2 cloves, minced): Fresh garlic is non-negotiable here. The jarred stuff just doesn’t hit the same.
- Dried oregano (1 teaspoon): Adds that classic Italian-ish flavor. You can swap with Italian seasoning if that’s what you have.
- Salt (½ teaspoon) and black pepper (¼ teaspoon): Simple seasoning that lets the turkey shine.
- Olive oil (1 tablespoon): A little fat goes a long way in keeping lean turkey moist. Don’t skip it.
- Fresh parsley (2 tablespoons, chopped, optional): For color and freshness. I add it when I have it, skip it when I don’t.
I recommend using ground turkey from a brand like Butterball or Jennie-O for consistent quality. If you’re buying from the butcher counter, ask for ground thigh meat—it’s juicier than breast meat alone.
Equipment Needed
You don’t need a professional kitchen to pull these off. Here’s what you’ll actually use:
- Mini muffin tin (24-cup): This is the star of the show. A standard 12-cup mini muffin tin works; you’ll just need to bake in two batches or borrow a second one.
- Large mixing bowl: For combining all the ingredients. Any big bowl will do.
- Box grater or microplane: For grating that onion. A microplane works great for garlic too.
- Cookie scoop (1 tablespoon size): Not essential, but it makes portioning the meatballs so much faster and more uniform.
- Measuring cups and spoons: Basic set for accuracy.
- Non-stick cooking spray: Don’t skip this, or your meatball cups will stick to the pan.
If you don’t have a mini muffin tin, you can roll these into regular meatballs and bake them on a parchment-lined baking sheet at 400°F for about 15-18 minutes. They just won’t have that cute cup shape. I’ve also used a silicone mini muffin pan before, and it worked great—no spraying needed, and they popped right out.
Preparation Method
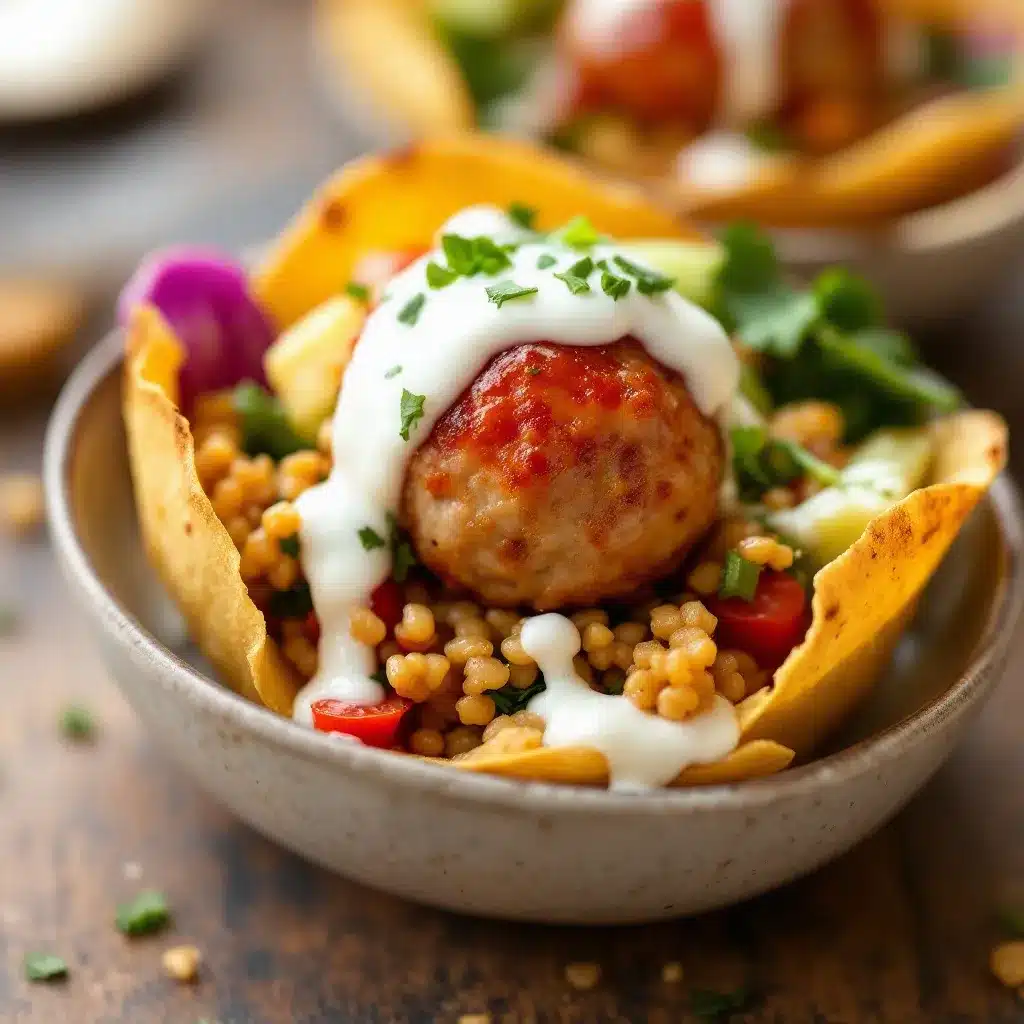
Let’s get cooking. This is straightforward, I promise.
- Preheat your oven to 400°F (200°C). Position the rack in the middle. Spray your mini muffin tin generously with non-stick cooking spray. Don’t be shy here—these little cups need that extra insurance to release cleanly.
- Grate the onion. Take that quarter of a yellow onion and grate it on the large holes of a box grater. You’ll get about ¼ cup of grated onion and some juice. Don’t drain the juice—that liquid is flavor and moisture. Set it aside.
- Combine the wet ingredients. In your large mixing bowl, crack the egg and beat it lightly with a fork. Add the grated onion (with its juice), minced garlic, and olive oil. Give it a quick stir.
- Add the dry ingredients. To the same bowl, add the ground turkey, panko breadcrumbs, grated Parmesan, dried oregano, salt, pepper, and fresh parsley if using. Use your hands to mix everything together. Yes, your hands. A spoon just doesn’t incorporate everything evenly. Mix gently until just combined—overmixing makes meatballs tough.
- Portion the mixture. Using your cookie scoop or a spoon, scoop out tablespoon-sized portions of the meat mixture. Roll each one into a ball between your palms. You should get about 24 mini meatballs.
- Fill the muffin tin. Place one meatball into each mini muffin cup. Don’t press them down—just let them sit as little domes. They’ll settle and flatten slightly as they bake.
- Bake. Pop the tin into the preheated oven and bake for 12-15 minutes. At the 12-minute mark, check one. It should be firm to the touch and lightly browned on top. The internal temperature should read 165°F (74°C) on an instant-read thermometer.
- Rest and release. Let the meatball cups cool in the pan for 5 minutes. This is crucial—they need that time to set up. Then, gently run a small offset spatula or butter knife around the edges of each cup and lift them out. Transfer to a wire rack to cool completely if you’re storing them.
A quick note: If you notice any pinkness in the center after 12 minutes, don’t panic. Turkey can sometimes retain a pinkish hue even when fully cooked. Trust your thermometer, not the color. 165°F is the magic number.
Cooking Tips & Techniques
I’ve made these more times than I can count, and I’ve learned a few things the hard way. Here’s what I wish someone had told me.
Don’t skip the grated onion. The first time I made these, I used chopped onion. The meatballs were okay, but they had these little crunchy bits of undercooked onion that were distracting. Grating the onion solves that problem completely. It melts into the meat, adding moisture and flavor without any texture issues.
Let the mixture rest for 5 minutes before scooping. This gives the breadcrumbs time to absorb some of the moisture from the egg and onion. The mixture will be easier to handle, and the meatballs will hold their shape better. I learned this after my first batch spread out into weird pancake shapes in the muffin tin.
Use a cookie scoop for uniform size. I know it seems fussy, but uniform meatballs cook evenly. Some big, some small means some are overcooked and some are undercooked. A 1-tablespoon scoop is cheap and makes this step take 30 seconds.
Spray the muffin tin again between batches. If you’re doing two batches, re-spray the tin. The second batch will stick more if you don’t. Trust me on this one—I learned the hard way and spent 10 minutes scrubbing a muffin tin.
Multitask like a pro. While the meatballs are baking, wash your dishes. The mixing bowl, the grater, the measuring cups—get them done. By the time the meatballs are cool enough to handle, your kitchen is clean. Future you will be so grateful.
Variations & Adaptations
This recipe is a great base, but it’s also super flexible. Here are some ways I’ve changed it up over the years.
- Cheesy Herb: Add ¼ cup of shredded mozzarella to the mix and swap the oregano for fresh basil. The cheese gets melty and delicious inside the meatball cups.
- Spicy Southwest: Replace the oregano with 1 teaspoon of cumin and ½ teaspoon of chili powder. Add 2 tablespoons of chopped cilantro. Serve with a dollop of salsa or sour cream.
- Gluten-Free: Use gluten-free panko or almond flour instead of regular breadcrumbs. The texture will be slightly different, but still delicious. I’ve made these for a friend with celiac disease, and she couldn’t tell the difference.
- Dairy-Free: Skip the Parmesan cheese and add an extra 2 tablespoons of nutritional yeast for a cheesy flavor without the dairy. Or just leave it out entirely—the meatballs will still be tasty.
- Chicken or Pork: Not a turkey fan? Ground chicken works exactly the same way. Ground pork makes them richer and more flavorful. Both are excellent options.
My personal favorite variation? The Italian-style version. I add ¼ cup of finely chopped sun-dried tomatoes and swap the parsley for fresh basil. It’s like a mini Italian meatball in every bite. I’ve packed these in lunchboxes with a side of marinara for dipping, and they disappear fast.
Serving & Storage Suggestions
These mini turkey meatball cups are versatile little things. Here’s how to serve and store them.
Serving: Enjoy them warm or at room temperature. For lunchboxes, I pack them cold—they’re just as good straight from the fridge. Serve them with a side of marinara sauce, ranch dressing, or even a simple yogurt dip made with Greek yogurt, lemon juice, and garlic powder. They’re also fantastic on top of a salad for a protein boost, or tucked into a slider bun for a mini meatball sandwich.
Storage: Let the meatball cups cool completely before storing. Place them in an airtight container, layered with parchment paper between each layer to prevent sticking. They’ll keep in the refrigerator for up to 5 days.
Freezing: These freeze beautifully. Arrange the cooled meatball cups in a single layer on a baking sheet and freeze for 1-2 hours, until solid. Transfer to a freezer-safe bag or container. They’ll keep for up to 3 months. No need to thaw before reheating—just pop them in a 350°F oven for 10-12 minutes, or microwave for 30-60 seconds.
Reheating: For best results, reheat in the oven or air fryer at 350°F for about 5-7 minutes. The microwave works in a pinch, but the texture won’t be as good. If you’re packing them for a lunchbox, just let them thaw in the fridge overnight—they’re delicious cold.
One thing I love about these is that the flavors actually get better after a day or two in the fridge. The garlic and herbs meld together, and the texture stays surprisingly moist. So don’t worry about making them ahead—they’re designed for it.
Nutritional Information & Benefits
Here’s the nutritional breakdown for one mini turkey meatball cup (based on 24 servings):
- Calories: ~55 kcal
- Protein: 6 g
- Fat: 3 g
- Carbohydrates: 2 g
- Fiber: 0 g
- Sugar: 0 g
These little guys are a fantastic source of lean protein, thanks to the ground turkey. Protein is essential for muscle repair, keeping you full, and stabilizing blood sugar levels. The Parmesan cheese adds a small amount of calcium, and the garlic and oregano offer anti-inflammatory benefits. Plus, by baking instead of frying, you’re cutting down on unnecessary fats and calories.
This recipe is naturally low-carb and gluten-free adaptable, making it suitable for a variety of dietary needs. If you’re watching your sodium, you can reduce the salt or use low-sodium Parmesan. Just keep in mind that the cheese and breadcrumbs do contain some sodium, so adjust accordingly.
I personally love that I can feel good about packing these in my kids’ lunchboxes. They’re getting real food, not processed nuggets, and they actually enjoy eating them. That’s a win in my book.
Conclusion
These easy mini turkey meatball lunchbox cups are proof that meal prep doesn’t have to be complicated or boring. With simple ingredients, minimal effort, and a total time of about 30 minutes, you can have a week’s worth of lunches sorted. They’re kid-approved, adult-approved, and flexible enough to fit almost any dietary preference.
I love this recipe because it solves a real, everyday problem—the lunchbox struggle—without pretending to be something it’s not. It’s just good, honest food that makes life a little easier. And honestly, isn’t that what we all need?
So go ahead, give them a try. Customize them with your favorite herbs and spices, pack them with a fun dipping sauce, and watch them disappear. When you do, come back and let me know how it went. Drop a comment below, tag me in your photos, or share your own twist on the recipe. I’d love to hear from you.
Happy cooking, and here’s to stress-free lunchboxes.
Frequently Asked Questions
Can I make these ahead of time?
Absolutely. These mini turkey meatball cups are designed for meal prep. Make them up to 5 days in advance and store them in the refrigerator. They also freeze beautifully for up to 3 months.
Can I use ground beef instead of turkey?
Yes, ground beef works great. Use 80/20 or 85/15 for the best flavor and moisture. You may need to drain any excess fat after baking.
How do I keep the meatballs from sticking to the muffin tin?
Spray the mini muffin tin generously with non-stick cooking spray before adding the meatballs. Let them cool in the pan for 5 minutes after baking before trying to remove them. If you have a silicone mini muffin pan, you won’t need any spray at all.
Can I make these in an air fryer?
Yes! Preheat your air fryer to 375°F (190°C). Place the meatball cups in the air fryer basket in a single layer (you may need to work in batches). Cook for 8-10 minutes, flipping halfway through, until the internal temperature reaches 165°F.
What dipping sauces go well with these?
These meatball cups are versatile. Try marinara sauce, ranch dressing, BBQ sauce, honey mustard, or a simple yogurt dip made with Greek yogurt, lemon juice, and garlic powder. For a lighter option, they’re delicious on their own.
Pin This Recipe!
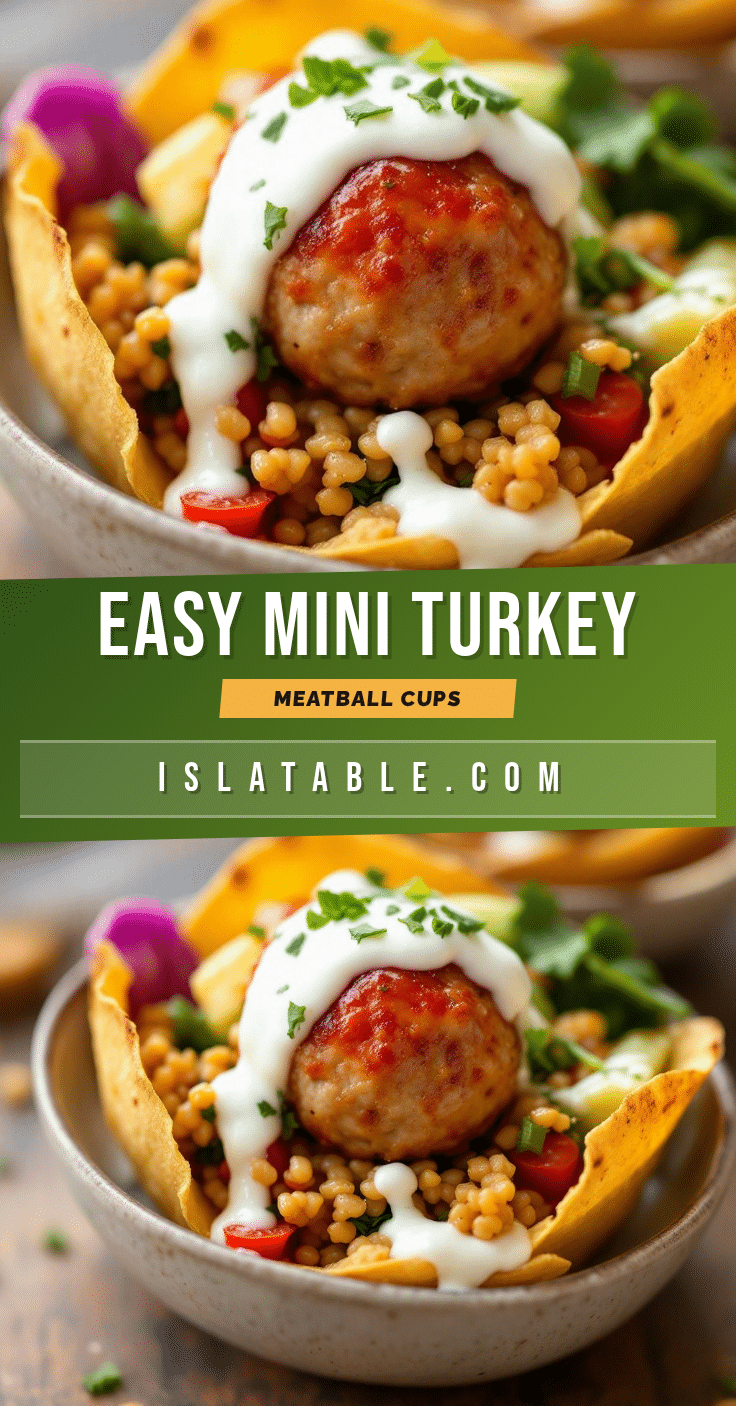
Easy Mini Turkey Meatball Cups: Perfect Lunchbox Bites

These mini turkey meatball cups are a quick, protein-packed lunchbox solution made with simple ingredients. Baked in a mini muffin tin, they’re perfectly portioned, kid-approved, and great for meal prep.
- Prep Time: 15 minutes
- Cook Time: 15 minutes
- Total Time: 30 minutes
- Yield: 24 mini meatball cups (about 4-6 servings) 1x
- Category: Appetizer / Snack / Main Course
- Cuisine: American
Ingredients
- 1 lb (450 g) ground turkey (93% lean recommended)
- ½ cup (60 g) panko breadcrumbs
- ⅓ cup (30 g) grated Parmesan cheese
- 1 large egg
- ¼ cup (40 g) grated yellow onion (from about ¼ small onion)
- 2 cloves garlic, minced
- 1 teaspoon dried oregano
- ½ teaspoon salt
- ¼ teaspoon black pepper
- 1 tablespoon olive oil
- 2 tablespoons fresh parsley, chopped (optional)
Instructions
- Preheat oven to 400°F (200°C). Spray a 24-cup mini muffin tin generously with non-stick cooking spray.
- Grate the onion on the large holes of a box grater. Do not drain the juice.
- In a large mixing bowl, beat the egg lightly. Add grated onion (with juice), minced garlic, and olive oil. Stir to combine.
- Add ground turkey, panko breadcrumbs, Parmesan, oregano, salt, pepper, and parsley (if using). Mix gently with your hands until just combined.
- Using a 1-tablespoon cookie scoop or spoon, portion the mixture into 24 balls. Roll each between your palms.
- Place one meatball into each mini muffin cup. Do not press down.
- Bake for 12-15 minutes, until firm to the touch and lightly browned. Internal temperature should reach 165°F (74°C).
- Let cool in the pan for 5 minutes. Run a small spatula around edges to release. Transfer to a wire rack to cool completely.
Notes
Grating the onion (instead of chopping) releases more moisture and flavor, keeping the meatballs juicy. Let the mixture rest for 5 minutes before scooping for easier handling. For best results, use 93% lean ground turkey. If you notice pinkness after 12 minutes, trust a thermometer—165°F is safe. These freeze beautifully for up to 3 months.
Nutrition
- Serving Size: 1 mini meatball cup
- Calories: 55
- Sodium: 120
- Fat: 3
- Saturated Fat: 1
- Carbohydrates: 2
- Protein: 6
Keywords: mini turkey meatball cups, lunchbox bites, meal prep, turkey meatballs, kid-friendly, healthy snack, easy recipe


