The last crumb disappeared before I could even grab a second one. One of the kids at the Halloween party looked up with wide eyes and asked if I could make those witch hat brownie pops again next year. Honestly, I was a bit surprised—they were just a fun idea tossed together at the last minute. But those little chocolate cones with their crispy edges and sweet, melty centers seemed to cast a spell on everyone.
It all started when I was hunting for a Halloween treat that wasn’t too messy but still festive enough to impress without much fuss. You know how tricky it can be to find something both kid-friendly and grown-up-approved for a spooky celebration. These witch hat brownie pops came from a mix of leftover brownie batter, some chocolate kisses, and a handful of candy eyes I’d bought on impulse. The way the chocolate melted just right, sticking the pieces together, and the crunch of the cone gave it a texture that felt totally one-of-a-kind.
What really stuck with me was how easy it was to whip up, yet how people kept asking for the recipe afterward. There’s something quietly satisfying about pulling off a treat that looks like it belongs in a Halloween shop window but actually comes from your own kitchen. I suppose it’s that perfect blend of simple ingredients and a little crafty flair that keeps this recipe in my Halloween rotation year after year. And if you ask me, that’s what makes a recipe worth holding on to.
Why You’ll Love This Recipe
Making the perfect witch hat brownie pops has been a bit of a kitchen adventure. After testing different brownie recipes and decorating methods, I landed on this version that consistently wows the crowd. Here’s why it’s become a staple for my Halloween treats:
- Quick & Easy: Takes under 45 minutes from start to finish, ideal for last-minute party prep or spooky snack cravings.
- Simple Ingredients: Uses pantry basics like cocoa powder, sugar, eggs, and a few Halloween candies—nothing fancy or hard to find.
- Perfect for Halloween Parties: These pops are bite-sized, mess-free, and festive—a great hit for kids and adults alike.
- Crowd-Pleaser: The combination of fudgy brownie, crunchy cone, and melty chocolate topping always gets rave reviews.
- Uniquely Charming: Unlike basic brownies, these have a playful witch hat shape that sparks conversation and smiles.
What sets this recipe apart is the clever use of ice cream cones dipped in chocolate as the hat’s base, which adds a surprising crunch and shape that’s hard to replicate. Plus, melting chocolate chips to “glue” the hat to the brownie gives it a clean, polished look without complicated piping or frosting skills. Personally, I love how it brings a little magic to a classic treat without needing a dozen specialty ingredients or tools.
It’s a recipe that feels cozy and festive, yet approachable—something that makes you want to pull out the witch hats and invite friends over for a little Halloween fun. And honestly, that’s probably why it’s stayed in my recipe book for so long.
What Ingredients You Will Need
This recipe uses simple, wholesome ingredients to create an eye-catching Halloween treat without any fuss. Most are pantry staples, and I’ve included some handy substitutions so you can customize to your taste or dietary needs.
- For the Brownie Batter:
- 1/2 cup (115g) unsalted butter, melted (I prefer Kerrygold for its creamy flavor)
- 1 cup (200g) granulated sugar
- 2 large eggs, room temperature
- 1 tsp vanilla extract
- 1/3 cup (35g) unsweetened cocoa powder (I recommend Hershey’s for rich taste)
- 1/2 cup (65g) all-purpose flour
- 1/4 tsp salt
- 1/4 tsp baking powder
- For the Witch Hat Assembly:
- Mini sugar cones (about 12 cones) – these form the hat’s pointy top
- 1 cup (170g) semi-sweet chocolate chips, melted – for dipping and “glue”
- Orange candy melts or orange sprinkles – for decorating the hat band
- Edible candy eyes or small white candy pearls (optional, adds a spooky touch)
- Wooden lollipop sticks or sturdy paper straws – to hold the brownie pops
If you want a gluten-free version, swapping the all-purpose flour with a gluten-free blend works well. For dairy-free, use coconut oil instead of butter and dairy-free chocolate chips. Seasonal twist? Try adding a pinch of cinnamon or pumpkin pie spice to the brownie batter for an autumnal flavor.
Equipment Needed
- Mixing bowls – at least two, for wet and dry ingredients
- Whisk and rubber spatula – for combining batter smoothly
- 8×8 inch (20×20 cm) square baking pan – perfect for evenly baked brownies
- Parchment paper – to line the pan for easy removal
- Microwave-safe bowl or double boiler – to melt the chocolate chips
- Cooling rack – to let the brownie base cool completely before assembly
- Lollipop sticks or paper straws – sturdy enough to hold the brownie pop without bending
- Small bowls or cups – for dipping melted chocolate and decorating
If you don’t have a microwave, a double boiler works great for melting chocolate gently. I’ve found that parchment paper makes cleanup a breeze and keeps the brownies from sticking, which is a small trick that saves time. Also, using wooden sticks instead of plastic ones feels sturdier, especially for little hands eager to grab these treats at parties.
Preparation Method
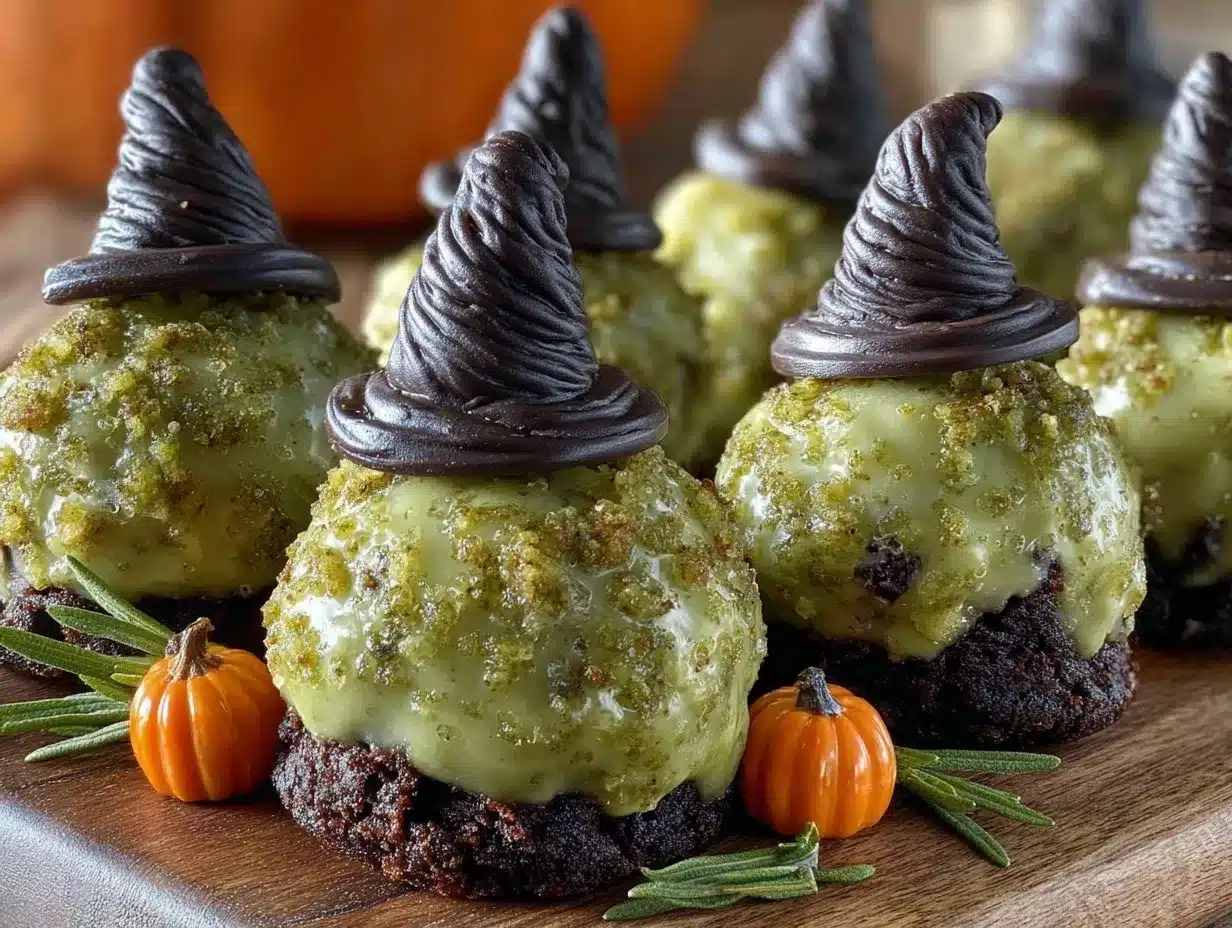
- Preheat the oven to 350°F (175°C). Line the 8×8 inch baking pan with parchment paper, allowing some overhang for easy removal later. This step keeps the brownies intact and makes cutting simpler.
- Make the brownie batter. In a medium bowl, whisk together the melted butter and granulated sugar until combined and glossy, about 1-2 minutes. Add the eggs one at a time, beating well after each addition, then stir in the vanilla extract.
- Mix dry ingredients. In a separate bowl, sift together the cocoa powder, flour, salt, and baking powder. Gradually fold the dry mix into the wet ingredients with a spatula until just combined. Don’t overmix—some small lumps are okay.
- Bake the brownies. Pour the batter into the prepared pan and smooth the top evenly. Bake for 20-25 minutes, or until a toothpick inserted near the center comes out with a few moist crumbs but not wet batter. The fudgy texture is key here.
- Cool completely. Remove the brownies from the oven and let cool in the pan for 15 minutes. Then lift the brownies out using the parchment overhang and transfer to a wire rack to cool fully before assembling the pops.
- Cut brownies into bite-sized squares. Aim for about 1.5-inch (4 cm) pieces to balance the cone size and make them easy to eat. Insert a wooden lollipop stick halfway into each brownie square gently but firmly.
- Melt the chocolate chips. Warm the chocolate in 20-second intervals in the microwave, stirring each time until smooth. Alternatively, melt over a double boiler on low heat, stirring frequently.
- Prepare the witch hats. Dip the rim of each mini sugar cone into the melted chocolate and then place it over the brownie square on the stick, gently pressing so it sticks. Hold for a few seconds until set.
- Decorate the hat bands. Use a small paintbrush or spoon to apply a thin line of melted orange candy or sprinkle orange decorations around the base of the cone to mimic a hatband. Add candy eyes or pearls if using. Let everything set at room temperature or pop them in the fridge for 10 minutes.
- Serve and enjoy. These witch hat brownie pops are best eaten the day they are made but can be stored in an airtight container for up to 3 days.
Cooking Tips & Techniques
When making these brownie pops, a few tricks can make all the difference. First, don’t rush cooling the brownies before inserting the sticks—warm brownies can crumble or slide off. I’ve learned this the hard way after a couple of failed pops.
Melting chocolate in short bursts prevents burning and keeps it silky smooth. Stirring frequently is key here. If the chocolate seizes or thickens, adding a tiny splash of vegetable oil helps loosen it back up.
When dipping the cones, try not to overload them with chocolate or it’ll drip down the stick and make a mess. A light, even coat works best and dries faster. Also, if you like, you can chill the pops briefly between steps to firm up the chocolate faster, especially if your kitchen is warm.
For easier decorating, keep a small paintbrush handy to apply candy melts precisely—this beats trying to pipe with a plastic bag or spoon.
Lastly, when cutting the brownies, a sharp knife dipped in hot water helps you slice cleanly without squishing the fudgy texture. It’s a simple trick that makes your pops look neat and professional.
Variations & Adaptations
There’s plenty of room to tailor these witch hat brownie pops to different tastes or dietary needs:
- Flavor twists: Add a teaspoon of peppermint extract to the batter for a festive minty note, or swirl in some peanut butter before baking for a rich, nutty surprise.
- Dietary swaps: Use gluten-free flour blends to keep them gluten-free or replace butter with coconut oil for a dairy-free option.
- Decorations: Instead of orange candy melts, try purple or green to change the hatband color. You can also sprinkle edible glitter or colored sugar for extra sparkle.
- Chocolate alternatives: Swap semi-sweet chocolate chips for white chocolate or dark chocolate depending on your preference.
- Size variations: Make larger brownie pops by cutting bigger squares and using regular-sized sugar cones for a more dramatic effect.
Once, I tried replacing the sugar cones with waffle cones for a crunchier texture, and while it was tasty, the shape wasn’t quite as witchy. Still, it was a fun experiment that got great reviews!
Serving & Storage Suggestions
Serve these brownie pops slightly chilled or room temperature—they’re easier to handle and the chocolate hat stays firm. Present them standing upright in a decorative container filled with candy corn or shredded paper for a festive display.
They pair beautifully with a warm spiced apple cider or a creamy hot chocolate, making a perfect Halloween snack table centerpiece.
Store leftover pops in an airtight container in the refrigerator for up to 3 days. When ready to enjoy again, let them sit at room temperature for 10-15 minutes so the chocolate softens slightly for the best texture.
Freezing isn’t recommended since the cones might get soggy upon thawing. Over time, the chocolate hat flavor deepens, but I find they’re best fresh for that crisp, magical bite.
Nutritional Information & Benefits
Each witch hat brownie pop contains roughly 150-180 calories, depending on the size and exact ingredients used. They provide a moderate amount of fat and sugar, making them a treat to enjoy in moderation during Halloween festivities.
Key ingredients like cocoa powder offer antioxidants, and using real butter adds a richer flavor and texture compared to margarine. You can make them a bit lighter by using less sugar or swapping in sugar substitutes if desired.
Note that these pops contain common allergens such as eggs, dairy, and gluten (unless adapted). For anyone sensitive, the recipe can be adjusted to accommodate.
From a wellness perspective, I appreciate that this recipe balances indulgence with simplicity—no artificial additives or preservatives—just classic homemade goodness that feels festive and fun.
Conclusion
The perfect witch hat brownie pops bring together fun and flavor in a way that’s easy to pull off yet memorable for any Halloween gathering. Their playful shape and fudgy texture make them a standout treat that’s sure to get smiles and repeat requests.
Feel free to personalize these pops to your family’s tastes or dietary preferences—there’s plenty of room for creativity here. I love this recipe because it turns simple ingredients into something special with just a little imagination and effort.
If you decide to make these for your next spooky party, I’d love to hear how they turned out or any twists you tried. Sharing recipes like this keeps the magic alive and inspires others to cook with joy and a bit of whimsy.
Frequently Asked Questions
Can I make the brownie pops ahead of time?
You can bake the brownies a day in advance and store them wrapped tightly. Assemble the pops the day of serving for the freshest taste and best texture.
What if I can’t find mini sugar cones?
Regular size cones can work too—just cut the brownie squares larger to match. Or try waffle cones for a crunchier twist, though the shape may differ.
How do I prevent the brownie from crumbling when inserting sticks?
Make sure brownies are fully cooled before inserting sticks. Using a sharp knife to cut neat squares also helps keep them intact.
Can I use white chocolate instead of semi-sweet for the hat?
Absolutely! White chocolate melts nicely and offers a different look. Just watch closely while melting to avoid burning.
Are these pops suitable for freezing?
Freezing is not recommended as the cones can become soggy when thawed. Best to enjoy them fresh within a few days.
For a savory side to balance your sweet treats this Halloween, you might enjoy the healthy keto coleslaw recipe with creamy sugar-free dressing—it’s a perfect, refreshing contrast. And after the Halloween fun, if you’re looking for another crowd-pleaser, the easy gluten-free cornbread muffins bring cozy vibes that feel just right as the season cools down.
Pin This Recipe!
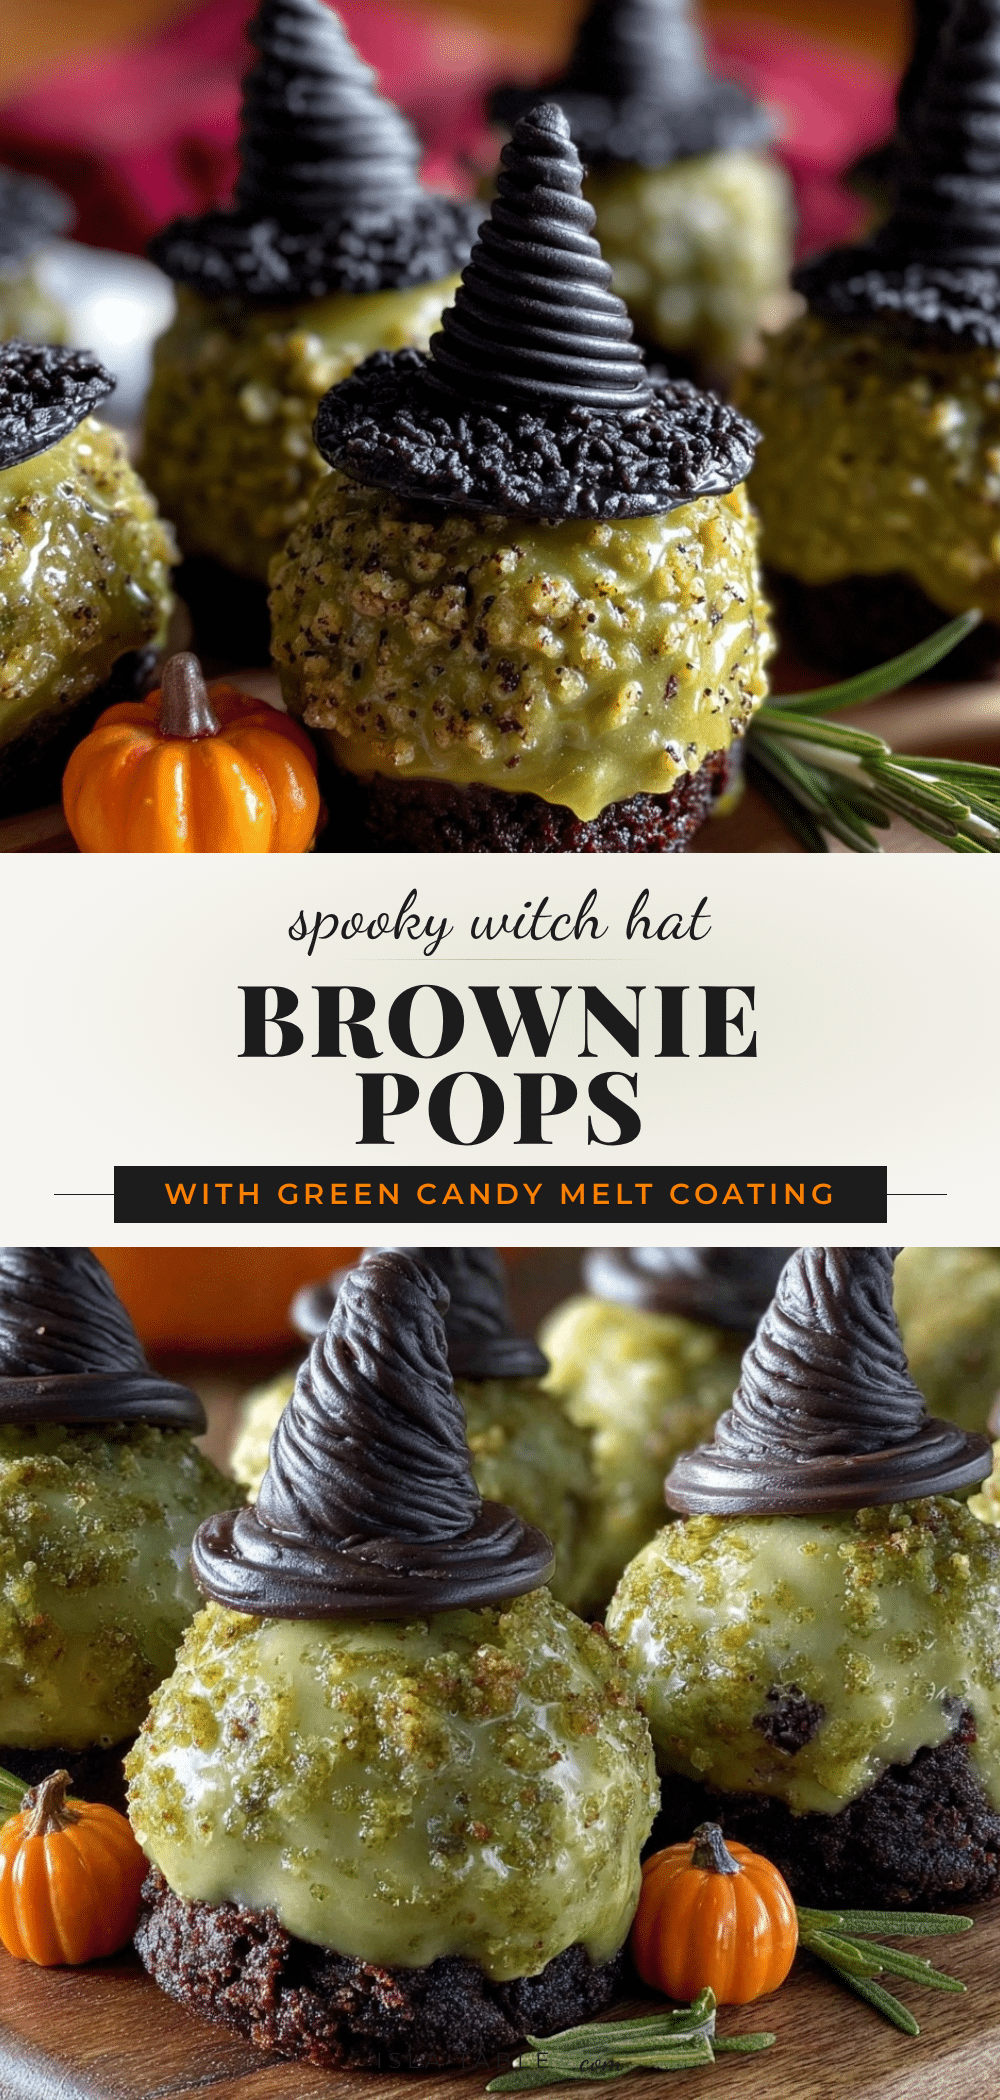
Perfect Witch Hat Brownie Pops
These witch hat brownie pops are a quick and easy Halloween treat featuring fudgy brownies topped with mini sugar cones dipped in melted chocolate, decorated with festive orange candy melts and candy eyes. They are bite-sized, mess-free, and perfect for parties.
- Prep Time: 15 minutes
- Cook Time: 25 minutes
- Total Time: 40 minutes
- Yield: 12 servings 1x
- Category: Dessert
- Cuisine: American
Ingredients
- 1/2 cup (115g) unsalted butter, melted
- 1 cup (200g) granulated sugar
- 2 large eggs, room temperature
- 1 tsp vanilla extract
- 1/3 cup (35g) unsweetened cocoa powder
- 1/2 cup (65g) all-purpose flour
- 1/4 tsp salt
- 1/4 tsp baking powder
- Mini sugar cones (about 12 cones)
- 1 cup (170g) semi-sweet chocolate chips, melted
- Orange candy melts or orange sprinkles
- Edible candy eyes or small white candy pearls (optional)
- Wooden lollipop sticks or sturdy paper straws
Instructions
- Preheat the oven to 350°F (175°C). Line an 8×8 inch baking pan with parchment paper, allowing some overhang for easy removal.
- In a medium bowl, whisk together the melted butter and granulated sugar until combined and glossy, about 1-2 minutes. Add the eggs one at a time, beating well after each addition, then stir in the vanilla extract.
- In a separate bowl, sift together the cocoa powder, flour, salt, and baking powder. Gradually fold the dry mix into the wet ingredients with a spatula until just combined. Do not overmix.
- Pour the batter into the prepared pan and smooth the top evenly. Bake for 20-25 minutes, or until a toothpick inserted near the center comes out with a few moist crumbs but not wet batter.
- Remove the brownies from the oven and let cool in the pan for 15 minutes. Then lift the brownies out using the parchment overhang and transfer to a wire rack to cool completely.
- Cut brownies into 1.5-inch (4 cm) bite-sized squares. Insert a wooden lollipop stick halfway into each brownie square gently but firmly.
- Melt the chocolate chips in 20-second intervals in the microwave, stirring each time until smooth, or melt over a double boiler on low heat, stirring frequently.
- Dip the rim of each mini sugar cone into the melted chocolate and place it over the brownie square on the stick, gently pressing so it sticks. Hold for a few seconds until set.
- Decorate the hat bands by applying a thin line of melted orange candy or sprinkling orange decorations around the base of the cone. Add candy eyes or pearls if desired. Let set at room temperature or chill in the fridge for 10 minutes.
- Serve and enjoy. Best eaten the day they are made but can be stored in an airtight container for up to 3 days.
Notes
Cool brownies completely before inserting sticks to prevent crumbling. Melt chocolate in short bursts and stir frequently to avoid burning. Use a sharp knife dipped in hot water to cut brownies cleanly. Lightly coat cones with chocolate to avoid drips. Chill pops briefly between steps to firm chocolate if needed. Store in airtight container up to 3 days; freezing not recommended.
Nutrition
- Serving Size: 1 witch hat brownie
- Calories: 150180
- Sugar: 16
- Sodium: 90
- Fat: 8
- Saturated Fat: 5
- Carbohydrates: 22
- Fiber: 2
- Protein: 2
Keywords: Halloween treats, brownie pops, witch hat brownies, easy Halloween dessert, kid-friendly Halloween snacks, chocolate brownie pops


