My partner took one bite of these crispy quesadilla triangles and declared, “This is actually the best snack you’ve made in ages,” and honestly, I was halfway through wondering if I’d burned them. The golden crunch, the gooey cheese, that perfect little snap when you bite in—it was a quiet victory moment. You know that feeling when the picky eaters in your life unexpectedly come around? There was a sudden hush as the plate emptied faster than I expected, and I had to smile. These Crispy Picky Eater Approved Quesadilla Triangles didn’t just fill a hunger gap—they made an ordinary afternoon feel a little lighter, a bit more fun.
What caught me off guard was how simple it was to get this result. No complicated ingredients, no hours in the kitchen—just five straightforward components that somehow come together to make something that’s both crispy and comforting. The smell of butter sizzling on the pan, the way the tortillas crisp up just right, and the melty cheese inside are a combo that’s hard to resist, even if you usually shy away from quesadillas. It’s funny how such a modest recipe can turn a casual snack into a mini celebration of flavors and textures.
Watching that moment unfold reminded me why recipes like this stick with me. It’s not about fancy cooking, but about sharing food that genuinely satisfies, even for the fussiest eaters around. These quesadilla triangles have become my go-to quick fix, the kind of snack that feels like a little treat without any fuss. And I trust they’ll do the same for you.
Why You’ll Love This Recipe
- Quick & Easy: Ready in under 15 minutes, perfect for those days when you need a fast, fuss-free snack that still hits the spot.
- Simple Ingredients: Only 5 ingredients—most likely already in your pantry or fridge—no extra trips to the grocery store.
- Perfect for Any Occasion: Whether it’s an after-school snack, a casual lunch, or even part of a party platter, these quesadilla triangles fit right in.
- Crowd-Pleaser: Kids, teens, and adults alike give these a thumbs up, making them ideal for picky eaters who usually turn their noses up.
- Unbelievably Delicious: The crispy outside with the creamy, melted cheese inside creates a texture and flavor combo that’s just downright addictive.
- Unique Twist: Unlike other quesadillas, these triangles get that extra crispy finish by pan-toasting in butter, not oil—giving them a richer flavor and crunch without greasiness.
- Emotionally Satisfying: This recipe isn’t just a snack; it’s a little moment of joy, the kind that makes everyone pause, smile, and maybe even ask for seconds.
What Ingredients You Will Need
This recipe uses simple, wholesome ingredients to deliver bold flavor and a satisfying texture without the fuss. The components are pantry staples that anyone can piece together easily, with room for substitutions based on your kitchen’s inventory or dietary preferences.
- Flour tortillas: Medium size (8-inch) work best for easy folding and crisping. You can swap for gluten-free tortillas if needed.
- Shredded cheese: A mix of sharp cheddar and mozzarella gives the perfect blend of flavor and meltability. I like using Sargento or Kraft for consistent shredding.
- Unsalted butter: About 2 tablespoons, softened. Butter adds richness and a golden crisp that oil just can’t match.
- Optional add-ins: A pinch of garlic powder or smoked paprika can add a subtle kick without overwhelming picky palates.
- Sour cream or salsa (for dipping): Not part of the baking, but highly recommended as a serving partner.
Pro tip: If you want to sneak in more veggies, finely chopped bell peppers or mild green chilies can be tucked inside without changing the crispy texture. Just keep it light so the triangles hold together well.
Equipment Needed
- Non-stick skillet or cast-iron pan: Essential for that even browning and crispy finish. I personally like cast iron for the heat retention, but non-stick works great for easy cleanup.
- Spatula: A thin, flexible spatula helps flip the quesadilla triangles gently without tearing the tortillas.
- Cutting board and sharp knife: To slice the quesadilla into neat triangles before or after cooking (I prefer after cooking for less mess).
- Measuring spoons: Useful for portioning butter and seasonings.
- Optional: A griddle pan can also be used if you want to cook multiple quesadilla triangles at once.
For budget-friendly options, a good-quality non-stick skillet will do the trick, and keeping your spatula in good shape (avoid metal on non-stick surfaces) helps maintain the pan’s coating longer.
Preparation Method
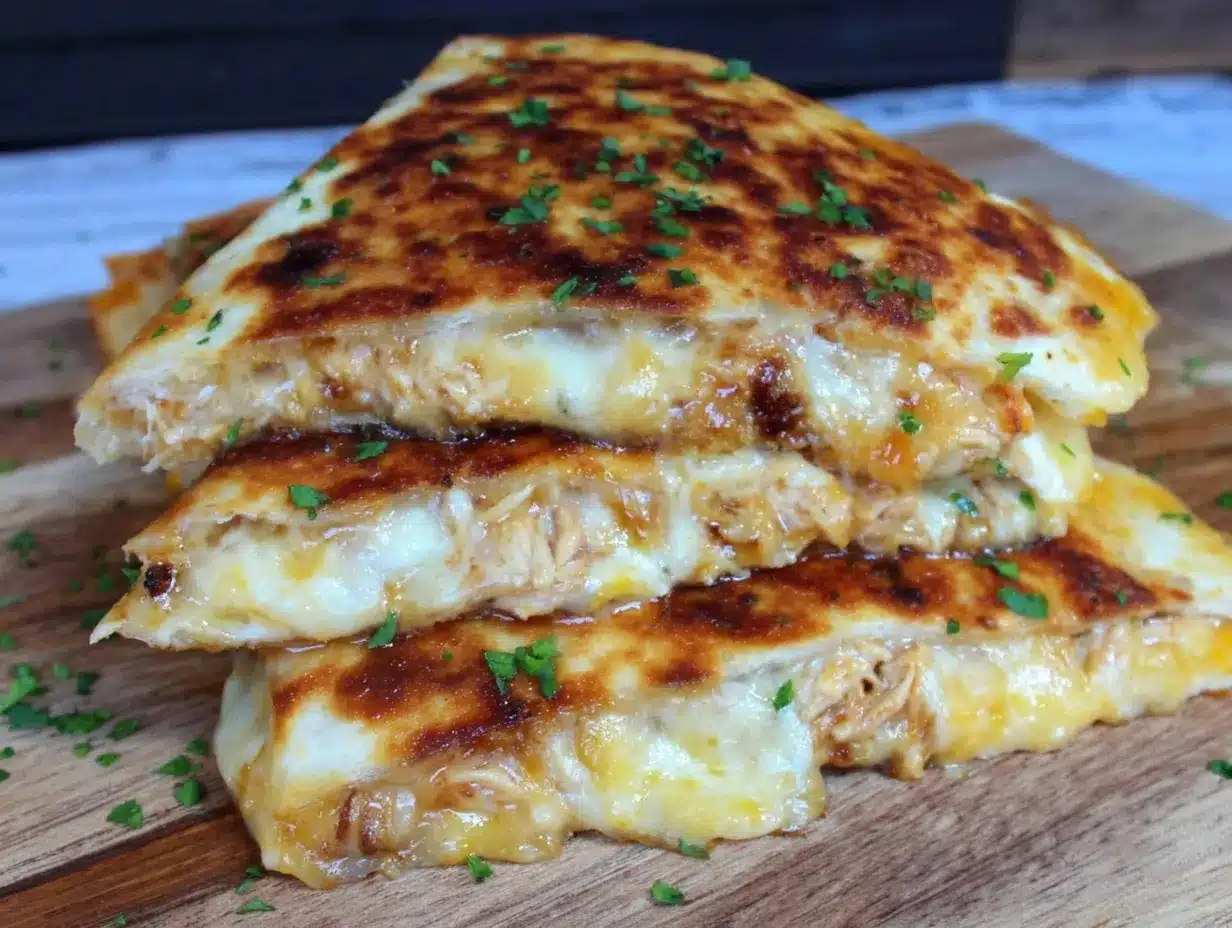
- Prep your ingredients: Shred about 1 cup (100g) of cheddar and 1 cup (100g) mozzarella cheese. Soften 2 tablespoons (28g) of unsalted butter at room temperature. If using seasonings, mix a pinch of garlic powder or smoked paprika with the cheese.
- Assemble the quesadilla: Lay one flour tortilla flat on your cutting board. Evenly sprinkle the cheese mixture over half of the tortilla, leaving a small border around the edges. Fold the tortilla in half to cover the cheese, pressing lightly to seal.
- Cut into triangles: Using a sharp knife, slice the folded tortilla into 3 or 4 even triangles. This step makes for perfect finger food and helps the heat distribute evenly during cooking.
- Heat the skillet: Place your non-stick or cast-iron skillet on medium heat. Add 1 tablespoon (14g) of butter and let it melt completely, coating the surface.
- Cook the triangles: Arrange the quesadilla triangles in the skillet without overcrowding. Cook for 2-3 minutes on one side until golden brown and crispy, then carefully flip with your spatula. Add the remaining 1 tablespoon (14g) butter before flipping to ensure both sides get that buttery crunch.
- Finish and serve: Once both sides are golden and the cheese is melted (about 5-6 minutes total), remove from heat. Serve warm with sour cream, salsa, or your favorite dipping sauce.
- Troubleshooting: If you notice the tortillas browning too fast but cheese isn’t melted, lower the heat slightly and cover the pan with a lid for a minute to trap heat. This helps melt cheese without burning the outside.
- Storage Tip: If making ahead, reheat in a skillet or air fryer to keep crispiness. Avoid microwave reheating if you want to retain that crunch.
Cooking Tips & Techniques
Getting that perfect crispy texture is all about heat control and timing. Medium heat is your friend here—too hot and the tortilla burns before the cheese melts; too low and you risk sogginess. Butter is a game changer for flavor and crisp, but don’t overload it or the quesadilla will feel greasy.
Flipping can feel tricky, so using a thin spatula helps you slide under the triangles easily. You can also cook one side fully, then cover the pan briefly to melt the cheese before flipping for a consistent texture.
One lesson I learned the hard way was to slice after assembly but before cooking. Cutting after cooking sometimes causes the cheese to ooze and stick to your pan or spatula. Also, avoid overfilling with cheese or extras because it makes folding and flipping messier.
Time multitasking by prepping your dipping sauces or chopping optional add-ins while the quesadillas cook. This keeps things moving, especially on busy days when snacks need to appear fast.
Variations & Adaptations
- Dietary swaps: Use gluten-free tortillas and dairy-free cheese for allergy-friendly quesadilla triangles.
- Flavor twists: Add cooked chicken, black beans, or corn inside for a heartier snack, inspired by flavors from my sheet pan chicken fajitas.
- Seasonal touches: In summer, toss in fresh diced tomatoes or mild jalapeños for a bright, fresh bite.
- Cooking method: For a lighter version, try air frying the triangles at 375°F (190°C) for 6-8 minutes, flipping halfway through for crispness without butter.
- Personal favorite: I once added a sprinkle of nutritional yeast to the cheese mix for a cheesy, savory punch that even picky eaters didn’t notice.
Serving & Storage Suggestions
Serve these quesadilla triangles warm right off the pan for peak crispiness. They pair wonderfully with a dollop of sour cream or a mild salsa—something creamy to balance the crunch. For a quick meal, add a simple side salad or even a scoop of keto coleslaw to keep things light and refreshing.
Store leftovers in an airtight container in the refrigerator for up to 2 days. Reheat in a skillet or air fryer to bring back the crisp texture—microwaving tends to make them soggy (and nobody wants that). The flavors actually deepen after a day, so these quesadillas make great overnight snacks for busy mornings or quick lunches.
Nutritional Information & Benefits
Each serving of these quesadilla triangles (about 2-3 triangles) contains approximately 250-300 calories, with a balance of protein and fat that keeps you satisfied without weighing you down. Cheese provides calcium and protein, while the tortillas add carbs for energy. Using butter adds richness but also healthy fats when used in moderation.
For those watching carbs or dairy, swapping in low-carb tortillas or dairy-free cheeses can adjust the recipe to fit diverse dietary needs. Plus, the option to add veggies inside means you can sneak in extra nutrients without fuss.
Conclusion
These Crispy Picky Eater Approved Quesadilla Triangles have become a quiet kitchen hero for me—a simple recipe that delivers big on flavor and texture with very little fuss. They’re easy to tweak based on your pantry and tastes, making them a reliable go-to for quick snacks or light meals. I love how they bring a little crispy joy to the table and get everyone eating without complaints.
Try them as is or experiment with add-ins and dips, and let me know how your own picky eaters respond! There’s something satisfying about turning a few basic ingredients into a treat that everyone actually wants to eat.
And if you’re curious about other easy, crowd-pleasing recipes, you might enjoy my gluten-free cornbread muffins or the vegan baked beans with maple syrup—both perfect companions for casual meals.
FAQs
Can I make these quesadilla triangles ahead of time?
Yes, you can prepare and cook them in advance, then reheat in a skillet or air fryer to keep them crispy. Avoid microwaving if possible.
What’s the best cheese for quesadilla triangles?
A blend of sharp cheddar and mozzarella works great for flavor and melt. You can also use Monterey Jack or a Mexican cheese blend.
Can I freeze the quesadilla triangles?
Freezing is possible, but they may lose some crispiness. Freeze cooked triangles in a single layer, then reheat in an oven or air fryer.
How do I make these dairy-free?
Swap regular cheese for dairy-free shredded cheese and use a plant-based butter or oil for cooking.
What can I serve with these quesadilla triangles?
They pair well with sour cream, salsa, guacamole, or simple sides like a fresh salad or keto coleslaw for a balanced snack or light meal.
Pin This Recipe!
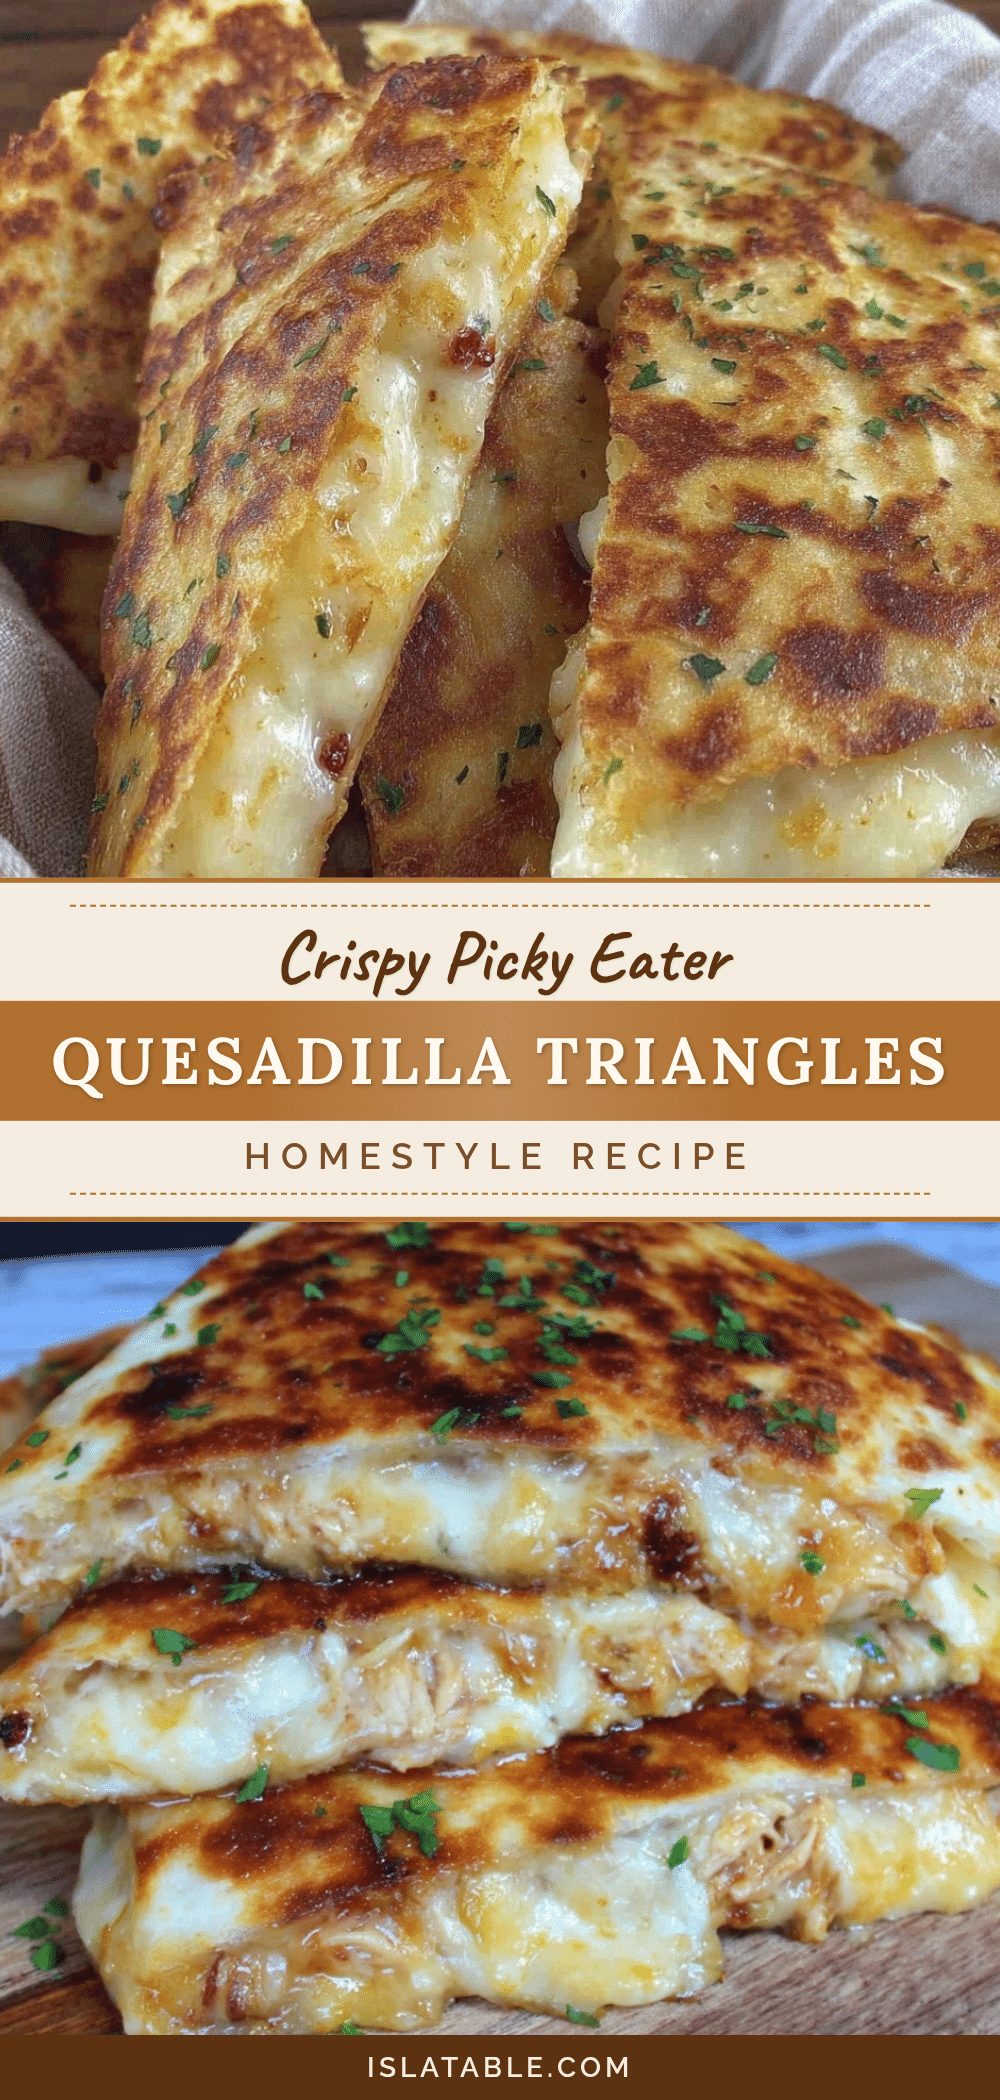
Crispy Picky Eater Approved Quesadilla Triangles Easy 5-Ingredient Recipe

These crispy quesadilla triangles are a quick, easy, and delicious snack made with just five simple ingredients. Perfect for picky eaters, they offer a golden crunch and gooey cheese filling that’s hard to resist.
- Prep Time: 5 minutes
- Cook Time: 6 minutes
- Total Time: 11 minutes
- Yield: 3-4 servings 1x
- Category: Snack
- Cuisine: Mexican-inspired
Ingredients
- Medium flour tortillas (8-inch)
- 1 cup shredded sharp cheddar cheese
- 1 cup shredded mozzarella cheese
- 2 tablespoons unsalted butter, softened
- Optional: pinch of garlic powder or smoked paprika
- Optional for serving: sour cream or salsa
Instructions
- Shred about 1 cup (100g) of cheddar and 1 cup (100g) mozzarella cheese. Soften 2 tablespoons (28g) of unsalted butter at room temperature. If using seasonings, mix a pinch of garlic powder or smoked paprika with the cheese.
- Lay one flour tortilla flat on your cutting board. Evenly sprinkle the cheese mixture over half of the tortilla, leaving a small border around the edges. Fold the tortilla in half to cover the cheese, pressing lightly to seal.
- Using a sharp knife, slice the folded tortilla into 3 or 4 even triangles.
- Place your non-stick or cast-iron skillet on medium heat. Add 1 tablespoon (14g) of butter and let it melt completely, coating the surface.
- Arrange the quesadilla triangles in the skillet without overcrowding. Cook for 2-3 minutes on one side until golden brown and crispy, then carefully flip with your spatula. Add the remaining 1 tablespoon (14g) butter before flipping to ensure both sides get that buttery crunch.
- Once both sides are golden and the cheese is melted (about 5-6 minutes total), remove from heat. Serve warm with sour cream, salsa, or your favorite dipping sauce.
- If tortillas brown too fast but cheese isn’t melted, lower heat slightly and cover the pan with a lid for a minute to trap heat.
- Store leftovers in an airtight container in the refrigerator for up to 2 days. Reheat in a skillet or air fryer to keep crispiness. Avoid microwaving.
Notes
Use medium heat to avoid burning tortillas before cheese melts. Butter gives a richer flavor and crispiness than oil. Slice after assembly but before cooking to avoid cheese oozing. Reheat in skillet or air fryer to maintain crispiness; avoid microwave reheating. Optional add-ins like finely chopped bell peppers or mild green chilies can be added without affecting texture.
Nutrition
- Serving Size: About 2-3 quesadilla
- Calories: 275
- Sugar: 1
- Sodium: 350
- Fat: 18
- Saturated Fat: 10
- Carbohydrates: 20
- Fiber: 1
- Protein: 12
Keywords: quesadilla, crispy quesadilla, picky eater snack, easy snack, 5 ingredient recipe, cheesy snack, quick snack, kid-friendly


