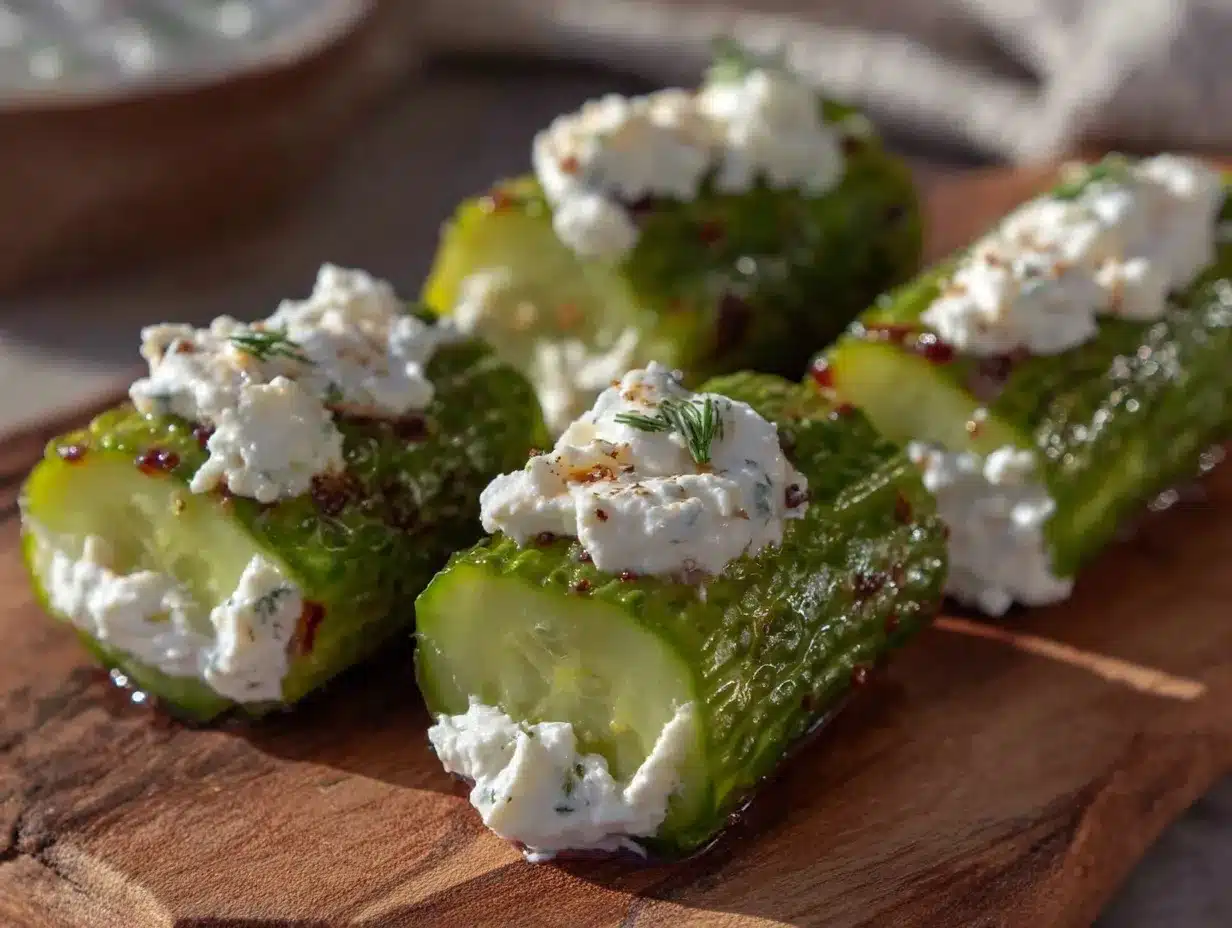
Let me tell you, the crunch of a perfectly fried pickle combined with the cool, creamy tang of softened cream cheese is enough to make anyone’s mouth water on the spot. The first time I made these crispy pickle roll-ups with cream cheese, I was instantly hooked—the kind of moment where you pause, take a deep breath, and just smile because you know you’re onto something truly special. Years ago, back when I was knee-high to a grasshopper, my grandma used to make something similar for our family gatherings, but this twist—rolling pickles in cream cheese and coating them up crispy—is a game changer.
You know what? My family couldn’t stop sneaking them off the cooling rack (and I can’t really blame them). Honestly, these roll-ups are dangerously easy and deliver pure, nostalgic comfort with every bite. Whether you’re looking for a quick party appetizer, a sweet treat for your kids, or something to brighten up your Pinterest cookie board with a savory edge, these crispy pickle roll-ups with cream cheese fit the bill perfectly. I tested this recipe multiple times—okay, in the name of research, of course—and it’s become a staple for family gatherings, snack time, and even last-minute potlucks. You’re going to want to bookmark this one.
Why You’ll Love This Recipe
This crispy pickle roll-ups with cream cheese recipe has been tried, tested, and loved by everyone from picky eaters to seasoned snack lovers. Here’s why it stands out:
- Quick & Easy: Comes together in under 30 minutes, perfect for those busy days when you want a snack without the fuss.
- Simple Ingredients: No need for fancy grocery store runs—you likely have most of these staples already in your kitchen.
- Perfect for Any Occasion: Great for potlucks, casual get-togethers, or even an after-school snack.
- Crowd-Pleaser: Kids and adults alike rave about the crunchy outside paired with the creamy inside.
- Unbelievably Delicious: The crispy coating paired with the tangy pickle and smooth cream cheese is a flavor combo you won’t forget.
What makes this version different? Well, the magic lies in the perfect balance: the cream cheese is whipped smooth for easy spreading and pairs beautifully with the sour pickle slices. The coating is seasoned just right, giving you a crunch without overpowering that signature pickle zing. Honestly, this isn’t just another fried pickle snack—it’s the best one you’ll find, hands down. It’s comfort food with a playful twist, ready to impress guests or just satisfy your own snack cravings.
What Ingredients You Will Need
This recipe uses simple, wholesome ingredients to deliver bold flavor and a satisfying crunch without any fuss. Most are pantry staples or easy to grab at your local store.
- Dill Pickle Spears – about 12 spears, drained and patted dry (I recommend Claussen for that perfect tang and firmness)
- Cream Cheese – 8 ounces, softened to room temperature (Philadelphia brand works great for smoothness)
- Garlic Powder – 1 teaspoon (adds a subtle savory punch)
- Onion Powder – 1 teaspoon (for a hint of sweetness)
- Paprika – 1/2 teaspoon (smoky depth)
- All-Purpose Flour – 1 cup (for the initial coating)
- Eggs – 2 large, beaten (helps the breadcrumbs stick perfectly)
- Panko Breadcrumbs – 1 1/2 cups (for that extra crispy crunch; Japanese brand panko is ideal)
- Salt & Pepper – to taste
- Vegetable Oil – for frying (about 2 cups, enough for a 2-inch deep fry)
For a gluten-free option, swap the all-purpose flour and panko breadcrumbs with almond flour and gluten-free breadcrumbs. If you want to keep it dairy-free, you can try cream cheese alternatives made from coconut or cashew milk. In summer, you can swap pickles out for quick-pickled cucumbers for a fresher bite.
Equipment Needed
- Large mixing bowls – for combining cream cheese and coating ingredients
- Whisk or fork – to beat the eggs smoothly
- Knife and cutting board – for preparing pickle spears
- Deep frying pan or skillet – at least 10 inches wide, with high sides to hold oil safely
- Slotted spoon or frying basket – to remove roll-ups from hot oil efficiently
- Paper towels – for draining excess oil after frying
- Thermometer (optional but helpful) – to monitor frying oil temperature (aim for 350°F / 175°C)
If you don’t have a deep fry thermometer, no worries—just test the oil by dropping a small piece of bread in; it should sizzle and turn golden in about 60 seconds. I’ve used both cast iron skillets and heavy-bottomed stainless steel pans for frying; both work well, but cast iron retains heat more evenly. For a budget-friendly alternative, a deep sauté pan works fine too.
Preparation Method
- Prep the Pickles: Start by draining the pickle spears well on paper towels. You want them as dry as possible so the cream cheese sticks and the coating stays crispy. Pat them gently but thoroughly. (About 5 minutes)
- Mix the Cream Cheese Filling: In a large bowl, combine the softened cream cheese with garlic powder, onion powder, paprika, salt, and pepper. Whisk together until smooth and creamy. This seasoning mix brings out a subtle kick that balances the pickle’s tang perfectly. (3 minutes)
- Spread the Cream Cheese: Using a butter knife or small spatula, spread a thin, even layer of the cream cheese mixture over each pickle spear. Be careful not to add too much or it might ooze out during frying. (10 minutes)
- Roll the Pickles: Carefully roll each cream cheese-coated pickle spear tightly in plastic wrap and place in the freezer for about 15 minutes. This step firms up the cream cheese so it stays put during frying. (15 minutes)
- Set Up the Coating Station: Place the flour in a shallow bowl, beaten eggs in another, and panko breadcrumbs in a third. Season the breadcrumbs lightly with salt and pepper for extra flavor. (5 minutes)
- Coat the Pickle Roll-Ups: Remove the roll-ups from the freezer and unwrap. One at a time, dredge each roll-up in flour (shake off excess), dip into beaten eggs, then coat thoroughly with panko breadcrumbs. Press gently to help crumbs stick. (10 minutes)
- Heat the Oil: Pour about 2 inches of vegetable oil into your skillet and heat to 350°F (175°C). If you don’t have a thermometer, test by dropping a small breadcrumb in; it should sizzle immediately and turn golden in about a minute. (5 minutes)
- Fry the Roll-Ups: Carefully place a few roll-ups into the hot oil without overcrowding. Fry for 2-3 minutes per side or until golden brown and crispy. Use a slotted spoon to turn and remove them. Drain on paper towels to soak up excess oil. (10-15 minutes)
- Serve Warm: Let the roll-ups cool just slightly before serving—they’re best enjoyed warm when the cream cheese is still luxuriously soft inside. (2 minutes)
Pro tip: Keep an eye on the oil temperature—too hot, and the coating burns before the inside warms through; too cool, and the roll-ups soak up oil and get greasy. Also, don’t skip the freezer step—it really helps keep everything together in the hot oil.
Cooking Tips & Techniques
When making these crispy pickle roll-ups with cream cheese, a few tricks can make all the difference:
- Dry Your Pickles Well: Moisture is the enemy of crispiness, so pat those spears dry like your life depends on it. I’ve learned this the hard way—wet pickles lead to soggy coating and cream cheese slip-ups.
- Freeze Before Frying: Freezing the roll-ups for at least 15 minutes firms up the cream cheese, preventing it from spilling out during frying. It also makes the coating process easier.
- Don’t Overcrowd the Pan: Give your roll-ups room to fry evenly. Overcrowding drops the oil temperature and causes uneven cooking or oily bites.
- Monitor Oil Temperature: Keep the oil steady at around 350°F (175°C). Too hot? Burnt breadcrumbs. Too cool? Greasy roll-ups.
- Use Panko Breadcrumbs: They’re lighter and crispier than regular breadcrumbs, which makes the roll-ups extra crunchy and less heavy.
- Multitask Efficiently: While the roll-ups chill in the freezer, prep the coating station to save time. I usually beat the eggs and season the breadcrumbs during this wait.
Honestly, the first time I tried skipping the freezing step, it was a mess. The cream cheese leaked everywhere, and the coating fell off. Lesson learned! It’s those little things that make the difference between a so-so snack and a family favorite.
Variations & Adaptations
Want to switch things up? Here are a few ways to customize your crispy pickle roll-ups with cream cheese:
- Spicy Kick: Add a teaspoon of cayenne pepper or hot sauce to the cream cheese for a fiery twist. I like to sneak this in when my husband’s not watching!
- Herb Infused: Mix fresh chopped dill, chives, or parsley into the cream cheese for a fresh, garden-fresh flavor.
- Gluten-Free: Swap the flour and panko for almond flour and gluten-free breadcrumbs. The texture changes slightly but still delicious.
- Baked Version: For a lighter take, bake the coated roll-ups at 400°F (200°C) for 15-20 minutes, flipping halfway. They won’t be quite as crispy but still tasty.
- Cheese Swap: Use goat cheese or herbed cream cheese for a tangier, more complex flavor.
One time, I tried adding a thin slice of smoked ham inside the roll-up before coating—it was a game changer for a meaty snack that still packs pickle punch. Totally worth a try if you’re feeling adventurous!
Serving & Storage Suggestions
These crispy pickle roll-ups with cream cheese are best enjoyed warm and fresh, but here’s how to get the most out of leftovers:
- Serve With: A side of ranch dressing or spicy aioli for dipping amps up the flavor. Cold beer or a crisp white wine pairs beautifully if you’re serving adults.
- Presentation: Arrange on a platter lined with paper towels or parchment paper for easy cleanup and a rustic vibe. Garnish with a sprinkle of fresh herbs or paprika.
- Storage: Store leftover roll-ups in an airtight container in the fridge for up to 2 days. The coating softens a bit but the flavor holds up.
- Reheating: To re-crisp, pop them in a 375°F (190°C) oven for 8-10 minutes or in an air fryer for a few minutes until heated through and crunchy again.
- Flavor Development: As they cool, the cream cheese firms up, giving a slightly different texture—still delicious but best fresh for that melty creaminess.
Nutritional Information & Benefits
Estimated per serving (2 roll-ups): approximately 220 calories, 15g fat, 12g carbohydrates, and 6g protein. These crispy pickle roll-ups with cream cheese provide a satisfying snack with a good balance of fats and carbs to keep you energized.
Pickles offer probiotics and antioxidants, while cream cheese adds calcium and protein. Of course, this is a treat food, but with fresh, simple ingredients, it’s a better-for-you snack than most fried finger foods. For those watching carbs, swapping panko for almond flour can lower carbs significantly. Just a heads up, this recipe contains dairy and gluten unless adapted.
Personally, I love that this snack taps into comfort food territory without feeling heavy or overly processed. It’s a little indulgence that fits neatly into my balanced eating philosophy.
Conclusion
There you have it—an easy, fun, and irresistibly crunchy recipe for crispy pickle roll-ups with cream cheese that you’ll want to make again and again. Whether you’re looking for a quick snack, a show-stopping appetizer, or a playful twist on classic fried pickles, this recipe delivers on all fronts.
Feel free to customize the seasoning, try different dips, or even experiment with baking instead of frying. Honestly, I love this recipe because it’s simple, satisfying, and always a hit—no matter who’s at the table.
Give it a try, then swing back here to let me know how your batch turned out! Don’t forget to share your own twists or ask questions in the comments. Happy snacking—you’ve just found a new favorite.
FAQs About Crispy Pickle Roll-Ups with Cream Cheese
Can I make these roll-ups ahead of time?
Yes! You can prepare and freeze the roll-ups after coating and fry them straight from frozen. Just add a minute or two to the frying time.
What’s the best type of pickle to use?
Dill pickle spears work best for their firm texture and tangy flavor. Avoid soggy or sweet pickles as they don’t hold up well when fried.
Can I bake these instead of frying?
Absolutely! Baking at 400°F (200°C) for about 15-20 minutes yields a less crispy but still delicious result.
How do I prevent the cream cheese from leaking out?
Make sure to chill the roll-ups in the freezer for at least 15 minutes before coating and frying. This firms up the cream cheese and keeps it inside better.
Are these roll-ups kid-friendly?
Definitely! Kids love the crunchy exterior and creamy inside. Just serve with a mild dip like ranch to make it extra fun for them.
Pin This Recipe!
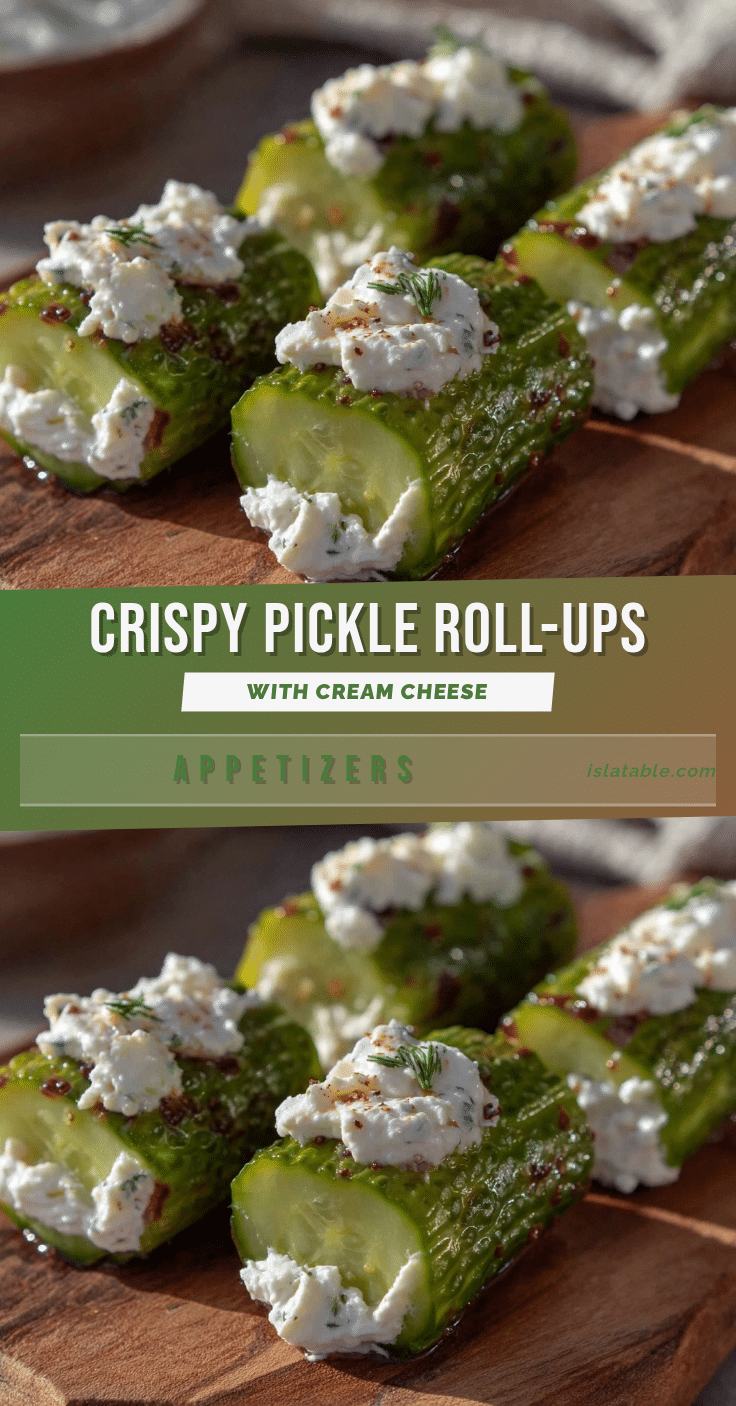
Crispy Pickle Roll-Ups with Cream Cheese

A quick and easy snack featuring dill pickle spears rolled with seasoned cream cheese, coated in a crispy panko breadcrumb crust, and fried to golden perfection. Perfect for parties, snack time, or potlucks.
- Prep Time: 20 minutes
- Cook Time: 15 minutes
- Total Time: 35 minutes
- Yield: 12 servings (2 roll-ups per serving) 1x
- Category: Snack, Appetizer
- Cuisine: American
Ingredients
- 12 dill pickle spears, drained and patted dry
- 8 ounces cream cheese, softened to room temperature
- 1 teaspoon garlic powder
- 1 teaspoon onion powder
- 1/2 teaspoon paprika
- 1 cup all-purpose flour
- 2 large eggs, beaten
- 1 1/2 cups panko breadcrumbs
- Salt and pepper, to taste
- Vegetable oil, about 2 cups for frying (2-inch deep)
Instructions
- Drain the pickle spears well on paper towels and pat dry thoroughly (about 5 minutes).
- In a large bowl, combine softened cream cheese with garlic powder, onion powder, paprika, salt, and pepper. Whisk until smooth and creamy (3 minutes).
- Spread a thin, even layer of the cream cheese mixture over each pickle spear using a butter knife or small spatula (10 minutes).
- Roll each cream cheese-coated pickle spear tightly in plastic wrap and freeze for about 15 minutes to firm up the cream cheese (15 minutes).
- Set up the coating station with flour in one shallow bowl, beaten eggs in another, and panko breadcrumbs seasoned with salt and pepper in a third (5 minutes).
- Remove roll-ups from freezer and unwrap. Dredge each roll-up in flour, shake off excess, dip into beaten eggs, then coat thoroughly with panko breadcrumbs, pressing gently to help crumbs stick (10 minutes).
- Heat vegetable oil in a deep frying pan or skillet to 350°F (175°C), about 2 inches deep (5 minutes).
- Fry the roll-ups in batches without overcrowding for 2-3 minutes per side or until golden brown and crispy. Use a slotted spoon to turn and remove them. Drain on paper towels (10-15 minutes).
- Let the roll-ups cool slightly before serving; best enjoyed warm when cream cheese is soft inside (2 minutes).
Notes
Pat pickles dry thoroughly to prevent soggy coating. Freeze roll-ups before frying to keep cream cheese inside. Maintain oil temperature at 350°F to avoid greasy or burnt coating. For gluten-free, substitute flour and panko with almond flour and gluten-free breadcrumbs. For dairy-free, use cream cheese alternatives made from coconut or cashew milk. Baking option: bake at 400°F for 15-20 minutes, flipping halfway.
Nutrition
- Serving Size: 2 roll-ups
- Calories: 220
- Fat: 15
- Carbohydrates: 12
- Protein: 6
Keywords: crispy pickle roll-ups, cream cheese snack, fried pickles, appetizer, easy snack, party food, panko breadcrumbs, dill pickles