I had been looking for a dinner that actually tasted like effort without requiring a second dish to wash. For a while, I just accepted that weeknight meals were going to taste like compromise. You know the feeling? You are tired, the clock is ticking, and you want something warm and savory, but the idea of chopping three different vegetables and managing four separate pans makes you want to order takeout before you even start.
Let’s face it, the “one pan” promise on recipe blogs is often a lie. Sometimes it means you still have to prep everything in separate bowls, or the rice turns out mushy because you didn’t stir it enough. I wanted a meal where the chicken got a good sear and the rice absorbed all that garlic butter flavor without turning into a sticky mess. It wasn’t about fancy ingredients; it was about the absence of cleanup.
This recipe arrived as the answer to that specific hunger for simplicity. It’s not a triumphant culinary breakthrough. It’s just… good. The garlic sizzles, the butter melts, and suddenly the kitchen smells like a restaurant instead of a struggle. I’ve made this probably fifty times now, and it never fails to hit the spot when I don’t have the energy to think.
There is a quiet satisfaction in scraping the last bit of crispy rice from the bottom of the pan. It’s the kind of meal that sticks with you because it fits into real life, not just Pinterest boards. You eat it, you clean one pan, and you go to bed happy. That’s the promise, and it’s one I keep every time.
Why You’ll Love This Recipe
There is a reason this easy one pan garlic butter chicken and rice has become a staple in my kitchen routine. It isn’t just about saving time, although that is a huge bonus. It’s about the texture and the depth of flavor that comes from cooking everything together. When you cook rice in the same pot with the chicken juices and the garlic butter, you get a natural seasoning that no amount of salt can replicate.
- Quick & Easy: This comes together in under 40 minutes. I’m talking active prep time of maybe 10 minutes. The rest is just waiting for the water to boil and the rice to steam. It is perfect for those chaotic weeknights when you need food on the table fast.
- Simple Ingredients: No fancy grocery trips needed. You likely already have chicken thighs, rice, butter, garlic, and broth in your kitchen. If you have a lemon and some parsley, even better. This is pantry-friendly cooking at its best.
- Perfect for Meal Prep: While it is amazing fresh out of the pan, it also reheats beautifully. I often make a double batch on Sunday. By Wednesday, you have a comforting, hot meal waiting for you. It holds up better than most chicken dishes, which can dry out in the fridge.
- Crowd-Pleaser: Kids usually love it because it’s soft and savory. Adults love it because it feels like a treat. It’s the kind of dish that disappears quickly because everyone wants the last bite of the garlic-infused rice.
- Unbelievably Delicious: The texture combination is next-level. The chicken is juicy, the rice is fluffy but flavorful, and the garlic butter sauce ties it all together. It’s comfort food reimagined—healthier and faster, but with the same soul-soothing satisfaction.
What makes this different from other one-pan recipes is the technique. Most people just dump everything in. I sear the chicken first. That step creates a fond, or browned bits, at the bottom of the pan. When you add the rice and broth later, those bits lift up and flavor every single grain. It’s a small step that makes a massive difference in the final taste.
What Ingredients You Will Need
This recipe uses simple, wholesome ingredients to deliver bold flavor and satisfying texture without the fuss. The beauty of this dish lies in how the ingredients interact. The fat from the butter carries the garlic flavor, while the rice acts as a sponge for the chicken broth and lemon juice. Here is what you need to make it happen.
For the Chicken
- Chicken Thighs: Boneless, skinless thighs are my go-to. They stay juicy even if you overcook them slightly, which happens more often than I admit. Breast meat can get dry in a one-pan dish where it sits in liquid for a while. (Use about 1.5 to 2 pounds).
- Unsalted Butter: I use real butter, not margarine. It adds that rich, creamy mouthfeel that defines this dish. Salted butter works, but you will need to reduce the added salt later. (About 3 tablespoons).
- Garlic: Fresh garlic is non-negotiable here. Pre-minced jarred garlic just doesn’t have the same punch. You want about 4-5 cloves, minced finely so it distributes evenly. (Smells are important!).
- Dried Oregano: Just a teaspoon. It adds a subtle herbal note that complements the lemon perfectly. Don’t skip it, but don’t overdo it.
For the Rice and Broth
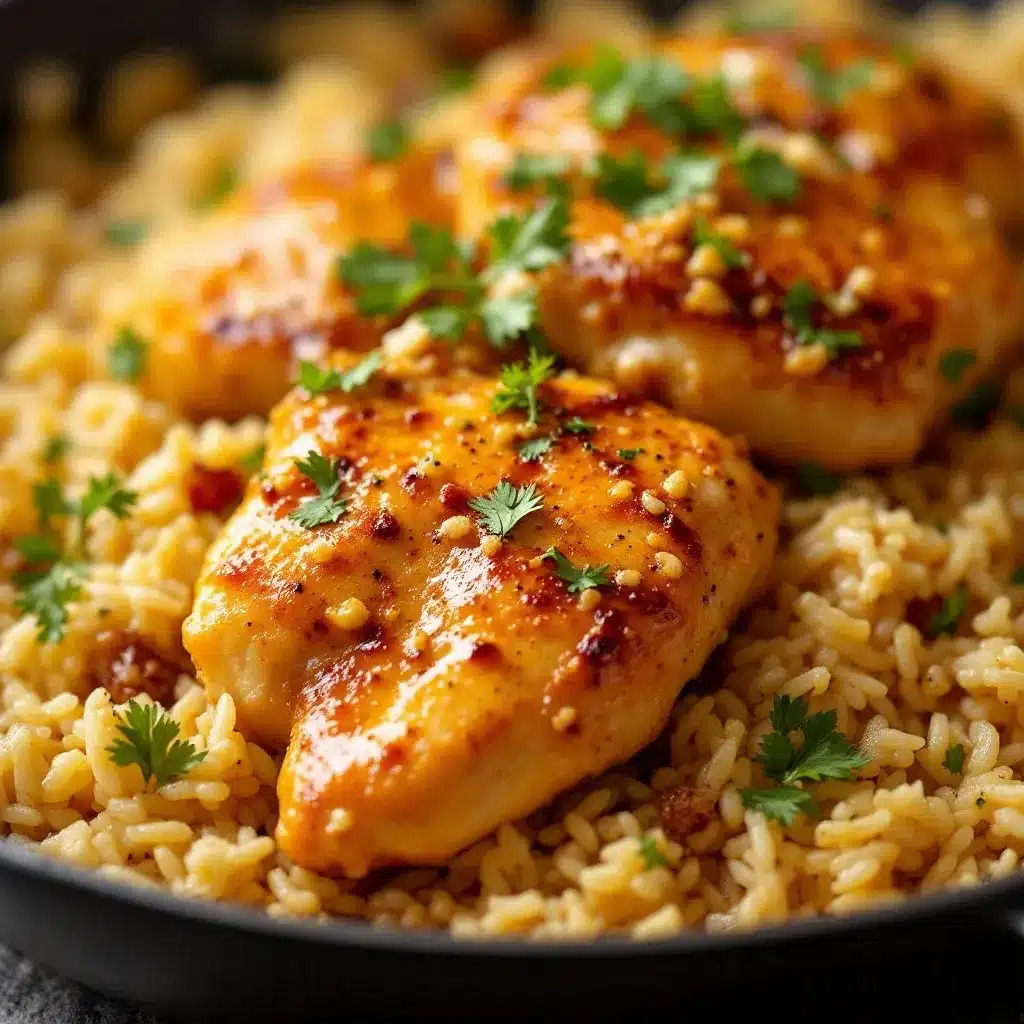
- Long-Grain White Rice: I recommend brands like Uncle Ben’s or store-brand long-grain. Basmati is too fragrant for this specific profile, and brown rice takes too long to cook in this method. (1 cup uncooked).
- Chicken Broth: Use a low-sodium version so you can control the saltiness. The butter and chicken will release their own salts. (2 cups).
- Lemon Juice: Fresh squeezed is best. It cuts through the richness of the butter. About half a lemon is usually enough. (Adds brightness).
- Parsley: Fresh chopped parsley for garnish. It adds color and a fresh bite to balance the heavy garlic butter. (Optional but recommended).
If you need to substitute, you can use jasmine rice, but reduce the broth to 1.5 cups because jasmine absorbs less liquid. For a dairy-free version, swap the butter for olive oil, though the texture won’t be as rich. I’ve tried it, and it’s still good, just different.
Equipment Needed
You don’t need a lot of fancy gear for this. The main requirement is a large skillet or a Dutch oven. I prefer a heavy-bottomed skillet, like cast iron or stainless steel, because it distributes heat evenly. This helps get that nice sear on the chicken without burning the garlic later.
- Large Skillet or Dutch Oven: A 12-inch skillet is ideal. If you have a lot of chicken, you might need to cook it in batches to avoid overcrowding. Overcrowding steams the chicken instead of searing it.
- Wooden Spoon or Spatula: You’ll need something sturdy to scrape the bottom of the pan. This is crucial for lifting the flavorful fond.
- Measuring Cups and Spoons: Precision matters with rice. Too much water, and you get mush. Too little, and you get crunchy bits.
- Knife and Cutting Board: For prepping the chicken and mincing the garlic. Keep it simple.
If you don’t have a large skillet, a deep sauté pan works too. Just make sure it has a lid or something to cover it while the rice steams. A foil tent works in a pinch, but a proper lid traps the steam better. I also like to use a non-stick pan if I’m worried about the rice sticking, but a well-seasoned cast iron is just as good and adds flavor.
Preparation Method
- Prep the Chicken (5 minutes): Pat the chicken thighs dry with paper towels. This is the most important step for browning. Moisture is the enemy of the sear. Season both sides generously with salt, pepper, and the dried oregano. If your thighs are very large, cut them in half so they cook evenly.
- Sear the Chicken (8-10 minutes): Heat your skillet over medium-high heat. Add half of the butter. Once it foams and stops, add the chicken in a single layer. Do not touch them for about 4-5 minutes. You want a golden-brown crust. Flip and cook for another 3-4 minutes. Remove chicken to a plate. Do not clean the pan.
- Sauté the Garlic (1 minute): Reduce heat to medium. Add the remaining butter. Once melted, add the minced garlic. Stir constantly for about 30-60 seconds. You want it fragrant but not brown. Burnt garlic tastes bitter. If it starts to smoke, take the pan off the heat for a moment.
- Toast the Rice (2 minutes): Add the uncooked rice to the garlic butter. Stir to coat every grain in the fat. This toasting step adds a nutty flavor and helps keep the grains separate later. Cook for about 2 minutes, stirring frequently.
- Add Liquid and Simmer (15 minutes): Pour in the chicken broth and lemon juice. Scrape the bottom of the pan with your wooden spoon to release all the browned bits. Bring the mixture to a boil. Once boiling, reduce heat to low. Place the seared chicken back into the pan, nestling it into the rice. Cover with a tight-fitting lid.
- Steam and Rest (15-20 minutes): Let it simmer undisturbed for 15-18 minutes. Do not lift the lid! The steam needs to cook the rice. After 15 minutes, check if the rice is tender. If not, cover and cook for another 2-3 minutes. Remove from heat and let it sit covered for 5 minutes. This resting period allows the rice to finish absorbing liquid and firm up.
- Fluff and Serve: Remove the lid. Gently fluff the rice with a fork. The chicken should be cooked through (internal temperature of 165°F). Serve hot, garnished with fresh parsley. Enjoy!
Troubleshooting Tips
If the rice is still hard after 20 minutes, add a splash more broth and cook for another 5 minutes. If the bottom is burning, your heat was too high. Next time, keep it on low-low. If the chicken is dry, you might have used breast meat or cooked it too long. Thighs are forgiving, so stick with them.
Cooking Tips & Techniques
One thing I learned the hard way is that the sear matters more than you think. If you skip searing the chicken and just boil it in the broth, the dish lacks depth. The Maillard reaction from the browned chicken creates complex flavors that plain boiled meat just doesn’t have. It’s worth the extra five minutes.
Another common mistake is lifting the lid while the rice cooks. I know it’s tempting to check on it, but every time you lift the lid, you release steam. The rice needs that trapped steam to cook evenly. If you peek too early, you’ll end up with unevenly cooked rice—some grains mushy, some hard.
Also, taste the broth before you add it. If your broth is very salty, you might want to use a little less salt when seasoning the chicken. Everyone’s broth is different. I usually use a low-sodium chicken stock and adjust from there. It gives you more control over the final flavor profile.
For efficiency, have all your ingredients prepped before you turn on the stove. Minced garlic burns fast, so if you are chopping it while the butter is heating, you might miss the window. Mise en place is your friend here. Get everything ready, then cook.
Variations & Adaptations
This recipe is a canvas. Once you master the base, you can tweak it to suit your mood or what’s in your fridge. Here are a few ways I like to change it up.
- Spicy Kick: Add a teaspoon of red pepper flakes or a diced jalapeño when you sauté the garlic. It adds a nice heat that cuts through the butter. I like this version when I want something with a bit of punch.
- Herb Garden: Swap the oregano for thyme or rosemary. Thyme pairs beautifully with garlic and lemon. It gives the dish a more French-inspired vibe. It’s subtle but elegant.
- Veggie Boost: Stir in a cup of frozen peas or diced spinach in the last 5 minutes of cooking. The peas add a pop of sweetness and color. The spinach wilts down and adds nutrients without changing the texture much. It’s a great way to sneak in veggies for picky eaters.
- Gluten-Free: This recipe is naturally gluten-free as long as your broth is GF. Just double-check the label on your chicken stock. Some brands add wheat-based thickeners, though most don’t.
I also tried making this with cauliflower rice once, but it released too much water and got soggy. Stick to grain rice for this method. The texture is part of the appeal. If you want a lower-carb option, serve this over a bed of cauliflower rice instead of cooking it in the pot.
Serving & Storage Suggestions
This dish is best served immediately while the rice is warm and the butter is still glossy. It pairs well with a simple green salad or steamed broccoli. The acidity of a lemon vinaigrette on the side complements the rich chicken and rice perfectly. I also like a glass of crisp white wine, like a Sauvignon Blanc, to cut through the richness.
For storage, let the leftovers cool completely before putting them in an airtight container. They will keep in the refrigerator for up to 4 days. The rice might firm up in the fridge, which is normal. When you reheat it, add a splash of water or broth to help loosen it up. Microwave it in 30-second intervals, stirring in between, until heated through.
You can also freeze this dish, though the texture of the rice might change slightly upon thawing. It’s still good, just a bit softer. I usually freeze portions in individual containers for quick lunches. Thaw in the fridge overnight and reheat gently.
Flavors actually deepen after a day in the fridge. The garlic has more time to infuse into the rice. So, if you have leftovers, don’t be surprised if day two tastes even better than day one. It’s one of those rare dishes that improves with age.
Nutritional Information & Benefits
This meal is a balanced source of protein and carbohydrates. Chicken thighs provide high-quality protein, which is essential for muscle repair and satiety. The rice offers energy, and the butter adds healthy fats that help you feel full longer. It’s not a diet food, but it’s not junk food either. It’s wholesome comfort.
Garlic has anti-inflammatory properties and is good for heart health. Lemon juice adds vitamin C. While the butter adds calories, it also adds flavor, which means you might enjoy your meal more and feel satisfied with a reasonable portion. It’s about moderation and enjoying what you eat.
For those watching sodium, using low-sodium broth and controlling the salt added during cooking keeps this dish within reasonable limits. It’s a better option than many takeout meals, which can have hidden sodium bombs. You know exactly what is going into your body.
Conclusion
This easy one pan garlic butter chicken and rice is worth trying because it solves the biggest problem of weeknight cooking: the effort. It delivers restaurant-quality flavor with minimal cleanup. I love this recipe because it respects my time and my hunger equally. It’s reliable, delicious, and always a hit.
Feel free to customize it with your favorite herbs or veggies. Make it your own. I encourage you to try it and see how it fits into your routine. Let me know in the comments if you added any special twists or if you stuck to the classic version. I love hearing how people adapt recipes.
Give it a shot tonight. You won’t regret it. Happy cooking!
Frequently Asked Questions
Can I use chicken breast instead of thighs?
Yes, but chicken breast can dry out faster. If you use breast, reduce the cooking time slightly and check the temperature frequently. Thighs are more forgiving and stay juicier in this method.
What kind of rice should I use?
Long-grain white rice is best. Jasmine rice works but uses less water. Avoid brown rice as it takes much longer to cook and will result in undercooked rice in this timeframe.
Can I make this in a rice cooker?
Not exactly in the traditional one-pan style. You would need to sear the chicken in a pan first, then transfer everything to the rice cooker. It works, but you lose the one-pan convenience.
Why is my rice mushy?
You likely used too much liquid or lifted the lid too early. Rice absorbs a specific ratio of water. Follow the measurements closely and do not peek while it steams.
Is this recipe spicy?
No, it is not spicy by default. It is savory and garlicky. If you want heat, add red pepper flakes or cayenne pepper during the sauté step.
Pin This Recipe!
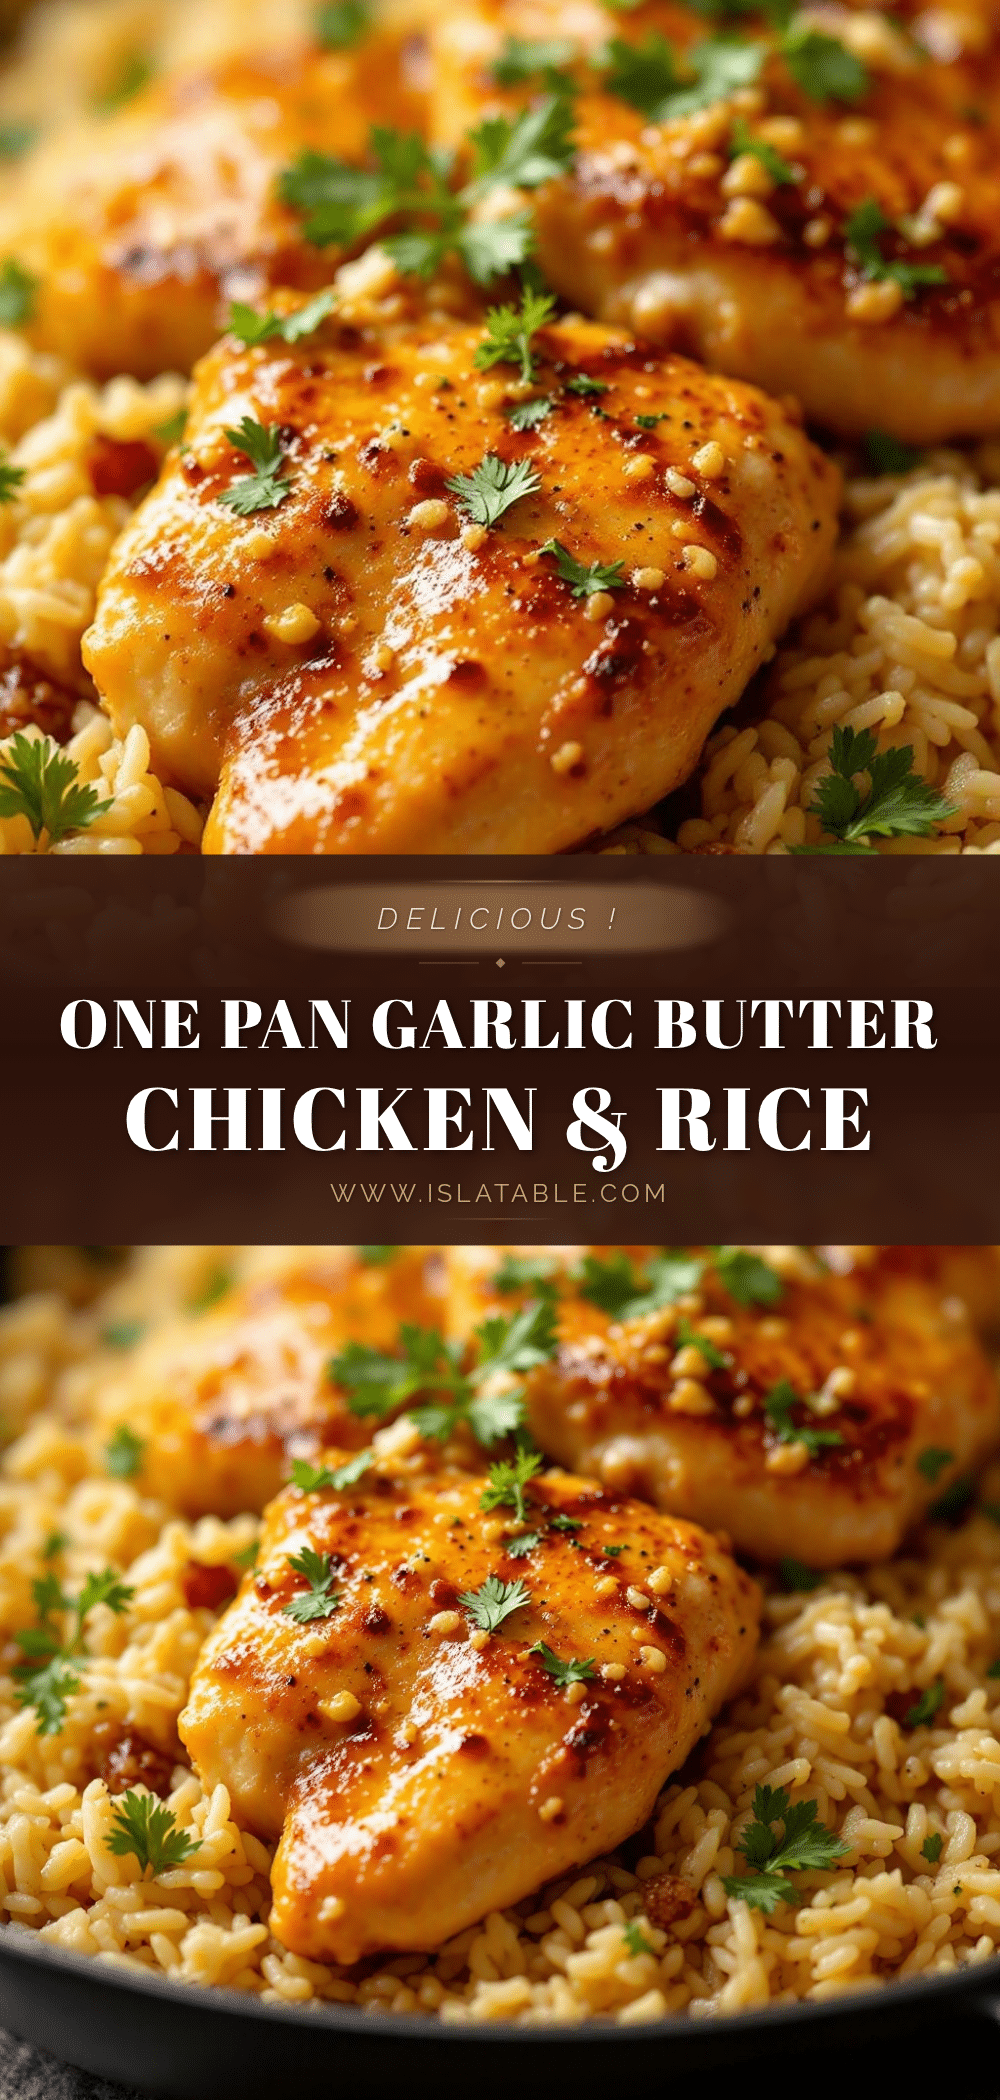
Easy One Pan Garlic Butter Chicken and Rice Recipe

A simple, weeknight-friendly one-pan meal featuring seared chicken thighs and fluffy rice cooked in a rich garlic butter broth. It offers restaurant-quality flavor with minimal cleanup and uses pantry-friendly ingredients.
- Prep Time: 10 minutes
- Cook Time: 30 minutes
- Total Time: 40 minutes
- Yield: 4 servings 1x
- Category: Main Course
- Cuisine: American
Ingredients
- 1.5 to 2 pounds boneless, skinless chicken thighs
- 3 tablespoons unsalted butter (divided)
- 4–5 cloves fresh garlic, minced
- 1 teaspoon dried oregano
- 1 cup long-grain white rice
- 2 cups low-sodium chicken broth
- Juice of half a lemon
- Salt and black pepper to taste
- Fresh chopped parsley for garnish (optional)
Instructions
- Pat chicken thighs dry with paper towels and season both sides generously with salt, pepper, and dried oregano. Cut large thighs in half if necessary.
- Heat a large skillet or Dutch oven over medium-high heat. Add half of the butter. Once foaming, add chicken in a single layer. Sear without touching for 4-5 minutes until golden brown, then flip and cook for another 3-4 minutes. Remove chicken to a plate.
- Reduce heat to medium. Add remaining butter. Once melted, add minced garlic and stir constantly for 30-60 seconds until fragrant but not brown.
- Add uncooked rice to the pan and stir to coat every grain in the garlic butter. Toast for about 2 minutes, stirring frequently.
- Pour in chicken broth and lemon juice. Scrape the bottom of the pan to release browned bits. Bring to a boil.
- Reduce heat to low. Nestle the seared chicken back into the rice. Cover with a tight-fitting lid.
- Simmer undisturbed for 15-18 minutes. Do not lift the lid. Check if rice is tender; if not, cook for another 2-3 minutes.
- Remove from heat and let sit covered for 5 minutes to allow rice to finish absorbing liquid.
- Remove lid, gently fluff rice with a fork, and ensure chicken reaches an internal temperature of 165°F. Garnish with parsley and serve.
Notes
Do not lift the lid while the rice is steaming to ensure even cooking. If using salted butter, reduce added salt. For a dairy-free version, substitute butter with olive oil. If using jasmine rice, reduce broth to 1.5 cups. Leftovers can be stored in the refrigerator for up to 4 days or frozen.
Nutrition
- Serving Size: 1 plate with chicken
- Calories: 550
- Sugar: 1
- Sodium: 600
- Fat: 28
- Saturated Fat: 12
- Carbohydrates: 45
- Fiber: 1
- Protein: 35
Keywords: one pan dinner, garlic butter chicken, chicken and rice, easy weeknight meals, skillet dinner, comfort food, gluten-free option


