By the third time I made gingerbread cake pops this week, my oven light was practically burned into my retinas. I don’t mean that metaphorically. I literally squinted at the filament and saw a tiny, ghostly gingerbread man waving at me. It started as a “quick holiday prep” thing. You know how it goes. You see a recipe on Pinterest, think it looks easy, and then suddenly it’s 2 AM and you’re staring at a bowl of crumbs wondering why your life choices have led you here.
The first batch was dry. Honestly, I overbaked them because I was distracted by a phone call. The second batch were too dense, like little bricks of regret. But the third batch? The third batch clicked. It was that specific moment where the molasses hits the butter just right, and the spices bloom in a way that makes you want to hug your neighbors. I’m not saying I’m obsessed. I’m just saying I’ve eaten more gingerbread crumbs than a bakery worker.
There’s something about the smell of cinnamon and clove that just hits you in the chest. It’s warm and heavy and comforting all at once. I kept coming back to the recipe not because I needed to, but because the process was meditative. Rolling the balls, chilling them, dipping them. It’s a rhythm. A repetitive, sticky, delicious rhythm. I made them for the office party. Then I made them for my sister’s housewarming. Then I just made them because I could.
The white chocolate drizzle is the tricky part. It seizes if you look at it wrong. But when it’s right? It’s glossy and snap-worthy. I spent an hour fixing the consistency, adding tiny drops of oil, whispering apologies to the chocolate. And you know what? It was worth it. These cake pops aren’t just a treat. They’re a mood. They’re the feeling of a snowy afternoon with a mug of tea. They’re the reason I own three different spatulas now.
I didn’t plan to share this. I planned to keep them all to myself. But then my neighbor smelled it and knocked on my door with a plate of cookies. So here we are. I’m sharing the recipe. Not because it’s perfect, but because it’s real. It’s messy and sweet and smells like home.
Why You’ll Love This Recipe
Let’s be honest for a second. Most gingerbread recipes out there are either too spicy or too sweet. They lack that balance that makes you close your eyes and sigh. This one? It’s different. I’ve tested it so many times that I can probably make it with my eyes closed, which is impressive considering I usually burn the toast.
Here is why these cozy gingerbread cake pops with white chocolate drizzle are going to become your new holiday staple:
- Quick & Easy Prep: Yes, rolling balls takes time, but the actual baking is under 20 minutes. Perfect for those last-minute holiday gatherings when you realize you forgot dessert.
- Simple Ingredients: You likely have most of this in your pantry. Flour, molasses, spices, butter. No fancy imported goods needed. Just good, honest baking staples.
- Perfect for Gifting: These look professional and fancy, but they’re actually quite forgiving. Toss them in a cellophane bag with a ribbon, and you’ve got the perfect hostess gift. Better than easy gluten-free cornbread muffins for people who prefer sweets over savory.
- Crowd-Pleaser: Kids love the chocolate. Adults love the spice. Everyone wins. I’ve served these at work, and people actually asked for the recipe instead of just eating them in silence.
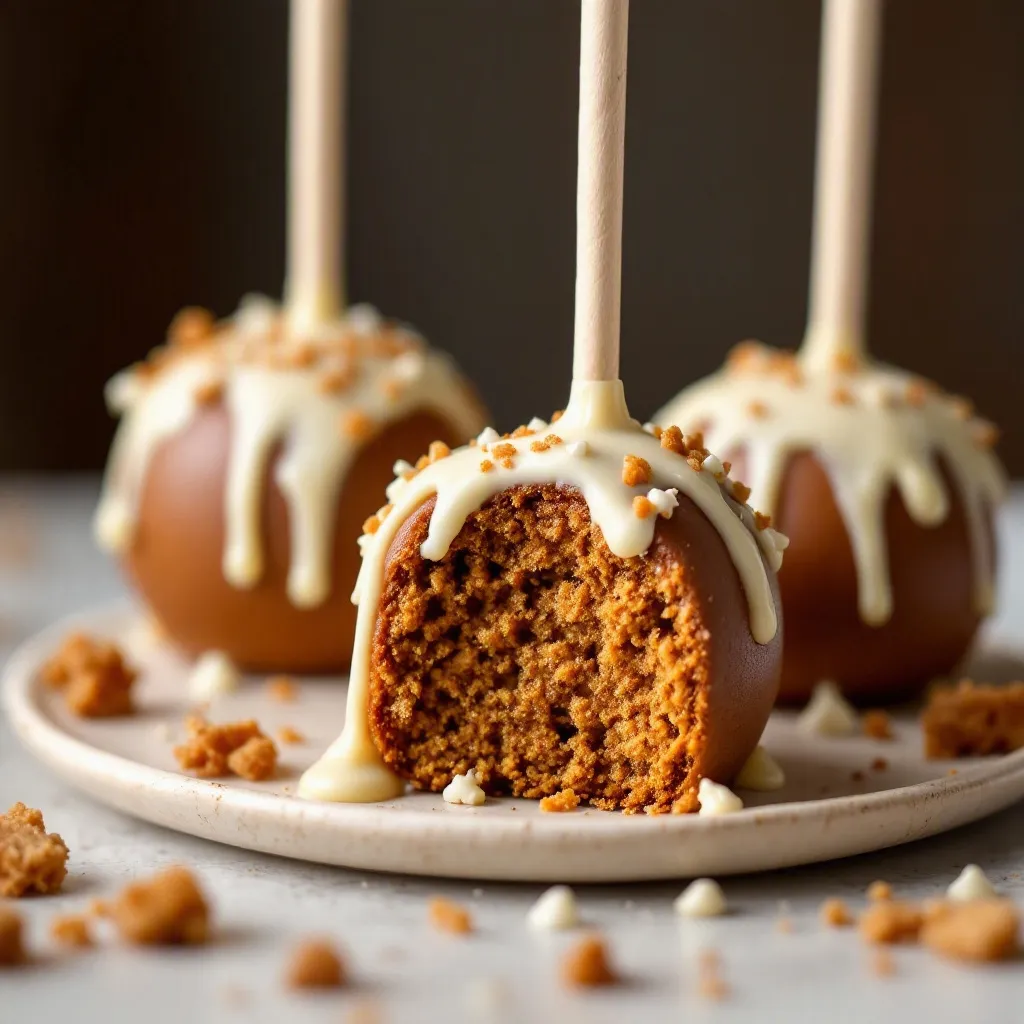
- Unbelievably Delicious: The texture is key. It’s not dry like a cookie, and it’s not soggy like a brownie. It’s moist, crumbly, and rich. The white chocolate cuts through the spice perfectly.
What makes this recipe stand out is the moisture balance. A lot of gingerbread cakes turn out like cardboard after a day. These stay soft for days if stored right. The trick is not overbaking the base cake. You want it slightly underdone so it crumbles easily. Also, the white chocolate drizzle isn’t just decoration. It adds a salty-sweet contrast that elevates the whole experience. It’s not just another gingerbread recipe. It’s your best version.
What Ingredients You Will Need
This recipe relies on wholesome, simple ingredients to deliver bold flavor. You don’t need anything exotic. Just good quality basics. Here is what you’ll need to make these cozy gingerbread cake pops with white chocolate drizzle.
For the Gingerbread Cake Base
- Unsalted Butter: ½ cup (113g), softened. I use Kerrygold, but any good butter works. It adds richness.
- Granulated Sugar: ¾ cup (150g). This helps create that slight crispness on the edges.
- Packed Brown Sugar: ½ cup (100g). Dark brown sugar is best for that deep molasses flavor.
- Molasses: ¼ cup (60ml). Use blackstrap if you want intense flavor, but regular unsulfured is milder and sweeter. This is the heart of the recipe.
- Large Egg: 1 large egg, room temperature. Helps bind everything together.
- Vanilla Extract: 1 teaspoon. Pure vanilla, not imitation. Your taste buds will thank you.
- All-Purpose Flour: 1 ½ cups (190g). Sifted to remove lumps.
- Ginger Powder: 1 ½ teaspoons. Ground ginger. Don’t skip this.
- Cinnamon: 1 teaspoon. Ground cinnamon adds warmth.
- Nutmeg: ½ teaspoon. Freshly grated is best, but ground works fine.
- Cloves: ¼ teaspoon. Ground cloves. Use sparingly, they’re strong.
- Baking Soda: ½ teaspoon. Helps the cake rise.
- Salt: ¼ teaspoon. Balances the sweetness.
For the Frosting & Coating
- Cream Cheese: 4 oz (113g), softened. This makes the frosting stable and tangy.
- Butter: 2 tablespoons (28g), softened.
- Powdered Sugar: 1 ½ cups (180g), sifted. Essential for smooth frosting.
- White Chocolate Chips: 1 cup (170g). High-quality chips melt better. I prefer Ghirardelli.
- Coconut Oil: 1 tablespoon. Optional, but helps the chocolate stay glossy and not crack.
Substitutions
- Gluten-Free: Swap the flour for a 1:1 gluten-free blend. It works surprisingly well.
- Dairy-Free: Use coconut oil butter and dairy-free white chocolate chips.
- Sugar-Free: Use erythritol or monk fruit sugar substitutes for both the cake and frosting.
Equipment Needed
You don’t need a fancy kitchen to make these. Just the basics.
- Stand Mixer or Hand Mixer: Essential for creaming the butter and sugars. Doing this by hand is possible, but your arms will get tired.
- Mixing Bowls: One large bowl for dry ingredients, one medium for wet.
- Baking Sheet: Lined with parchment paper. Non-stick is helpful.
- Cake Pop Molds or Cupcake Liners: To bake the base cake. Cupcake liners are easier for cleanup.
- Cookie Scoop: A small ice cream scoop helps make uniform balls. Uniformity matters for even dipping.
- Double Boiler or Microwave-Safe Bowl: For melting the white chocolate. Do not use a pot directly on the flame. It will burn.
- Popsicle Sticks:
- Freezer: You need space to chill the cake balls. This is non-negotiable.
I learned the hard way that cheap chocolate chips seize up. Invest in decent chocolate. It saves headaches. Also, a kitchen scale is great for precision, but measuring cups work if you’re careful not to pack the flour too tight.
Preparation Method
Let’s get into the nitty-gritty. This is where the magic happens.
- Preheat and Prep (5 mins): Preheat your oven to 350°F (175°C). Line a muffin tin with cupcake liners. This is your baking base.
- Cream Butter and Sugars (3 mins): In a large bowl, beat the softened butter, granulated sugar, and brown sugar until light and fluffy. This takes about 2-3 minutes. It incorporates air, which helps the cake rise. Scrape down the sides of the bowl.
- Add Wet Ingredients (1 min): Beat in the molasses, egg, and vanilla extract. The mixture might look slightly curdled. That’s okay. It’ll come together with the flour.
- Mix Dry Ingredients (1 min): In a separate bowl, whisk together the flour, ginger, cinnamon, nutmeg, cloves, baking soda, and salt. This ensures even distribution of spices so you don’t get a mouthful of pure clove.
- Combine (2 mins): Gradually add the dry ingredients to the wet mixture. Mix on low speed until just combined. Do not overmix. Overmixing makes the cake tough. It should look like thick batter.
- Bake (12-15 mins): Divide the batter evenly into the muffin cups. Bake for 12-15 minutes. The cakes are done when a toothpick inserted comes out with just a few moist crumbs attached. They should be slightly underbaked compared to regular cupcakes. This ensures they are moist enough to crumble later.
- Cool Completely (30 mins): Let the cakes cool in the pan for 5 minutes, then transfer to a wire rack. Let them cool completely. Warm cake will melt the frosting and make a mess. This is crucial.
- Crumble the Cake (5 mins): Once cool, crumble the cakes into fine crumbs. Use your hands or a fork. Aim for fine, sand-like crumbs. No big chunks.
- Make the Frosting (5 mins): In a bowl, beat the softened cream cheese and butter until smooth. Add powdered sugar gradually. Mix until you have a thick, pipeable consistency. If it’s too runny, add more sugar. If it’s too stiff, add a drop of milk.
- Combine Cake and Frosting (5 mins): Add the frosting to the cake crumbs. Start with ½ cup of frosting and mix. Add more if needed. You want the mixture to hold together when rolled but not be greasy. Too much frosting makes them slide off the stick. Too little makes them crumble.
- Roll the Balls (10 mins): Roll the mixture into 1-inch balls. Place them on a baking sheet lined with parchment paper. Freeze for at least 30 minutes. This firms them up for dipping.
- Melt Chocolate (5 mins): Melt white chocolate chips with coconut oil in a microwave-safe bowl. Heat in 30-second intervals, stirring in between. Stop before they look fully melted. The residual heat will finish the job. Stir until smooth and glossy.
- Dip and Decorate (10 mins): Dip a wooden stick into the melted chocolate, then insert it into the frozen cake ball. This acts as glue. Then, dip the entire ball into the white chocolate. Tap off excess. Place on parchment paper. You can sprinkle with crushed peppermint or gold dust while the chocolate is wet.
Cooking Tips & Techniques
Here are some things I learned so you don’t have to fail like I did.
- Don’t Skip the Freeze: If your cake balls are warm, the chocolate will slide right off. It’s frustrating. Freeze them solid. 30 minutes is the minimum. An hour is better.
- Control the Chocolate Temperature: White chocolate burns easily. If it gets too hot, it seizes and becomes grainy. Keep it low and slow. If it seizes, add a tiny bit of warm water or oil to save it.
- Frosting Ratio: The ratio of cake to frosting is delicate. Add frosting slowly. You want the mixture to feel like playdough. If it sticks to your hands, add more cake crumbs.
- Use a Toothpick for Dipping: If you don’t have lollipop sticks, use a toothpick. Dip the tip in chocolate, stick it in, then dip the ball. It’s easier to handle.
- Storage is Key: These need to be stored in the fridge or freezer. Room temperature will make the chocolate sweat and the cake go stale. Keep them in an airtight container.
I once tried to dip them without freezing. The chocolate coated them, but the cake ball dissolved into the chocolate. It was a soup. Don’t be like me. Freeze them.
Variations & Adaptations
You can tweak this recipe to fit your needs.
- Spicy Kick: Add a pinch of cayenne pepper to the cake batter. It adds a subtle heat that pairs well with the white chocolate.
- Orange Zest: Add 1 tablespoon of orange zest to the batter. Orange and ginger are a classic combo. It brightens the flavor.
- Dark Chocolate Dip: Swap the white chocolate for dark chocolate. It’s less sweet and more sophisticated. Good for adults.
- Mini Version: Make them bite-sized. Great for parties. Reduce baking time to 8 minutes.
- Gluten-Free: Use a gluten-free flour blend. The texture might be slightly denser, but it’s still delicious.
I tried adding peppermint extract to the frosting once. It tasted like toothpaste. Stick to the classic gingerbread flavor. It’s a winner for a reason.
Serving & Storage Suggestions
Serve these chilled. The cold cake pops with the firm white chocolate are best. They pair well with hot cocoa or coffee. The warmth of the drink contrasts with the cold treat.
Store them in an airtight container in the refrigerator for up to 5 days. You can also freeze them for up to 2 months. Thaw in the fridge overnight before serving. Do not serve them warm. The texture is best when cold.
If the chocolate gets dull, you can briefly warm it in the microwave for 5 seconds and re-dip. It brings back the shine.
Nutritional Information & Benefits
Each cake pop is approximately 150-180 calories. They contain ginger, which aids digestion. Molasses provides iron and calcium. White chocolate is high in sugar, so enjoy in moderation. They are not gluten-free unless you use GF flour. They contain dairy and eggs.
I see these as a treat, not a health food. But they’re better than store-bought candy. You control the sugar. You know what’s in them. That’s a win.
Conclusion
These cozy gingerbread cake pops with white chocolate drizzle are more than just a dessert. They’re a holiday tradition waiting to happen. They’re easy to make, delicious to eat, and fun to share. I hope you try them. I hope you make a mess. I hope you eat a few before they’re done.
Customize them. Add your own spices. Use your favorite chocolate. Make them yours. And please, share them with someone you love. Or don’t. I won’t judge.
Drop a comment below if you make them. Tell me how many you ate. I want to hear about your baking disasters and triumphs. Let’s bake together.
Frequently Asked Questions
Can I make these ahead of time?
Yes. You can make the cake base and frostings up to 3 days in advance. Store them in the fridge. Assemble and dip them the day you want to serve them. They freeze well too.
Why did my chocolate seize?
Water is the enemy of chocolate. Even a drop of water can cause white chocolate to seize. Make sure your bowls and utensils are completely dry. Also, don’t overheat the chocolate.
Can I use gingerbread cake mix?
You can, but it won’t taste as good. Homemade batter gives you better control over the spice level and moisture. If you use a mix, follow the package instructions for baking, then cool completely.
How do I keep the cake pops from falling off the stick?
Dip the tip of the stick in melted chocolate before inserting it into the cake ball. This acts as glue. Also, make sure the cake balls are frozen solid before dipping.
Can I use brown chocolate instead of white?
Absolutely. Dark or milk chocolate works great. It might be less visually striking, but the flavor is rich and delicious. Just adjust the sweetness if needed.
Pin This Recipe!
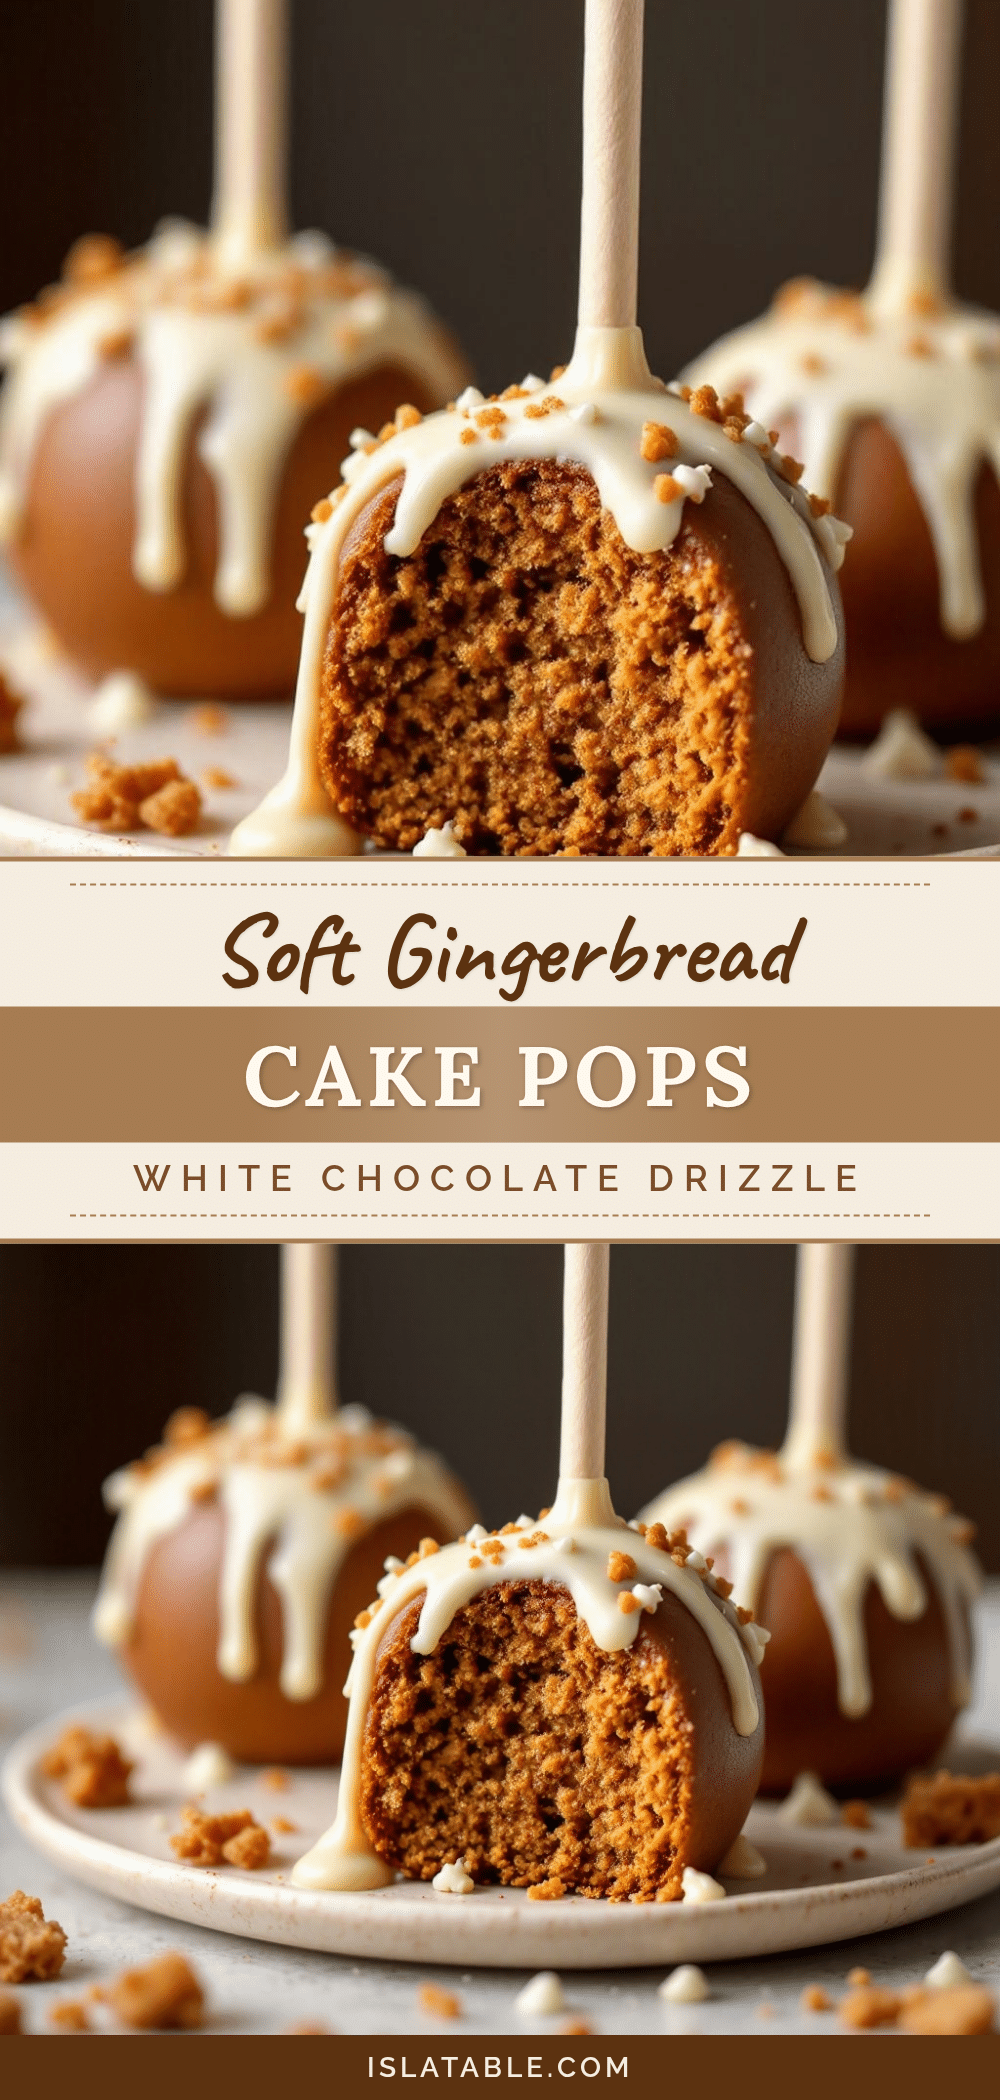
Cozy Gingerbread Cake Pops: 5 Easy Holiday Treats
Moist, spiced gingerbread cake balls rolled in frosting, dipped in white chocolate, and chilled for a perfect holiday treat that balances sweetness and spice.
- Prep Time: 45 minutes
- Cook Time: 15 minutes
- Total Time: 1 hour 30 minutes
- Yield: 15 servings 1x
- Category: Dessert
- Cuisine: American
Ingredients
- 1/2 cup (113g) unsalted butter, softened
- 3/4 cup (150g) granulated sugar
- 1/2 cup (100g) packed dark brown sugar
- 1/4 cup (60ml) molasses
- 1 large egg, room temperature
- 1 teaspoon vanilla extract
- 1 1/2 cups (190g) all-purpose flour, sifted
- 1 1/2 teaspoons ground ginger
- 1 teaspoon ground cinnamon
- 1/2 teaspoon ground nutmeg
- 1/4 teaspoon ground cloves
- 1/2 teaspoon baking soda
- 1/4 teaspoon salt
- 4 oz (113g) cream cheese, softened
- 2 tablespoons (28g) butter, softened
- 1 1/2 cups (180g) powdered sugar, sifted
- 1 cup (170g) white chocolate chips
- 1 tablespoon coconut oil
Instructions
- Preheat oven to 350°F (175°C) and line a muffin tin with cupcake liners.
- In a large bowl, beat softened butter, granulated sugar, and brown sugar until light and fluffy (2-3 minutes).
- Beat in molasses, egg, and vanilla extract until combined.
- In a separate bowl, whisk together flour, ginger, cinnamon, nutmeg, cloves, baking soda, and salt.
- Gradually add dry ingredients to wet mixture and mix on low speed until just combined.
- Divide batter evenly into muffin cups and bake for 12-15 minutes until a toothpick comes out with moist crumbs. Do not overbake.
- Let cakes cool in pan for 5 minutes, then transfer to a wire rack to cool completely.
- Crumble cooled cakes into fine crumbs.
- Beat cream cheese and 2 tablespoons butter until smooth, then gradually add powdered sugar to create a thick frosting.
- Mix frosting into cake crumbs until the mixture holds together like playdough.
- Roll mixture into 1-inch balls and place on a parchment-lined sheet. Freeze for at least 30 minutes.
- Melt white chocolate chips with coconut oil in 30-second intervals, stirring until smooth.
- Dip the tip of a lollipop stick into melted chocolate and insert into a frozen cake ball.
- Dip the entire ball into the white chocolate, tap off excess, and place on parchment paper to set.
Notes
Ensure cake balls are frozen solid before dipping to prevent the chocolate from sliding off. White chocolate seizes easily if it comes into contact with water or is overheated. Store finished cake pops in an airtight container in the refrigerator for up to 5 days or freeze for up to 2 months.
Nutrition
- Serving Size: 1 cake pop
- Calories: 165
- Sugar: 18
- Sodium: 120
- Fat: 9
- Saturated Fat: 5
- Carbohydrates: 22
- Fiber: 0.5
- Protein: 2
Keywords: gingerbread, cake pops, holiday treats, white chocolate, Christmas baking, easy dessert, gingerbread cake


