Honestly, I thought adding a rich, sticky salted caramel sauce to a classic apple crisp sounded like a culinary mistake. You know how it is with desserts. You start with a good base, something reliable like apples and oats, and then someone suggests you drown it in sugar and salt. My first reaction was always the same: why fix what isn’t broken? I’ve made apple crisp for years. It is simple. It is comforting. It doesn’t require a separate sauce pot or a trip to the specialty store for high-quality caramel.
The real turning point came last October. My sister-in-law showed up with a baking dish that smelled like a candy factory exploded in the best way possible. She wasn’t making a standard crumble. She had folded a homemade salted caramel into the oat topping and drizzled more on top before baking. I took one bite, expecting it to be too sweet or too messy. Instead, the salt cut through the sugar perfectly, and the caramel created these gooey pockets between the tender apples.
I was convinced it would be a one-time fluke. Maybe it was her specific caramel recipe. Maybe the apples were just unusually sweet that year. But I kept thinking about those gooey, salty-sweet bites. I decided to test it myself, not because I wanted to, but because I needed to prove that it was just hype.
The result was embarrassing for my skepticism. The texture changed entirely. The oats didn’t just sit on top; they soaked up the caramel juices and became chewy and crisp at the same time. The salt made the apple flavor pop in a way I never noticed before. It wasn’t a mistake. It was an upgrade. I have been making this creamy salted caramel apple crisp with oats ever since. It is no longer just a dessert; it is the reason I keep apples in my pantry all winter long.
Why You’ll Love This Recipe
This recipe isn’t just about throwing fruit in a dish and hoping for the best. It is about creating a dessert that feels indulgent but is actually quite straightforward to make. I have tested dozens of variations over the years, and this specific combination of ingredients strikes the perfect balance. It is not overly sweet, which is a common problem with caramel desserts, and the texture is never mushy. Here is why this version stands out from the rest:
- Quick & Easy: You can have this creamy salted caramel apple crisp with oats ready for the oven in under 10 minutes. The prep is minimal, and the baking time does most of the work. It is perfect for busy weeknights when you want something special without spending hours in the kitchen.
- Simple Ingredients: You likely already have everything you need in your kitchen. No fancy grocery trips or hard-to-find items. Just apples, oats, butter, sugar, and a bit of cream. It is pantry-friendly cooking at its best.
- Perfect for Potlucks: This dish travels well and looks impressive on any table. Whether it is a holiday gathering, a fall party, or a simple family dinner, it always gets rave reviews. People assume you spent all day making it, but they will be surprised to hear it was last-minute.
- Crowd-Pleaser: Kids love the sweetness, and adults appreciate the hint of salt. It bridges the gap between a healthy-ish fruit dish and a decadent dessert. It is the kind of dish that disappears quickly, so you might want to make two.
- Unbelievably Delicious: The texture and flavor combo is next-level comfort food. The contrast between the soft, spiced apples and the crunchy, caramel-soaked oat topping is addictive. It is the kind of dessert that makes you close your eyes after the first bite.
- A Creative Twist: What makes this different is the integration of the caramel. Instead of a separate sauce, the caramel is baked into the topping. This creates a chewy, fudge-like texture in the crust that you don’t get with standard recipes. It is my best version of a classic.
What Ingredients You Will Need
This recipe uses simple, wholesome ingredients to deliver bold flavor and satisfying texture without the fuss. The magic lies in the quality of the apples and the ratio of salt to sugar in the caramel. You do not need expensive gourmet items, but you do need to pay attention to a few details.
- Apples (6-7 medium, peeled and sliced): This is the foundation. I recommend using a mix of Granny Smith and Honeycrisp. Granny Smith provides the tartness and structure, while Honeycrisp adds sweetness and juiciness. Avoid Red Delicious; they turn to mush when baked. Look for firm apples that hold their shape.
- Unsalted Butter (1/2 cup, softened): Using unsalted butter allows you to control the sodium level, especially since you are adding salt to the caramel. Softened butter mixes easier with the oats and sugar, creating a more uniform topping.
- Old-Fashioned Rolled Oats (1.5 cups): Do not use quick oats. They will turn into paste. Old-fashioned oats provide the necessary chew and crunch. If you need a gluten-free option, use certified gluten-free oats, which are widely available now.
- Brown Sugar (3/4 cup, packed): This adds moisture and a deep molasses flavor that pairs perfectly with apples. Light or dark brown sugar both work, but dark sugar gives a richer, more toffee-like taste.
- Granulated Sugar (1/4 cup): This helps create the crisp texture. It balances the moisture from the brown sugar and apples.
- Heavy Cream (1/4 cup): This is the key to the “creamy” part of the caramel. It adds richness and helps the topping set properly without becoming too hard.
- Kosher Salt (1 tsp): Essential for balancing the sweetness. Kosher salt dissolves well and doesn’t have the metallic taste of some table salts. A little goes a long way.
- Vanilla Extract (1 tsp): Adds depth and warmth. Use pure vanilla extract, not imitation, for the best flavor.
- Cinnamon (1 tsp): The classic spice for apple desserts. It ties all the flavors together.
- Nutmeg (1/4 tsp): A subtle spice that adds complexity. Do not overdo it, or it will overpower the apples.
- Apple Cider (2 tbsp, optional): I sometimes add a splash of apple cider to the filling for extra apple flavor. It is a nice touch if you have it on hand.
Equipment Needed
You do not need a lot of fancy gear for this recipe. A standard 9×13 inch baking dish is perfect. I prefer glass or ceramic baking dishes because they distribute heat evenly and allow you to see when the edges are bubbling. Metal pans can sometimes cause the bottom to burn, so be mindful of that.
You will need a medium-sized mixing bowl for the oat topping. A large bowl is better if you are mixing the apple filling separately, but you can do it all in one if you are in a hurry. A sturdy spoon or your hands work well for combining the topping.
For slicing the apples, a sharp chef’s knife is best. A mandoline can make quick work of it, but be careful. Even slices are important so that the apples cook at the same rate. If some pieces are too thick, they will remain hard while others turn to sauce.
Finally, a measuring cup set is helpful for accuracy. Baking is chemistry, and getting the ratios right ensures the caramel sets properly. If you don’t have a set, a set of nested measuring cups works fine.
Preparation Method
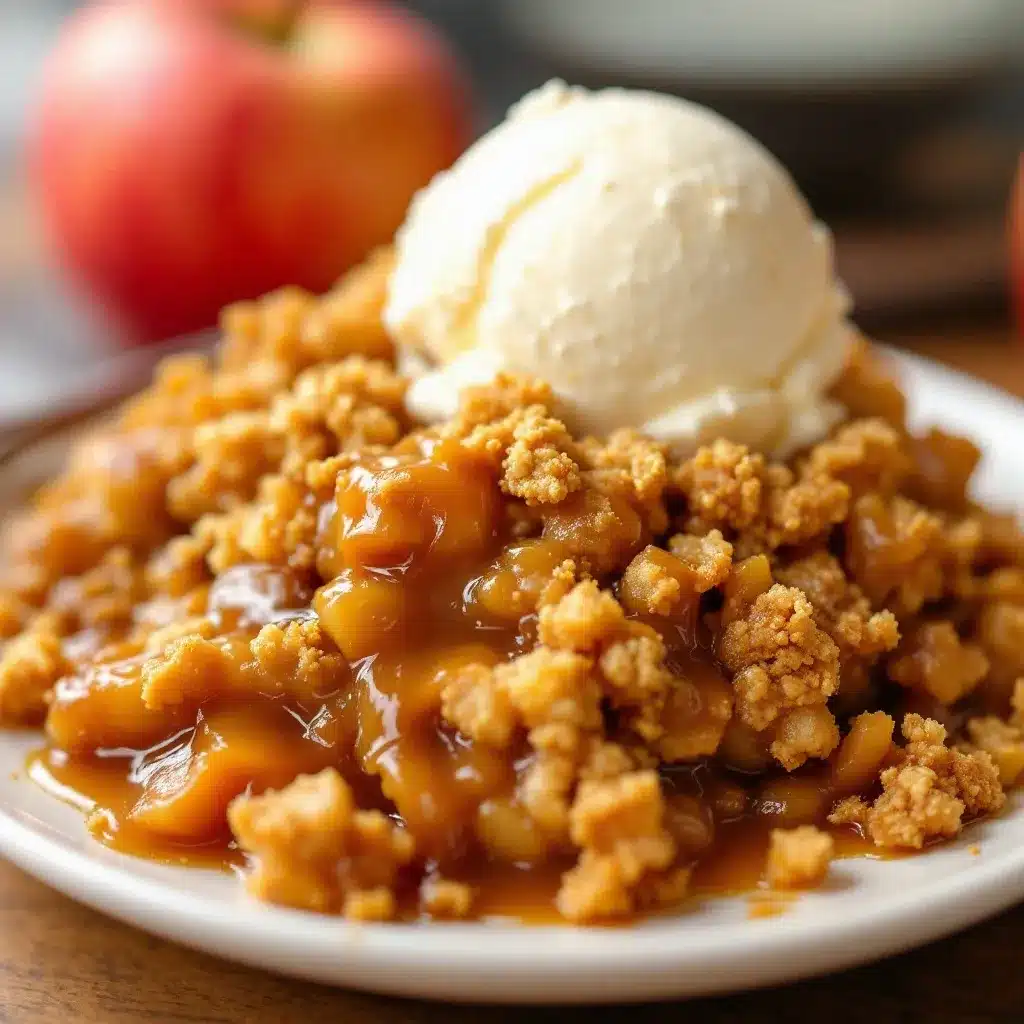
Step 1: Prepare the Apples (10 minutes)
Preheat your oven to 350°F (175°C). Peel, core, and slice the apples into thin, even pieces. About 1/4 inch thick is ideal. Place them in a large bowl. Toss them with the cinnamon, nutmeg, a pinch of salt, and the apple cider if using. Spread the apple mixture evenly into your 9×13 inch baking dish. Press them down gently so they are flat. This ensures the topping sits evenly and bakes uniformly.
Step 2: Make the Topping (5 minutes)
In a medium bowl, combine the rolled oats, brown sugar, granulated sugar, and flour. Mix well with a spoon. Cut the softened butter into small cubes and add them to the dry ingredients. Use your fingers or a pastry cutter to work the butter into the mixture. You want the texture to resemble coarse sand with some larger clumps. These clumps create the crunchy texture you crave. Do not overmix, or the topping will become dense.
Step 3: Add the Caramel Elements (2 minutes)
In a small separate bowl, whisk together the heavy cream, vanilla extract, and kosher salt. Pour this mixture evenly over the oat topping. Do not stir it in. Let it sit for a minute so the oats absorb some of the liquid. This step is crucial for creating that creamy, soft-bitten texture in the crust.
Step 4: Bake (45-50 minutes)
Place the dish in the preheated oven. Bake for 45 to 50 minutes. You will know it is done when the topping is golden brown and the apple juices are bubbling vigorously around the edges. If the topping starts to brown too quickly, cover it loosely with aluminum foil for the last 10 minutes.
Step 5: Cool and Serve
Remove from the oven and let it cool for at least 15 minutes. This allows the caramel to set slightly. If you cut into it immediately, it will be too runny. Serve warm with a scoop of vanilla ice cream or whipped cream. The contrast of hot crisp and cold cream is unmatched.
Cooking Tips & Techniques
One common mistake people make is using too many apples. If the dish is too full, the apples won’t cook through, and the topping will sit on top of raw fruit. Use a kitchen scale if you are unsure, but usually, 6-7 medium apples is the right amount for a 9×13 dish.
Another tip is to ensure your butter is softened but not melted. Melted butter changes the texture of the topping, making it more like a cake than a crisp. If you are in a rush, you can soften butter by microwaving it in short bursts, but let it cool slightly before using.
Do not skip the resting time. The caramel sauce continues to thicken as it cools. Patience here pays off. If you are serving a crowd, you can make this ahead of time. Assemble it the night before and refrigerate. Add 10-15 minutes to the baking time if you start from cold.
If you like a stronger caramel flavor, you can add a tablespoon of maple syrup to the topping mixture. It adds a nice depth that complements the apples. Also, taste your apples before slicing. If they are very tart, you might want to add a bit more sugar to the filling.
Variations & Adaptations
This recipe is flexible. You can adapt it to suit different dietary needs or flavor preferences.
- Gluten-Free: Simply swap the all-purpose flour for a 1:1 gluten-free baking flour. Ensure your oats are certified gluten-free to avoid cross-contamination.
- Dairy-Free: Use vegan butter instead of regular butter. Substitute the heavy cream with full-fat coconut cream or oat cream. The texture will be slightly different but still delicious.
- Lower Sugar: Reduce the brown sugar to 1/2 cup and use a sugar substitute like erythritol or monk fruit for the granulated sugar. The apples provide natural sweetness, so it won’t be too sweet.
- Nut-Free: This recipe is naturally nut-free, making it safe for school events or allergies. Just double-check your oat packaging to ensure no nuts were processed in the same facility.
- Flavor Twist: Add chopped walnuts or pecans to the topping for extra crunch. Cinnamon apples go well with nuts, and it adds a nice earthy note.
Serving & Storage Suggestions
This crisp is best served warm. If you have leftovers, store them in an airtight container in the refrigerator for up to 5 days. The flavors actually meld and improve after a day or two.
To reheat, you can microwave individual portions for 30-60 seconds. Alternatively, warm the whole dish in the oven at 350°F for 15-20 minutes. This restores the crispiness of the topping.
It pairs well with a cup of hot tea or coffee. The bitterness of the coffee cuts through the sweetness of the caramel. For a more indulgent experience, serve with a scoop of salted caramel ice cream or a dollop of whipped cream.
Nutritional Information & Benefits
This recipe contains about 350 calories per serving, depending on the size of the portion. Apples provide fiber and vitamin C, which are good for immune health. Oats are a source of complex carbohydrates and fiber, which help with digestion. The caramel adds sugar and fat, so enjoy in moderation.
For those watching their sugar intake, the natural sugars in the apples are balanced by the fiber, which slows absorption. It is a better option than many store-bought desserts. However, it is still a treat, so keep portions reasonable.
Conclusion
This creamy salted caramel apple crisp with oats is worth the effort. It is simple, delicious, and always a hit. I encourage you to try it and customize it to your taste. Add nuts, change the spices, or adjust the sweetness. It is a versatile recipe that adapts to your needs.
I love this recipe because it feels like a hug in a dish. It is comforting and nostalgic but with a modern twist. Please share your results in the comments below. Let me know how you like it and if you added any special touches. Happy baking!
FAQs
Can I use frozen apples?
Yes, you can use frozen apples, but thaw them first and drain the excess liquid. Frozen apples can release more water, which might make the topping soggy. Pat them dry before adding to the dish.
What is the best apple for this recipe?
A mix of Granny Smith and Honeycrisp is ideal. Granny Smith provides tartness and structure, while Honeycrisp adds sweetness and juiciness. Avoid apples that turn to mush, like Red Delicious.
How do I store leftovers?
Store leftovers in an airtight container in the refrigerator for up to 5 days. Reheat in the microwave or oven before serving to restore the crispiness of the topping.
Can I make this ahead of time?
Yes, you can assemble the crisp the night before and refrigerate it. Add 10-15 minutes to the baking time if you start from cold. This is great for meal prep.
Can I use quick oats instead of rolled oats?
No, quick oats will turn to paste. Use old-fashioned rolled oats for the best texture. If you only have quick oats, the result will be less crunchy and more cake-like.
Pin This Recipe!
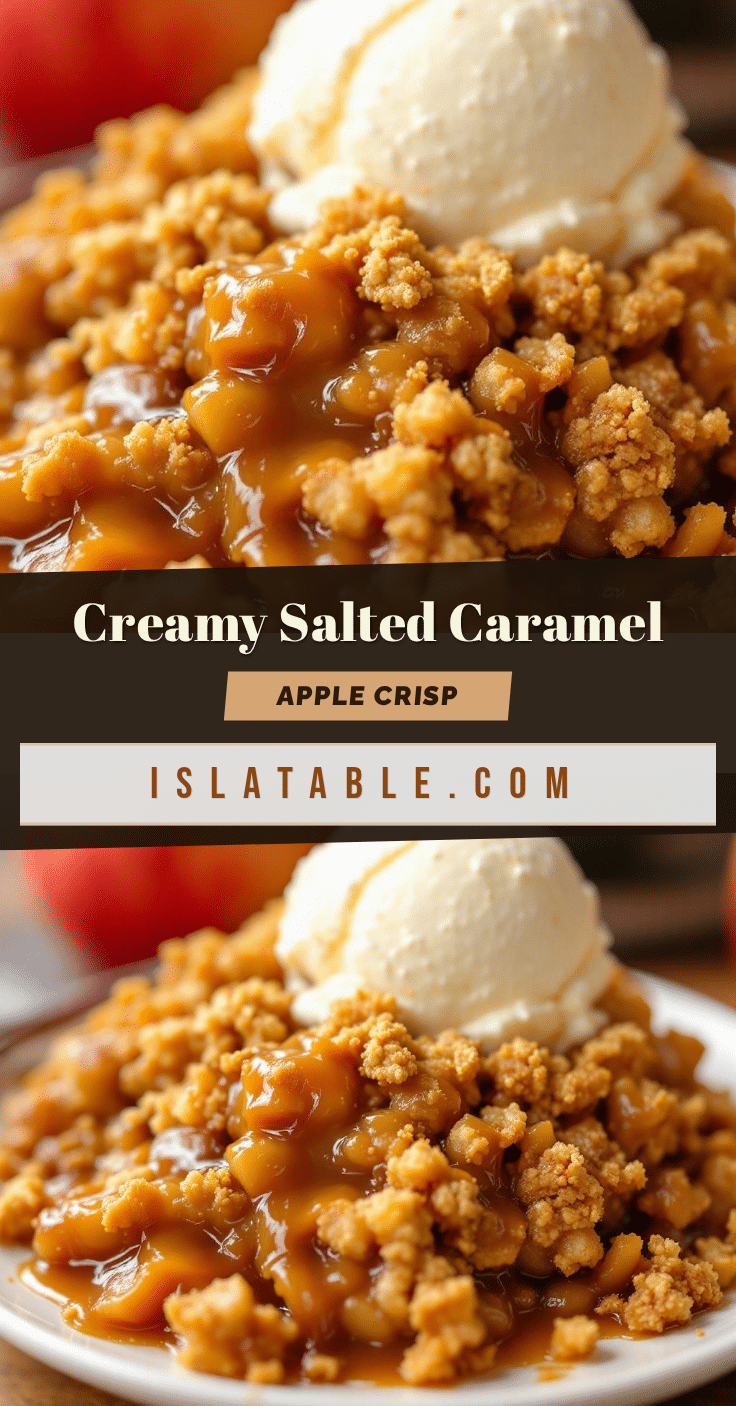
Creamy Salted Caramel Apple Crisp: 10-Minute Easy Dessert

A comforting and indulgent apple crisp featuring a chewy, caramel-soaked oat topping. This easy dessert balances sweet and salty flavors with tender spiced apples and a crunchy crust.
- Prep Time: 10 minutes
- Cook Time: 45-50 minutes
- Total Time: 55-60 minutes
- Yield: 8 servings 1x
- Category: Dessert
- Cuisine: American
Ingredients
- 6–7 medium apples (peeled, cored, and sliced into 1/4 inch pieces; mix of Granny Smith and Honeycrisp recommended)
- 1/2 cup unsalted butter (softened)
- 1.5 cups old-fashioned rolled oats
- 3/4 cup brown sugar (packed)
- 1/4 cup granulated sugar
- 1/4 cup heavy cream
- 1 tsp kosher salt
- 1 tsp vanilla extract
- 1 tsp cinnamon
- 1/4 tsp nutmeg
- 2 tbsp apple cider (optional)
- 1/2 cup all-purpose flour (implied from instructions, though not explicitly listed in ingredients section, it is mentioned in Step 2)
Instructions
- Preheat oven to 350°F (175°C).
- In a large bowl, toss sliced apples with cinnamon, nutmeg, a pinch of salt, and apple cider (if using).
- Spread the apple mixture evenly into a 9×13 inch baking dish and press down gently.
- In a medium bowl, combine rolled oats, brown sugar, granulated sugar, and flour.
- Cut softened butter into small cubes and add to the dry ingredients. Use fingers or a pastry cutter to mix until the texture resembles coarse sand with some larger clumps.
- In a small separate bowl, whisk together heavy cream, vanilla extract, and kosher salt.
- Pour the cream mixture evenly over the oat topping. Do not stir; let it sit for a minute to allow oats to absorb the liquid.
- Bake for 45-50 minutes, or until the topping is golden brown and apple juices are bubbling around the edges. Cover loosely with foil if topping browns too quickly.
- Remove from oven and let cool for at least 15 minutes to allow caramel to set.
- Serve warm with vanilla ice cream or whipped cream.
Notes
Ensure butter is softened but not melted to maintain the correct topping texture. Do not skip the resting time after baking as the caramel needs to set. For a gluten-free version, use certified gluten-free oats and gluten-free flour. For dairy-free, use vegan butter and coconut or oat cream. If making ahead, assemble the night before and refrigerate, adding 10-15 minutes to baking time.
Nutrition
- Serving Size: 1 slice
- Calories: 350
- Sugar: 38
- Sodium: 250
- Fat: 12
- Saturated Fat: 7
- Carbohydrates: 55
- Fiber: 4
- Protein: 3
Keywords: apple crisp, salted caramel, oat dessert, fall dessert, easy baking, gluten-free option, dairy-free option