The clock struck 7:45 PM on October 31st, and I realized I had exactly zero treats for the three kids currently pounding on my back door. I had planned to buy a box of store-bought cookies, but the grocery store was closed, and my pantry looked like a desert. Honestly, it was a disaster waiting to happen. I only had one good thing left: a box of chocolate cake mix and some black food coloring that had been sitting in the back of the cabinet since last Halloween.
I remember staring at the empty counter, feeling that specific panic that only a last-minute host feels. My neighbor’s kids were getting louder. I didn’t have time to bake from scratch or figure out a complex frosting recipe. I needed magic, but I didn’t have the ingredients for it. So, I grabbed the cake mix, some butter, and a handful of chocolate chips. I threw them into a bowl and started stirring like my life depended on it.
The batter turned out thick and dark, almost like mud. I shaped it into cones with my hands, dipped them in chocolate, and added a tiny silver buckle from an old craft box. When I handed the first “witch hat” to the smallest kid, he took a bite and his eyes went wide. It wasn’t just a treat; it was a rescue mission. That night, the spooky witch hat chocolate cupcakes became a legend in our neighborhood. I learned that sometimes the best recipes are born from pure chaos and a desperate need to keep the peace.
Why You’ll Love This Recipe
Let’s be real for a second. Most Halloween treats are either too sugary for adults or too complicated for kids to handle without making a mess. This recipe sits in that perfect sweet spot—pun intended. I’ve tested this version dozens of times, tweaking the ratios until the texture was just right. It’s not just another cupcake; it’s a structural engineering feat that tastes like a dream.
Here is why this recipe has become a staple in my kitchen every October:
- Quick & Easy: You can have these from oven to finished product in under 45 minutes. No fancy techniques or hours of prep time needed.
- Simple Ingredients: You likely already have the cake mix, butter, and chocolate chips in your pantry. No special grocery trips required.
- Perfect for Parties: These are handheld, easy to eat while trick-or-treating, and look incredibly impressive on any dessert table.
- Crowd-Pleaser: Kids love the spooky shape, and adults love that it’s actually delicious chocolate cake. Everyone wins.
- Unbelievably Delicious: The contrast between the soft cake cone and the hard chocolate shell creates a texture that is pure comfort food.
What makes this version different from the rest is the attention to detail in the shaping process. Many recipes tell you to just scoop the batter, but that doesn’t give you that authentic witch hat silhouette. I developed a specific folding technique for the cake dough that ensures the “hat” holds its point without collapsing. It’s a small trick, but it makes all the difference in the final presentation.
This recipe isn’t just good—it is the kind that makes you feel like a culinary wizard even if you barely know how to boil water. It’s comfort food reimagined for the spookiest night of the year. Whether you are hosting a Halloween party or just want to surprise your family with something fun, this is the answer. It’s stress-free fun that results in a memory, not just a snack.
What Ingredients You Will Need
This recipe relies on the power of convenience products to deliver professional-looking results without the hassle. We are using simple, wholesome ingredients to create a treat that looks magical but tastes like home baking. The beauty of this approach is that you can swap items based on what you have on hand, making it incredibly flexible for busy schedules.
Here is what you need to get started:
- Chocolate Cake Mix: One standard 15-ounce box. I recommend using a premium brand like Duncan Hines or Devil’s Food for the richest flavor. Avoid the “light” versions as they don’t have the density needed to hold the hat shape.
- Unsalted Butter: One half-cup (113g), softened. This adds richness and helps bind the cake crumbs together so they don’t fall apart when you shape them.
- Eggs: Two large eggs, room temperature. These provide structure. If you need a dairy-free option, you can use flax eggs, but the texture will be slightly different.
- Milk: One half-cup (120ml) of whole milk or buttermilk. Buttermilk adds a slight tang that cuts through the sweetness of the chocolate.
- Black Food Coloring: Gel-based is best. Liquid coloring can make the batter too wet. I prefer Wilton gel colors because they are concentrated and don’t alter the texture.
- Chocolate Chips: One cup of semi-sweet or dark chocolate chips. These will be melted to form the “brim” of the hat. Dark chocolate holds its shape better when cooled.
- Mini Pretzel Sticks: About 12-15 sticks. These act as the “witch’s hat buckle” or band. They add a necessary salty crunch to balance the sweet chocolate.
- Silver Sprinkles or Edible Glitter: Optional, but highly recommended for that magical sparkle. It catches the light and makes the hats look expensive.
If you want to make these gluten-free, you can substitute the cake mix with a high-quality gluten-free chocolate cake mix. Just be aware that GF mixes can be more crumbly, so you may need to add an extra egg or a tablespoon of xanthan gum to help them hold their shape. For a nut-free version, ensure your chocolate chips are processed in a nut-free facility.
Equipment Needed
You don’t need a professional kitchen to make these spooky witch hat chocolate cupcakes. In fact, keeping it simple is part of the charm. Here is the gear you’ll need:
- Muffin Tin: A standard 12-cup muffin tin is essential. The cups help hold the cake batter in a rounded shape while it bakes, which is the base of your hat.
- Mixing Bowls: You’ll need one large bowl for the cake batter and one small microwave-safe bowl for melting the chocolate.
- Pastry Bag or Ziplock Bag: For applying the chocolate brim neatly. A ziplock bag works fine if you just snip off the corner.
- Parchment Paper: To line the muffin cups. This prevents sticking and makes cleanup a breeze.
- Silicone Spatula: Essential for scraping every bit of batter out of the bowl. Waste not, want not.
I usually skip the fancy piping bags for the chocolate because they are hard to clean. A simple ziplock bag with the corner cut off is faster and just as effective. If you don’t have a microwave, you can melt the chocolate in a double boiler on the stove, but you have to be careful not to burn it. Burnt chocolate tastes bitter and ruins the whole hat. Keep it low and slow.
Preparation Method
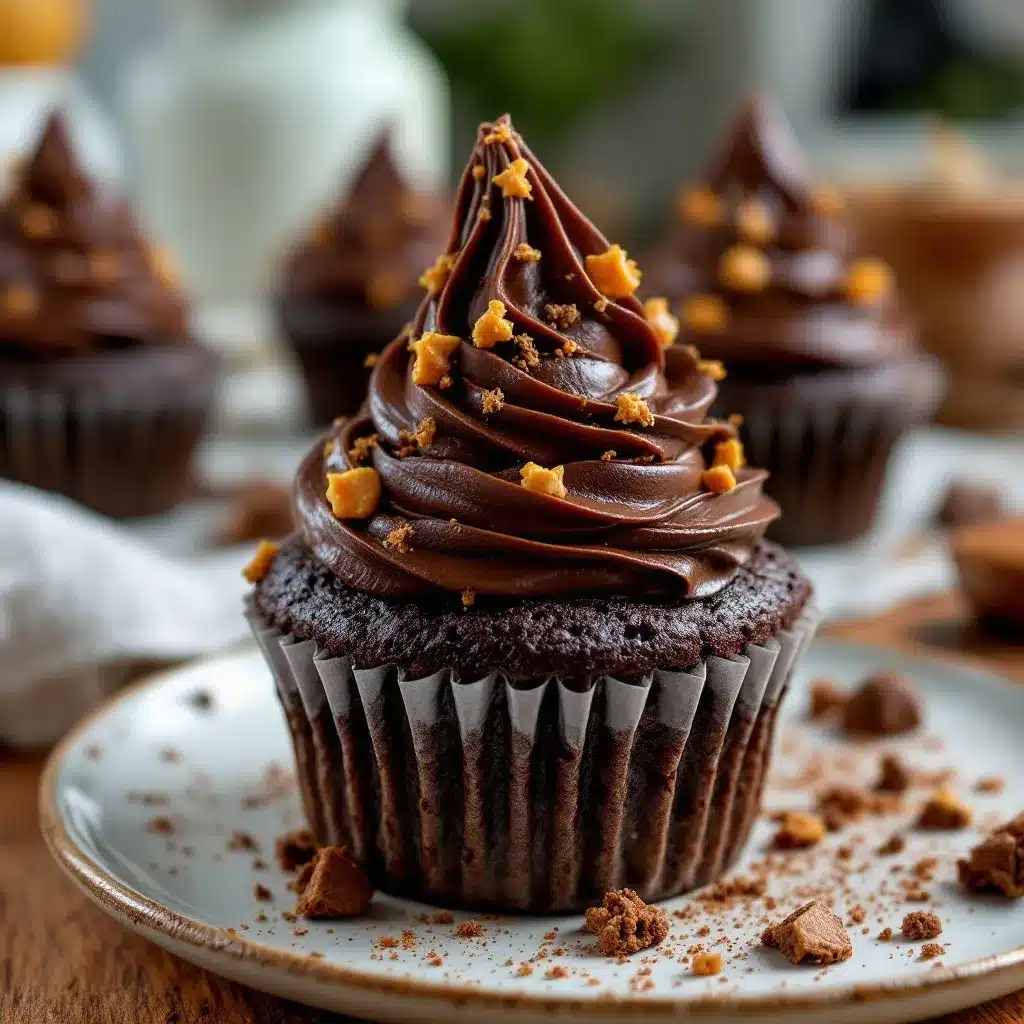
Let’s get cooking. This process is straightforward, but you need to move quickly once the cakes are out of the oven. Here is how to build your witch hats step by step.
- Preheat and Prep: Preheat your oven to 350°F (175°C). Line your muffin tin with parchment paper liners. This is non-negotiable if you want easy removal later.
- Mix the Batter: In a large bowl, combine the cake mix, eggs, melted butter, milk, and black food coloring. Mix on medium speed for about 2 minutes. The batter should be thick and uniformly black. If it’s too dry, add a splash more milk. If it’s too runny, add a spoonful of flour.
- Fill the Cups: Divide the batter evenly among the 12 muffin cups. Fill them about 3/4 full. Do not overfill, or they will overflow and lose their shape.
- Bake: Bake for 18-20 minutes. You can test them with a toothpick; it should come out with just a few moist crumbs, not wet batter. Let them cool in the pan for 5 minutes, then transfer to a wire rack to cool completely. This cooling step is crucial. If you try to shape warm cakes, they will fall apart.
- Shape the Hats: Once cool, take a cake and gently invert it. The rounded bottom is now the top of the hat. Press it gently into a cone shape with your hands. It should hold its form. If it cracks, just press it back together. Repeat for all cakes.
- Melt the Chocolate: In a microwave-safe bowl, melt the chocolate chips in 30-second intervals, stirring in between, until smooth. Let it cool slightly so it thickens a bit. This prevents it from dripping all over the table.
- Dip the Brim: Hold each cake cone by the “pointy” end (which is actually the flat bottom). Dip the wide edge into the melted chocolate. You want a thick band around the base. This is the brim of the hat. Place them back on the wire rack.
- Add the Buckle: While the chocolate is still wet, press a mini pretzel stick horizontally across the center of the chocolate band. This looks like the buckle on a witch’s hat. If you are using silver sprinkles, press them into the chocolate now.
- Set: Let the hats sit at room temperature until the chocolate hardens, about 15 minutes. Or, pop them in the fridge for 5 minutes to speed things up.
The key here is patience during the cooling phase. Rushing this step is the #1 reason these hats fail. Let them cool completely before handling.
Cooking Tips & Techniques
I’ve made my fair share of disasters in the kitchen, and these witch hats taught me a few hard lessons. Here is how to avoid them.
- Cool Completely: I cannot stress this enough. Warm cake is sticky and fragile. If you try to mold it while it’s hot, it will turn into mush. Let them cool on a wire rack for at least 30 minutes.
- Thicken the Chocolate: If your melted chocolate is too thin, it will drip off the cake and make a mess. Let it sit for a minute after melting. It should coat the back of a spoon thickly.
- Handle Gently: When shaping the cones, use your palms, not your fingers. Fingers can poke holes in the cake. Press and roll gently to form the point.
- Use Gel Color: Liquid food coloring adds water to your batter, which can change the baking time and texture. Gel colors are more potent and don’t affect the consistency.
- Make Ahead: These actually taste better the next day. The flavors meld together, and the chocolate sets firmly. You can make them up to 2 days in advance.
One trick I learned is to chill the pretzel sticks before attaching them. If they are too warm, they might slide down the chocolate. Cold pretzels stick better and stay put.
Variations & Adaptations
While the classic black witch hat is iconic, you can mix it up. Here are a few ideas I’ve tried:
- Pumpkin Spice: Swap the chocolate cake mix for pumpkin spice cake mix. Use orange food coloring and white chocolate for the brim. It’s a fall favorite.
- Green Monster: Use yellow cake mix with green food coloring. Dip the brim in green-tinted chocolate. Great for a “Frankenstein” vibe.
- Gluten-Free: As mentioned, use a GF cake mix. Add an extra egg for binding. The result is surprisingly fluffy and holds shape well.
For a nut-free version, just check your chocolate chip label. Most major brands are safe, but cross-contamination can happen. If you have nut allergies, stick to certified nut-free chocolate.
Serving & Storage Suggestions
Serve these at room temperature for the best texture. The chocolate should be firm but not hard. Pair them with a glass of cold milk or a spooky red punch like the magical kid-friendly color-changing galaxy lemonade for a fun party theme.
Store leftovers in an airtight container at room temperature for up to 3 days. Do not refrigerate, as the chocolate can sweat and become sticky. If you need to store them longer, freeze them for up to a month. Thaw at room temperature before serving. The flavors actually improve after a day, so make them ahead if you can.
Nutritional Information & Benefits
These treats are indulgent, so enjoy them in moderation. Each witch hat contains approximately 250-300 calories, depending on the size of the pretzel and chocolate used. The cake mix provides carbohydrates for energy, while the chocolate offers a mood-boosting hit of cocoa. The pretzel adds a small amount of sodium and crunch.
For those watching sugar intake, you can use sugar-free cake mix and sugar-free chocolate chips. It won’t be identical, but it will satisfy the craving. They are not inherently healthy, but they are a fun, occasional treat that brings joy.
Conclusion
These spooky witch hat chocolate cupcakes are more than just a dessert; they are a solution to the Halloween panic. They are easy, fun, and delicious. I hope you try this recipe and make it your own. Feel free to add different sprinkles or change the pretzel shape to match your theme.
If you make these, I’d love to see them! Share your photos or let me know how they turned out in the comments below. Happy baking, and happy Halloween!
FAQs
Can I use homemade cake instead of cake mix?
Yes, but homemade cake is more delicate. You may need to add more butter or an extra egg to help it hold the cone shape. Cake mix is denser and easier to work with for beginners.
Why did my chocolate brim slide off?
This usually happens if the chocolate was too thin or if the cake was too dry. Make sure the chocolate is thick enough to coat the spoon, and lightly dampen the cake edge with a tiny bit of water before dipping to help the chocolate stick.
How far in advance can I make these?
You can make them up to 2 days ahead. Store them in an airtight container at room temperature. They will stay fresh and the chocolate will remain firm.
Can I make these without pretzels?
Absolutely. You can use a silver dragée, a small cookie, or even a strip of black licorice for the “buckle.” The pretzel is just for the salty crunch and visual appeal.
Are these gluten-free?
Not with standard cake mix. However, you can easily swap the cake mix for a gluten-free version. Just ensure your chocolate chips and pretzels are also certified gluten-free.
Pin This Recipe!
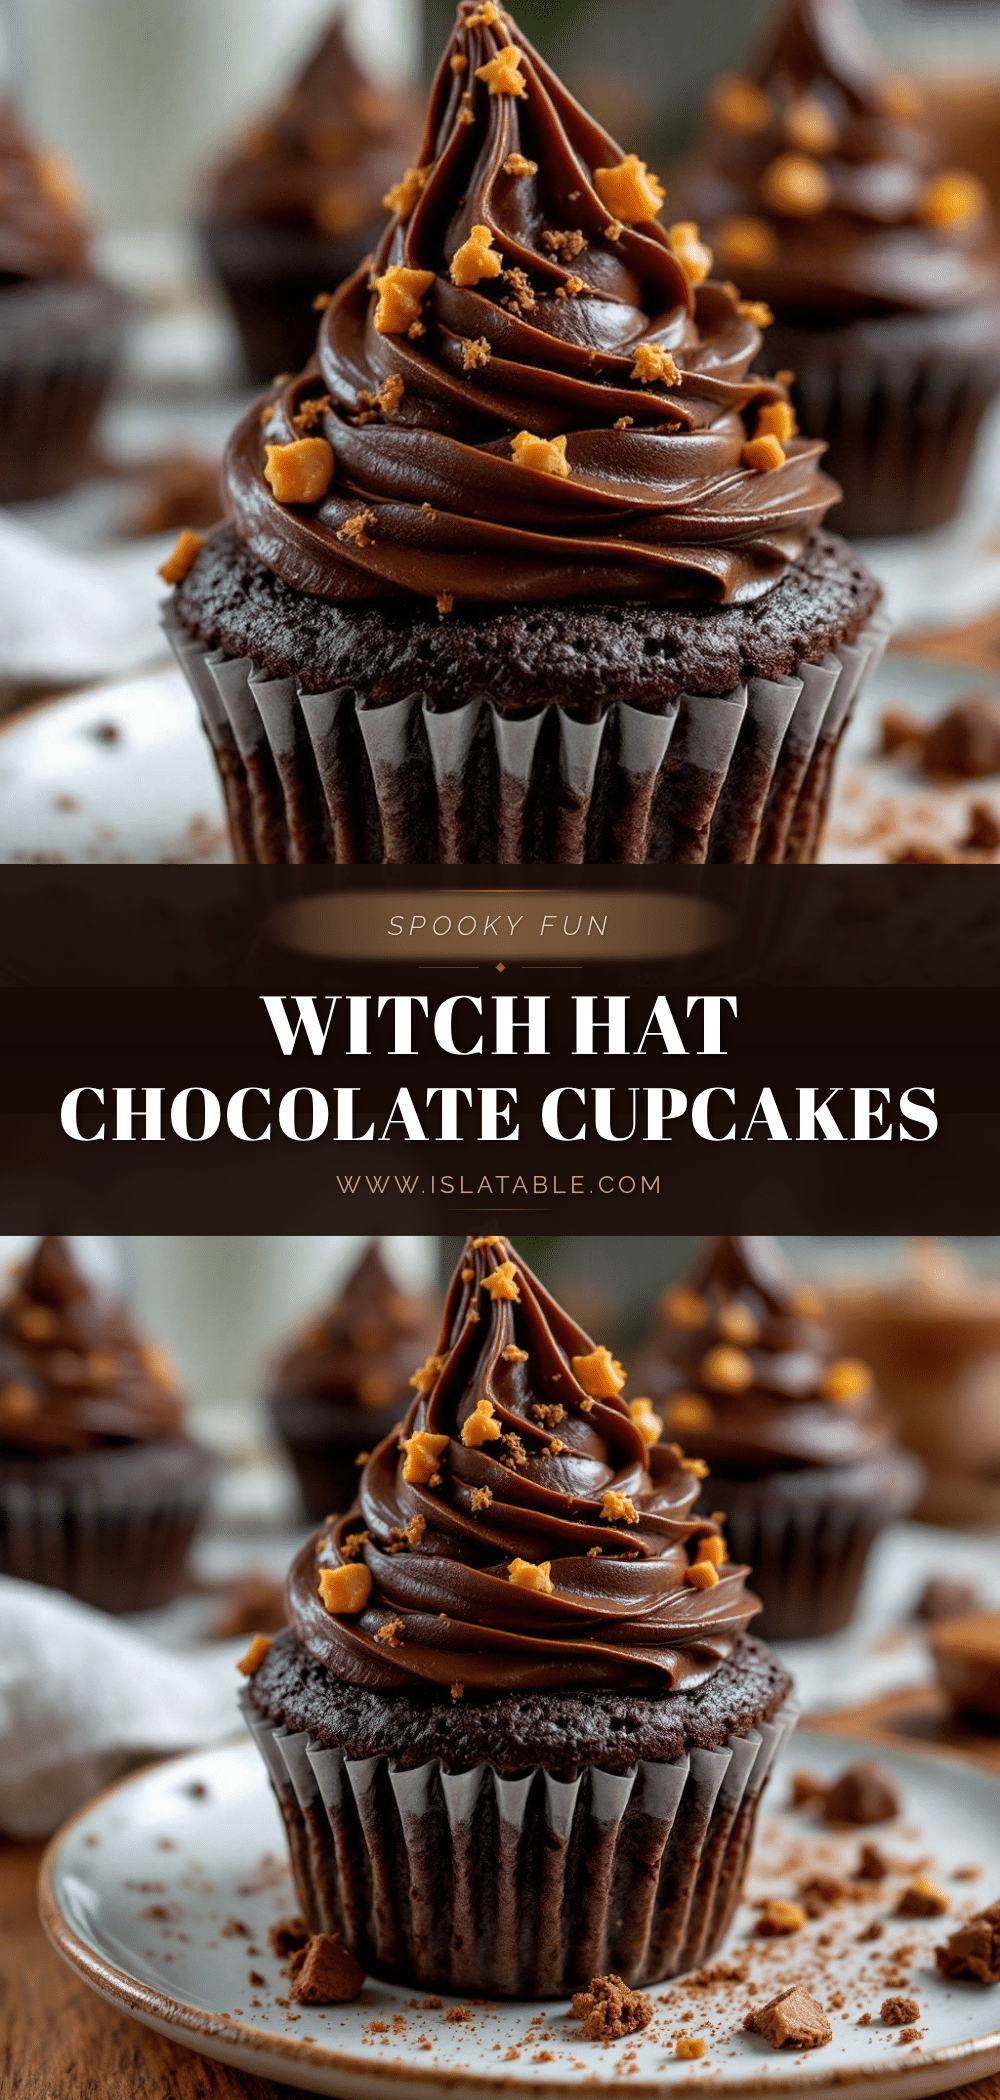
Spooky Witch Hat Chocolate Cupcakes
A quick and easy 5-ingredient Halloween treat made from chocolate cake mix, shaped into witch hats with a chocolate brim and pretzel buckle.
- Prep Time: 15 minutes
- Cook Time: 20 minutes
- Total Time: 45 minutes
- Yield: 12 servings 1x
- Category: Dessert
- Cuisine: American
Ingredients
- 1 box (15 oz) chocolate cake mix
- 1/2 cup (113g) unsalted butter, softened
- 2 large eggs, room temperature
- 1/2 cup (120ml) whole milk or buttermilk
- Black gel food coloring
- 1 cup semi-sweet or dark chocolate chips
- 12–15 mini pretzel sticks
- Silver sprinkles or edible glitter (optional)
Instructions
- Preheat oven to 350°F (175°C) and line a 12-cup muffin tin with parchment paper liners.
- In a large bowl, combine cake mix, eggs, melted butter, milk, and black gel food coloring. Mix on medium speed for 2 minutes until thick and uniformly black.
- Divide batter evenly among muffin cups, filling them about 3/4 full.
- Bake for 18-20 minutes or until a toothpick comes out with moist crumbs. Cool in the pan for 5 minutes, then transfer to a wire rack to cool completely.
- Once completely cool, invert each cake and gently press into a cone shape with your hands.
- Melt chocolate chips in 30-second intervals in the microwave, stirring until smooth. Let cool slightly to thicken.
- Dip the wide base of each cake cone into the melted chocolate to create a brim.
- While the chocolate is wet, press a mini pretzel stick horizontally across the center of the chocolate band to resemble a buckle.
- Let the hats sit at room temperature for 15 minutes or refrigerate for 5 minutes until the chocolate hardens.
Notes
It is crucial to let the cakes cool completely before shaping to prevent them from falling apart. Use gel food coloring instead of liquid to maintain batter consistency. For gluten-free versions, substitute with a GF cake mix and add an extra egg for binding.
Nutrition
- Serving Size: 1 witch hat cupcake
- Calories: 275
- Sugar: 26
- Sodium: 180
- Fat: 12
- Saturated Fat: 7
- Carbohydrates: 38
- Fiber: 2
- Protein: 4
Keywords: Halloween, cupcakes, witch hat, chocolate, easy recipe, kids treats, party food


