It is 11:45 PM on a Tuesday, and I am staring at a cooling rack that looks like a graveyard for my self-esteem. This is the fourth batch of crispy ghost meringue cookies with mini chocolate chips I have attempted this week. The first three were disasters. The first batch was a sad, weeping puddle of sugar that refused to dry out, no matter how long I left it in the turned-off oven. The second batch cracked so badly they looked like spiderwebs, which is funny until you realize you wanted them to look like friendly ghosts, not something you’d find in a horror movie. The third batch? Well, let’s just say the kitchen smelled like burnt toast and regret.
But this fourth batch? This one clicked. Honestly, it wasn’t even supposed to be a ghost recipe. I just wanted something light, airy, and not heavy like the easy gluten-free cornbread muffins I usually bake on Sundays. I was trying to avoid flour entirely because, you know, Halloween stress baking is hard enough without dealing with gluten-free flour blends that taste like cardboard. So I went back to basics. Just egg whites, sugar, and a pinch of salt. But then I thought about the shape. Those little mounds of whipped egg whites, piped into little ovals with pointy tops? They looked exactly like the little cartoon ghosts from my childhood cartoons.
I added the mini chocolate chips because, well, it’s Halloween. A ghost without a treat is just a sad cloud. The obsession started because I wanted that perfect snap. You know the sound? That sharp, crisp crack when you bite into a perfectly dried meringue? It’s addictive. I kept going back to the oven, checking the humidity, watching the door crack open to let moisture escape. It became this weird, quiet ritual. Just me, the mixer, and the ghost cookies. And now that I’ve finally got it right, I can’t stop making them. They are so light they practically float away if you aren’t careful.
There is something deeply satisfying about making something so delicate and turning it into a sturdy, crunchy treat. It’s a paradox I am happy to live with. If you’ve been struggling with sticky meringues or cracked tops, you’re going to want to read this. I’ve learned a few things the hard way, mostly involving sticky floors and wasted egg whites.
Why You’ll Love This Recipe
Let’s be real for a second. Meringues have a reputation. People think they are finicky, difficult, and require a degree in pastry arts to get right. But after burning through a dozen eggs and half a bag of sugar to get these crispy ghost meringue cookies with mini chocolate chips just right, I can tell you: they are actually incredibly forgiving once you know the tricks. This isn’t just another cookie recipe; it’s a lesson in patience that pays off with one of the most satisfying textures in baking.
- Quick & Easy Setup: While the baking time is long, the actual hands-on prep is about 15 minutes. That’s it. You whip, you pipe, you wait. It is perfect for those last-minute Halloween preparations when you realize you forgot to buy candy at the store.
- Simple Ingredients: You likely have everything you need right now. Egg whites, granulated sugar, cream of tartar, vanilla, and chocolate chips. No fancy grocery trips needed. It’s pantry-friendly in the best way possible.
- Perfect for Parties: These are great for Halloween potlucks, office parties, or just hiding in your cookie jar so your kids don’t eat them all before guests arrive. They are small, elegant, and disappear fast.
- Crowd-Pleaser Texture: The contrast between the shatteringly crisp exterior and the slight chew in the center is next-level. Kids love them because they are sweet and look fun. Adults love them because they aren’t cloyingly sweet like fudge.
- Unbelievably Delicious: The vanilla bean paste (or extract) combined with the dark chocolate chips creates a flavor profile that is sophisticated yet nostalgic. It’s comfort food reimagined—lighter, airier, but with that same soul-soothing satisfaction of a classic treat.
What makes this recipe different is the specific technique for drying them out slowly. Most recipes tell you to bake at a high temperature, which causes cracking. We are going low and slow. This ensures the ghost shape holds its form without turning into a browned mess. It’s not just another meringue recipe; it’s the version that actually stays white and ghost-like. It’s the kind of recipe that makes you close your eyes after the first bite and feel a little bit of magic.
What Ingredients You Will Need
This recipe relies on the chemistry of egg whites and sugar to create structure. Without flour or butter, the ingredients have to work harder. The goal is a stable foam that can hold the shape of a ghost and the weight of chocolate chips without collapsing. Here is what you need to make those crispy ghost meringue cookies with mini chocolate chips come together perfectly.
- Egg Whites: You will need 3 large egg whites. It is crucial that they are at room temperature. Cold egg whites do not whip up to the same volume. Also, make sure there is not a single drop of yolk in the bowl. A tiny bit of fat will prevent the whites from stiffening. I usually separate them while they are cold and let them sit out for 30 minutes before whipping.
- Granulated White Sugar: You need 3/4 cup (150 grams) of granulated sugar. Do not use superfine sugar here, as it can make the meringue too soft. Standard granulated sugar provides the right structure. I recommend using a high-quality brand like Domino or C&H for consistent results. The sugar dissolves into the egg whites, creating that shiny, smooth finish.
- Cream of Tartar: This is the secret weapon. 1/4 teaspoon of cream of tartar stabilizes the egg whites. It lowers the pH, which helps the protein chains bond more strongly. Without it, your meringue might deflate before it dries. It is cheap, shelf-stable, and essential for success.
- Vanilla Extract or Paste: 1 teaspoon of pure vanilla extract. If you want those beautiful black specks, use vanilla bean paste. It adds a deeper flavor and looks more professional. Avoid imitation vanilla, as the alcohol content can sometimes affect the texture.
- Mini Semi-Sweet Chocolate Chips: 1/3 cup of mini chocolate chips. Why mini? Because standard chips are too big and heavy for the delicate meringue structure. Mini chips distribute evenly and provide a nice bite in every ghost. I prefer Ghirardelli or Godiva for their meltability and flavor.
- Salt: A tiny pinch of sea salt. It balances the sweetness and enhances the vanilla flavor. Don’t skip it.
If you are allergic to eggs, this recipe is not for you, as meringues are entirely egg-based. However, if you are gluten-free, these are naturally gluten-free, which makes them a great alternative to healthy keto coleslaw sides if you are looking for a sweet treat that fits a specific diet. Just ensure your chocolate chips are certified gluten-free, as cross-contamination can happen in factories.
Equipment Needed
You don’t need a lot of fancy gear, but having the right tools makes a huge difference. First, you need a stand mixer with a whisk attachment, or a hand mixer. A stand mixer is easier because it frees up your hands, but a hand mixer works fine if you are strong. The bowl needs to be completely clean and dry. Even a little water can ruin the whip.
Next, you need a baking sheet lined with parchment paper or a silicone baking mat. I prefer silicone mats because they provide even heating and make cleanup a breeze. Parchment paper works too, but you might need two sheets if the meringues spread or stick. Do not use aluminum foil; the meringues will stick like crazy.
A piping bag with a round tip (like a Wilton 1M or a simple round tip) is helpful for shaping the ghosts. If you don’t have one, you can use a zip-top bag with the corner cut off. It’s messier, but it works. A small spoon or offset spatula is useful for smoothing out the piped meringues if they look too rough.
Finally, an oven thermometer is a good idea. Ovens are often inaccurate. If your oven runs hot, your meringues will brown too quickly. If it runs cold, they won’t dry out and will stay chewy or sticky. I learned this the hard way on my third attempt. Now, I never trust my oven dial without checking it with a thermometer.
Preparation Method
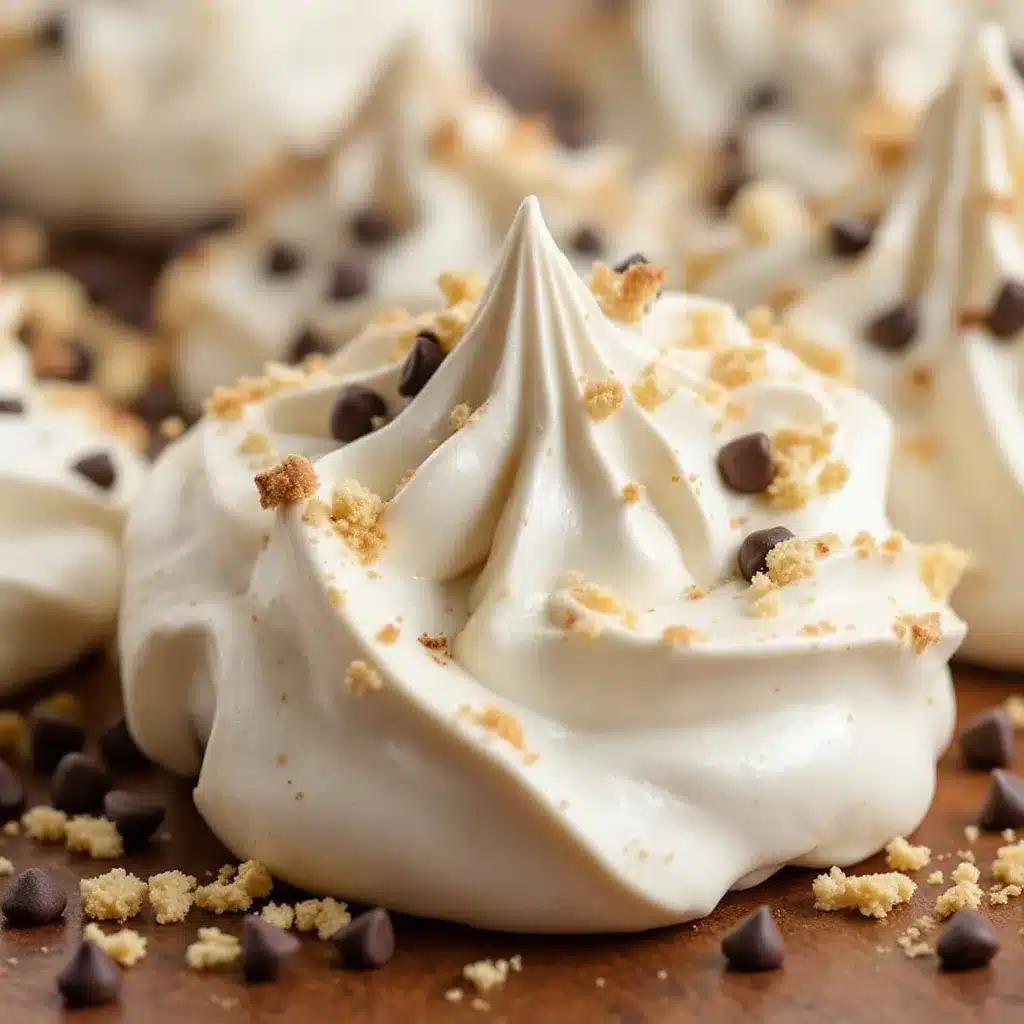
Let’s get into the nitty-gritty. This is where the magic happens, and also where most people mess up. Take your time. Rushing this part will lead to deflated ghosts and sad cookies.
Step 1: Prep Your Station
First, preheat your oven to 200°F (95°C). This is a low temperature. We are drying the meringues, not baking them. Line two baking sheets with parchment paper or silicone mats. Set them aside. Make sure your mixer bowl and whisk attachment are completely clean and dry. Wipe them down with a paper towel dipped in vinegar if you are paranoid, which I am.
Step 2: Whip the Egg Whites
Add the 3 room-temperature egg whites to the mixer bowl. Start mixing on medium-low speed until they are foamy and bubbly. This takes about 1-2 minutes. You want them to look like wet foam, not stiff peaks yet. Once they are foamy, add the cream of tartar and the pinch of salt. Increase the speed to medium-high. Let it whip for another minute or two.
Step 3: Add the Sugar Slowly
This is the most critical step. With the mixer still running on medium-high, slowly pour in the granulated sugar. I mean slowly. Like, one tablespoon at a time. If you dump it all in at once, the sugar won’t dissolve, and you’ll get gritty meringues. This process should take about 5-7 minutes. As you add the sugar, the mixture will turn glossy and white. Keep whipping until stiff, glossy peaks form. When you lift the whisk, the peak should stand straight up without drooping. This takes about 8-10 minutes total whipping time.
Step 4: Add Flavor and Chocolate
Stop the mixer. Add the vanilla extract. Fold it in gently with a spatula just until combined. Then, gently fold in the mini chocolate chips. Be careful not to deflate the mixture. You want to keep as much air in there as possible. Use a gentle under-and-over motion. If you mix too vigorously, you’ll lose the volume, and your ghosts will be flat.
Step 5: Pipe the Ghosts
Transfer the meringue to a piping bag fitted with a round tip. If you are using a zip-top bag, cut a small hole in the corner. Pipe small mounds onto the baking sheets. To make them look like ghosts, pipe a slightly taller mound at the top and a wider base. You can use your finger or a small spoon to smooth the sides if you want a cleaner look. Leave about 2 inches between each ghost because they might spread slightly.
Step 6: The Long Bake
Place the baking sheets in the oven. Bake for 1 hour and 15 minutes. Do not open the oven door for the first 45 minutes. Opening the door lets in moisture, which can ruin the drying process. After 1 hour and 15 minutes, turn off the oven and crack the door open slightly with a wooden spoon. Let the meringues cool completely in the turned-off oven. This residual heat continues to dry them out gently. This step is crucial for that crispy texture. If you take them out while they are warm, they might be soft inside.
Step 7: Cool and Store
Once they are completely cool to the touch, they should snap when you break them apart. If they are still soft or chewy, put them back in the turned-off oven for another 30 minutes. Store them in an airtight container at room temperature. They will stay crispy for up to a week, if they last that long.
Cooking Tips & Techniques
I have made a lot of mistakes with meringues, so here are some tips to help you avoid them. First, humidity is the enemy. If it is a rainy or humid day, meringues can absorb moisture from the air and become sticky. On humid days, I sometimes add a tablespoon of cornstarch to the sugar to help absorb excess moisture. It’s a trick my grandmother taught me.
Second, don’t underestimate the time it takes to whip the egg whites. If you stop too early, the meringue will be unstable. You want those stiff peaks. The mixture should hold its shape on the whisk without moving. It should look like marshmallow fluff, shiny and smooth.
Third, be gentle when folding in the chocolate chips. I tend to get excited and mix too hard, which deflates the air. Think of it like you are trying to keep a fragile balloon intact. Use a spatula and fold slowly. You want to keep every bit of that air.
Finally, patience during the cooling phase. It is tempting to take them out of the oven as soon as it’s done, but the residual drying is what gives them that crisp snap. If you rush this step, you’ll end up with soft, chewy centers. Trust the process. Let them cool in the oven with the door cracked. It’s the best way to ensure perfection.
Variations & Adaptations
While the classic ghost shape with mini chocolate chips is my favorite, there are plenty of ways to customize these crispy ghost meringue cookies with mini chocolate chips. First, you can change the flavor profile. Add a teaspoon of almond extract instead of vanilla for a different taste. Or, add a tablespoon of cocoa powder to the egg whites for chocolate ghosts. Just sift the cocoa powder with the sugar to avoid lumps.
You can also change the add-ins. Instead of chocolate chips, try adding freeze-dried raspberries for a tart contrast. Or use white chocolate chips for a sweeter, milder flavor. If you want a Halloween twist, use orange food coloring mixed with the egg whites for orange ghosts. Just add a drop at a time until you get the right shade.
For a dietary variation, you can use vegan egg whites, though the texture might be slightly different. You can also use coconut sugar instead of granulated sugar, but note that it will brown more quickly, so you may need to reduce the baking time slightly. Be careful with substitutions, as they can affect the structure. Stick to the original recipe for the best results, especially if you are a beginner.
I once tried adding crushed peppermint candies, and it was a disaster. The candy melted and made the meringues sticky. Lesson learned: stick to dry add-ins or chips that melt evenly. The mini chocolate chips are perfect because they melt into the nooks and crannies without making the cookie soggy.
Serving & Storage Suggestions
These cookies are best served at room temperature. They are delicate, so handle them with care. I like to serve them on a platter with a napkin, because they can be a bit messy if the chocolate melts. They pair well with a cold glass of milk or a cup of coffee. The crisp texture contrasts nicely with the warmth of the beverage.
For storage, keep them in an airtight container at room temperature. Do not refrigerate them, as the humidity in the fridge can make them soft. They will stay crispy for up to a week. If you live in a humid climate, you might want to add a packet of food-safe desiccant to the container to absorb moisture.
If you need to make them ahead of time, you can prepare the meringues up to 3 days in advance. Just make sure they are completely cool before storing them. They actually taste better after a day or two, as the flavors have time to meld. The chocolate softens slightly, and the vanilla becomes more pronounced.
For serving at a party, arrange them on a tiered stand. They look elegant and spooky at the same time. You can also gift them in small cellophane bags tied with a black ribbon. It’s a thoughtful and unique gift for neighbors or teachers.
Nutritional Information & Benefits
These crispy ghost meringue cookies with mini chocolate chips are naturally gluten-free and dairy-free (if you use dairy-free chocolate chips). They are low in fat compared to traditional cookies, as they don’t contain butter. However, they are high in sugar, so enjoy them in moderation. Each cookie is approximately 20-25 calories, depending on the size.
Egg whites are a good source of protein, which is a nice bonus. The chocolate chips add some antioxidants, though they also add sugar. Overall, this is a lighter treat than a brownie or a bar cookie. It’s a good option if you want something sweet without feeling too heavy. Just be mindful of the sugar content, especially if you are watching your intake.
I personally enjoy these as a post-dinner treat because they are so light. They don’t weigh you down like a heavy dessert. They are perfect for satisfying a sweet tooth without overdoing it. Just remember, they are still a treat, so share them with friends and family.
Conclusion
Making crispy ghost meringue cookies with mini chocolate chips might seem like a challenge, but once you master the technique, it becomes a fun and rewarding experience. The key is patience, clean equipment, and gentle handling. The result is a cookie that is light, crisp, and deliciously spooky. It’s a perfect Halloween treat that is sure to impress your friends and family.
I encourage you to try this recipe and make it your own. Experiment with different flavors or add-ins. Maybe try adding a sprinkle of edible glitter for extra sparkle. Or use different colored chocolate chips. The possibilities are endless. Just remember to keep the oven low and slow.
I love this recipe because it combines simplicity with creativity. It’s a great way to use up extra egg whites, and it’s a fun project to do with kids. They love watching the egg whites turn into fluffy ghosts. It’s a memorable experience that you will want to repeat every Halloween.
So, go ahead and give it a try. Share your results in the comments below. I’d love to see your ghost creations. And if you need more spooky ideas, check out these easy kid-friendly breakfast in bed ideas for a complete Halloween morning. Happy baking!
FAQs
Why are my meringues soft and chewy?
This usually happens if the oven temperature is too low or if they weren’t baked long enough. Make sure your oven is accurate and bake them for the full time. Also, ensure they cool completely in the turned-off oven. If they are still soft after cooling, put them back in the oven for another 30 minutes.
Can I use brown sugar instead of white sugar?
It is not recommended. Brown sugar contains molasses, which adds moisture and can prevent the meringues from drying out properly. Stick to granulated white sugar for the best texture and color.
How do I store meringues to keep them crispy?
Store them in an airtight container at room temperature. Avoid refrigeration, as the humidity can make them soft. If you live in a humid area, consider adding a desiccant packet to the container.
Can I make these gluten-free?
Yes, meringues are naturally gluten-free. Just ensure that your chocolate chips are certified gluten-free to avoid cross-contamination. This makes them a great option for those with gluten sensitivities.
Can I freeze meringue cookies?
Yes, you can freeze them. Place them in an airtight container with layers of parchment paper between them. They will last for up to 3 months in the freezer. Thaw them at room temperature before serving.
Pin This Recipe!
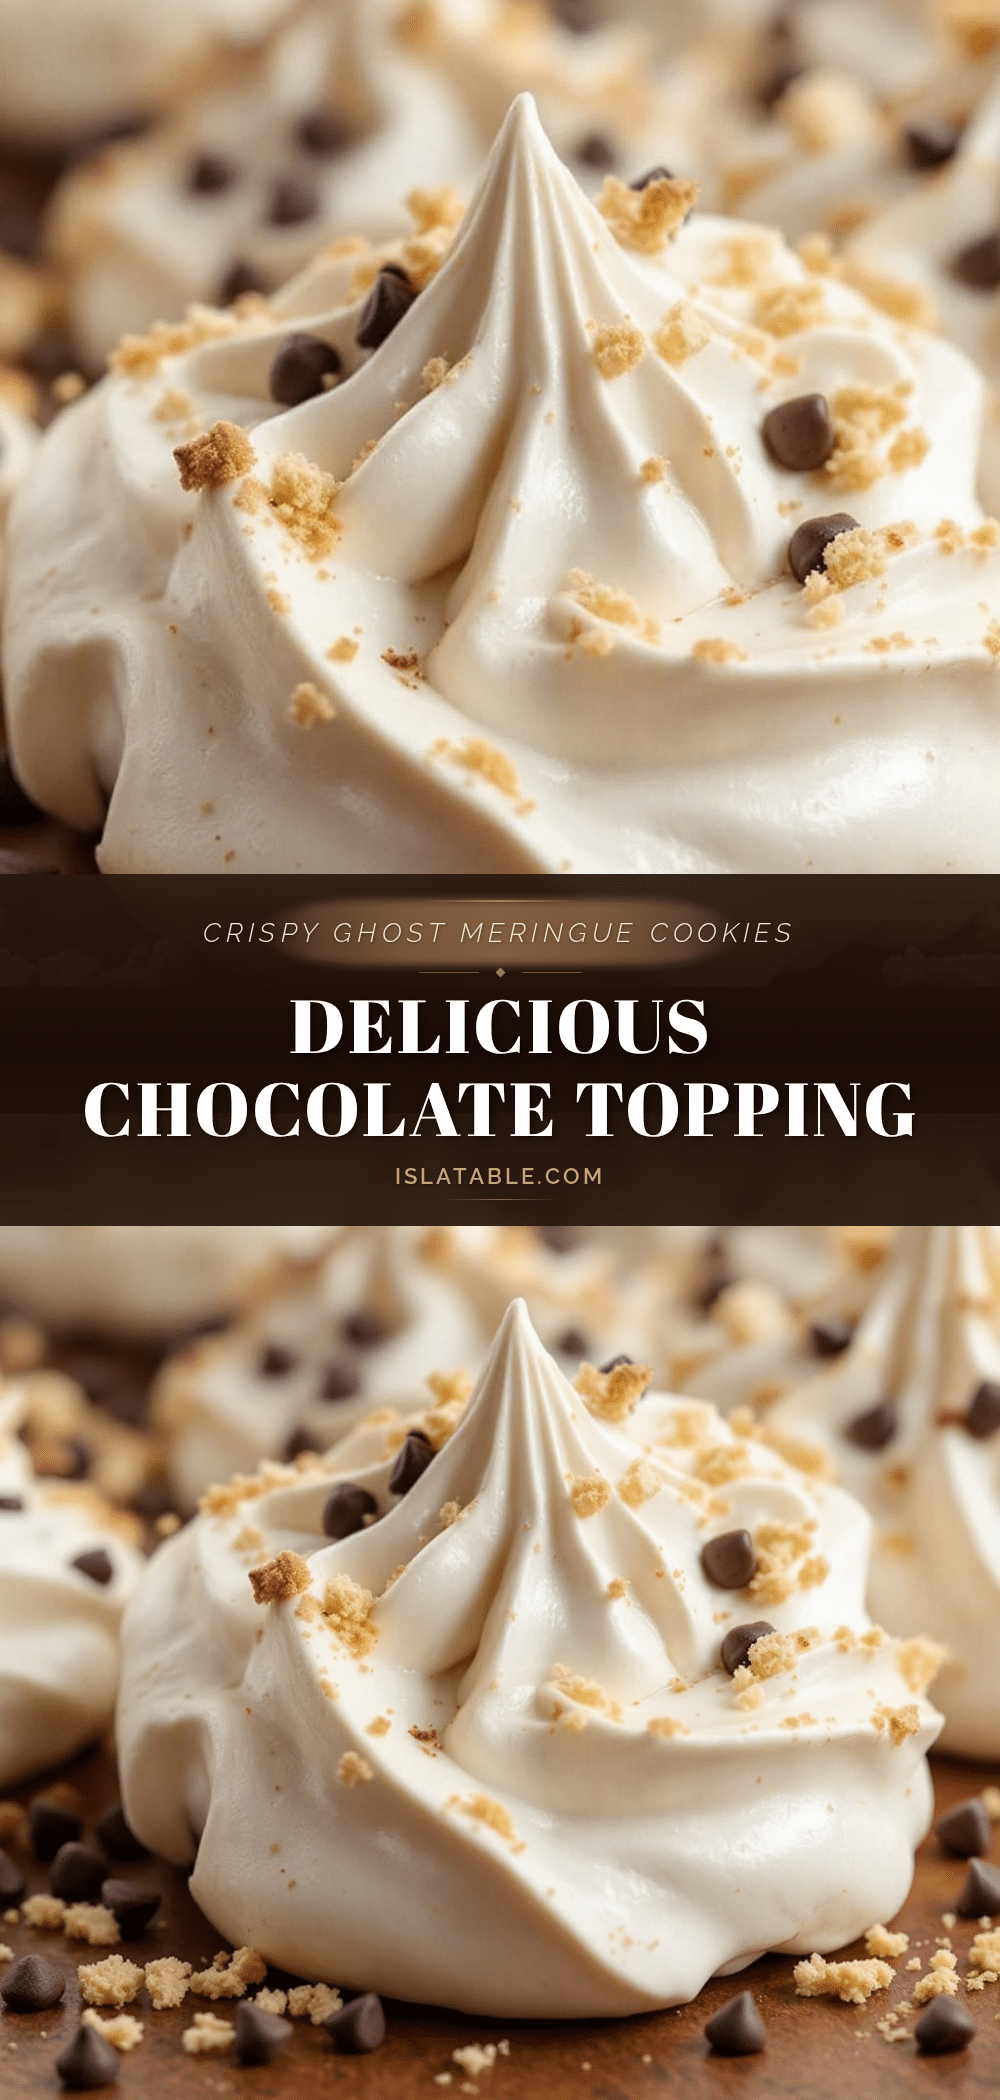
Crispy Ghost Meringue Cookies: Best Easy Halloween Treat
These crispy ghost meringue cookies with mini chocolate chips are a light, airy, and naturally gluten-free Halloween treat. Made with just egg whites, sugar, and chocolate chips, they offer a satisfying snap and a spooky shape perfect for parties.
- Prep Time: 15 minutes
- Cook Time: 1 hour 15 minutes
- Total Time: 1 hour 30 minutes
- Yield: Approximately 20-25 cookies 1x
- Category: Dessert
- Cuisine: American
Ingredients
- 3 large egg whites, room temperature
- 3/4 cup (150 grams) granulated white sugar
- 1/4 teaspoon cream of tartar
- 1 teaspoon pure vanilla extract or vanilla bean paste
- 1/3 cup mini semi-sweet chocolate chips
- Pinch of sea salt
Instructions
- Preheat oven to 200°F (95°C). Line two baking sheets with parchment paper or silicone mats.
- Ensure mixer bowl and whisk attachment are completely clean and dry.
- Add egg whites to the mixer bowl and whip on medium-low speed until foamy and bubbly (1-2 minutes).
- Add cream of tartar and salt. Increase speed to medium-high and whip for another 1-2 minutes.
- With mixer running on medium-high, slowly add granulated sugar, one tablespoon at a time, over 5-7 minutes.
- Continue whipping until stiff, glossy peaks form (total whipping time 8-10 minutes).
- Stop mixer and gently fold in vanilla extract.
- Gently fold in mini chocolate chips using an under-and-over motion to avoid deflating the mixture.
- Transfer mixture to a piping bag fitted with a round tip.
- Pipe small mounds onto baking sheets, creating a taller top and wider base to resemble ghosts. Leave 2 inches between each.
- Bake for 1 hour and 15 minutes. Do not open the oven door for the first 45 minutes.
- Turn off the oven and crack the door open slightly with a wooden spoon.
- Let meringues cool completely in the turned-off oven.
- Store in an airtight container at room temperature.
Notes
Ensure egg whites are at room temperature and free of any yolk. Do not use brown sugar as it adds moisture. Humidity can affect the crispness; on humid days, consider adding a tablespoon of cornstarch to the sugar. Do not refrigerate as humidity will soften them.
Nutrition
- Serving Size: 1 cookie
- Calories: 22
- Sugar: 4
- Sodium: 5
- Fat: 1
- Saturated Fat: 0.5
- Carbohydrates: 4
- Protein: 0.5
Keywords: Halloween cookies, meringue recipe, gluten-free treats, ghost cookies, easy baking, crispy meringue, mini chocolate chip cookies


