I figured rolling out sugar cookie dough was just a matter of flour, butter, and patience. It took about an hour for that to fall apart completely when I tried to cut out a witch hat that looked less like a hat and more like a melted puddle of regret.
Let’s be honest, Halloween baking has always been a bit of a gamble for me. You spend twenty minutes designing a perfect ghost, only to watch it sag in the oven until it’s barely recognizable. The dough either cracked like dry earth or spread into a flat, anonymous circle. I tried chilling it for hours. I tried adding extra eggs. Nothing worked. The cookies were either too cakey or too crisp, never holding that sharp, clean edge needed for intricate details.
Then, I stopped trying to force the butter and started respecting the temperature. The secret wasn’t more flour; it was getting the dough cold enough to hold its shape but soft enough to roll without snapping. It’s a delicate balance, one that feels like walking a tightrope over a bucket of icing. But once you get it right, the results are sturdy, crisp, and ready for the most aggressive piping job you’ve ever attempted.
This isn’t just another sugar cookie recipe. It’s the one that finally stopped making me want to throw my rolling pin out the window. It’s the kind of dough that holds a spiderweb design without collapsing, giving you that professional look without the professional stress. Now, every October, I actually look forward to the mess, knowing the final product will be sturdy enough to handle my kids’ enthusiastic decorating sessions.
Why You’ll Love This Recipe
After years of trial and error, including several batches of dough that were too sticky to handle, I’ve refined this method to be foolproof. This isn’t just about sweetness; it’s about structural integrity. You know how frustrating it is when your cut-out shapes lose their definition in the oven? This recipe fixes that.
- Quick & Easy: The dough comes together in under 15 minutes of active prep time. It’s perfect for busy weeknights or last-minute Halloween prep when you realize you forgot to make treats.
- Simple Ingredients: No fancy grocery trips needed. You likely already have everything in your pantry, from all-purpose flour to vanilla extract. It relies on staples, not hard-to-find specialty items.
- Perfect for Halloween: These cookies are sturdy enough to hold intricate cut-outs like pumpkins, ghosts, and bats. They are ideal for school parties or neighborhood trick-or-treat exchanges.
- Crowd-Pleaser: Kids love the fun shapes, and adults appreciate the classic, buttery flavor that isn’t overly sweet. It’s a hit with every age group.
- Unbelievably Delicious: The texture is the perfect balance of crisp on the edges and slightly soft in the center. It provides that satisfying snap when you bite into it, followed by a melt-in-your-mouth finish.
What makes this recipe different is the ratio of liquid to dry ingredients. Most recipes fail because they don’t account for humidity or flour density. This version uses a precise measurement technique to ensure consistency. Whether you are a beginner or a seasoned baker, this dough behaves predictably. It’s not just good—it’s the kind that makes you close your eyes after the first bite and smile. It’s comfort food reimagined for the spookiest night of the year.
What Ingredients You Will Need
This recipe uses simple, wholesome ingredients to deliver bold flavor and satisfying texture without the fuss. The key is using high-quality butter and fresh leavening agents. You don’t need expensive specialty flours; standard all-purpose flour works best for this structure.
For the Dough
- Unsalted butter: 1 cup (2 sticks), softened to room temperature. I recommend using a brand like Kerrygold for its rich flavor profile. Softened butter creams better with sugar, creating the necessary air pockets for lift.
- Granulated sugar: 1 1/2 cups. This provides sweetness and helps create the crisp edges. Brown sugar can be added for chewiness, but for crisp cut-outs, stick to white.
- Eggs: 2 large eggs, room temperature. Cold eggs can shock the butter and cause the dough to seize. Let them sit on the counter for 30 minutes before starting.
- Vanilla extract: 2 teaspoons. Use pure vanilla extract, not imitation. The flavor needs to stand up to the spices and icing.
- All-purpose flour: 4 to 4 1/2 cups. Sift this to remove lumps. Too much flour makes the cookies tough; too little makes them spread. Add gradually.
- Baking powder: 1 teaspoon. This provides the lift needed to keep the cookies from becoming flat discs.
- Salt: 1/2 teaspoon. Balances the sweetness and enhances the buttery flavor.
For the Decorating

- Royal Icing: White, black, orange, and green food coloring gel. Gel colors are essential because liquid food coloring adds too much water, which can break the icing consistency.
- Sprinkles: Halloween-themed sprinkles, such as orange and black jimmies or edible glitter.
If you need a gluten-free option, you can swap the all-purpose flour for a 1:1 gluten-free baking blend. However, the texture may be slightly more delicate. For a dairy-free version, use a high-quality vegan butter stick, but note that the dough may require slightly more chilling time.
Equipment Needed
You don’t need a lot of fancy gear to make these cookies, but having the right tools makes the process much less frustrating. A large mixing bowl is essential for combining the dough without making a mess. I prefer a stand mixer with a paddle attachment for creaming the butter and sugar, as it ensures a light, fluffy texture. If you don’t have one, a hand mixer works fine, but you’ll need to put in some elbow grease.
Rolling pins are next. A standard wooden pin is fine, but a marble rolling pin helps keep the dough cool as you work. Cold dough is easier to handle, so keeping the tool cold is a smart trick. For cutting, use sharp cookie cutters. Dull cutters will drag the dough and distort your shapes. I keep a set of Halloween-themed cutters specifically for this recipe.
Baking sheets are crucial. Use heavy-gauge aluminum sheets to prevent burning. If your sheets are thin, the bottoms will burn before the tops are set. Line them with parchment paper or silicone baking mats for easy cleanup and even baking. Avoid using non-stick sheets without lining, as the cookies can stick and break when you try to remove them.
Finally, have a few spare baking sheets ready. You’ll need to chill the cut-out cookies before baking, so having multiple sheets allows you to bake one batch while preparing another. A cooling rack is also necessary to stop the cooking process immediately after removing them from the oven.
Preparation Method
- Cream the butter and sugar: In a large bowl, beat the softened butter and granulated sugar together on medium-high speed for about 3-4 minutes. You want the mixture to look pale and fluffy. This step incorporates air, which helps the cookies rise. If the butter is too soft or melted, the cookies will spread too much. (Time: 4 minutes)
- Add eggs and vanilla: Beat in the eggs one at a time, mixing well after each addition. Add the vanilla extract and mix until combined. Scrape down the sides of the bowl with a spatula to ensure everything is evenly distributed. (Time: 2 minutes)
- Combine dry ingredients: In a separate bowl, whisk together the flour, baking powder, and salt. This ensures the leavening agent is evenly distributed, preventing bitter spots in the final cookies. (Time: 1 minute)
- Mix dry into wet: Gradually add the dry ingredients to the butter mixture on low speed. Mix just until the flour disappears. Do not overmix, or the cookies will become tough. The dough should come together in a shaggy mass. (Time: 2 minutes)
- Divide and chill: Divide the dough into two equal portions. Flatten each portion into a disk shape. Wrap tightly in plastic wrap. Refrigerate for at least 2 hours, or up to 3 days. Chilling is non-negotiable; it firms up the fat, preventing spreading and making the dough easier to roll. (Time: 2 hours minimum)
- Preheat and prepare: Preheat your oven to 350°F (175°C). Line baking sheets with parchment paper. Take one disk of dough out of the fridge and let it sit for 5-10 minutes to soften slightly for rolling. (Time: 10 minutes)
- Roll the dough: Lightly flour your work surface. Roll the dough out to about 1/4 inch thickness. Use a ruler to check thickness for even baking. If the dough cracks, it’s too cold; let it warm up slightly. If it sticks, add a tiny bit more flour. (Time: 5 minutes)
- Cut out shapes: Use your cookie cutters to cut out shapes. Re-roll scraps gently to cut more shapes. Place the cut-outs on the prepared baking sheets, leaving about 1 inch between them for slight spreading. (Time: 10 minutes)
- Chill again: Place the baking sheets in the freezer for 10 minutes. This step is crucial for Halloween cookies with intricate details. It sets the shape so it holds up in the oven. (Time: 10 minutes)
- Bake: Bake for 8-10 minutes. The edges should be just starting to turn golden brown. The centers should still look slightly soft. Overbaking will make them hard. (Time: 10 minutes)
- Cool: Let the cookies cool on the baking sheet for 5 minutes before transferring to a wire rack to cool completely. This prevents them from breaking. (Time: 5 minutes)
- Ice: Once completely cool, decorate with royal icing. Let the icing dry completely before stacking or packaging. (Time: Varies based on design complexity)
Why Do My Cookies Spread Too Much?
If your cookies spread, your butter was likely too warm, or you didn’t chill the dough enough. Next time, chill the dough for an extra 30 minutes and ensure your butter is cool to the touch but pliable.
How Do I Keep Intricate Details?
The second chill in the freezer is the key. It firms the fat right before baking, giving the dough the strength to hold thin details like spider legs or ghost eyes.
Cooking Tips & Techniques
One of the biggest mistakes I made early on was overworking the dough after adding the flour. This develops gluten, leading to tough cookies. Mix until *just* combined. It’s okay if there are a few streaks of flour; they will disappear once the dough is chilled.
Temperature control is everything. If your kitchen is hot, work quickly. If the dough feels warm to the touch while rolling, pop it back in the fridge for 15 minutes. Cold dough is easier to handle and produces sharper edges. I always keep a spare rolling pin in the freezer to use if the dough starts to get sticky.
When baking, rotate the pans halfway through. Ovens often have hot spots, and rotating ensures even browning. Also, trust your eyes over the timer. If the edges are golden, they are done. If they are still pale, give them another minute. Underbaking slightly is better than overbaking, as the cookies will continue to firm up as they cool.
For consistent sizing, try to roll all cookies to the same thickness. Thicker cookies take longer to bake and may not cook through. Thinner cookies burn easily. A 1/4-inch thickness is the sweet spot for this recipe.
Another pro tip: if you are decorating with royal icing, make sure the cookies are 100% cool. Any residual warmth will melt the icing and ruin your design. Patience is key here. Rushing the cooling process is the fastest way to a messy decoration job.
Variations & Adaptations
While classic sugar cookies are timeless, there are many ways to adapt this recipe to suit different tastes or dietary needs. Here are a few variations I’ve tried with success.
Spiced Halloween Cookies: Add 1 teaspoon of cinnamon, 1/2 teaspoon of nutmeg, and a pinch of ginger to the dry ingredients. This adds a warm, autumnal flavor that pairs beautifully with orange icing. It’s a great way to incorporate seasonal spices without overwhelming the cookie.
Lemon Sugar Cookies: Substitute the vanilla extract with the zest of one large lemon and 1 tablespoon of lemon juice. This adds a bright, citrusy note that cuts through the sweetness. Lemon pairs well with white or yellow icing.
Gluten-Free Option: Use a 1:1 gluten-free flour blend that includes xanthan gum. If your blend doesn’t include it, add 1/2 teaspoon of xanthan gum to the dry ingredients. The texture may be slightly more crumbly, so handle the dough gently.
Vegan Adaptation: Use vegan butter sticks and flax eggs (1 tablespoon ground flaxseed mixed with 3 tablespoons water per egg). The dough may be softer, so chill it for a longer period, perhaps 4 hours, to ensure it holds its shape.
Chocolate Chip Twist: Fold in 1/2 cup of mini chocolate chips after the dough is mixed. This turns the classic sugar cookie into a chocolate chip version, still great for Halloween if you use orange or purple chips.
I once tried adding matcha powder to the dough for a green ghost cookie. It worked surprisingly well, adding a subtle earthy flavor that complemented the white icing. Don’t be afraid to experiment with flavors, but keep the wet-to-dry ratio in mind to maintain the structure.
Serving & Storage Suggestions
These cookies are best served at room temperature. Cold cookies can feel waxy, and warm cookies might be too soft. Let them sit out for 15-20 minutes before serving if they’ve been stored in the fridge.
For presentation, arrange the cookies on a tiered stand or a platter with a Halloween-themed runner. Pair them with a glass of cold milk or a cup of hot cider. The contrast of the crisp cookie and the warm drink is perfect for fall evenings.
Storage: Store the undecorated cookies in an airtight container at room temperature for up to 1 week. Layer them with parchment paper to prevent sticking. If decorated, store in a single layer in an airtight container to protect the icing. They will keep for up to 5 days.
Freezing: You can freeze the unbaked dough disks for up to 3 months. Thaw in the fridge overnight before rolling and baking. You can also freeze the baked, undecorated cookies for up to 2 months. Thaw before decorating.
Reheating: If you prefer warm cookies, microwave them for 10-15 seconds. This will soften the texture slightly. However, avoid reheating decorated cookies, as the icing will melt.
Over time, the flavors meld and deepen. Cookies stored for a few days often taste better than fresh ones, as the moisture from the dough redistributes evenly. This is why making the dough a day ahead is often recommended.
Nutritional Information & Benefits
While these cookies are a treat, understanding their nutritional profile helps with portion control. Each cookie (approx. 3 inches) contains roughly 150-180 calories, depending on the size and icing.
The primary ingredients are carbohydrates from the flour and sugar, with fats from the butter. Eggs provide protein and structure. While not a health food, they offer a quick energy boost, making them suitable for occasional indulgence.
For those with dietary restrictions, the gluten-free and vegan adaptations make these cookies accessible to more people. However, those with egg or dairy allergies should use the appropriate substitutes carefully, as cross-contamination is possible in shared kitchens.
From a wellness perspective, baking can be a mindful activity. The process of measuring, mixing, and decorating can be therapeutic, reducing stress. Enjoying a cookie mindfully, savoring the flavor and texture, can be a positive part of a balanced lifestyle.
Remember, moderation is key. These cookies are dense in sugar and fat, so one or two is usually sufficient for a satisfying treat. Pairing them with a protein-rich snack or a piece of fruit can help balance the blood sugar response.
Conclusion
Making perfect Halloween sugar cookies doesn’t have to be a source of stress. With the right dough consistency and chilling techniques, you can create cookies that are sturdy, delicious, and visually stunning. This recipe has saved me from countless baking disasters, and I hope it does the same for you.
I encourage you to experiment with different shapes and icing colors. Don’t be afraid to make mistakes; the fun is in the process. Whether you’re baking for kids, friends, or just for yourself, these cookies are sure to be a hit.
Why do I love this recipe? Because it’s reliable. It works every time, and the results are always consistent. It’s the foundation for all my Halloween baking traditions. I’d love to hear how your cookies turn out. Leave a comment below with your favorite shapes or decorating tips. Share your creations on social media and tag me—I love seeing your spooky treats!
Happy Halloween, and happy baking! May your cookies be crisp and your icing be smooth.
Frequently Asked Questions
Why are my sugar cookies hard?
If your cookies are hard, you may have overbaked them or used too much flour. Ensure you are measuring flour correctly (spoon and level method) and bake until the edges are just golden. Slightly underbaking helps maintain a soft center.
Can I use brown sugar instead of white sugar?
You can use half brown sugar and half white sugar for a chewier cookie with a caramel flavor. However, for crisp cut-out cookies that hold their shape, white sugar is preferred because it creates a crispier texture.
How do I fix cracked dough?
Cracked dough usually means it’s too dry or too cold. Let it sit at room temperature for a few minutes to warm up. If it’s still cracking, add a teaspoon of milk or cream to bring the moisture back. Avoid adding too much liquid, or the dough will become sticky.
Can I make the dough ahead of time?
Yes, you can make the dough up to 3 days in advance and store it in the fridge. You can also freeze it for up to 3 months. Thaw in the fridge overnight before rolling.
Why did my icing melt?
Icing melts if the cookies are not completely cool. Residual heat from the baking process can soften the royal icing. Always let the cookies cool completely on a wire rack before decorating. Additionally, ensure your kitchen isn’t too humid, as moisture can break down the icing.
Pin This Recipe!
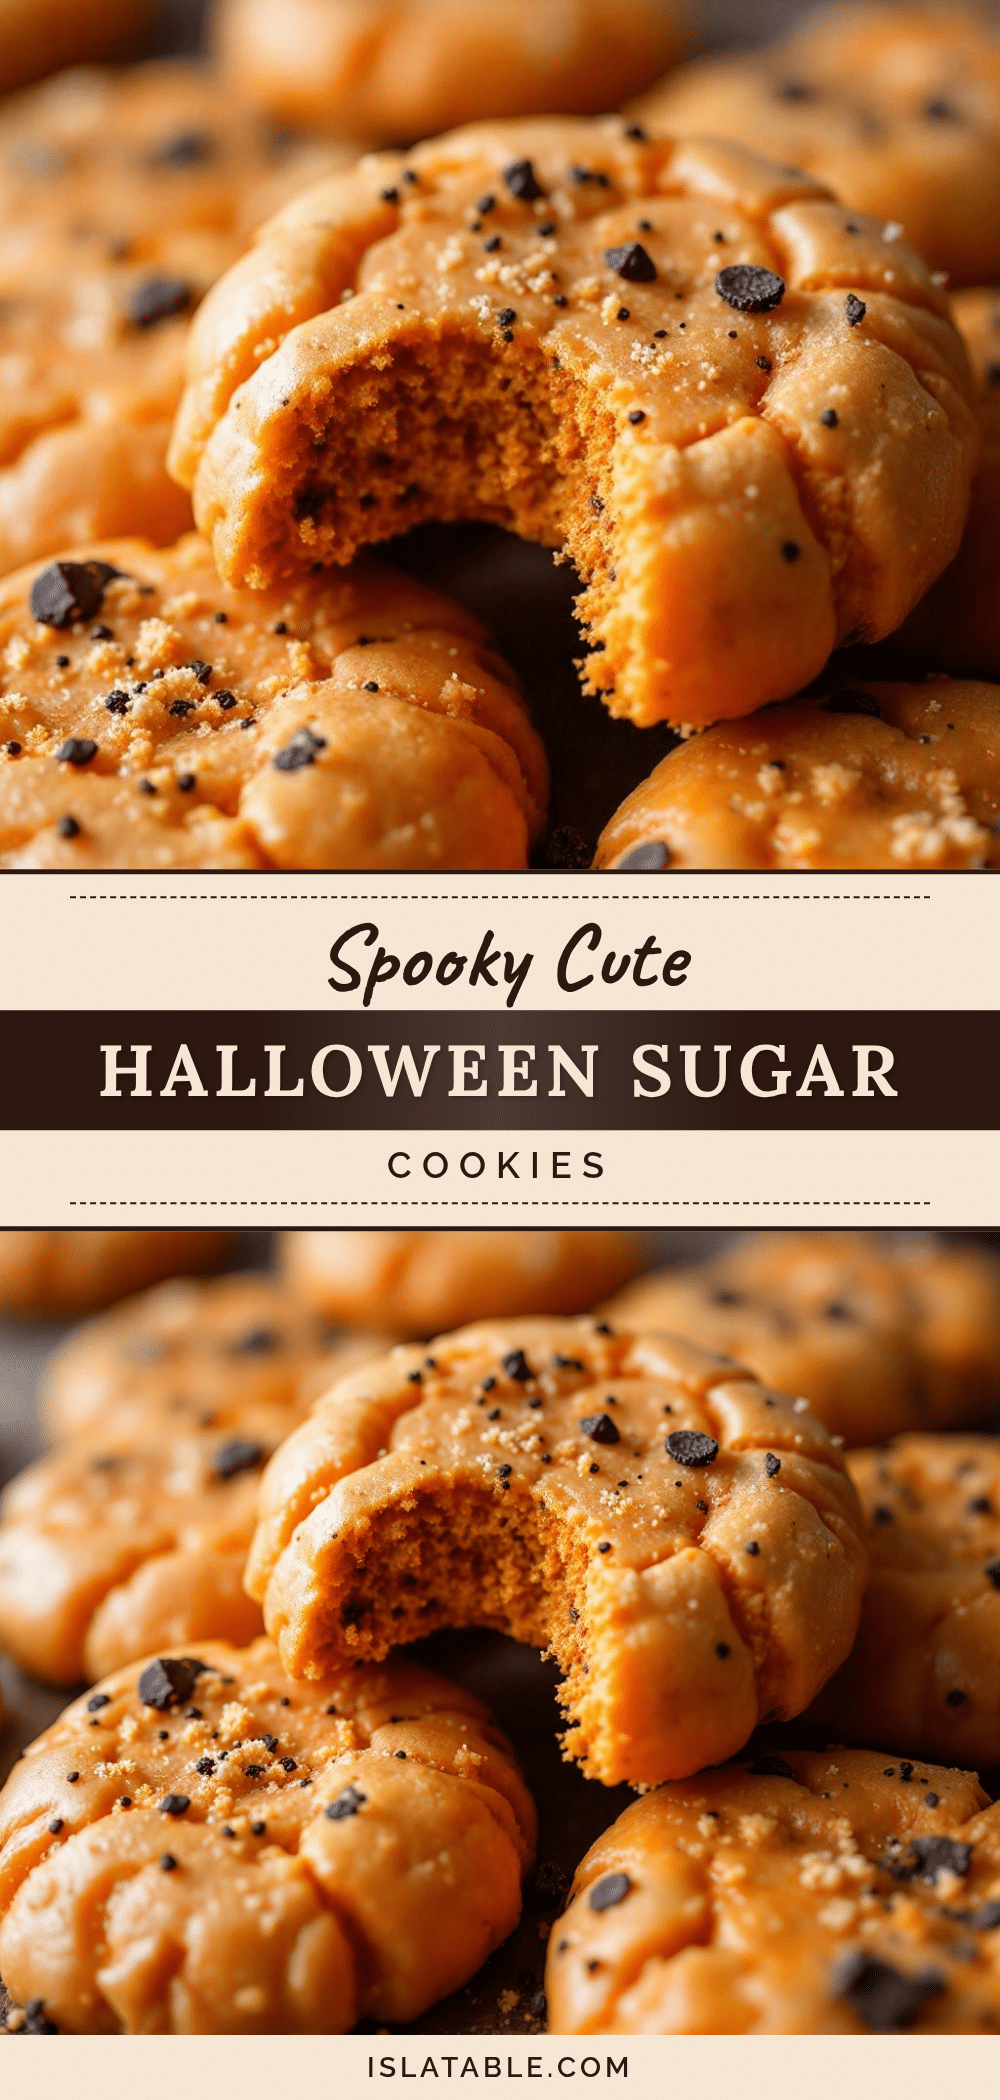
Perfect Halloween Sugar Cookies: Best Easy Cut-Out Recipe

A foolproof sugar cookie recipe designed for intricate cut-outs, featuring a sturdy dough that holds its shape during baking and decorating. Perfect for Halloween with crisp edges and a soft center.
- Prep Time: 15 minutes
- Cook Time: 10 minutes
- Total Time: 2 hours 25 minutes
- Yield: Approximately 24-30 cookies 1x
- Category: Dessert
- Cuisine: American
Ingredients
- 1 cup (2 sticks) unsalted butter, softened to room temperature
- 1 1/2 cups granulated sugar
- 2 large eggs, room temperature
- 2 teaspoons pure vanilla extract
- 4 to 4 1/2 cups all-purpose flour, sifted
- 1 teaspoon baking powder
- 1/2 teaspoon salt
- White, black, orange, and green food coloring gel (for royal icing)
- Halloween-themed sprinkles (optional)
Instructions
- Cream the softened butter and granulated sugar together on medium-high speed for 3-4 minutes until pale and fluffy.
- Beat in the eggs one at a time, mixing well after each addition. Add vanilla extract and mix until combined. Scrape down the sides of the bowl.
- In a separate bowl, whisk together the flour, baking powder, and salt.
- Gradually add the dry ingredients to the butter mixture on low speed. Mix just until the flour disappears; do not overmix.
- Divide the dough into two equal portions, flatten into disks, wrap in plastic wrap, and refrigerate for at least 2 hours (or up to 3 days).
- Preheat oven to 350°F (175°C) and line baking sheets with parchment paper.
- Take one dough disk out of the fridge and let it sit for 5-10 minutes to soften slightly. Roll out on a lightly floured surface to 1/4 inch thickness.
- Cut out shapes using cookie cutters. Place cut-outs on prepared baking sheets, leaving 1 inch between them.
- Place baking sheets in the freezer for 10 minutes to set the shapes.
- Bake for 8-10 minutes until edges are just starting to turn golden brown. Centers should still look slightly soft.
- Let cookies cool on the baking sheet for 5 minutes before transferring to a wire rack to cool completely.
- Decorate with royal icing once completely cool. Let icing dry completely before stacking.
Notes
Chilling the dough is non-negotiable to prevent spreading. For intricate details, chill the cut-out shapes in the freezer before baking. Ensure cookies are 100% cool before icing to prevent melting. Store undecorated cookies in an airtight container for up to 1 week.
Nutrition
- Serving Size: 1 cookie (approx. 3
- Calories: 165
- Sugar: 12
- Sodium: 120
- Fat: 8
- Saturated Fat: 5
- Carbohydrates: 22
- Fiber: 0.5
- Protein: 2
Keywords: Halloween cookies, sugar cookies, cut-out cookies, royal icing, holiday baking, easy cookie recipe, spooky treats


