That was the first thing my six-year-old shouted when he saw me placing the clear plastic cups on the counter. He didn’t see chocolate pudding. He didn’t see vanilla wafers or crushed cookies. He saw literal garden soil. I tried to explain that it was actually a rich, creamy dessert, but he was already reaching for the gummy worms with a mix of horror and delight. It’s funny how kids see the world. To them, this isn’t just a snack; it’s an edible prank. A little bit of gross, a whole lot of sweet. And honestly? That’s exactly why it works so well.
We were prepping for a neighborhood block party, and I was scrambling for something that looked impressive but took zero effort. I didn’t have time to bake a cake or frost a dozen cookies. I needed something that screamed “fun” but required minimal cleanup. That’s when I remembered the old classic. You know the one. It’s been around since the 80s, basically. But making it from scratch is where the magic happens. Store-bought pudding just doesn’t cut it when you want that deep, chocolatey flavor that sticks to your teeth in the best way possible.
This recipe isn’t about gourmet techniques or fancy plating. It’s about nostalgia. It’s about watching your kid’s eyes widen when they pull a gummy worm out of the “mud.” It’s about the simplicity of combining three main ingredients and letting the kids help with the assembly. We’ve made these for birthdays, school potlucks, and lazy Sunday afternoons. Every single time, they disappear faster than anything else on the table. Kids love the surprise factor. Adults love that they can eat a whole cup without feeling too guilty because, well, it’s mostly just pudding and cookies. It’s the perfect balance of silly and satisfying.
I’ve tweaked the recipe over the years, switching between different types of cookies and experimenting with the pudding consistency. Some people like it thick, like actual dirt. Others prefer it looser, more like a chocolate dip. I’ve found that the sweet spot is a texture that holds its shape but melts in your mouth. It’s that specific mouthfeel that makes people come back for seconds. Plus, the gummy worms add a chewy contrast that keeps it interesting. You know, in case you get bored with just soft textures. It’s a fun little twist that turns a simple dessert into an experience.
What really stuck with me about this recipe is how it brings people together. You don’t need to be a chef to make this. You just need a bowl, a spoon, and a sense of humor. It’s the kind of recipe that lowers the stakes. If you mess it up, it’s still chocolate. If you get the proportions wrong, it’s still delicious. That freedom is liberating. It reminds me that cooking doesn’t always have to be a performance. Sometimes it’s just about feeding people and making them laugh. And honestly, that’s the best part of being a food blogger. Seeing people enjoy the simple things.
So, if you’re looking for a treat that’s easy, fun, and guaranteed to get some giggles, this is it. It’s not just a dessert; it’s a memory in a cup. And once you try it, you’ll probably find yourself making it again and again. Not because it’s complicated, but because it’s just that good. Let’s get started on making some edible dirt.
Why You’ll Love This Recipe
There is a certain magic to this chocolate dirt cups recipe that goes beyond just the taste. It’s about the experience, the nostalgia, and the sheer joy of eating something that looks like it shouldn’t be delicious. Here is why this recipe has earned a permanent spot in my kitchen rotation:
- Quick & Easy: You can have these ready in under 15 minutes. No baking, no oven, no fuss. It’s perfect for those last-minute requests or when you need a quick dessert for a crowd.
- Simple Ingredients: You likely have everything you need right now. Chocolate pudding, milk, cookies, and gummy worms. No specialty stores or hard-to-find items. It’s pantry-friendly comfort food at its finest.
- Perfect for Parties: These cups are individual servings, which makes them ideal for parties, picnics, or potlucks. No slicing, no plating, no arguing over who gets the biggest piece. Everyone gets their own little cup of joy.
- Crowd-Pleaser: Kids love the gummy worms, and adults love the chocolate. It bridges the gap between “gross” and “gourmet.” It’s a fun twist that appeals to all ages, making it a hit at any gathering.
- Unbelievably Delicious: The combination of creamy chocolate pudding and crunchy cookie crumbs is next-level comfort food. It’s rich, sweet, and satisfying without being overly heavy.
- Customizable: You can switch up the cookies, the pudding flavor, or the toppings. Make it gluten-free, dairy-free, or add different candies. It’s a flexible recipe that adapts to your needs.
What makes this recipe different from the rest is the attention to texture. Too much pudding, and it’s a soup. Too many cookies, and it’s dry. I’ve tested this dozens of times to find the perfect balance. The key is to crush the cookies finely but not into dust. You want those little crumbly bits that mimic real dirt. And the pudding needs to be thick enough to hold the crumbs but smooth enough to enjoy. It’s a delicate dance, but once you get it right, you’ll never go back to store-bought versions.
Emotionally, this recipe taps into that sense of playful childhood wonder. It’s the kind of dessert that makes you smile before you even take a bite. It’s comfort food reimagined for the modern age—faster, easier, but with the same soul-soothing satisfaction. Whether you’re making it for your kids or just treating yourself, it’s a small moment of joy in a busy day. It’s proof that sometimes the simplest things are the most memorable.
What Ingredients You Will Need
This recipe relies on a few simple, wholesome ingredients to deliver bold flavor and satisfying texture without the fuss. Most of these items are pantry staples, making it easy to whip up on a whim. The beauty of this dessert is in its simplicity, but the quality of your ingredients will make a big difference in the final result.
For the Pudding Base
- Chocolate Pudding Mix: Use a high-quality instant chocolate pudding mix. I recommend brands like Jell-O or French’s for consistent results. Avoid the “light” versions, as they often lack the creamy texture needed for this recipe.
- Milk: Whole milk is best for richness, but you can use 2% or even almond milk for a lighter option. Ensure it’s cold, as it helps the pudding set faster.
- Heavy Cream (Optional): For an extra decadent touch, substitute half the milk with heavy cream. This adds a luxurious, velvety texture that feels more like a mousse.
For the “Dirt” Layer
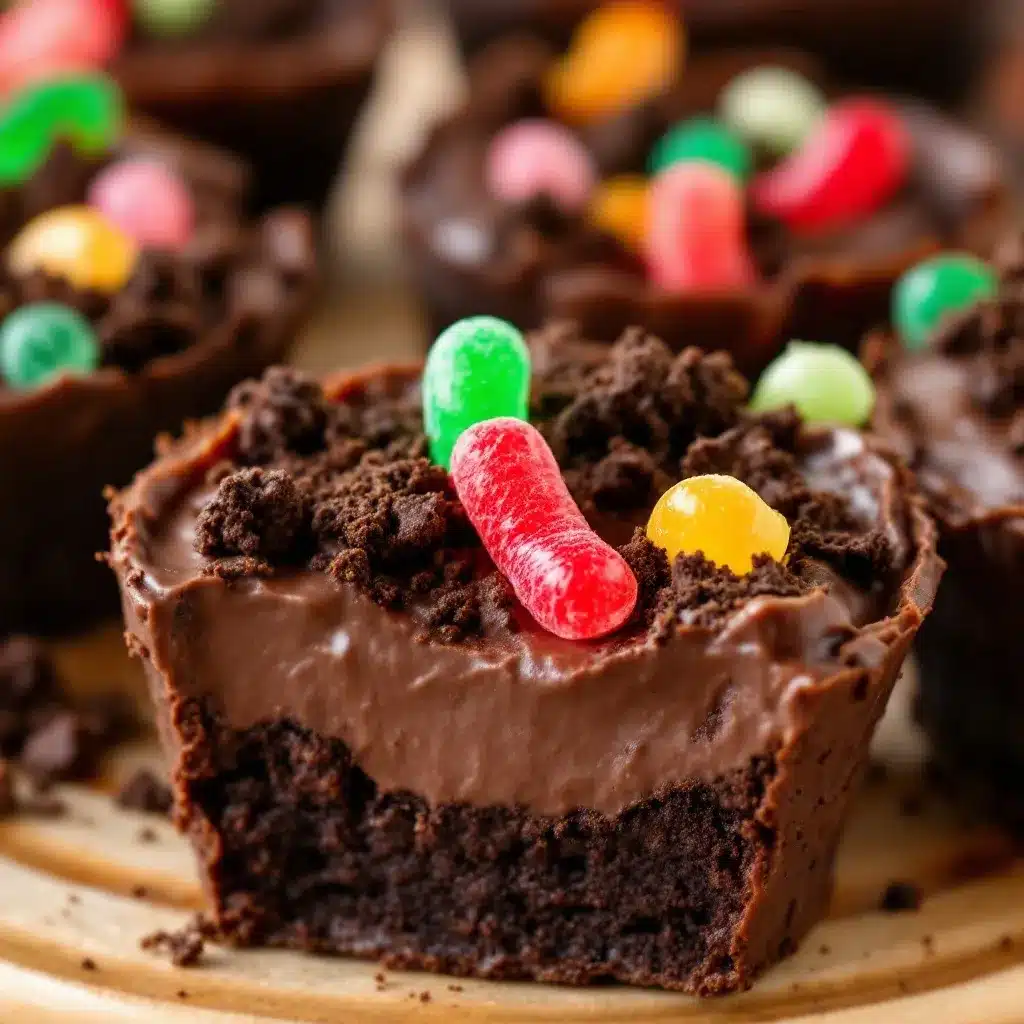
- Chocolate Cookies: Oreo cookies are the classic choice, but you can use any chocolate sandwich cookies. For a gluten-free option, look for gluten-free chocolate sandwich cookies. Crush them finely, but leave some small chunks for texture.
- Crushed Graham Crackers: If you want a more traditional “dirt” flavor, mix in some crushed graham crackers. This adds a subtle sweetness and a different crunch.
For the Toppings
- Gummy Worms: The star of the show. Use your favorite brand, but make sure they are fresh and pliable. If they’ve hardened in the package, microwave them for a few seconds to soften.
- Edible Flowers (Optional): For a fancy touch, add a few edible flowers on top. This makes it look like a garden, which is both pretty and a bit silly.
- Chocolate Shavings: For an extra chocolatey kick, sprinkle some chocolate shavings on top. This adds a bit of elegance to the otherwise playful dessert.
When selecting your ingredients, keep an eye on the freshness of the cookies. Stale cookies won’t crush as well and can make the dessert dry. Also, ensure your pudding mix is within its expiration date for the best flavor. If you’re making this for a specific dietary need, there are plenty of substitutions available. For a dairy-free version, use a dairy-free pudding mix and almond milk. For a sugar-free option, use a sugar-free pudding mix and a low-sugar cookie. The possibilities are endless.
Equipment Needed
You don’t need much to make this recipe, which is part of its charm. Here is what you’ll need:
- Mixing Bowls: One large bowl for the pudding and one medium bowl for crushing the cookies. If you don’t have a medium bowl, a large zip-top bag works great for crushing cookies by hand.
- Whisk or Electric Mixer: A whisk is fine for mixing the pudding, but an electric mixer can help achieve a smoother consistency if you’re adding heavy cream.
- Measuring Cups and Spoons: Standard measuring tools for the pudding mix and milk. Precision isn’t critical here, but it helps to follow the package instructions.
- Serving Cups: Clear plastic or glass cups are ideal for showing off the layers. Small mason jars or shot glasses also work well for a more elegant presentation.
- Rolling Pin or Food Processor: To crush the cookies. A rolling pin inside a zip-top bag is a fun, hands-on way to do it, especially with kids. A food processor is faster and gives a finer crumb.
If you don’t have a rolling pin, you can use a heavy bottle or a can. The goal is to break the cookies into small pieces without turning them into powder. Also, consider using reusable cups if you’re environmentally conscious. It’s a small step that makes a difference. And remember, the equipment doesn’t need to be fancy. The fun is in the making, not the tools.
Preparation Method
- Prepare the Pudding: In a large mixing bowl, combine the chocolate pudding mix with the cold milk. Whisk vigorously for about 2 minutes, or until the mixture thickens and becomes smooth. If you’re adding heavy cream, mix it in now. The pudding should be thick enough to hold its shape but still creamy. (Time: 2 minutes)
- Crush the Cookies: Place the chocolate cookies in a zip-top bag. Seal the bag tightly and use a rolling pin to crush the cookies into fine crumbs. You want a mix of fine dust and small chunks for that authentic “dirt” look. (Time: 3 minutes)
- Assemble the Cups: Take your serving cups and spoon a layer of crushed cookies into the bottom. Use about 2-3 tablespoons per cup. Press down lightly to create a base. (Time: 2 minutes)
- Add the Pudding: Spoon a generous layer of chocolate pudding over the cookie crumbs. Fill the cup about halfway. Smooth the top with the back of a spoon. (Time: 3 minutes)
- Add More Dirt: Sprinkle another layer of crushed cookies on top of the pudding. This creates the “dirt” layer. Don’t be shy with the crumbs; you want it to look messy and fun. (Time: 2 minutes)
- Add the Gummy Worms: Insert a few gummy worms into the “dirt.” You can stick them in vertically or let them wiggle around. This is the fun part, so let your creativity flow. (Time: 1 minute)
- Chill (Optional): If you have time, chill the cups in the refrigerator for 15-30 minutes. This helps the layers set and makes the dessert firmer. (Time: 15-30 minutes)
- Serve: Enjoy immediately or store in the fridge until ready to serve. These are best eaten within 24 hours for the freshest texture. (Time: 0 minutes)
When assembling, take your time with the layers. The contrast between the creamy pudding and the crunchy cookies is what makes this recipe special. If the pudding is too thin, add a bit more mix. If it’s too thick, add a splash of milk. Adjust as needed. And remember, it’s okay if it’s a bit messy. That’s part of the fun.
Cooking Tips & Techniques
Getting the texture right is the most important part of this recipe. Here are some tips to ensure success:
- Cooking Failures: I once used stale cookies, and the result was dry and crumbly. Always use fresh cookies for the best texture. Also, if your pudding is too runny, it can make the dessert soggy. Make sure to follow the package instructions for milk quantity.
- Troubleshooting: If the gummy worms are too hard, they can be difficult to insert. Microwave them for 10-15 seconds to soften them up. If the pudding separates, whisk it again before assembling.
- Timing: Make the pudding first, as it needs time to set. Then crush the cookies while the pudding is chilling. This saves time and ensures everything is ready to assemble at once.
- Consistency: For a firmer dessert, use less milk in the pudding. For a looser dessert, use more milk. Experiment to find your preferred consistency.
- Presentation: Use clear cups to show off the layers. It makes the dessert look more appealing and fun. You can also add a small sign that says “Dirt” for extra effect.
Another tip is to let the kids help with the assembly. It’s a great way to get them involved in the kitchen and make the experience more memorable. They’ll love digging their hands into the “dirt” and placing the worms. Just make sure they wash their hands first! It’s a simple recipe, but the attention to detail makes all the difference.
Variations & Adaptations
This recipe is highly adaptable, allowing you to customize it to your preferences or dietary needs. Here are some ideas:
- Dairy-Free: Use a dairy-free pudding mix and almond or oat milk. Swap the regular cookies for dairy-free sandwich cookies. The gummy worms are usually dairy-free, but check the label to be sure.
- Gluten-Free: Use a gluten-free pudding mix and gluten-free chocolate sandwich cookies. Ensure the gummy worms are certified gluten-free.
- Sugar-Free: Use a sugar-free pudding mix and low-sugar cookies. You can sweeten the pudding with a bit of stevia or erythritol if needed.
- Flavor Variations: Try vanilla or butterscotch pudding for a different flavor profile. Use different cookies, like chocolate chip or peanut butter, for variety. Add sprinkles or crushed candy for extra color and crunch.
- Seasonal Twists: For Halloween, use orange and black cookies. For Christmas, use red and green sprinkles. For Easter, add pastel-colored gummy worms. It’s a fun way to make the dessert festive.
I’ve tried using peanut butter pudding with Oreo cookies, and it was a hit. The combination of peanut butter and chocolate is classic for a reason. You can also add a layer of crushed pretzels for a salty-sweet contrast. It’s amazing how many variations you can create with just a few ingredient swaps. Don’t be afraid to experiment and find your own favorite combination.
Serving & Storage Suggestions
These chocolate dirt cups are best served chilled. The cold temperature enhances the creamy texture of the pudding and makes the gummy worms more pliable. They can be stored in the refrigerator for up to 2 days. However, the cookies will continue to absorb moisture from the pudding, so they may become softer over time. For the best texture, eat them within 24 hours.
When storing, cover the cups with plastic wrap or place them in an airtight container. This prevents them from absorbing other odors from the fridge. If you’re making them ahead of time, you can prepare the pudding and crush the cookies in advance. Assemble the cups just before serving to maintain the crispiness of the cookies.
For serving, consider pairing these with a cold glass of milk or a hot cup of coffee. The contrast of temperatures and flavors adds to the experience. You can also serve them alongside a light fruit salad to balance the sweetness. It’s a versatile dessert that fits well into any meal or occasion.
If you have leftovers, they can be frozen, but the texture may change. The pudding might become icy, and the cookies may lose their crunch. It’s not recommended for long-term storage, but if you must freeze them, thaw them in the refrigerator overnight. Keep in mind that the gummy worms may become sticky when frozen and thawed.
Nutritional Information & Benefits
While this dessert is definitely on the indulgent side, it’s not without its benefits. Chocolate contains antioxidants, which are good for heart health. Milk provides calcium and protein, essential for strong bones. Cookies, while not the healthiest, do provide carbohydrates for energy.
A typical serving (one cup) contains approximately 300-400 calories, depending on the size of the cup and the amount of toppings. It’s high in sugar and fat, so it’s best enjoyed in moderation. If you’re watching your sugar intake, consider using sugar-free pudding and cookies. For a lighter option, use low-fat milk and less heavy cream.
From a wellness perspective, this recipe is a treat for the soul as much as the body. It’s a reminder that food is not just about nutrition; it’s about joy and connection. Enjoying a dessert like this can boost your mood and create positive memories. Just be mindful of portion sizes and balance it with healthier meals throughout the day.
Conclusion
This chocolate dirt cups recipe is more than just a dessert; it’s a fun, nostalgic experience that brings people together. It’s easy to make, customizable to your needs, and guaranteed to get some smiles. Whether you’re making it for kids or just treating yourself, it’s a simple pleasure that doesn’t require much effort but delivers a lot of joy.
I encourage you to try this recipe and make it your own. Swap out ingredients, try new flavors, and see what works best for you. The beauty of cooking is in the experimentation. And don’t forget to share your creations with friends and family. There’s nothing better than seeing someone enjoy something you made.
Personally, I love this recipe because it reminds me of my own childhood. It’s a taste of nostalgia that I can share with the next generation. It’s simple, fun, and delicious. And that’s exactly what I want from my cooking. So, go ahead and make some dirt. You won’t regret it.
Please leave a comment below and let me know how it turned out for you. Did your kids love it? Did you try a variation? I’d love to hear your stories and see your photos. Sharing our experiences makes the community stronger. And if you enjoyed this recipe, please share it with your friends. Let’s spread the joy of simple, delicious food.
FAQs
Can I make this recipe ahead of time?
Yes, you can prepare the pudding and crush the cookies a day in advance. However, it’s best to assemble the cups just before serving to keep the cookies crunchy. If you must assemble them ahead, store them in the refrigerator and consume within 24 hours.
What can I use instead of Oreos?
You can use any chocolate sandwich cookies, such as Nabisco Chips Ahoy! or store-brand versions. For a gluten-free option, use gluten-free chocolate sandwich cookies. You can also use chocolate graham crackers for a different texture.
How do I make this recipe dairy-free?
Use a dairy-free pudding mix and almond or oat milk. Ensure the cookies are dairy-free as well. Most gummy worms are dairy-free, but always check the label to be sure.
Can I use homemade pudding?
Absolutely! Homemade pudding works great and often tastes better. Just make sure it’s cooled to room temperature before assembling to prevent the cookies from getting too soggy too quickly.
Why are my gummy worms too hard to insert?
If the gummy worms are hard, microwave them for 10-15 seconds to soften them. This makes them easier to insert into the pudding without breaking. You can also let them sit at room temperature for a few minutes before using.
Pin This Recipe!
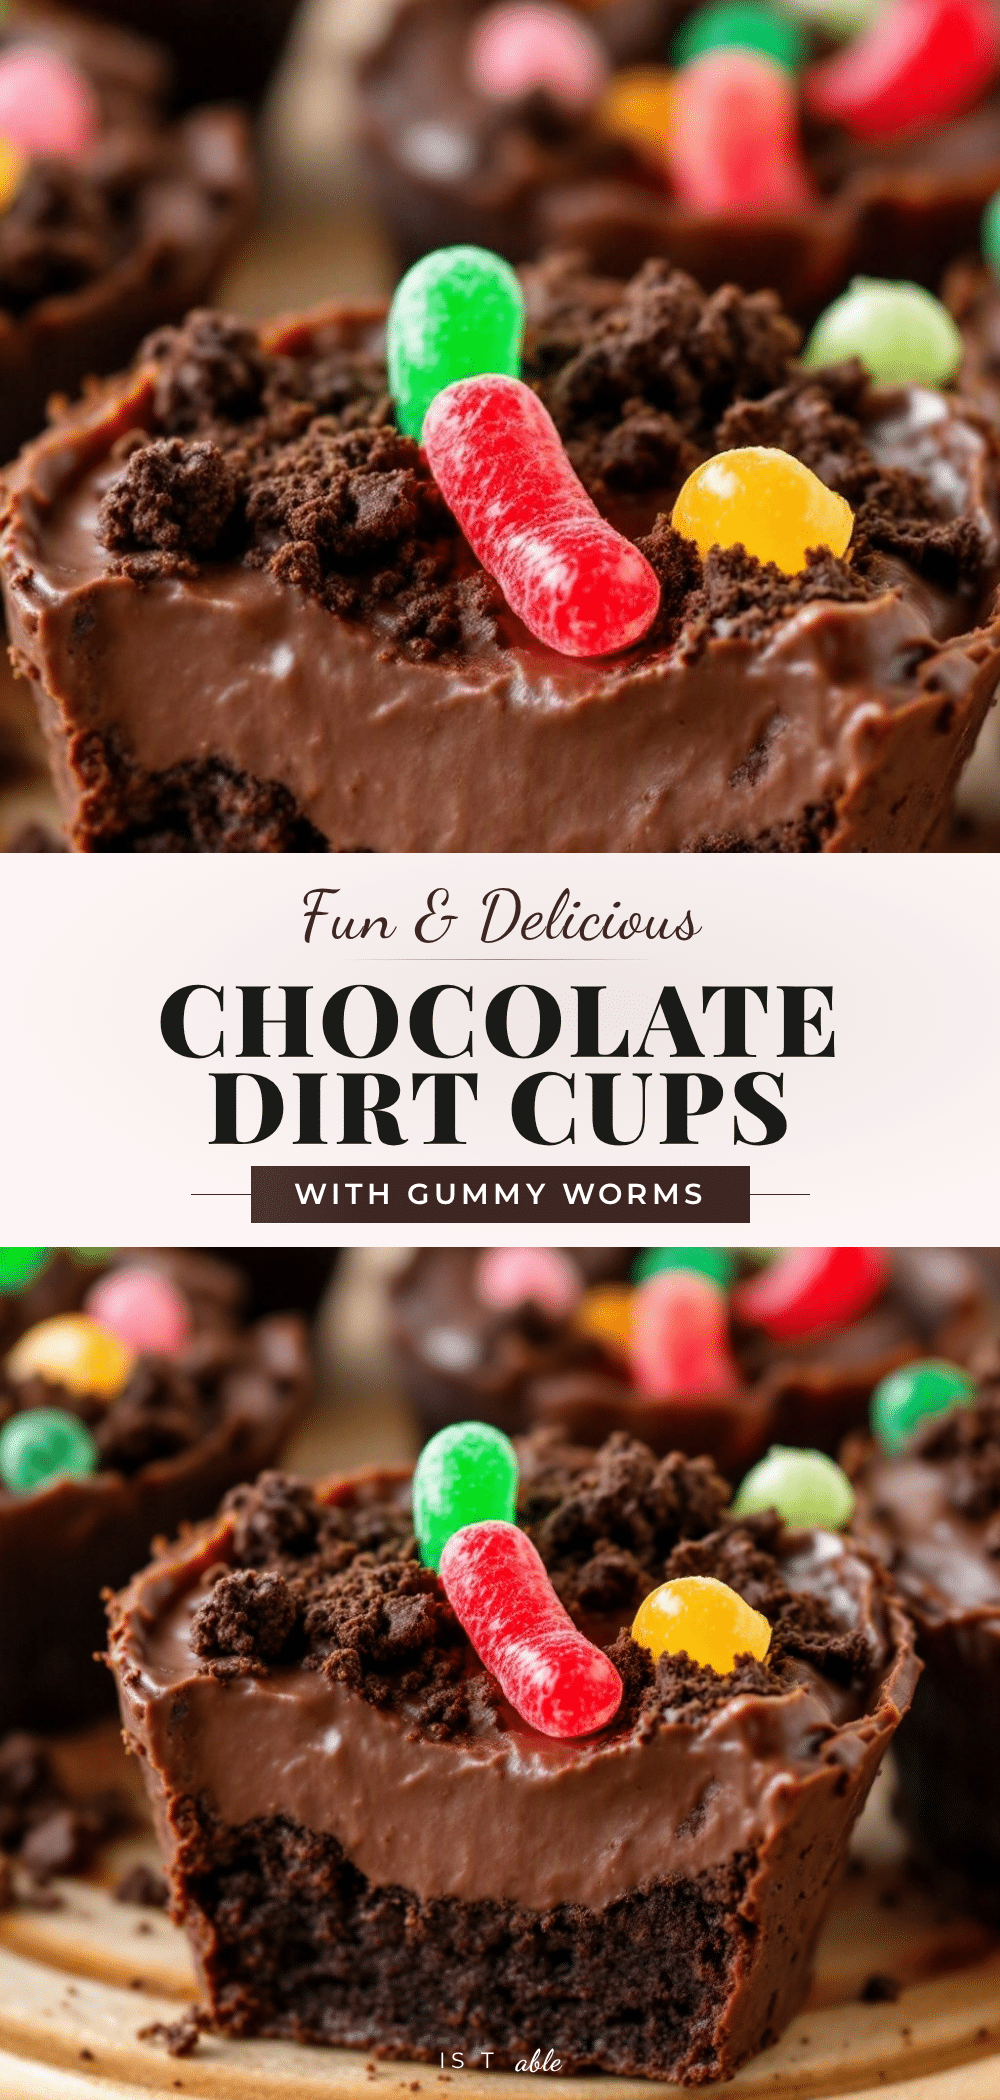
Fun Chocolate Dirt Cups with Gummy Worms

A nostalgic, no-bake dessert featuring layers of creamy chocolate pudding and crushed chocolate cookies topped with gummy worms. This easy treat is perfect for parties, kids, and quick indulgence.
- Prep Time: 10 minutes
- Cook Time: 0 minutes
- Total Time: 10 minutes
- Yield: 6 servings 1x
- Category: Dessert
- Cuisine: American
Ingredients
- 1 package (3.4 oz) instant chocolate pudding mix
- 2 cups cold whole milk (or 1 cup milk + 1 cup heavy cream for extra richness)
- 1 package (14.3 oz) chocolate sandwich cookies (e.g., Oreos)
- Gummy worms, as needed
- Optional: Edible flowers or chocolate shavings for garnish
Instructions
- In a large mixing bowl, combine the chocolate pudding mix with the cold milk. Whisk vigorously for about 2 minutes until the mixture thickens and becomes smooth.
- Place the chocolate cookies in a zip-top bag. Seal tightly and crush with a rolling pin into fine crumbs, leaving some small chunks for texture.
- Spoon a layer of crushed cookies (about 2-3 tablespoons) into the bottom of each serving cup and press down lightly.
- Spoon a generous layer of chocolate pudding over the cookie crumbs, filling the cup about halfway. Smooth the top.
- Sprinkle another layer of crushed cookies on top of the pudding to create the ‘dirt’ layer.
- Insert gummy worms into the ‘dirt’ layer.
- Chill in the refrigerator for 15-30 minutes if desired, or serve immediately.
- Store leftovers in the refrigerator for up to 24 hours for best texture.
Notes
For best texture, assemble cups just before serving to keep cookies crunchy. If using homemade pudding, ensure it is cooled to room temperature. Gummy worms can be microwaved for 10-15 seconds if they are too hard to insert. For a dairy-free version, use dairy-free pudding mix, almond milk, and dairy-free cookies.
Nutrition
- Serving Size: 1 cup
- Calories: 350
- Sugar: 32
- Sodium: 250
- Fat: 18
- Saturated Fat: 10
- Carbohydrates: 45
- Fiber: 2
- Protein: 6
Keywords: chocolate dirt cups, gummy worm dessert, no bake dessert, kids party food, easy pudding recipe, chocolate pudding, childhood nostalgia, quick dessert


