I am staring at the clock and realizing that dinner is forty-five minutes away and my toddler is currently negotiating a truce with a juice box. The house is quiet, which is suspicious, and I know that silence won’t last. I want to feed my kids something that isn’t processed junk, but I also need it to be fast enough to survive the evening. I have everything except a plan that doesn’t involve me crying in the kitchen.
This is the moment where I reach for the tortillas. Honestly, quesadillas are my secret weapon for chaotic weeknights. They melt cheese, hide vegetables, and disappear into tiny stomachs faster than I can wipe the counter. But today, I need a little extra magic. I need them to eat the black beans without asking why they are lumpy.
That is when I remember the mummy idea. It sounds silly, but wrapping the quesadilla strips in dough to look like bandages changes everything. It turns a standard meal into a game. My kids will think they are eating a spooky treat, not a healthy dinner. It’s a small trick, but it works every single time.
I don’t need to be a professional chef to make this work. I just need some flour tortillas, black beans, and a little patience. The smell of melting cheese and toasted tortilla will fill the house, and the panic will fade. By the time the juice box negotiations end, we will be sitting down to eat. This recipe saves my sanity, and it keeps my kids fed.
Why You’ll Love This Easy Black Bean Mummy Quesadillas for Kids
Let’s be real for a second. Getting kids to eat beans is often a battle they are determined to win. They see the lumps and they rebel. But when you turn those beans into a cute, edible mummy, the resistance vanishes. These Easy Black Bean Mummy Quesadillas for Kids are not just about aesthetics; they are about solving a real problem in your kitchen.
Here is why this recipe has become a staple in our weekly rotation:
- Quick & Easy: You can have these on the table in under 20 minutes. It is perfect for busy weeknights when you are exhausted and just want to eat.
- Simple Ingredients: You likely already have everything in your pantry. Tortillas, canned beans, cheese, and flour. No fancy grocery trips needed.
- Perfect for Halloween: These are the ultimate spooky-season snack or dinner. They are festive without requiring hours of decoration.
- Crowd-Pleaser: Even the pickiest eaters will dig in because the shape is fun. The cheese pull is always a hit.
- Unbelievably Delicious: The combination of seasoned beans and gooey cheese is comfort food at its best. It feels like a treat but is actually nutritious.
What makes these different from a regular quesadilla? It is the presentation. By wrapping the strips in thin strips of dough, you create a texture contrast that is satisfying to chew. The outer “bandage” gets slightly crispy, while the inside stays soft and cheesy. It is a textural experience that keeps kids interested.
I tested this with three different types of cheese to find the best melt. Cheddar and Monterey Jack worked best for flavor and stretch. The beans are lightly seasoned, so they don’t overpower the cheese. This balance is key. It isn’t just good; it is the kind of meal that makes you forget you are eating dinner. It is comfort food reimagined for little hands.
What Ingredients You Will Need
This recipe relies on simple, wholesome ingredients to deliver bold flavor and satisfying texture without the fuss. You do not need exotic spices or hard-to-find items. Most of these are pantry staples that you probably already have. The beauty of this dish is how forgiving it is with substitutions.
Here is what you will need to make your own mummy quesadillas:
- Flour Tortillas (Small, 6-inch): These are the base. I recommend using soft, fresh tortillas for better pliability. If they are too dry, they will crack when you wrap them.
- Canned Black Beans: Look for low-sodium options if possible. Drain and rinse them thoroughly. This removes the excess sodium and the starchy liquid that can make the filling soggy.
- Shredded Mexican Blend Cheese: A mix of cheeses works best. I prefer a blend that includes Cheddar for flavor and Monterey Jack for melt. Avoid pre-shredded cheese if you can; it has anti-caking agents that prevent a smooth melt.
- Flour (All-Purpose): You need this to make the “bandages.” Mix it with a little water to create a dough that is easy to roll out.
- Water: Just enough to bind the flour into a paste-like dough.
- Spices: A pinch of cumin and garlic powder adds depth to the beans. Salt to taste. Keep it mild for kids.
- Butter or Oil: For greasing the pan. Butter adds a nicer flavor, but oil prevents burning.
For the best texture, I personally prefer using a brand like Sargento for shredded cheese. It melts evenly without clumping. If you are watching your sodium, look for organic canned beans. They often have a cleaner taste.
You can easily swap the black beans for pinto beans if your kids prefer those. They are creamier and milder. For a dairy-free option, you can use plant-based cheese shreds, though the melt might not be as stretchy. If you want to add a little heat, a dash of mild salsa powder works well. Just keep it simple so the focus remains on the fun shape.
Equipment Needed
You do not need a lot of fancy tools to make this recipe. Keep it simple and efficient.
- Non-Stick Skillet: This is the most important tool. A 10-inch non-stick pan ensures the tortillas don’t stick and burn. I use a well-seasoned cast iron, but non-stick is easier for beginners.
- Rolling Pin: You will need this to roll out the flour dough for the bandages. A small rolling pin is easier to handle for thin sheets.
- Pastry Brush: Use this to brush water on the tortillas so the dough sticks. It helps control the moisture.
- Mashing Fork: To mash the beans slightly. You don’t want a puree, just broken-up beans.
- Cutting Board and Knife: For slicing the cooked quesadillas into strips.
If you don’t have a rolling pin, you can use a clean glass bottle. It works surprisingly well. For budget-friendly options, any basic non-stick pan from a local store will work fine. Just make sure it is in good condition without scratches. Proper maintenance of your skillet means your quesadillas will release easily every time.
Preparation Method
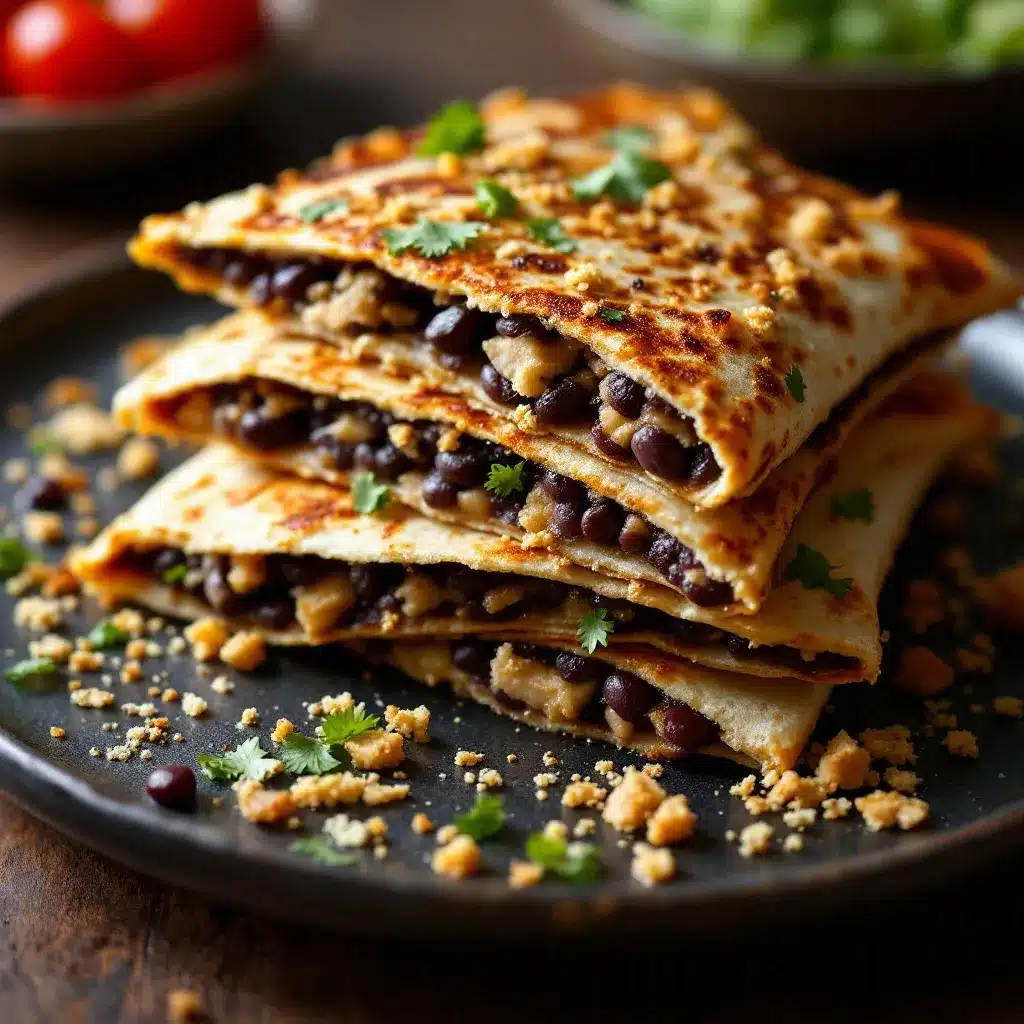
Let’s get cooking. This process is straightforward, but attention to detail matters for the mummy effect.
Step 1: Prepare the Bean Filling
Drain and rinse one can of black beans. Place them in a bowl and mash them lightly with a fork. You want some texture, not a paste. Stir in a pinch of cumin, garlic powder, and salt. Set aside. This takes about 2 minutes.
Step 2: Make the Dough Bandages
In a small bowl, mix 1/2 cup of flour with 3-4 tablespoons of water. Stir until it forms a thick, pliable dough. It should be like playdough. If it is too sticky, add more flour. If it is too dry, add more water. Roll this dough out on a floured surface until it is thin. Cut it into strips about 1/2 inch wide. These are your mummy bandages.
Step 3: Assemble the Quesadillas
Lay a small flour tortilla flat on a clean surface. Spoon a generous amount of the bean mixture onto the center. Top with a handful of shredded cheese. Do not overload it, or it will leak.
Step 4: Wrap the Mummy
Take the dough strips and wrap them around the tortilla. Start at one end and overlap the strips slightly. Leave a small gap at the top for the “face.” Press the dough gently to secure it. You want the dough to stick to the tortilla. If it feels dry, brush a little water on the tortilla first.
Step 5: Cook the Quesadillas
Heat a non-stick skillet over medium heat. Add a little butter or oil. Place the wrapped quesadilla in the pan. Cook for 3-4 minutes on each side. Press down gently with a spatula. The dough should turn golden brown, and the cheese inside should be melted. Flip carefully to avoid breaking the bandages.
Step 6: Slice and Serve
Remove from the pan and let it cool for 1 minute. Slice into strips. The strips will look like mummy bodies. Serve warm. This whole process takes about 15-20 minutes.
Cooking Tips & Techniques
Getting the dough right is the tricky part. If it is too thick, it won’t cook through. If it is too thin, it will tear. Aim for a consistency that is easy to handle.
A common mistake is using too much filling. Keep the bean and cheese mixture in the center. Leave a border around the edges so the dough can seal properly. This prevents leaks.
I once tried to use pizza dough for the bandages. It was too thick and chewy. Stick to the simple flour and water dough. It cooks faster and has a better texture.
Multitask here. While one quesadilla cooks, prepare the next one. The pan stays hot, so you can keep a steady rhythm. Keep the heat at medium. High heat will burn the dough before the cheese melts.
If the dough cracks while wrapping, just patch it with a small piece. It doesn’t have to be perfect. The kids won’t mind a little leak. In fact, extra melted cheese is a bonus.
Variations & Adaptations
You can customize this recipe to suit different diets and preferences.
- Gluten-Free: Use gluten-free tortillas and gluten-free flour for the dough. The technique remains the same.
- Dairy-Free: Skip the cheese or use a dairy-free alternative. The beans will still provide flavor and protein.
- Veggie Boost: Add finely chopped spinach or corn to the bean mixture. It adds color and nutrients without changing the taste much.
- Spicy Version: Add a little diced jalapeño or a dash of chili powder for kids who like heat.
I often add a little corn to the beans for sweetness. It balances the savory flavors well. For a protein boost, you can mix in some cooked shredded chicken. It makes the meal more filling.
If you want to make them vegetarian, the beans are already a good source of plant-based protein. Just ensure your cheese is vegetarian-friendly if that matters to you.
Serving & Storage Suggestions
Serve these warm for the best experience. The cheese should be gooey and the dough slightly crisp.
Pair them with a side of mild salsa or guacamole. A simple green salad also works well to balance the meal. For drinks, water or milk is best.
To store leftovers, let them cool completely. Place them in an airtight container in the refrigerator for up to 3 days.
To reheat, use a skillet over low heat. This keeps the dough from getting soggy. You can also microwave them, but the texture will be softer.
The flavors meld together nicely after a day. The beans absorb the spices more deeply. It is still delicious the next day, though the fun factor is higher when fresh.
Nutritional Information & Benefits
These quesadillas are a balanced meal. Black beans provide fiber and protein. Cheese adds calcium and healthy fats. The tortillas offer carbohydrates for energy.
One serving has roughly 300-350 calories, depending on the cheese and tortilla size. It is a moderate portion for kids.
The fiber in the beans helps digestion. The protein keeps them full. It is a wholesome meal that supports growth.
For those with allergies, check your tortilla ingredients for wheat or soy. Most standard tortillas contain wheat.
I appreciate that this recipe allows me to control the sodium and sugar. Store-bought options often have hidden additives. Making it at home is healthier.
Conclusion
These Easy Black Bean Mummy Quesadillas for Kids are a game-changer for weeknight dinners. They are fun, healthy, and incredibly easy to make. I love that my kids think they are playing with their food, when really they are enjoying a nutritious meal.
Try this recipe and see how your family reacts. Customize the fillings to suit their tastes. It is a flexible recipe that grows with your kids.
Share your results in the comments below. I love hearing how your mummies turned out. Pin this recipe for later, and share it with other parents who need a quick dinner idea.
Cooking with kids doesn’t have to be stressful. It can be fun and delicious. Give this a try this week.
FAQs
Can I use corn tortillas instead of flour?
Corn tortillas are more brittle and may crack when wrapping. Flour tortillas are more pliable and easier to work with for the mummy shape. If you must use corn, warm them up first to make them flexible.
How do I keep the dough from drying out?
Cover the dough with a damp cloth while you assemble the quesadillas. This prevents it from forming a skin. Work quickly, and keep the unused dough wrapped.
Can I freeze these mummy quesadillas?
Yes, you can freeze them before cooking. Place them on a baking sheet and freeze until solid. Then transfer to a freezer bag. Cook from frozen, adding a few extra minutes to the cooking time.
What cheese melts best for this recipe?
Monterey Jack and Cheddar blend are ideal. They melt smoothly and have a mild flavor that kids enjoy. Avoid hard cheeses like Parmesan, as they do not melt well.
How can I make the mummy face?
Leave a small gap at the top of the wrap. You can use a toothpick to create eye holes, or just leave it as is. Some people use a dot of salsa for the mouth. Keep it simple and cute.
Pin This Recipe!
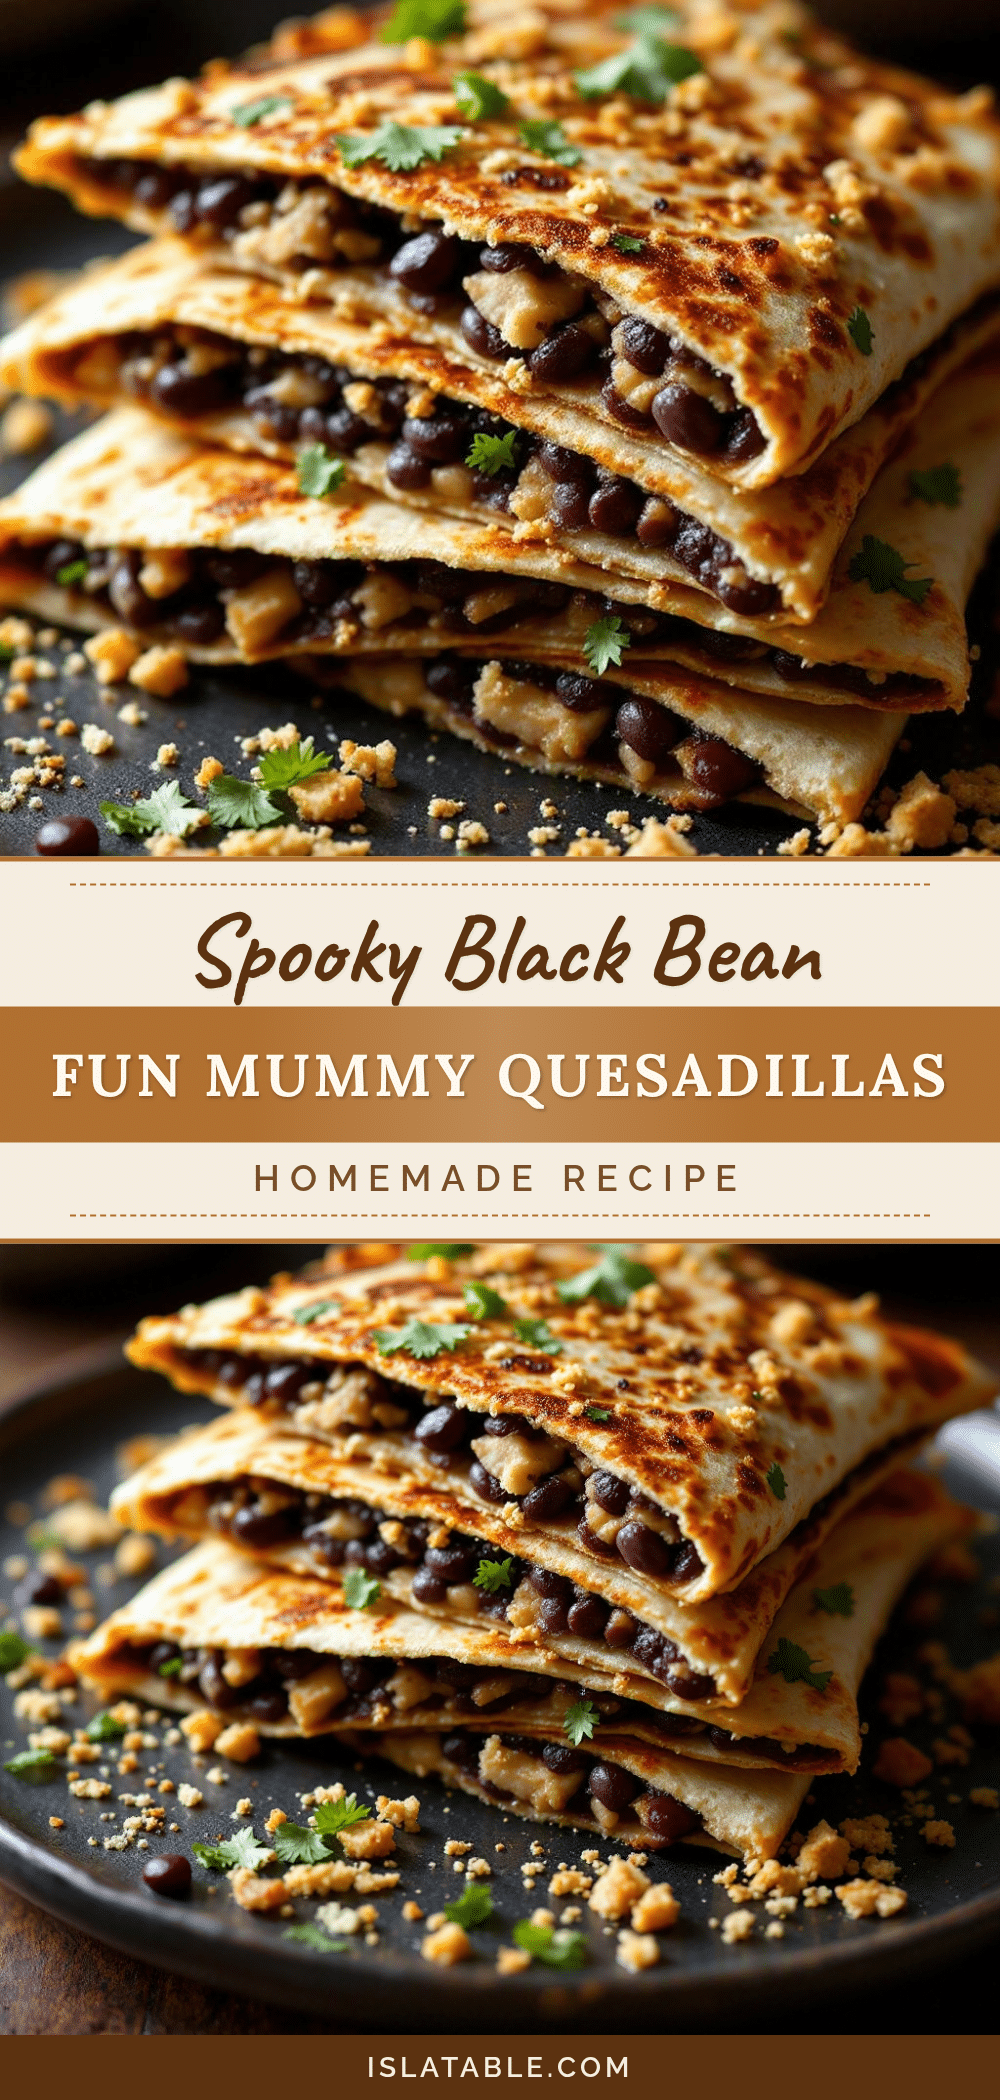
Easy Black Bean Mummy Quesadillas for Kids
A fun and quick weeknight dinner where black bean and cheese quesadillas are wrapped in dough strips to resemble mummies, making healthy eating exciting for children.
- Prep Time: 10 minutes
- Cook Time: 10 minutes
- Total Time: 20 minutes
- Yield: 4 servings 1x
- Category: Main Course
- Cuisine: Mexican
Ingredients
- 1 can (15 oz) black beans, drained and rinsed
- 1/2 cup all-purpose flour
- 3–4 tablespoons water
- 4 small (6-inch) flour tortillas
- 1 cup shredded Mexican blend cheese (Cheddar and Monterey Jack)
- 1/4 teaspoon cumin
- 1/4 teaspoon garlic powder
- Salt to taste (keep mild for kids)
- Butter or oil for greasing the pan
Instructions
- Drain and rinse the black beans. Place them in a bowl and mash lightly with a fork, leaving some texture.
- Stir in cumin, garlic powder, and salt. Set the bean mixture aside.
- In a small bowl, mix 1/2 cup flour with 3-4 tablespoons water to form a thick, pliable dough. If too sticky, add more flour; if too dry, add more water.
- Roll the dough out on a floured surface until thin and cut into strips about 1/2 inch wide to serve as ‘bandages’.
- Lay a tortilla flat. Spoon a generous amount of the bean mixture onto the center, then top with shredded cheese. Do not overload.
- Wrap the dough strips around the tortilla, overlapping slightly. Leave a small gap at the top for the ‘face’. Press gently to secure.
- Heat a non-stick skillet over medium heat and add butter or oil.
- Place the wrapped quesadilla in the pan. Cook for 3-4 minutes on each side, pressing gently with a spatula, until the dough is golden brown and cheese is melted.
- Remove from pan, let cool for 1 minute, then slice into strips to serve.
Notes
Ensure the dough is not too thick or it won’t cook through. Keep the filling centered to prevent leaks. If the dough cracks, patch it with a small piece. For gluten-free, use GF tortillas and flour. For dairy-free, use plant-based cheese.
Nutrition
- Serving Size: 1 quesadilla (cut in
- Calories: 325
- Sugar: 2
- Sodium: 450
- Fat: 12
- Saturated Fat: 5
- Carbohydrates: 40
- Fiber: 6
- Protein: 14
Keywords: black bean quesadilla, mummy food, kids dinner, easy weeknight meals, Halloween recipes, vegetarian dinner, healthy kids food


