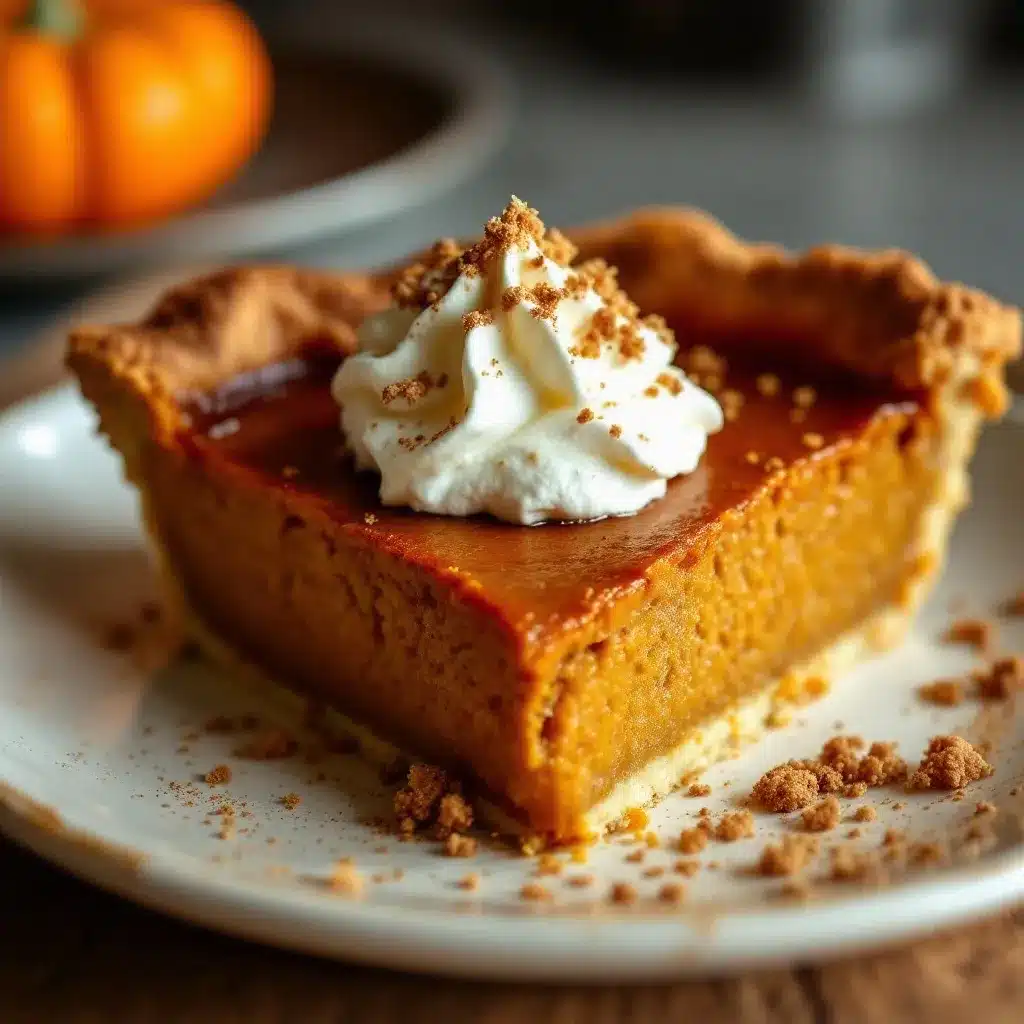
The way the filling shudders—just barely, a soft, deep-set jiggle in the center of the little pie plate—that’s the whole point. Not the lattice crust, not the cinnamon scent filling the kitchen, but that one specific, fragile wobble that tells you it’s done. I made this cozy small-batch pumpkin pie for two because I got tired of staring at a full-size pie for a week, feeling guilty about the third slice I didn’t really want but ate anyway. Honestly, the first time I pulled a full 9-inch pie out of the oven just for me and my partner, I knew it was too much. It sat on the counter looking lonely and oversized, and by day three, the crust was soggy and the filling had that sad, weeping texture. That’s when I realized I didn’t need a holiday-sized dessert—I needed a Tuesday-night-sized one. This little pie is exactly that. It’s not about the spectacle of a towering, two-crust masterpiece. It’s about that first bite, warm from the oven, with a dollop of barely-sweetened cream, shared between two people who don’t need a reason to celebrate. The crust is a buttery, tender single shell—no fuss, no lattice work—and the filling is spiced just enough to feel like fall without trying too hard. It’s the kind of dessert that makes you slow down, and honestly, that’s the whole reason I keep making it.
Why You’ll Love This Recipe
This isn’t just another pumpkin pie recipe. It’s the one I turn to when I want the comfort of a classic fall dessert without the commitment of a full-size pie. Here’s why it works so well:
- Perfectly Portioned for Two: No more leftover pie sitting in the fridge for a week. This recipe makes exactly two generous slices—one for you, one for them.
- Simple, Pantry-Friendly Ingredients: You probably already have most of what you need. No fancy pumpkin puree brands required, though I do recommend Libby’s for the smoothest texture.
- Quick to Make: The entire process, from crust to filling to baking, takes about an hour and a half. Most of that is hands-off oven time.
- Unbelievably Creamy Texture: The secret is a slightly higher egg-to-pumpkin ratio than a standard pie, plus a touch of heavy cream. It gives the filling that velvety, melt-in-your-mouth quality that full-size recipes often miss.
- Customizable Spice Level: I’ve tested this with everything from a classic pumpkin pie spice blend to a more adventurous mix of cardamom and ginger. You can dial it up or down based on your mood.
- Crowd-Pleaser (Even for a Crowd of Two): I’ve made this for a quiet date night and for a small Thanksgiving dinner with my parents. It disappears every single time.
This recipe is different because it’s been tested specifically for a 6-inch pie plate. Most small-batch recipes are just scaled-down versions of the big one, and they often fail—the filling is too thin, the crust gets soggy, or the baking time is off. I spent a full weekend testing different ratios until I got that perfect wobble. It’s the kind of pie that makes you close your eyes after the first bite, not because it’s fancy, but because it tastes exactly like a cozy fall evening should.
What Ingredients You Will Need
This recipe uses simple, wholesome ingredients to deliver that rich, spiced pumpkin flavor without any fuss. Most of these are pantry staples, especially if you bake during the fall.
For the Pie Crust
- All-purpose flour: 1 cup (120g). Provides structure. I prefer Gold Medal for consistent results.
- Unsalted butter: 6 tablespoons (85g), cold and cut into small cubes. This is the key to a flaky crust. Keep it very cold.
- Ice water: 2-3 tablespoons (30-45ml). Add it one tablespoon at a time until the dough just holds together.
- Salt: ¼ teaspoon. Balances the sweetness.
- Sugar: ½ teaspoon. A tiny bit helps with browning and flavor.
For the Pumpkin Filling
- Pumpkin puree: ¾ cup (180g). Not pumpkin pie filling! Make sure it’s 100% pure pumpkin. Libby’s is my go-to for its thick, consistent texture.
- Heavy cream: ¼ cup (60ml). Adds richness and a silky mouthfeel. You can substitute with half-and-half, but the texture won’t be as luxurious.
- Large egg: 1 whole egg + 1 yolk. The extra yolk is the secret to that creamy, custard-like texture. It adds fat and stability without making the filling too firm.
- Brown sugar: ¼ cup (50g), packed. I use light brown sugar for a milder molasses flavor, but dark brown works if you want a deeper, more caramel-like taste.
- Granulated sugar: 2 tablespoons (25g). Balances the brown sugar and helps with caramelization.
- Vanilla extract: 1 teaspoon. Pure, not imitation. It rounds out the spices beautifully.
- Pumpkin pie spice: 1½ teaspoons. If you don’t have a blend, use ¾ teaspoon cinnamon, ½ teaspoon ginger, ¼ teaspoon nutmeg, and a pinch of cloves.
- Salt: ¼ teaspoon. Essential for bringing all the flavors together.
Ingredient Selection Tips
For the best texture, use a thick, not watery, pumpkin puree. I’ve found that some store brands are thinner, which can make the filling weep during baking. If your puree looks loose, drain it through a fine-mesh sieve lined with cheesecloth for about 30 minutes before using. Also, make sure your egg is at room temperature—it emulsifies into the filling much more smoothly, preventing that slightly curdled look that can happen with cold eggs.
Equipment Needed
You don’t need a fully stocked bakery to make this pie. Here’s what I use:
- 6-inch pie plate: This is non-negotiable for the small-batch aspect. I use a ceramic one from a local potter, but any 6-inch oven-safe dish works. You can also use a 6-inch cast iron skillet for a rustic look.
- Rolling pin: A standard one is fine. If you don’t have one, a wine bottle works in a pinch—just chill the dough after rolling to relax the gluten.
- Mixing bowls: One medium for the dry ingredients, one small for the wet.
- Whisk: For combining the filling without overmixing.
- Pastry cutter or two forks: For cutting the butter into the flour for the crust.
- Plastic wrap: To chill the dough.
- Parchment paper and pie weights: For blind baking the crust. Dried beans or rice work as a substitute for pie weights.
- Cooling rack: Essential for even cooling and preventing a soggy bottom.
I’ve had my 6-inch pie plate for years, and it’s one of my most-used tools. If you’re just starting out, a basic metal or glass one from a kitchen supply store is perfectly fine. Just avoid non-stick coatings for the crust—they can prevent that beautiful golden browning on the bottom.
Preparation Method
Let’s walk through this step by step. I’ll include all the little details I’ve learned from making this pie more times than I can count.
Step 1: Make the Crust (15 minutes active + 30 minutes chill)
- In a medium bowl, whisk together the flour, salt, and sugar. Add the cold butter cubes. Using a pastry cutter or two forks, cut the butter into the flour until it resembles coarse meal with pea-sized butter pieces. Don’t overwork it—those butter pieces are what create flaky layers.
- Drizzle 2 tablespoons of ice water over the mixture. Stir with a fork until the dough just begins to come together. If it’s too dry, add the remaining tablespoon of water. The dough should hold together when pressed, but not be sticky.
- Flatten the dough into a disk, wrap tightly in plastic wrap, and refrigerate for at least 30 minutes. This relaxes the gluten and re-chills the butter, ensuring a tender crust.
Step 2: Blind Bake the Crust (20 minutes active + 15 minutes bake)
- Preheat your oven to 375°F (190°C). On a lightly floured surface, roll the chilled dough into a circle about 8 inches in diameter—roughly ⅛-inch thick. Gently transfer it to your 6-inch pie plate. Press it into the bottom and up the sides, trimming any excess overhang. Crimp the edges with your fingers or a fork.
- Line the crust with a piece of parchment paper, leaving some overhang. Fill with pie weights, dried beans, or rice. Bake for 12 minutes. This sets the crust and prevents it from shrinking.
- Remove the parchment and weights. Prick the bottom of the crust a few times with a fork (this is called docking) to prevent air bubbles. Bake for another 3-5 minutes, until the bottom looks dry and just barely golden. Set aside to cool slightly while you make the filling.
Step 3: Make the Filling (10 minutes)
- In a small bowl, whisk together the pumpkin puree, heavy cream, egg, and egg yolk until smooth. Don’t overmix—just until combined.
- In a separate bowl, whisk together the brown sugar, granulated sugar, pumpkin pie spice, and salt. Add the dry ingredients to the wet mixture and whisk gently until fully incorporated. Stir in the vanilla extract. The filling should be thick, smooth, and a beautiful deep orange color.
- Pour the filling into the pre-baked crust. It will fill the pie plate almost to the top—that’s perfect. Gently tap the pie plate on the counter a few times to release any air bubbles.
Step 4: Bake the Pie (35-40 minutes)
- Place the pie on a baking sheet (this catches any drips and helps the bottom cook evenly). Bake at 375°F (190°C) for 15 minutes. Then, reduce the oven temperature to 350°F (175°C) and continue baking for 20-25 minutes. This high-start, low-finish method gives the crust a head start on browning without burning the filling.
- You’ll know the pie is done when the edges are set and puffed slightly, but the center still has that gentle jiggle—about 2 inches in diameter. A knife inserted near the center should come out mostly clean, with just a tiny bit of custard clinging to it. The internal temperature should read 175°F (80°C) on an instant-read thermometer.
- Let the pie cool on a wire rack for at least 2 hours. This is crucial—the filling continues to set as it cools. If you cut into it too early, you’ll get a runny mess.
Cooking Tips & Techniques
I’ve had my fair share of pie mishaps, and I’ve learned a few things the hard way. Here’s how to avoid my mistakes:
- Don’t overwork the crust: The first time I made this, I kneaded the dough like bread. The result? A tough, chewy crust that tasted more like a cracker. Mix until it just comes together, and handle it as little as possible.
- Blind baking is non-negotiable: I tried skipping this step once because I was in a hurry. The bottom crust was a soggy, undercooked mess. The pre-bake ensures the crust stays crisp and flaky, even with a moist filling.
- Watch for the wobble: Overbaking is the most common mistake. The filling will continue to set as it cools, so don’t wait for the center to be completely firm. That 2-inch wobble is your gold standard.
- Use a baking sheet: I’ve had the filling bubble over more than once, and cleaning burnt sugar off the bottom of the oven is no fun. A baking sheet catches any drips and also protects the bottom of the pie from direct heat.
- Cool completely: I know it’s tempting to dig in right away, but patience pays off. Let it cool for at least 2 hours at room temperature, then refrigerate for another hour if you want perfectly clean slices.
Variations & Adaptations
This recipe is a great base, and I’ve played around with it quite a bit. Here are a few of my favorite twists:
- Spiced Maple Pumpkin Pie: Replace the granulated sugar with 2 tablespoons of maple syrup. Reduce the heavy cream by 1 tablespoon to compensate for the extra liquid. The maple flavor pairs beautifully with the pumpkin and spices.
- Gluten-Free Option: Use a 1:1 gluten-free flour blend in the crust. I’ve had good luck with King Arthur’s Measure for Measure. The texture will be slightly more crumbly, but still delicious. Just be extra gentle when rolling and transferring the dough.
- Vegan Adaptation: Substitute the butter with cold vegan butter (I like Earth Balance) and use a flax egg (1 tablespoon ground flaxseed + 3 tablespoons water) plus an extra tablespoon of cornstarch for structure. The texture won’t be as creamy, but it’s a solid alternative.
- Gingersnap Crust: Instead of a traditional pastry crust, crush 1 cup of gingersnap cookies and mix with 3 tablespoons of melted butter. Press into the pie plate and bake for 8 minutes at 350°F (175°C) before adding the filling. The spicy ginger flavor is incredible with the pumpkin.
- Pumpkin Cheesecake Swirl: Before pouring in the filling, drop 2 tablespoons of softened cream cheese mixed with 1 tablespoon of sugar into the crust. Swirl it gently with a knife. It creates a beautiful marbled effect and a tangy contrast to the sweet pumpkin.
Serving & Storage Suggestions
This pie is best served slightly warm or at room temperature. I love it with a generous dollop of lightly sweetened whipped cream—just ½ cup heavy cream whipped with 1 tablespoon of powdered sugar and a splash of vanilla. For an extra touch, sprinkle a little cinnamon or nutmeg on top.
If you’re feeling fancy, serve it with a scoop of vanilla bean ice cream. The cold, creamy ice cream against the warm, spiced pie is a classic combination for a reason.
For storage, cover the pie loosely with plastic wrap or foil and keep it in the refrigerator for up to 4 days. The flavors actually deepen and meld together after a day or two. To reheat, pop individual slices in a 300°F (150°C) oven for 5-7 minutes, or in the microwave for 15-20 seconds. Just don’t overheat it, or the filling can become watery.
You can also freeze the baked pie for up to 2 months. Wrap it tightly in plastic wrap, then foil. Thaw overnight in the refrigerator and reheat as directed. The crust might lose a touch of its crispness, but it’s still a wonderful treat to have on hand.
If you’re looking for a savory main course to pair with this dessert, I highly recommend trying this tender small-batch BBQ pulled pork for two. The smoky, tangy flavors are a perfect contrast to the sweet, spiced pumpkin. For a lighter option, this crispy air fryer chicken thighs for two is quick, easy, and pairs beautifully with a side of roasted vegetables.
Nutritional Information & Benefits
Here’s an approximate nutritional breakdown for one serving (half the pie):
- Calories: ~380
- Fat: 22g
- Carbohydrates: 42g
- Fiber: 3g
- Sugar: 28g
- Protein: 6g
Pumpkin is a nutritional powerhouse. It’s packed with vitamin A (over 200% of your daily needs per serving), which is great for eye health and immune function. It’s also a good source of fiber, which helps with digestion and keeps you feeling full. The spices—cinnamon, ginger, nutmeg—are anti-inflammatory and add flavor without extra calories or sugar.
This recipe is lower in sugar than most traditional pumpkin pies, thanks to the balanced blend of brown and granulated sugars. It’s also a good source of iron and potassium. If you’re watching your carb intake, you can reduce the sugar by a tablespoon or two, but the texture will be slightly less creamy.
Potential allergens include gluten (from the flour), dairy (from the butter and cream), and eggs. For a dairy-free version, use vegan butter and a plant-based cream alternative. For a gluten-free version, use the flour blend mentioned in the variations section.
I love that this dessert feels indulgent but is made with real, whole ingredients. It’s the kind of treat you can enjoy without guilt, especially when you’re sharing it with someone you love.
Conclusion
This cozy small-batch pumpkin pie for two is more than just a scaled-down recipe—it’s a celebration of simplicity. It’s for the quiet evenings when you want something special without the fuss of a full holiday spread. It’s for the moments when you just want a slice of pie with a cup of coffee and a good conversation. The creamy, spiced filling and the flaky, buttery crust come together in a way that feels both nostalgic and fresh.
I encourage you to make this recipe your own. Experiment with the spices, try a different crust, or add a swirl of caramel on top. The beauty of a small-batch recipe is that there’s no pressure—if it doesn’t turn out perfectly, you’ve only invested a little time and a few ingredients. But I have a feeling it will turn out just right.
I’d love to hear how it goes. Did you try a variation? Did you serve it with something unexpected? Leave a comment below and let me know. And if you’re looking for another cozy dessert to try, check out this healthy diabetic-friendly lemon cake for a bright, citrusy alternative. Happy baking, friends!
Frequently Asked Questions
Can I use a different size pie plate?
This recipe is specifically designed for a 6-inch pie plate. If you use a larger one, the filling will be too thin and may not set properly. For a 9-inch pie, double all the ingredients and increase the baking time by 10-15 minutes.
Why is my pie filling watery?
This usually happens if the pumpkin puree is too thin or if the pie is underbaked. Make sure to use a thick, 100% pure pumpkin puree, and bake until the center has a gentle jiggle but the edges are set. Also, let the pie cool completely before slicing.
Can I make this pie ahead of time?
Absolutely! You can make the pie up to 2 days in advance. Store it covered in the refrigerator. The flavors actually improve after a day. You can also freeze the baked pie for up to 2 months.
What can I use instead of heavy cream?
Half-and-half or whole milk will work, but the texture will be less rich and creamy. For a dairy-free option, use full-fat coconut cream or a plant-based heavy cream alternative.
How do I prevent the crust from shrinking?
Chill the dough thoroughly before rolling and baking. Also, don’t stretch the dough when fitting it into the pie plate—gently press it in. Overworking the dough can also cause shrinkage.
Pin This Recipe!
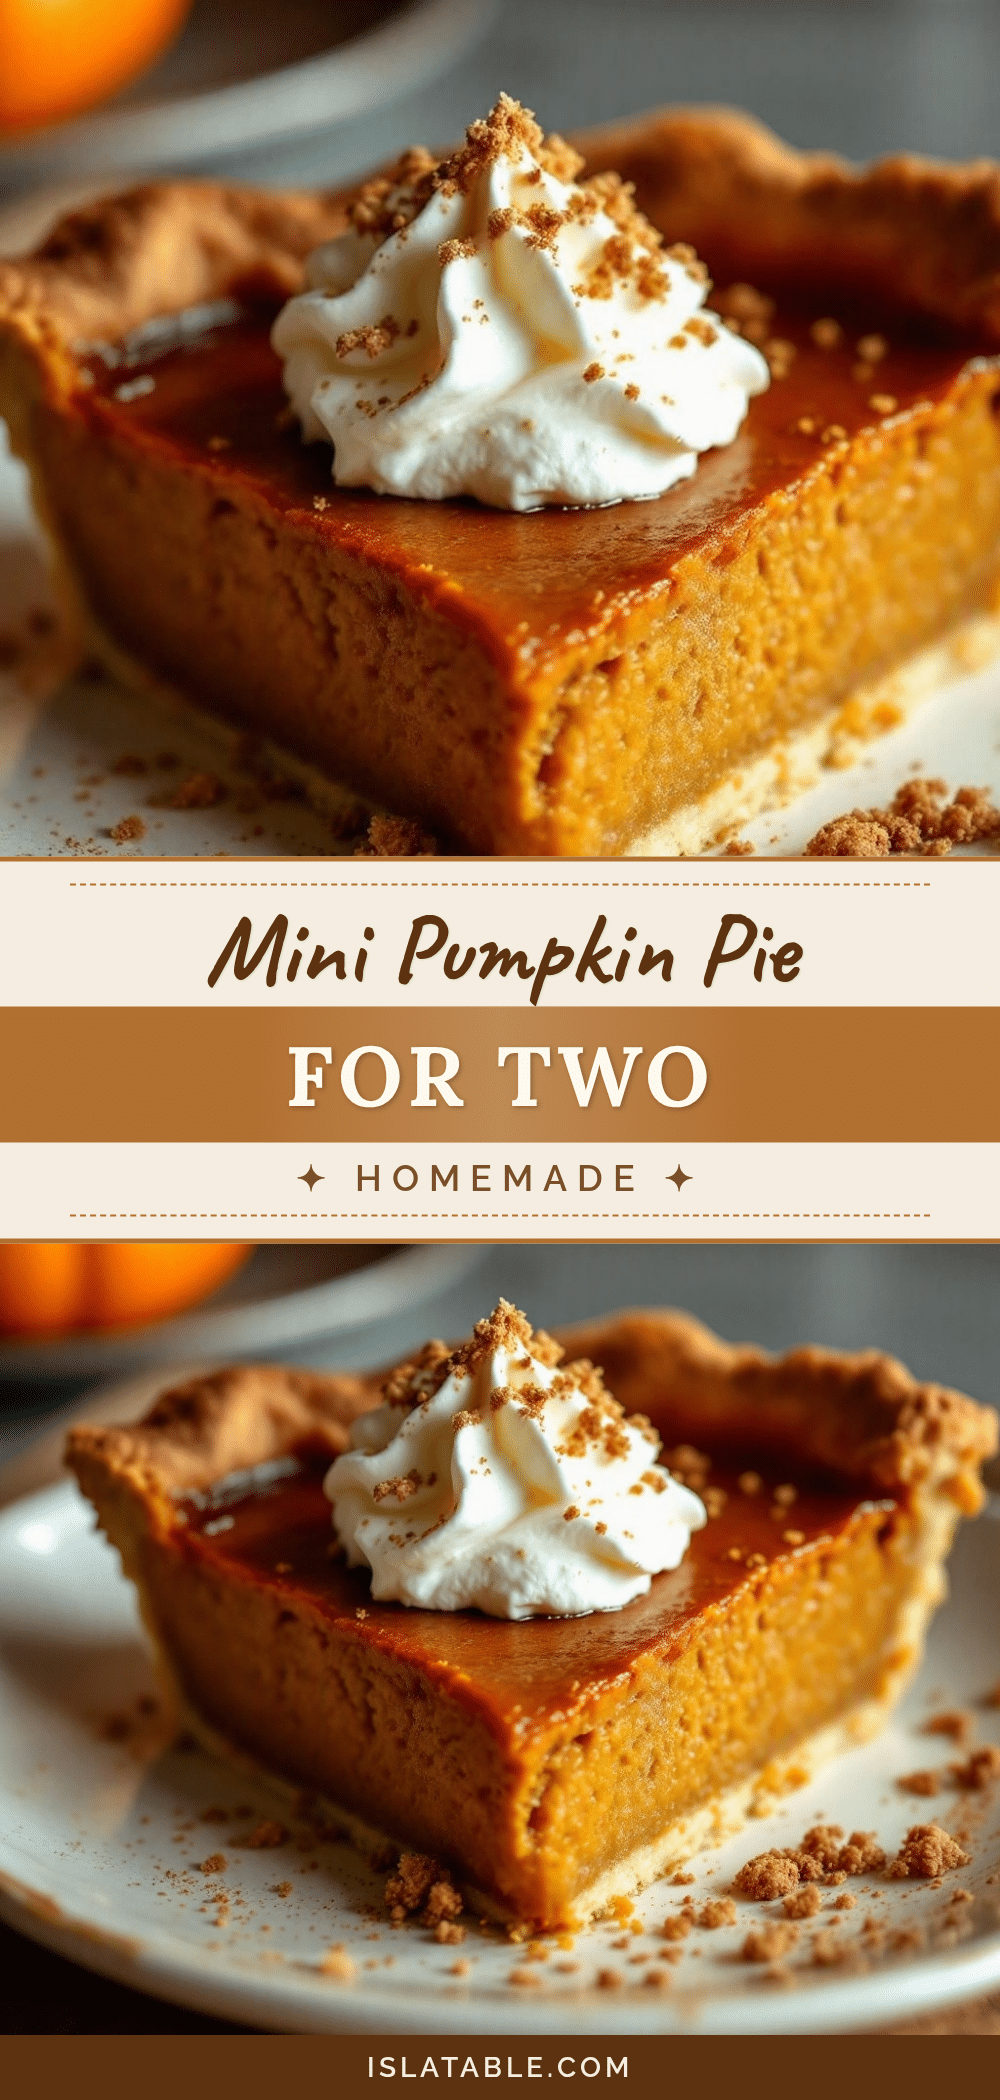
Cozy Small-Batch Pumpkin Pie for Two: Easy Fall Dessert
This perfectly portioned pumpkin pie for two features a creamy, spiced filling and a flaky, buttery crust. It’s the ideal fall dessert for a quiet date night or a small Thanksgiving celebration.
- Prep Time: 15 minutes
- Cook Time: 35-40 minutes
- Total Time: 1 hour 30 minutes (includes chilling and cooling)
- Yield: 2 servings 1x
- Category: Dessert
- Cuisine: American
Ingredients
- 1 cup (120g) all-purpose flour
- 6 tablespoons (85g) unsalted butter, cold and cubed
- 2–3 tablespoons (30-45ml) ice water
- ¼ teaspoon salt
- ½ teaspoon sugar
- ¾ cup (180g) pumpkin puree (not pumpkin pie filling)
- ¼ cup (60ml) heavy cream
- 1 large egg + 1 egg yolk
- ¼ cup (50g) packed brown sugar
- 2 tablespoons (25g) granulated sugar
- 1 teaspoon vanilla extract
- 1½ teaspoons pumpkin pie spice
- ¼ teaspoon salt
Instructions
- Make the crust: In a medium bowl, whisk together flour, salt, and sugar. Cut in cold butter using a pastry cutter or two forks until mixture resembles coarse meal with pea-sized butter pieces. Drizzle 2 tablespoons ice water over mixture and stir with a fork until dough just comes together. Add remaining water if needed. Flatten into a disk, wrap in plastic wrap, and refrigerate for at least 30 minutes.
- Blind bake the crust: Preheat oven to 375°F (190°C). On a lightly floured surface, roll dough into an 8-inch circle. Transfer to a 6-inch pie plate, press into bottom and up sides, trim excess, and crimp edges. Line with parchment paper and fill with pie weights or dried beans. Bake for 12 minutes. Remove parchment and weights, prick bottom with a fork, and bake for another 3-5 minutes until dry and lightly golden. Set aside to cool slightly.
- Make the filling: In a small bowl, whisk together pumpkin puree, heavy cream, egg, and egg yolk until smooth. In a separate bowl, whisk together brown sugar, granulated sugar, pumpkin pie spice, and salt. Add dry ingredients to wet mixture and whisk gently until fully incorporated. Stir in vanilla extract.
- Pour filling into pre-baked crust. Tap pie plate on counter to release air bubbles. Place pie on a baking sheet. Bake at 375°F (190°C) for 15 minutes, then reduce oven temperature to 350°F (175°C) and continue baking for 20-25 minutes, until edges are set and center has a gentle jiggle (about 2 inches in diameter).
- Cool pie on a wire rack for at least 2 hours before slicing. For cleaner slices, refrigerate for an additional hour.
Notes
For best results, use thick pumpkin puree (like Libby’s) and ensure eggs are at room temperature. The filling will continue to set as it cools, so don’t overbake. Let the pie cool completely for clean slices. Store covered in the refrigerator for up to 4 days or freeze for up to 2 months.
Nutrition
- Serving Size: 1/2 pie
- Calories: 380
- Sugar: 28
- Sodium: 320
- Fat: 22
- Saturated Fat: 13
- Carbohydrates: 42
- Fiber: 3
- Protein: 6
Keywords: small-batch pumpkin pie, pumpkin pie for two, easy fall dessert, mini pumpkin pie, cozy dessert


