I want a breakfast burrito right now. Not a sad, soggy microwave one from the gas station. I want the kind with fluffy eggs, melty cheese, and just enough crunch from the potatoes. The kind that freezes perfectly and tastes just as good a month later. The only thing standing between me and that burrito is a Sunday afternoon and a stack of tortillas. Honestly, that’s a trade-off I’ll take every single time.
Back-to-school mornings in my house are a controlled chaos of lost shoes, forgotten permission slips, and the eternal question: “What’s for breakfast?” By day three of the new school year, I had already given up on hot meals before 7 AM. That’s when these Easy Freezer Breakfast Burritos entered our lives and never left. They weren’t born from a fancy culinary revelation. They came from pure survival mode and a freezer full of eggs.
The first batch I made was a disaster. Too wet. Too bland. The tortillas turned into a sad, soggy mess after reheating. But I kept tweaking. I learned that draining the salsa, cooling the fillings completely, and wrapping them just right made all the difference. Now, these burritos are my secret weapon for sane mornings. No stress, no mess, just a warm breakfast that tastes like I actually tried.
Why You’ll Love This Recipe
These aren’t just any breakfast burritos. They’re the result of trial, error, and a few burned fingers from testing different wrapping techniques. Here’s why they work so well for busy families:
- Ready in Under 5 Minutes: Grab one from the freezer, microwave it, and breakfast is served faster than cereal. No cooking, no cleanup.
- Simple Pantry Ingredients: Eggs, cheese, tortillas, and whatever veggies or meat you have on hand. No fancy grocery runs required.
- Perfect for Busy Mornings: Back-to-school chaos doesn’t stand a chance against a pre-made breakfast. Just heat and go.
- Crowd-Pleaser for All Ages: Kids love the handheld format, and adults appreciate the protein-packed start to the day.
- Unbelievably Freezer-Friendly: These burritos actually taste fresh after weeks in the freezer. No rubbery eggs or soggy tortillas here.
What makes these different from every other freezer burrito recipe? It’s the technique. I figured out that letting the fillings cool completely before assembling prevents that dreaded moisture buildup. I also found that wrapping them in parchment paper before foil keeps the tortillas from getting soggy during reheating. This isn’t just another version of a breakfast burrito. It’s the version that actually works for real life.
The first time my son grabbed one of these on his way out the door without being reminded, I knew I had cracked the code. It’s that kind of small victory that makes the school year feel manageable. These burritos give you back a few minutes of your morning. And honestly, that’s priceless.
What Ingredients You Will Need
This recipe relies on simple, wholesome ingredients that come together to create a satisfying breakfast without any fuss. Most of these are pantry staples you probably already have on hand.
- Large Eggs (12): The foundation of any good breakfast burrito. Use room-temperature eggs for fluffier scrambling. I prefer organic, pasture-raised eggs for better flavor and color.
- Whole Milk (¼ cup): Adds richness and keeps the eggs tender. You can substitute with any milk alternative, but whole milk gives the best texture.
- Breakfast Sausage (1 pound): I use mild pork sausage, but spicy or turkey sausage works beautifully too. Cook until browned and crumbled.
- Frozen Hash Browns (2 cups): The shortcut that makes these burritos so easy. Look for shredded or cubed style. No need to thaw them first.
- Shredded Cheddar Cheese (2 cups): Sharp cheddar adds the most flavor, but a Mexican blend or pepper jack works great too.
- Salsa (½ cup, drained): This is crucial. Drain the excess liquid from the salsa to prevent soggy burritos. Use mild or medium depending on your preference.
- Flour Tortillas (10, burrito size): Go for the 10-inch size. They hold the fillings without tearing. I’ve found that Mission brand tortillas hold up best in the freezer.
- Salt and Black Pepper: To taste. Don’t skip the pepper—it adds a subtle warmth to the eggs.
- Butter or Oil (2 tablespoons): For cooking the eggs and hash browns. Butter adds flavor, but oil works for dairy-free versions.
- Optional Add-Ins: Diced bell peppers, onions, black beans, or chopped green chiles. These add texture and flavor without extra effort.
One tip I learned the hard way: drain your salsa. Seriously. The extra liquid from undrained salsa turns your perfectly scrambled eggs into a watery mess. I use a fine-mesh strainer and press out as much liquid as possible before adding it to the filling mixture. It makes a huge difference in the final texture.
Equipment Needed
You don’t need a professional kitchen to pull these off. Just a few basic tools that most home cooks already own.
- Large Non-Stick Skillet: For cooking the eggs, sausage, and hash browns. A 12-inch skillet gives you plenty of room.
- Mixing Bowls: You’ll need one large bowl for combining the fillings and a smaller one for whisking the eggs.
- Whisk: For beating the eggs until smooth and fluffy.
- Spatula: A silicone spatula works best for scrambling eggs without scratching your pan.
- Cutting Board and Knife: For any veggies you want to add. A sharp chef’s knife makes quick work of bell peppers and onions.
- Fine-Mesh Strainer: For draining the salsa. This small step is non-negotiable for avoiding soggy burritos.
- Parchment Paper and Aluminum Foil: For wrapping the burritos before freezing. Parchment paper prevents sticking, and foil keeps them airtight.
- Freezer-Safe Bags or Containers: For storing the wrapped burritos. Gallon-sized zip-top bags work perfectly.
- Baking Sheet: Optional but helpful for flash-freezing the burritos before bagging them. This prevents them from sticking together.
If you don’t have parchment paper, you can use wax paper in a pinch. Just don’t skip the wrapping step entirely. Unwrapped burritos develop freezer burn faster than you’d think.
Preparation Method
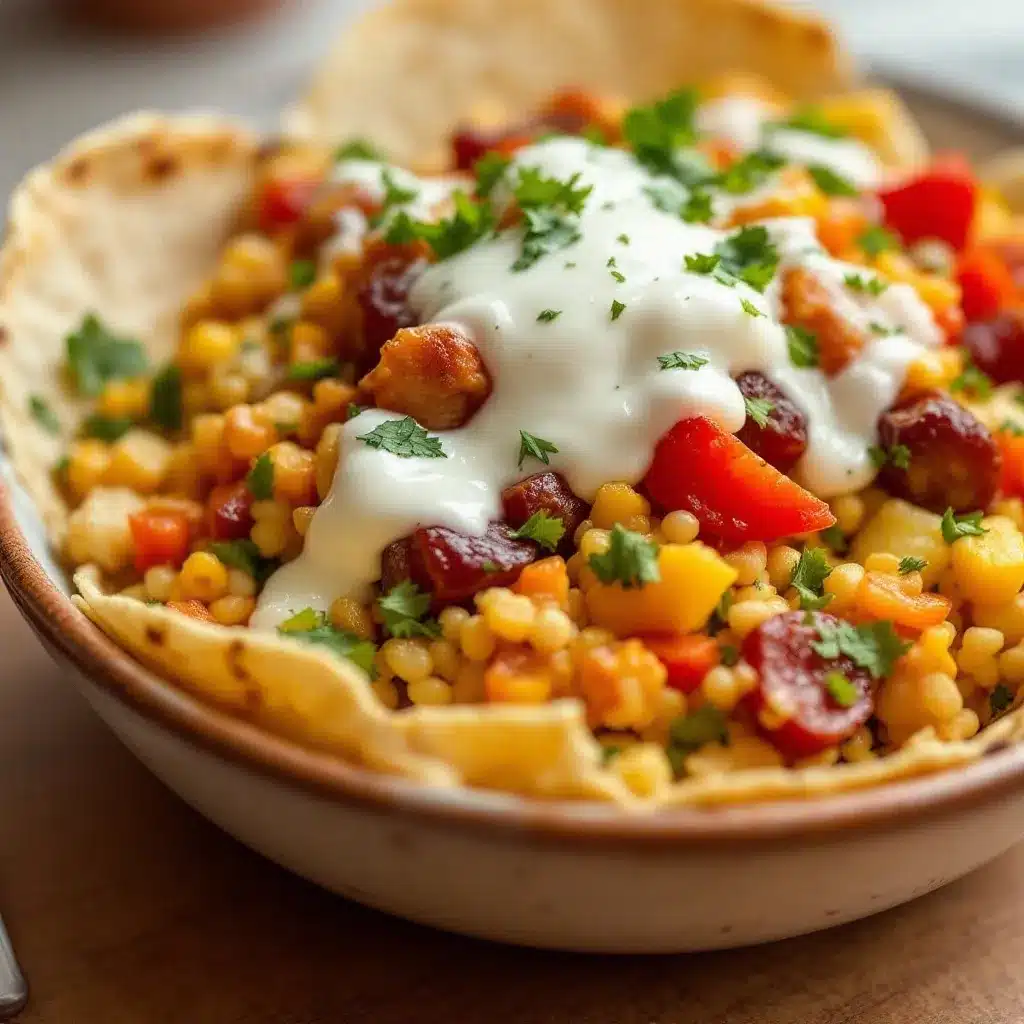
Let’s walk through this step by step. I promise it’s easier than it sounds, and the payoff is worth every minute.
- Cook the Sausage: Heat a large skillet over medium-high heat. Add the breakfast sausage and cook, breaking it apart with a spatula, until browned and cooked through, about 6 to 8 minutes. Use a slotted spoon to transfer the sausage to a plate lined with paper towels. Let it cool completely.
- Cook the Hash Browns: In the same skillet, add 1 tablespoon of butter or oil over medium heat. Add the frozen hash browns in an even layer. Cook without stirring for 4 minutes, then flip and cook another 3 to 4 minutes until golden and crispy. Season with a pinch of salt and pepper. Transfer to a bowl and let cool.
- Scramble the Eggs: In a medium bowl, whisk the eggs with the milk, ½ teaspoon salt, and ¼ teaspoon black pepper until well combined. Wipe out the skillet and add the remaining tablespoon of butter over medium-low heat. Pour in the eggs and let them set for about 30 seconds. Gently push the cooked eggs toward the center with a spatula, tilting the pan to let the uncooked eggs flow to the edges. Continue until the eggs are softly set but still moist, about 3 to 4 minutes. Remove from heat immediately. Overcooked eggs turn rubbery after freezing.
- Combine the Fillings: In a large bowl, gently mix the cooked sausage, hash browns, scrambled eggs, drained salsa, and shredded cheese. Stir until everything is evenly distributed. Taste and adjust seasoning if needed. Let the mixture cool completely to room temperature. This step is crucial—warm fillings create steam inside the tortillas, which leads to soggy burritos.
- Prepare the Tortillas: To make the tortillas more pliable and prevent cracking, warm them briefly. You can microwave them for 15 to 20 seconds, or heat them one at a time in a dry skillet for about 10 seconds per side. Stack them on a plate and cover with a clean kitchen towel.
- Assemble the Burritos: Lay a warm tortilla on a clean work surface. Spoon about ½ cup of the filling mixture into the center, spreading it into a rough log shape. Fold the sides of the tortilla inward over the filling, then fold the bottom flap up and over the filling, tucking it snugly. Roll the burrito away from you, keeping the sides tucked in, until it’s completely sealed. Repeat with the remaining tortillas and filling.
- Wrap for Freezing: Place each assembled burrito on a square of parchment paper. Roll it up tightly, twisting the ends like a candy wrapper. Then wrap the parchment-wrapped burrito in a sheet of aluminum foil, again twisting the ends. This double-layer method keeps the burritos fresh and prevents freezer burn.
- Flash Freeze: Arrange the wrapped burritos on a baking sheet in a single layer, making sure they don’t touch. Place the baking sheet in the freezer for 2 to 3 hours, or until the burritos are completely frozen solid.
- Transfer to Storage Bags: Once frozen, transfer the burritos to gallon-sized freezer bags. Squeeze out as much air as possible before sealing. Label the bags with the date and contents. They’ll keep for up to 3 months.
A quick note on assembly: don’t overfill the tortillas. I know it’s tempting to load them up, but too much filling makes them impossible to roll and prone to bursting during reheating. Stick to about ½ cup per burrito, and you’ll get perfect results every time.
Cooking Tips & Techniques
I’ve made more batches of these burritos than I can count. Here are the lessons I learned the hard way so you don’t have to.
Cool the Fillings Completely: This is the number one rule of freezer burritos. If you assemble them while the fillings are still warm, the steam will condense inside the tortilla and create ice crystals. Those ice crystals turn into soggy spots when you reheat. I let my filling mixture sit on the counter for at least 20 minutes before assembly. Sometimes I even pop it in the fridge for 10 minutes if I’m in a hurry.
Don’t Overcook the Eggs: Eggs continue cooking even after you remove them from the heat. If you cook them until they’re fully set in the pan, they’ll end up dry and rubbery after reheating. Aim for soft, slightly underdone scrambled eggs. They should look a little wet and shiny when you take them off the heat. The residual heat will finish the job.
Use the Right Tortilla Size: Burrito-sized tortillas (10 inches) are the sweet spot. Smaller tortillas won’t hold enough filling, and larger ones are awkward to wrap. I’ve tried both, and the 10-inch size gives you the perfect balance of filling-to-tortilla ratio.
Toast the Tortillas First: Warming the tortillas before assembly does more than prevent cracking. It also adds a subtle toasty flavor that elevates the whole burrito. I like to heat them directly over a gas flame for about 10 seconds per side. It gives them a slight char that tastes amazing.
Label Everything: Frozen burritos all look the same. Trust me, you won’t remember which batch has spicy sausage and which one has mild. I write the filling type and date on both the foil and the freezer bag. It takes two seconds and saves a lot of guessing later.
One of my biggest failures was forgetting to drain the salsa. I ended up with a batch of burritos that were so watery, they basically fell apart in the microwave. It was a sad breakfast, and I learned my lesson. Now I drain the salsa through a fine-mesh strainer and press out every drop of liquid. It makes all the difference.
Variations & Adaptations
These burritos are endlessly customizable. Here are a few variations I’ve tested and loved.
Vegetarian Version: Skip the sausage and add a can of drained and rinsed black beans, plus a cup of sautéed bell peppers and onions. The beans add protein and fiber, and the veggies add sweetness and crunch. I’ve made this version for meatless Mondays, and no one misses the meat.
Spicy Southwest Style: Use spicy breakfast sausage, pepper jack cheese, and a generous handful of chopped pickled jalapeños. Add a dash of smoked paprika and cumin to the eggs for extra depth. These have a nice kick without being overwhelming. My husband reaches for these first every time.
Healthy Low-Carb Option: Swap the flour tortillas for low-carb or whole wheat tortillas. Use turkey sausage instead of pork, and add extra veggies like spinach and mushrooms. You can also reduce the cheese or use a reduced-fat version. The filling stays the same, but the carb count drops significantly.
Dairy-Free Adaptation: Use dairy-free cheese shreds and cook the eggs in olive oil instead of butter. Most dairy-free cheeses melt well enough for burritos. I’ve used Violife and Daiya brands with good results. The texture is slightly different, but the flavor is still delicious.
Kid-Friendly Version: Keep it simple with just eggs, cheese, and mild sausage. Skip the salsa and add a spoonful of ketchup instead if your kids prefer it. My son loves these plain versions because they taste like his favorite fast-food breakfast sandwich, but healthier.
I once made a batch with leftover taco meat and added some fire-roasted corn. It was an accident—I was cleaning out the fridge—but it turned into one of our favorite variations. Sometimes the best recipes come from using what you already have.
Serving & Storage Suggestions
These burritos are designed for convenience, but a little attention to detail makes them taste even better.
How to Reheat: Remove the foil from the frozen burrito but keep the parchment paper on. Microwave on high for 60 seconds, then flip and microwave for another 45 to 60 seconds, until the center is hot. Let it rest for 1 minute before eating—the filling gets lava-hot. For a crispy exterior, unwrap completely and heat in a dry skillet over medium heat for 2 to 3 minutes per side after microwaving.
Serving Suggestions: Serve the burritos with a side of fresh salsa, sour cream, or avocado slices. A handful of fresh fruit or a small smoothie rounds out the meal nicely. On weekends, I sometimes unwrap a burrito, top it with enchilada sauce and cheese, and bake it for a quick breakfast casserole.
Storage Instructions: Keep the wrapped burritos in a freezer-safe bag for up to 3 months. For best quality, use them within 6 to 8 weeks. The flavor stays great, but the tortillas can start to dry out after that. Don’t store them in the refrigerator—they’ll get soggy. Always keep them frozen until you’re ready to eat.
How Flavors Develop: These burritos actually taste better after a week or two in the freezer. The flavors meld together as they sit, creating a more cohesive taste. I’ve noticed that the sausage and cheese flavors deepen, and the eggs absorb the seasoning more evenly. It’s a pleasant surprise.
Make-Ahead Tip: I usually make a double batch on a Sunday afternoon while meal prepping for the week. It takes about an hour from start to finish, and I end up with 20 burritos. That’s breakfast sorted for two weeks. If you’re looking for other meal prep ideas, our healthy meal prep salmon bowls are another great option for busy weeks.
Nutritional Information & Benefits
Each burrito provides a balanced start to the day with protein, carbs, and healthy fats. Here’s the estimated breakdown for one burrito made with the standard ingredients:
- Calories: Approximately 380 to 420
- Protein: 22 to 25 grams
- Carbohydrates: 28 to 32 grams
- Fat: 18 to 22 grams
- Fiber: 2 to 4 grams
- Sugar: 3 to 5 grams
The eggs provide high-quality protein and essential vitamins like B12 and choline, which support brain function and energy levels. Breakfast sausage adds iron and B vitamins, while the cheese contributes calcium for strong bones. The hash browns offer quick energy from carbohydrates, making these burritos ideal for busy school mornings.
If you’re watching your sodium intake, use low-sodium sausage and cheese, and skip the added salt in the eggs. For a lower-calorie option, use turkey sausage and reduce the cheese by half. The burritos are naturally gluten-free if you use corn tortillas, though the texture will be slightly different. They’re also easy to adapt for dairy-free diets as mentioned in the variations section.
For those following a specific eating plan, these burritos fit well into balanced diets. They’re not low-carb in their standard form, but the healthy low-carb variation works perfectly. If you’re looking for other high-protein breakfast ideas, our chicken zucchini boats make a great savory option for meal prep.
Conclusion
These Easy Freezer Breakfast Burritos have genuinely changed how our family handles school mornings. No more frantic scrambling for breakfast or settling for a granola bar eaten in the car. Just a warm, satisfying meal that takes less than two minutes to prepare. It’s the kind of small change that makes a big difference in the daily chaos of back-to-school season.
I love that this recipe is forgiving. You can swap ingredients, adjust the spice level, or add whatever vegetables are lingering in your fridge. It’s a template, not a strict rulebook. The first time you make them, follow the recipe as written. After that, feel free to experiment. That’s how you’ll discover your family’s perfect version.
If you try these burritos, I’d love to hear how they turned out. Drop a comment below and tell me what variations you tried. Did you add black beans? Use turkey sausage? Forget to drain the salsa like I did that one time? Share your wins and your learning experiences. And if you’re looking for another easy breakfast idea, these kid-friendly breakfast in bed ideas are perfect for weekend mornings when you have a little more time.
Here’s to calmer mornings, fuller bellies, and one less thing to worry about during the school year. You’ve got this.
Frequently Asked Questions
Can I use corn tortillas instead of flour?
Yes, but corn tortillas are smaller and more prone to cracking. Warm them thoroughly before assembly, and don’t overfill them. They work best for smaller, snack-sized burritos rather than full meal portions.
How long do these burritos last in the freezer?
Properly wrapped burritos stay fresh for up to 3 months. For the best texture and flavor, use them within 6 to 8 weeks. After that, the tortillas may start to dry out slightly.
Can I cook these in an air fryer?
Absolutely. Unwrap the frozen burrito completely and place it in the air fryer at 350°F for 8 to 10 minutes, flipping halfway through. The exterior gets wonderfully crispy, and the inside stays hot and melty.
Why did my burritos turn out soggy after reheating?
This usually happens when the fillings weren’t cooled completely before assembly, or the salsa wasn’t drained properly. Make sure your filling mixture is at room temperature before rolling, and always drain the salsa through a fine-mesh strainer.
Can I add raw vegetables to the filling?
It’s best to sauté vegetables like bell peppers, onions, or mushrooms before adding them to the filling. Raw vegetables release moisture during freezing and reheating, which can make the burritos watery. Cook them first for the best results.
Pin This Recipe!
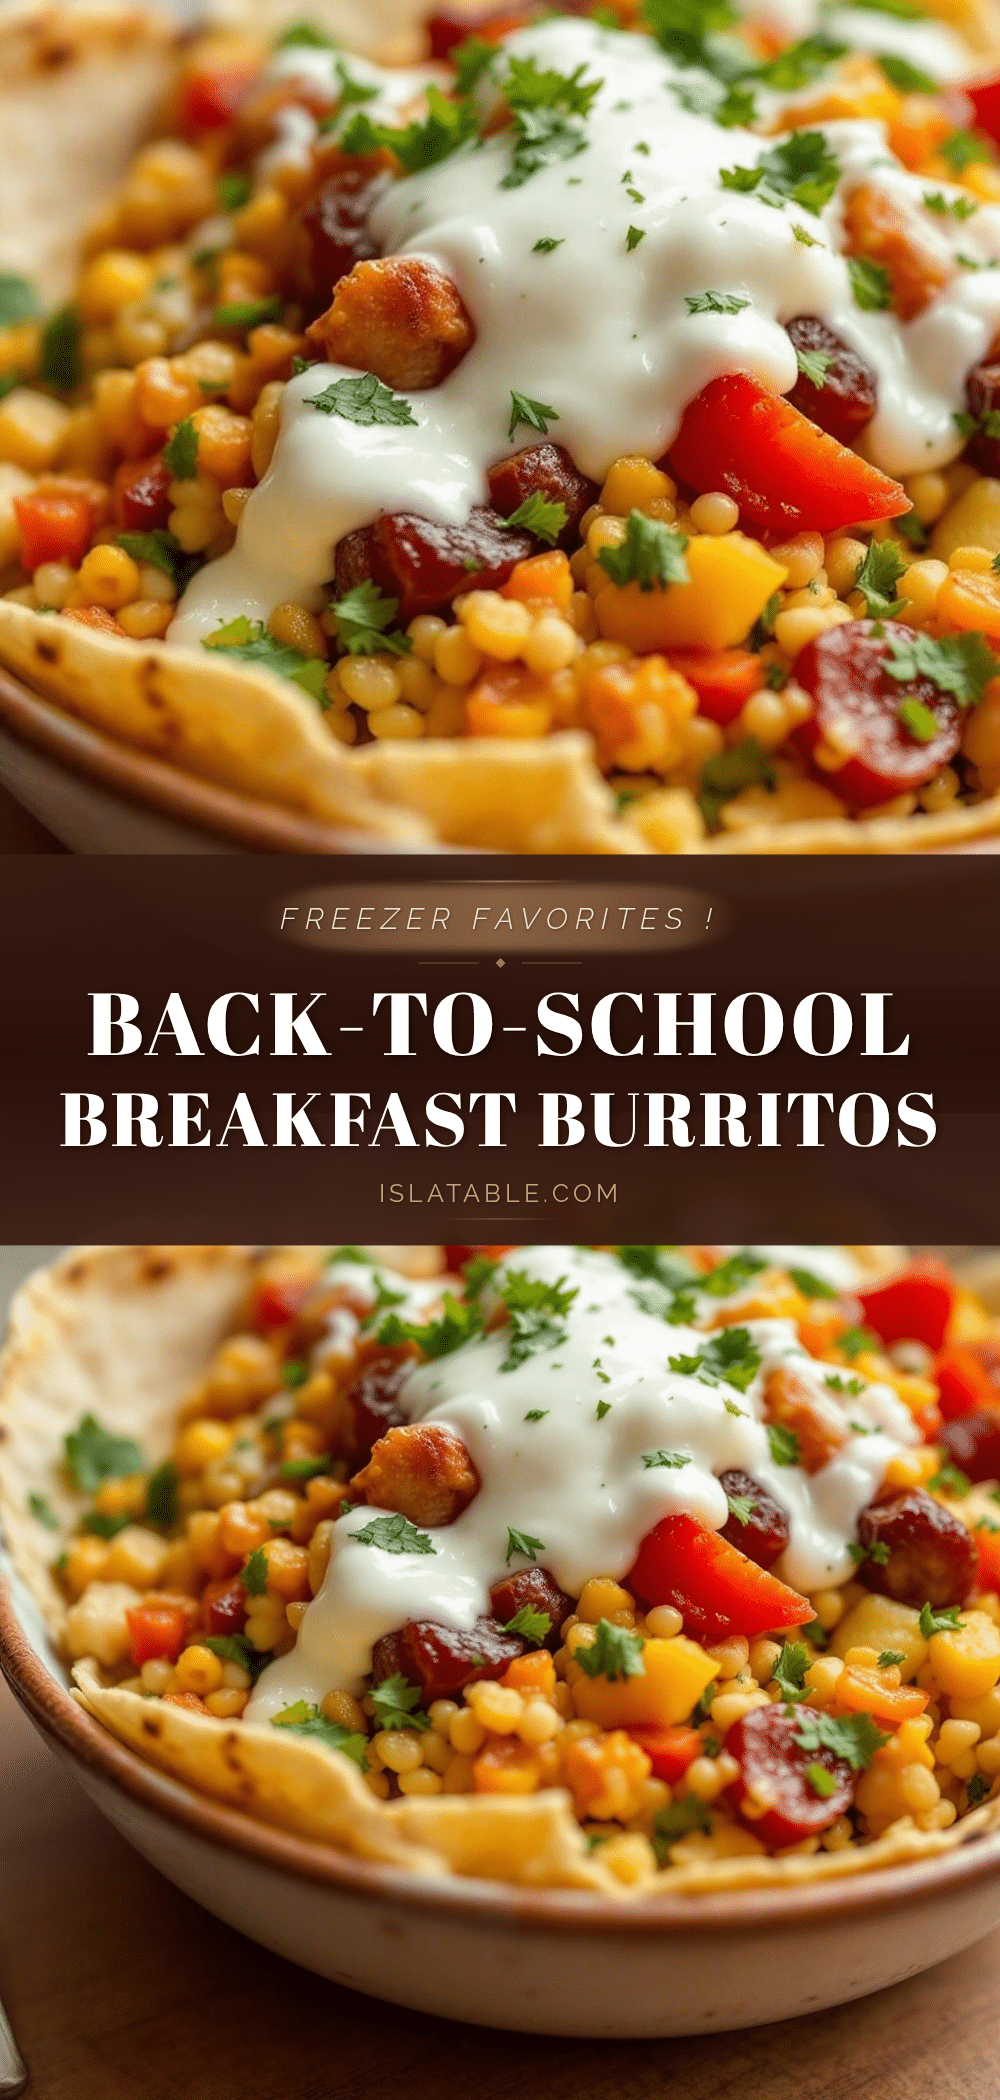
Easy Freezer Breakfast Burritos: Back-to-School Best

These freezer-friendly breakfast burritos are packed with fluffy eggs, melty cheese, and crispy hash browns. Perfect for busy mornings, they reheat in under 5 minutes and taste fresh for weeks.
- Prep Time: 20 minutes
- Cook Time: 20 minutes
- Total Time: 40 minutes (plus 2-3 hours freezing)
- Yield: 10 servings 1x
- Category: Breakfast
- Cuisine: American
Ingredients
- 12 large eggs
- ¼ cup whole milk
- 1 pound breakfast sausage (mild, spicy, or turkey)
- 2 cups frozen hash browns (shredded or cubed)
- 2 cups shredded cheddar cheese (sharp, Mexican blend, or pepper jack)
- ½ cup salsa (drained)
- 10 burrito-size flour tortillas (10-inch)
- Salt and black pepper to taste
- 2 tablespoons butter or oil
- Optional: diced bell peppers, onions, black beans, or chopped green chiles
Instructions
- Cook the sausage: Heat a large skillet over medium-high heat. Add the breakfast sausage and cook, breaking it apart with a spatula, until browned and cooked through, about 6 to 8 minutes. Transfer to a plate lined with paper towels and let cool completely.
- Cook the hash browns: In the same skillet, add 1 tablespoon of butter or oil over medium heat. Add the frozen hash browns in an even layer. Cook without stirring for 4 minutes, then flip and cook another 3 to 4 minutes until golden and crispy. Season with salt and pepper. Transfer to a bowl and let cool.
- Scramble the eggs: In a medium bowl, whisk the eggs with the milk, ½ teaspoon salt, and ¼ teaspoon black pepper until well combined. Wipe out the skillet and add the remaining tablespoon of butter over medium-low heat. Pour in the eggs and let them set for about 30 seconds. Gently push the cooked eggs toward the center with a spatula, tilting the pan to let the uncooked eggs flow to the edges. Continue until the eggs are softly set but still moist, about 3 to 4 minutes. Remove from heat immediat…
- Combine the fillings: In a large bowl, gently mix the cooked sausage, hash browns, scrambled eggs, drained salsa, and shredded cheese. Stir until evenly distributed. Taste and adjust seasoning. Let the mixture cool completely to room temperature.
- Prepare the tortillas: Warm the tortillas briefly to make them pliable. Microwave for 15 to 20 seconds, or heat in a dry skillet for about 10 seconds per side. Stack and cover with a clean kitchen towel.
- Assemble the burritos: Lay a warm tortilla on a clean work surface. Spoon about ½ cup of the filling mixture into the center, spreading it into a rough log shape. Fold the sides inward over the filling, then fold the bottom flap up and over the filling, tucking it snugly. Roll the burrito away from you, keeping the sides tucked in, until completely sealed. Repeat with remaining tortillas and filling.
- Wrap for freezing: Place each assembled burrito on a square of parchment paper. Roll it up tightly, twisting the ends like a candy wrapper. Then wrap the parchment-wrapped burrito in a sheet of aluminum foil, again twisting the ends.
- Flash freeze: Arrange the wrapped burritos on a baking sheet in a single layer, making sure they don’t touch. Freeze for 2 to 3 hours, or until completely frozen solid.
- Transfer to storage bags: Once frozen, transfer the burritos to gallon-sized freezer bags. Squeeze out as much air as possible before sealing. Label with the date and contents. They’ll keep for up to 3 months.
Notes
Cool fillings completely before assembling to prevent soggy burritos. Drain salsa thoroughly. Do not overfill tortillas (about ½ cup each). For best texture, use within 6-8 weeks. Reheat by removing foil, microwaving on high for 60 seconds, flipping, then another 45-60 seconds. Let rest 1 minute before eating.
Nutrition
- Serving Size: 1 burrito
- Calories: 400
- Sugar: 4
- Sodium: 800
- Fat: 20
- Saturated Fat: 8
- Carbohydrates: 30
- Fiber: 3
- Protein: 23
Keywords: freezer breakfast burritos, make-ahead breakfast, back-to-school breakfast, easy breakfast recipe, meal prep breakfast


