Halfway through a tub of sour cream, three different hot sauces lined up on the counter, and a bag of shredded cheese that was definitely supposed to be for tacos tonight. That’s where this whole thing started. I was staring down a last-minute potluck invite—the kind where you say yes before your brain catches up to what that actually means. The clock was ticking, the fridge was looking sad, and I needed something that felt like a real contribution, not a sad veggie platter from the gas station.
Buffalo chicken dip was the obvious answer, obviously. But every version I’d ever tried was either too runny, too greasy, or that weird orange color that makes you question your life choices. I wanted the creamy, tangy, spicy, soul-warming kind. The kind you fight over the last corner of the chip for. The kind that makes people hover around the slow cooker like it’s a campfire.
So I started pulling things out of the fridge. Cream cheese—check. That rotisserie chicken from two nights ago—perfect. A bottle of Frank’s that was almost empty, which felt like a sign. And then I spotted the leftover blue cheese crumbles hiding behind the pickles, and the half-used bottle of ranch that my kid had been putting on everything. Something clicked.
This wasn’t just buffalo chicken dip. This was the version I’d been chasing for years. The one with ranch stirred right in, blue cheese crumbles folded through for those salty, funky pockets of goodness, and a texture that’s thick enough to stay on a chip without a napkin-based intervention. I threw it together in twenty minutes, crossed my fingers, and walked into that potluck like I’d planned it all along.
It disappeared in fifteen. Someone asked for the recipe before I even got a plate. And honestly? That’s when I knew this one was a keeper. This is the dip you bring when you want to be known as “the one who brings the good dip.”
Why You’ll Love This Recipe
Let’s be real—there are about a million buffalo chicken dip recipes out there. But this one? This one is different. I’ve tested it maybe a dozen times to get the ratios just right, and I can tell you with total confidence that this is the ultimate version. Here’s why it works.
- Quick & Easy: From fridge to table in under 30 minutes. No complicated steps, no weird techniques. Just dump, stir, bake, and devour.
- Simple Ingredients: Everything on this list is something you can find at any grocery store. No chasing down specialty items or expensive gourmet cheeses.
- Perfect for Game Day: This dip was practically born for football Sundays, but honestly? It works for any gathering where people need to stand around and eat with their hands.
- Crowd-Pleaser: I’ve served this to picky kids, spice-wary grandparents, and full-on hot sauce enthusiasts. Everyone loves it. It’s the great unifier.
- Unbelievably Delicious: The combination of creamy ranch, sharp blue cheese, and tangy buffalo sauce is next-level. It’s the kind of dip that makes you close your eyes after the first bite.
What makes this recipe stand out from the rest is the double-dose of creamy, tangy flavor. Most recipes use either ranch OR blue cheese. I use both. The ranch adds a herby, buttery base, while the blue cheese crumbles give you those little bursts of salty, funky goodness that cut through the richness. Plus, I’ve perfected the cream cheese-to-sour cream ratio so the dip stays thick and scoopable—not greasy or watery.
This isn’t just another buffalo chicken dip. It’s the one you’ll make for every party, the one people will ask you to bring, the one that makes you look like you spent way more effort than you actually did. And honestly? That’s the best kind of recipe to have in your back pocket.
What Ingredients You Will Need
This recipe uses simple, grocery-store ingredients to deliver maximum flavor with minimum fuss. Most of these are probably already in your kitchen, which is exactly how I like it.
- 8 oz cream cheese, softened (Let it sit out for about 20 minutes so it blends smoothly. Full-fat works best here for texture.)
- ½ cup sour cream (Adds tang and helps thin the dip just enough. Daisy is my go-to brand.)
- ½ cup ranch dressing (Use a good quality one—I like Hidden Valley or a homemade version. This is the backbone of the creamy flavor.)
- ⅓ cup buffalo hot sauce (Frank’s RedHot is the classic choice. Adjust the amount based on your spice tolerance.)
- 2 cups cooked, shredded chicken (Rotisserie chicken is a lifesaver here. Or use leftover grilled chicken. If you’re starting from raw, just poach two breasts in salted water for about 15 minutes.)
- 1 cup shredded cheddar cheese, divided (Sharp cheddar gives the best flavor. Save half for the top.)
- ½ cup crumbled blue cheese (Don’t skip this! The crumbles add texture and that signature tangy punch.)
- 2 green onions, sliced (For garnish and a little fresh bite on top.)
Ingredient Selection Tips: For the best texture, use block cream cheese rather than the spreadable tub kind—it melts more evenly. If you’re sensitive to spice, start with ¼ cup of buffalo sauce and taste before adding more. And for the blue cheese, look for a brand that has visible veins and a crumbly texture, not the pre-crumbled dry stuff if you can help it. Castle Blue or Point Reyes are excellent choices if you want to treat yourself.
Substitution Guidance: Need to make this dairy-free? Use dairy-free cream cheese, vegan sour cream, and a dairy-free ranch. The texture will be slightly different, but still delicious. For a lower-fat version, you can use Neufchâtel cheese and light sour cream—just know the dip won’t be quite as rich. And if you’re out of ranch, you can use an equal amount of extra sour cream mixed with a teaspoon of dried dill and garlic powder. It’s not quite the same, but it works in a pinch.
Equipment Needed
You don’t need a fancy kitchen to make this dip. Here’s what you’ll need:
- 8×8 or 9×9 baking dish (A small casserole dish works perfectly. I use a 9×9 Pyrex and it’s just right.)
- Mixing bowl (Any medium bowl will do.)
- Hand mixer or sturdy spatula (A hand mixer makes blending the cream cheese effortless, but a good spatula and some elbow grease works too.)
- Measuring cups and spoons
- Cheese grater (If you’re shredding your own cheddar—which I highly recommend for better melting.)
- Oven or toaster oven (Preheat to 375°F. A toaster oven works great for smaller batches.)
Budget-Friendly Options: If you don’t have a baking dish, an oven-safe skillet or even a foil pan will work. No hand mixer? Just mash the cream cheese with a fork until it’s soft enough to stir, then mix everything together with a spatula. It takes a little more muscle, but the result is the same.
Personal Experience: I’ve made this dip in a slow cooker too, and it works beautifully. Just combine everything (except the reserved cheddar and blue cheese) in the slow cooker, cook on low for 2 hours, then top with the remaining cheese and let it melt for another 15 minutes. Perfect for parties where you want to keep the dip warm all afternoon.
Preparation Method
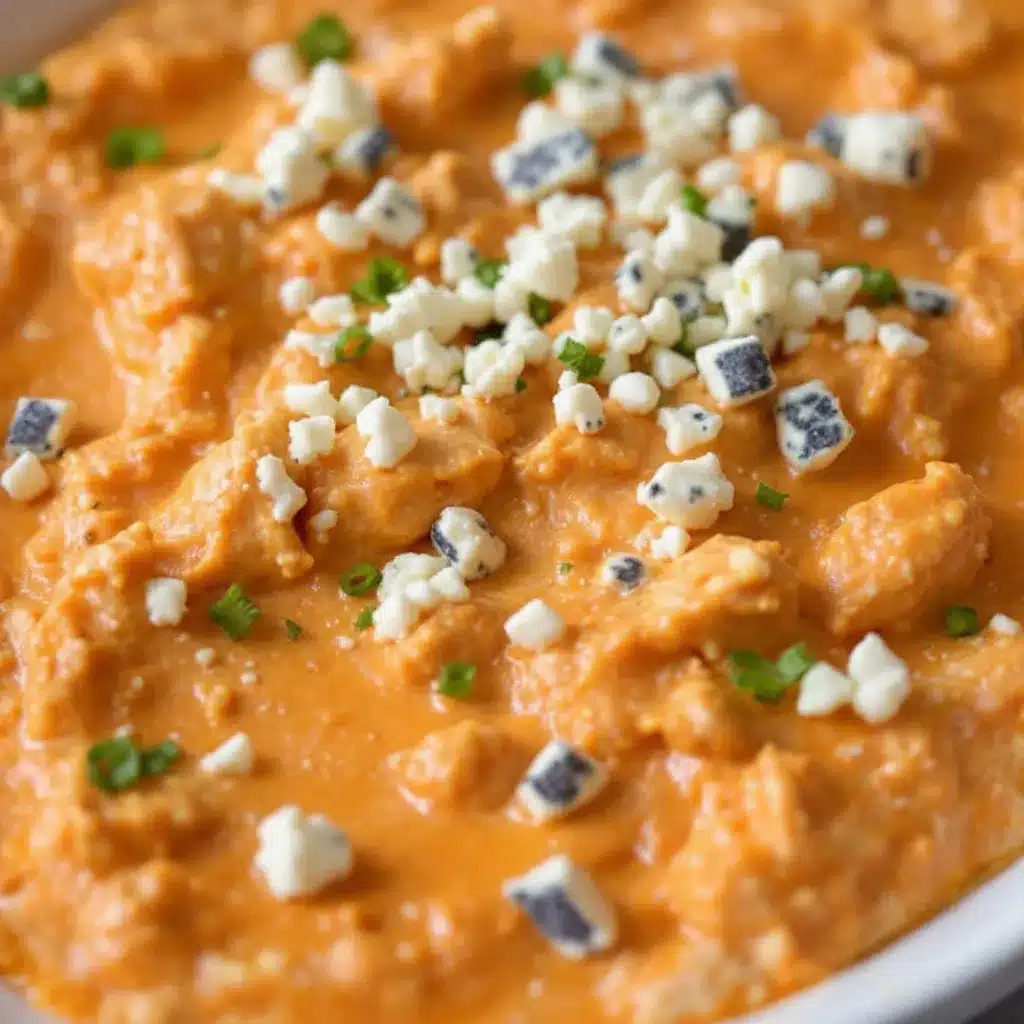
Alright, let’s get cooking. This comes together fast, so have everything ready before you start.
- Preheat your oven to 375°F. While it’s heating up, make sure your cream cheese is softened. If you forgot to take it out of the fridge, no worries—microwave it in 10-second bursts until it’s just soft, not hot.
- In a medium mixing bowl, combine the softened cream cheese and sour cream. Beat them together with a hand mixer on medium speed until smooth and fluffy, about 2 minutes. If you’re using a spatula, really mash and stir until there are no lumps. This step is important—lumpy cream cheese means lumpy dip.
- Add the ranch dressing and buffalo sauce. Stir until fully combined. The mixture will look a little thin at this point, but don’t worry—it thickens up as it bakes. Taste it now if you want to adjust the spice level. I usually add a little extra hot sauce here because I like the kick.
- Fold in the shredded chicken and ½ cup of the cheddar cheese. Use a spatula to gently mix everything together until the chicken is evenly distributed. The chicken should be fully coated in that creamy, spicy sauce.
- Transfer the mixture to your baking dish. Spread it into an even layer with the spatula. It won’t look super pretty yet—that’s fine.
- Top with the remaining ½ cup of cheddar cheese and the crumbled blue cheese. Sprinkle them evenly over the top. The blue cheese crumbles should be visible—they’ll brown slightly and get all crispy and delicious.
- Bake for 20-25 minutes, until the dip is bubbly around the edges and the cheese on top is melted and golden in spots. You might see a little oil separation around the edges—that’s normal and actually a good sign that the dip is hot all the way through.
- Remove from the oven and let it rest for 5 minutes. This is the hardest part, I know, but it lets the dip set up so it doesn’t slide off your chips. Sprinkle the sliced green onions over the top right before serving.
Sensory Cues: When it’s done, the dip should be bubbling gently at the edges and the top should be lightly browned. You’ll smell the buffalo sauce and the toasty cheese before you even pull it out of the oven. The texture should be thick and creamy, not runny—if it looks watery, it probably needed a few more minutes in the oven.
Prep Tip: You can assemble this dip up to 24 hours ahead of time. Just cover the dish with plastic wrap and refrigerate. When you’re ready to bake, add about 10 minutes to the cooking time since you’re starting from cold. It’s a lifesaver for party prep.
Cooking Tips & Techniques
I’ve made this dip more times than I can count, and I’ve learned a few things along the way. Here are my best tips for getting it perfect every time.
Don’t overbake it. The biggest mistake people make is leaving the dip in the oven too long. It should be bubbly and hot, but if the edges start looking dry or the cheese gets too dark, you’ve gone too far. The dip will continue to cook slightly as it rests, so pull it out when it’s just set.
Use room-temperature ingredients. Cold cream cheese straight from the fridge will give you lumpy dip, no matter how hard you stir. Let everything sit out for 15-20 minutes before you start. Your future self will thank you.
Shred your own cheese. Pre-shredded cheese has anti-caking agents that prevent it from melting smoothly. Shredding your own cheddar from a block takes two extra minutes and makes a huge difference in texture. Trust me on this one.
Toast the blue cheese crumbles. If you want extra texture, broil the dip for the last 2 minutes of baking. Watch it closely—blue cheese can go from perfectly browned to burnt in seconds. The result is these amazing crispy bits of cheese that are absolutely addictive.
My biggest failure: The first time I made this, I used low-fat cream cheese and light sour cream trying to be “healthy.” The dip turned out watery and separated, and it had this weird grainy texture. Don’t do it. The full-fat versions are non-negotiable here for the right creamy consistency.
Multitasking strategy: While the dip is baking, get your dippers ready. Arrange chips on a platter, slice some celery and carrot sticks, and set out small plates and napkins. That way, when the timer goes off, you’re ready to serve immediately.
Variations & Adaptations
This recipe is super flexible. Here are some ways to make it your own.
Spicy Buffalo Version: Add an extra tablespoon of buffalo sauce and a pinch of cayenne pepper for serious heat. You can also stir in some diced pickled jalapeños for a vinegary kick that cuts through the richness.
Smoky Bacon Version: Cook 4 slices of bacon until crispy, crumble them, and stir half into the dip. Sprinkle the rest on top with the green onions. The smoky, salty bacon is incredible with the tangy blue cheese. This version always goes first at parties.
Low-Carb / Keto Version: This dip is naturally low in carbs as written. Serve it with celery sticks, cucumber rounds, or pork rinds instead of chips. If you want to reduce the carbs even further, use a sugar-free ranch dressing—most store-bought ones have a little sugar.
Baked vs. Slow Cooker: I’ve made this both ways, and they’re both great. The oven version gets that nice browned cheese top, while the slow cooker version stays perfectly warm for hours. For the slow cooker, just combine everything (reserving some cheese for the top) and cook on low for 2 hours. Sprinkle the remaining cheese on top and let it melt for 15 minutes before serving.
Dairy-Free Adaptation: Use dairy-free cream cheese and sour cream alternatives. I’ve had good luck with Kite Hill brand. The texture won’t be quite as rich, but the flavor is still there. Just make sure your ranch dressing is also dairy-free—many brands have a vegan option now.
Personal Variation: My favorite twist is adding a tablespoon of Worcestershire sauce and a teaspoon of garlic powder to the cream cheese mixture. It adds this subtle umami depth that makes the dip even more addictive. I discovered this by accident when I was out of hot sauce and had to stretch what I had. Sometimes mistakes are happy accidents.
Serving & Storage Suggestions
This dip is best served hot and bubbly, straight from the oven. Here’s how to make the most of it.
Serving Temperature & Presentation: Serve the dip warm, not piping hot. Let it rest for 5-10 minutes after baking so it thickens up slightly. I like to serve it in the same dish I baked it in—it looks rustic and homey. Set it on a trivet in the center of the table surrounded by dippers.
Best Dippers: Tortilla chips are the classic choice, but this dip is amazing with so many things. Try it with celery sticks, carrot chips, bell pepper strips, cucumber rounds, crostini, pretzel bites, or even soft gluten-free pretzel bites for a fun twist. The salty, soft pretzel with the creamy, spicy dip is a match made in heaven.
Complementary Dishes: This dip is perfect alongside other game-day favorites. Serve it with crispy keto bacon-wrapped jalapeño poppers for a spicy duo that will steal the show. Or pair it with a healthy keto coleslaw with creamy sugar-free dressing for a cool, crunchy contrast to the warm, rich dip.
Storage Instructions: Leftover dip keeps in the refrigerator for up to 4 days in an airtight container. The texture will firm up as it cools, but it reheats beautifully. To reheat, microwave individual portions in 30-second bursts, stirring between each, until hot. Or reheat the whole thing in a 350°F oven for about 10 minutes.
Freezer Tips: You can freeze this dip for up to 3 months. Assemble it in a freezer-safe dish, but don’t bake it. Wrap tightly in plastic wrap and then foil. When you’re ready to serve, thaw overnight in the fridge, then bake as directed, adding about 10 minutes to the cooking time. The texture is slightly softer after freezing, but the flavor is still fantastic.
Flavor Development: This dip actually tastes even better the next day. The flavors meld together overnight, and the spice level seems to mellow out just a bit. If you’re planning ahead, make it a day early and just reheat before serving. Your guests will never know.
Nutritional Information & Benefits
Let’s be honest—this is not health food. But it’s comfort food, and that has its own kind of value. Here’s the breakdown per serving (about ¼ cup, assuming 12 servings from the full recipe).
- Calories: Approximately 220
- Fat: 18g (11g saturated)
- Carbohydrates: 4g
- Protein: 12g
- Fiber: 0g
- Sugar: 2g
- Sodium: 480mg
Health Benefits of Key Ingredients: Despite being indulgent, this dip has some redeeming qualities. Chicken provides lean protein that helps keep you full. Blue cheese contains calcium and probiotics (in raw, unpasteurized versions). And the hot sauce contains capsaicin, which may boost metabolism slightly. Not that you’re eating this for the health benefits, but it’s nice to know it’s not completely empty calories.
Dietary Considerations: This recipe is naturally low-carb and gluten-free. It’s not suitable for vegans or those with dairy sensitivities, but we’ve covered dairy-free adaptations above. If you’re watching your sodium, use low-sodium ranch dressing and reduce the added salt.
Personal Wellness Perspective: I believe in balance. This dip is for celebrations, game days, and the occasional Tuesday when you just need something comforting. It’s not an everyday food, and that’s okay. Sometimes the best thing you can do for your soul is share a hot, cheesy dip with people you love. That counts for something.
Conclusion
This Ultimate Buffalo Chicken Dip with Ranch and Blue Cheese Crumbles is everything I want in a party appetizer. It’s creamy, tangy, spicy, and completely irresistible. The combination of ranch and blue cheese gives it a depth of flavor that most buffalo dips just don’t have, and the texture is perfectly thick and scoopable.
I love this recipe because it’s forgiving. You can adjust the spice level, swap in different cheeses, or add bacon or jalapeños—it always turns out great. It’s the kind of recipe you can make without even thinking, and it never fails to impress.
I’d love to hear how yours turns out. Did you add bacon? Use a different hot sauce? Serve it with something unexpected? Drop a comment below and let me know. And if you’re looking for more party-perfect recipes, check out this creamy dairy-free queso dip with cashews for a plant-based option that’s just as addictive.
Go make this dip. Your next gathering is about to get a whole lot more delicious.
Frequently Asked Questions
Can I make this buffalo chicken dip ahead of time?
Absolutely. Assemble the dip completely, cover it, and refrigerate for up to 24 hours. When you’re ready to bake, add about 10 minutes to the cooking time since you’re starting from cold. It’s perfect for party prep.
How do I make this dip less spicy?
Start with just 2 tablespoons of buffalo sauce instead of ⅓ cup. You can also use a mild wing sauce or even mix the buffalo sauce with a little melted butter to tone down the heat. Taste as you go!
Can I use canned chicken instead of fresh?
You can, but I don’t recommend it. Canned chicken has a different texture and can make the dip mushy. Rotisserie chicken is the best shortcut—it’s already cooked, flavorful, and shreds beautifully.
What’s the best way to reheat leftover dip?
The microwave works fine for small portions—just heat in 30-second bursts and stir between each. For larger amounts, reheat in a 350°F oven for about 10 minutes, or in a slow cooker on low for an hour.
Can I double this recipe for a crowd?
Yes! Double all the ingredients and bake in a 9×13 dish. You’ll need to add about 10 minutes to the baking time. It’s perfect for big game day gatherings or holiday parties.
Pin This Recipe!
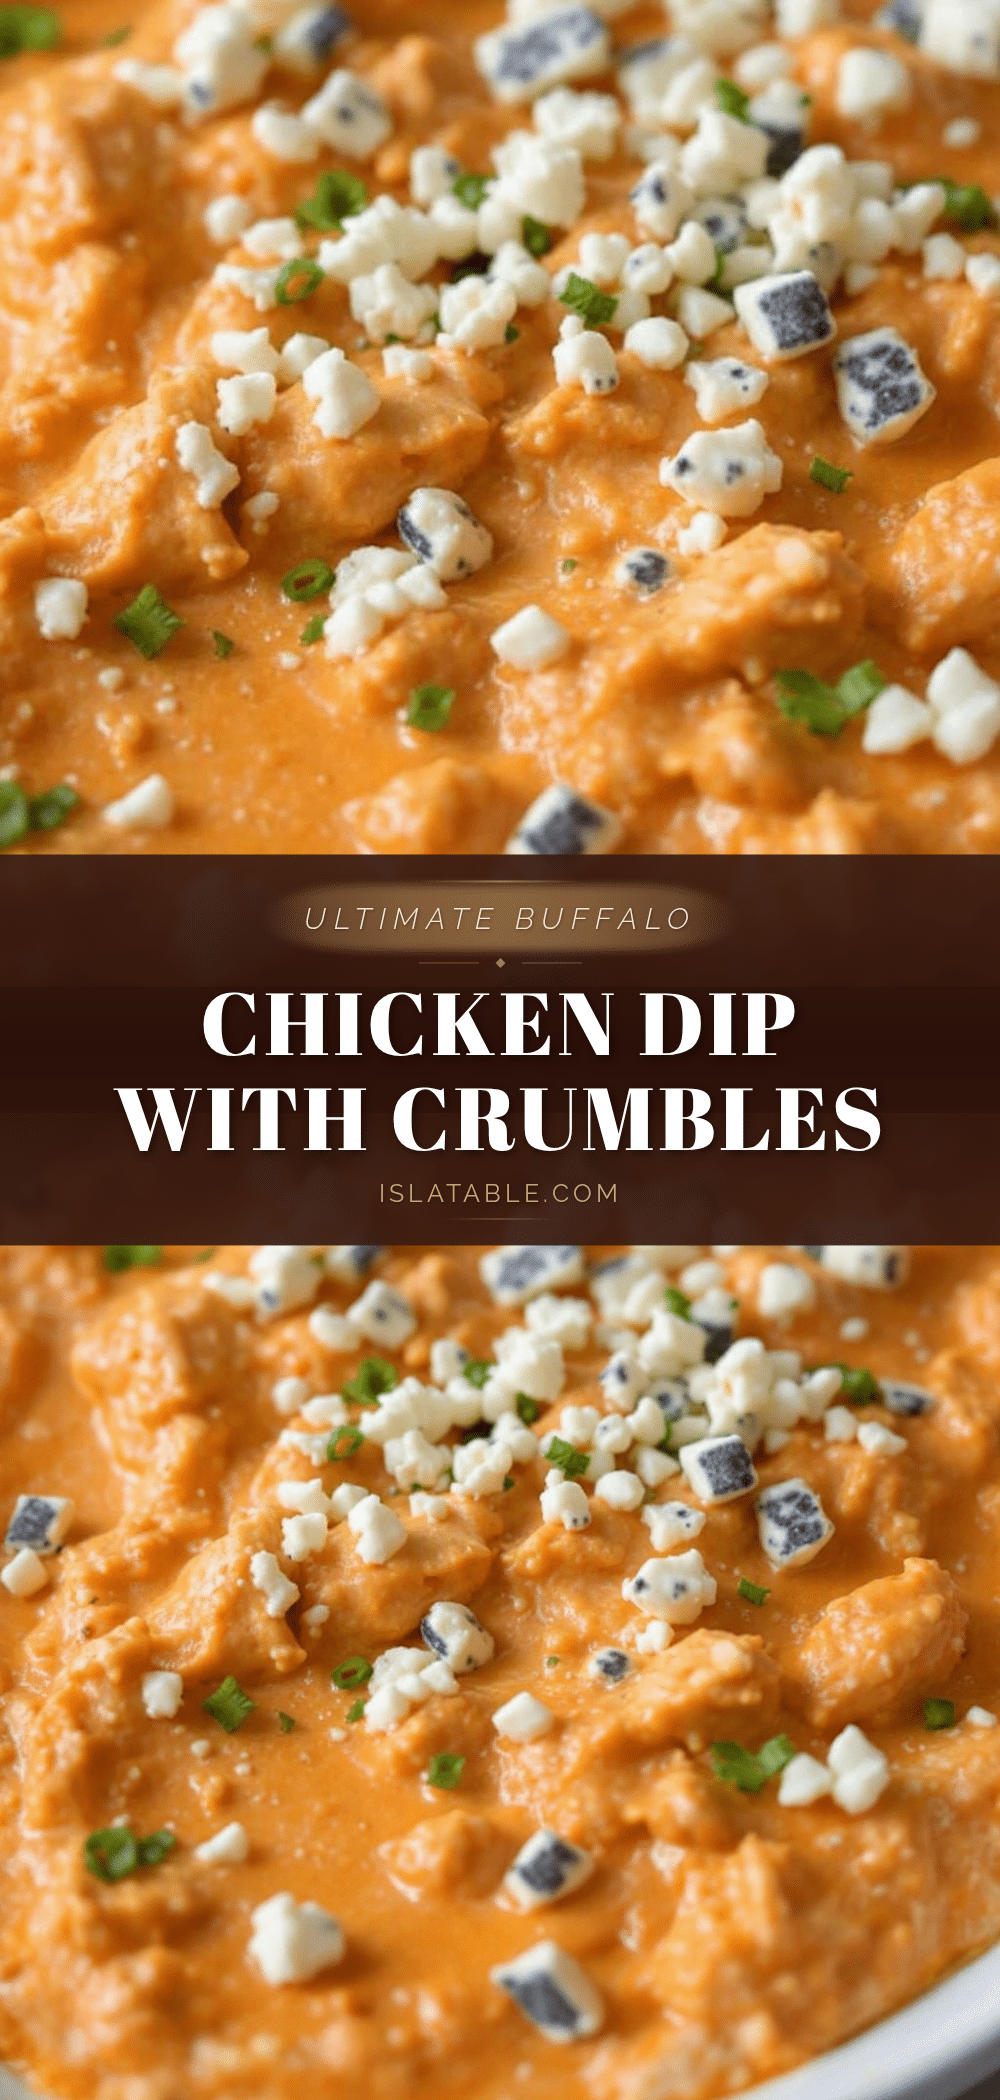
Ultimate Buffalo Chicken Dip Recipe with Ranch & Blue Cheese

This creamy, tangy, and spicy buffalo chicken dip combines ranch dressing and blue cheese crumbles for an irresistible party appetizer. Ready in under 30 minutes, it’s perfect for game day or any gathering.
- Prep Time: 10 minutes
- Cook Time: 25 minutes
- Total Time: 35 minutes
- Yield: 12 servings 1x
- Category: Appetizer
- Cuisine: American
Ingredients
- 8 oz cream cheese, softened
- ½ cup sour cream
- ½ cup ranch dressing
- ⅓ cup buffalo hot sauce (e.g., Frank’s RedHot)
- 2 cups cooked, shredded chicken (rotisserie or poached)
- 1 cup shredded cheddar cheese, divided
- ½ cup crumbled blue cheese
- 2 green onions, sliced
Instructions
- Preheat oven to 375°F. Ensure cream cheese is softened.
- In a medium mixing bowl, beat softened cream cheese and sour cream with a hand mixer until smooth and fluffy, about 2 minutes.
- Add ranch dressing and buffalo sauce; stir until fully combined. Adjust spice level to taste.
- Fold in shredded chicken and ½ cup of the cheddar cheese until evenly distributed.
- Transfer mixture to an 8×8 or 9×9 baking dish and spread into an even layer.
- Top with remaining ½ cup cheddar cheese and crumbled blue cheese.
- Bake for 20-25 minutes until bubbly around edges and cheese is melted and golden.
- Remove from oven and let rest for 5 minutes. Sprinkle sliced green onions on top before serving.
Notes
For best texture, use full-fat cream cheese and sour cream. Shred cheddar from a block for smoother melting. Dip can be assembled up to 24 hours ahead; add 10 minutes to baking time if starting from cold. Leftovers keep in the refrigerator for up to 4 days and can be frozen for up to 3 months.
Nutrition
- Serving Size: ¼ cup
- Calories: 220
- Sugar: 2
- Sodium: 480
- Fat: 18
- Saturated Fat: 11
- Carbohydrates: 4
- Protein: 12
Keywords: buffalo chicken dip, ranch, blue cheese, game day appetizer, party dip, easy appetizer


