Halloween candy is fine, honestly. But after the third handful of the same orange-wrapped thing, I started wishing for something that actually tasted like fall. Not sugar pretending to be fruit punch. I had been looking for a Halloween treat that actually delivered real pumpkin pie flavor in a portable, kid-sized form. Something that wouldn’t get smashed in a treat bag, wouldn’t require a fork, and wouldn’t make parents groan when they checked the haul. The standard Halloween cookie recipes felt too plain. The pumpkin ones often tasted more like spice than actual squash. For a while, I just accepted that Halloween treats meant sacrificing real flavor for novelty. Then I started playing with a buttery cookie base and real pumpkin puree in my tiny kitchen one rainy October afternoon. It took a few tries—some were too soft, some lost their shape—but these mini pumpkin pie cookies finally hit that sweet spot. They taste like a mini slice of pie, but they hold up in a lunchbox or a goodie bag. I still make a double batch every year, and honestly, they disappear faster than the candy.
Why You’ll Love These Mini Pumpkin Pie Cookies
These aren’t just another pumpkin cookie. They solve the real Halloween dilemma—how to hand out something homemade that kids actually want to eat. Here is why they work so well.
- Perfect for Treat Bags : These cookies are sturdy enough to stack in a cellophane bag without crumbling. No crumbs at the bottom of the treat sack.
- Real Pumpkin Flavor : We are using actual pumpkin puree here, not just pumpkin spice. The flavor is deep, earthy, and genuinely autumnal.
- Kid-Sized and Portable : Each cookie is about two bites. Perfect for little hands and small tummies running from door to door.
- No Fuss Ingredients : You probably have most of these in your pantry right now. No special trip to a baking supply store.
- Make-Ahead Friendly : Bake them two days before Halloween and they will still taste fresh. The flavors actually settle and improve overnight.
- Crowd-Pleaser : I have brought these to school parties and neighborhood gatherings. Adults grab them just as fast as the kids do.
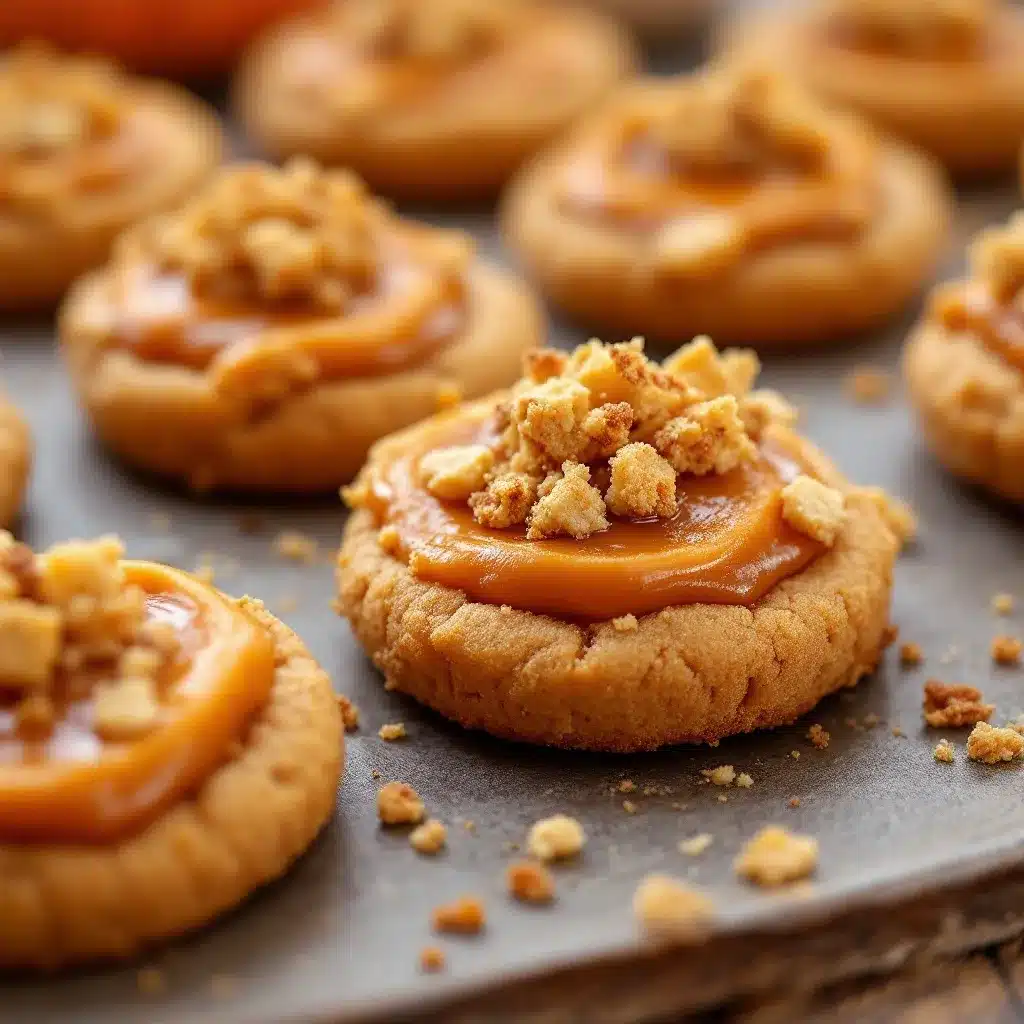
What makes these different from every other pumpkin cookie recipe? The texture. Most pumpkin cookies turn out cakey and soft. These have a buttery, slightly crisp edge with a tender center. It is the cookie equivalent of that perfect pie crust-to-filling ratio. I tested this recipe four times to get the butter-to-pumpkin ratio right so they hold their shape without drying out. These cookies are the kind that make you close your eyes after the first bite. It’s comfort food reimagined for a busy Halloween night.
What Ingredients You Will Need
This recipe uses simple, wholesome ingredients to deliver that classic pumpkin pie flavor in cookie form. Most of these are pantry staples, which makes this an easy last-minute Halloween project.
For the Cookie Dough
- 1 cup unsalted butter , softened (use good quality butter here; it makes a difference in flavor)
- 3/4 cup granulated sugar (adds sweetness and helps with that slight crisp edge)
- 1/2 cup packed light brown sugar (adds moisture and a hint of molasses depth)
- 1 large egg yolk , room temperature (the yolk adds richness without making the dough too wet)
- 1 teaspoon vanilla extract (pure vanilla, not imitation, trust me)
- 1/2 cup pumpkin puree (not pumpkin pie filling—make sure it is 100% pure pumpkin. I prefer Libby’s for consistent texture)
- 2 cups all-purpose flour (spoon and level it; don’t scoop directly from the bag)
- 1 teaspoon baking powder (for a gentle lift without puffiness)
- 1/2 teaspoon baking soda (helps with browning and spread)
- 1/2 teaspoon salt (balances the sweetness and brings out the pumpkin flavor)
- 1 teaspoon ground cinnamon (the backbone of pumpkin pie spice)
- 1/2 teaspoon ground ginger (adds warmth without heat)
- 1/4 teaspoon ground nutmeg (freshly grated if you have it)
- 1/4 teaspoon ground cloves (go easy here; cloves are potent)
For the Glaze (Optional but Recommended)
- 1 cup powdered sugar (sifted to avoid lumps)
- 2 tablespoons milk (any kind works; I use whole milk for richness)
- 1/4 teaspoon vanilla extract
- Orange food coloring (optional, for Halloween presentation)
- Sprinkles or sanding sugar (for decorating)
Substitution Notes : If you need a dairy-free version, use plant-based butter sticks (not tub margarine) and oat milk in the glaze. For a gluten-free option, swap the all-purpose flour with a 1:1 gluten-free baking flour blend that contains xanthan gum. I have tested this with Bob’s Red Mill 1:1 and it works beautifully. Just chill the dough an extra 15 minutes.
Equipment Needed
- Large mixing bowl and medium mixing bowl
- Electric hand mixer or stand mixer (a whisk and some elbow grease works too, but the mixer makes creaming easier)
- Baking sheets (two, so you can rotate batches)
- Parchment paper or silicone baking mats (parchment is cheaper and works just as well)
- 1.5-tablespoon cookie scoop (for uniform cookies; a regular spoon works but the scoop is worth it)
- Cooling rack (essential for crisp edges)
- Small piping bag or zip-top bag (for the glaze)
If you don’t have a cookie scoop, use two spoons to portion the dough. The cookies will be slightly less uniform but will taste the same. I have made these in a tiny apartment kitchen with just a whisk and a baking sheet. They turned out fine. Don’t overthink the equipment.
Preparation Method
This recipe takes about 30 minutes of active prep and 12 minutes per batch in the oven. Plan for about an hour total if you are making a double batch.
- Preheat your oven to 350°F (175°C). Line two baking sheets with parchment paper. This prevents sticking and makes cleanup a breeze.
- Cream the butter and sugars together. In a large bowl, beat the softened butter, granulated sugar, and brown sugar together on medium speed for about 3 minutes. You want it light and fluffy. Scrape down the sides of the bowl once halfway through. If you under-cream here, the cookies won’t spread properly.
- Add the wet ingredients. Beat in the egg yolk and vanilla extract until combined. Then add the pumpkin puree and mix on low speed until just incorporated. The mixture might look slightly curdled at this point—that is normal. Don’t panic.
- Whisk the dry ingredients together. In a separate medium bowl, whisk the flour, baking powder, baking soda, salt, cinnamon, ginger, nutmeg, and cloves. Whisking aerates the flour and distributes the spices evenly. This step matters more than you think.
- Combine wet and dry ingredients. Gradually add the dry mixture to the wet mixture, mixing on low speed. Stop as soon as the flour disappears. Overmixing develops gluten and makes the cookies tough. The dough will be soft and slightly sticky—that is the pumpkin doing its job.
- Chill the dough. Cover the bowl with plastic wrap and refrigerate for at least 30 minutes. This is non-negotiable. Chilling solidifies the butter, which prevents the cookies from spreading into flat discs. If you skip this step, you will get pumpkin puddles instead of cookies.
- Portion the dough. Use your cookie scoop to portion out rounded tablespoons of dough. Place them on the prepared baking sheets about 2 inches apart. They will spread a little but not much.
- Bake for 10-12 minutes. The edges should look set and lightly golden. The centers will look slightly underdone—that is perfect. They will continue to set as they cool. If you wait until the centers look done, they will be overbaked.
- Cool on the baking sheet for 5 minutes. This allows the cookies to firm up enough to transfer. Then move them to a wire cooling rack to cool completely before glazing.
- Make the glaze. While the cookies cool, whisk together the powdered sugar, milk, and vanilla in a small bowl. If you want orange glaze for Halloween, add a drop or two of orange food coloring and stir until uniform.
- Glaze the cookies. Once the cookies are completely cool, drizzle the glaze over them using a small piping bag or a zip-top bag with a tiny corner snipped off. Add sprinkles immediately before the glaze sets.
Sensory Cue : When the cookies are done, your kitchen should smell like a pumpkin pie bakery. The edges will look slightly darker than the center. If you gently press the top, it should spring back slightly.
Cooking Tips & Techniques
I have made these cookies more times than I care to count. Here are the lessons I learned the hard way so you don’t have to.
Don’t overmix the dough. I ruined my first batch by mixing the flour in on high speed. The cookies came out tough and flat. Mix on low and stop the moment the flour disappears. A few streaks are fine.
Chill the dough properly. I once tried to rush this step and put the dough in the freezer for 10 minutes instead of the fridge for 30. The cookies spread into thin, crispy discs. They tasted fine but looked nothing like cookies. Set a timer. Respect the chill.
Use a cookie scoop for even baking. When I eyeballed the portions, some cookies were underbaked while others were overdone. A 1.5-tablespoon scoop gives you consistent results every time. It is a $10 tool that pays for itself in one baking session.
Rotate your baking sheets halfway through. Most ovens have hot spots. Halfway through baking, swap the top sheet to the bottom rack and rotate them front to back. This ensures even browning across all cookies.
Let them cool completely before glazing. I glazed a slightly warm batch once and the glaze melted into a sticky mess. Wait until the cookies are room temperature. Patience pays off here.
Variations & Adaptations
These cookies are flexible. Here are some ways to change them up depending on your crowd or occasion.
Dairy-Free Version : Swap the butter with plant-based butter sticks (I like Miyoko’s for baking). Use oat milk in the glaze. The texture will be slightly less tender but still very good. I made this version for a friend with dairy allergies and she asked for the recipe.
Gluten-Free Version : Use a 1:1 gluten-free baking flour blend with xanthan gum. Add an extra tablespoon of flour to account for the moisture difference. Chill the dough for 45 minutes instead of 30. These cookies won’t spread as much but will still taste fantastic.
Pumpkin Chocolate Chip : Fold in 1/2 cup of mini chocolate chips after combining the wet and dry ingredients. The chocolate adds a nice contrast to the warm pumpkin spices. My kids prefer this version over the glazed one.
Spice Variation : Swap the pumpkin pie spice blend for chai spice (cardamom, cinnamon, ginger, and a pinch of black pepper). It gives the cookies a warm, aromatic twist that pairs beautifully with the pumpkin.
Savory-Sweet Twist : Add 1/4 teaspoon of flaky sea salt on top of the glaze. The salt cuts through the sweetness and makes the pumpkin flavor pop. I tried this on a whim and now I do it every time.
Serving & Storage Suggestions
These cookies are best served at room temperature. If you glazed them, let the glaze set for about 30 minutes before stacking or packaging.
For Halloween Treat Bags : Place 2-3 cookies in a small cellophane bag. Tie with orange or black ribbon. Add a small tag with the ingredient list if you are handing them out to neighbors. These bags stay fresh for up to 3 days at room temperature.
Storage : Keep the cookies in an airtight container at room temperature for up to 5 days. Layer them with parchment paper between each layer to prevent the glaze from sticking. Do not refrigerate—the fridge dries them out.
Freezer Instructions : Freeze the unglazed baked cookies in a single layer on a baking sheet. Once frozen solid, transfer them to a freezer-safe bag. They keep for up to 3 months. Thaw at room temperature for 30 minutes, then glaze and serve. I always keep a batch in the freezer for unexpected Halloween guests.
Flavor Development : These cookies actually taste better the day after baking. The spices settle and the pumpkin flavor deepens. If you can, make them a day ahead. Your future self will thank you.
Nutritional Information & Benefits
Each cookie (with glaze) contains approximately 140 calories, 7g fat, 19g carbohydrates, 1g fiber, 11g sugar, and 1.5g protein. Without the glaze, each cookie has about 110 calories.
These cookies offer more than just empty sugar. Pumpkin is rich in vitamin A (beta-carotene), which supports eye health and immune function. The cinnamon in these cookies has anti-inflammatory properties. Ginger aids digestion—helpful after a night of Halloween candy. And the butter provides fat-soluble vitamins that help your body absorb the nutrients from the pumpkin.
Dietary Considerations : This recipe contains dairy (butter, milk) and gluten (all-purpose flour). See the variations section for dairy-free and gluten-free adaptations. The cookies are nut-free as written, making them a safe option for school Halloween parties.
I don’t pretend these are health food. But compared to a handful of candy corn or a packaged snack cake, these cookies offer real ingredients and actual nutritional value. That is a win in my book.
Conclusion
These mini pumpkin pie cookies are the Halloween treat you didn’t know you needed. They taste like a slice of fall, hold up beautifully in treat bags, and come together with ingredients you probably already have. Whether you are packing them for a school party, handing them out to trick-or-treaters, or just making a batch for your family to enjoy, these cookies deliver real pumpkin flavor without the fuss of a full pie.
I love that these cookies let me share something homemade with my neighbors and friends. In a season dominated by individually wrapped candies, a handmade cookie stands out. It says someone took the time. That matters.
If you try these cookies, I would love to hear how they turned out. Drop a comment below and let me know your favorite variation. Did you go with the orange glaze? Did you add chocolate chips? Share your creation and tag me so I can see your Halloween treat bags in action. Happy baking, and have a wonderful Halloween!
Frequently Asked Questions
Can I use pumpkin pie filling instead of pumpkin puree?
No, do not use pumpkin pie filling. It contains added sugar and spices that will throw off the recipe balance. Stick with 100% pure pumpkin puree. Libby’s is my go-to brand for consistent results.
Why did my cookies spread too much?
This usually happens when the dough wasn’t chilled long enough. The butter needs to be cold when it hits the oven. Chill the dough for at least 30 minutes. If your kitchen is warm, go for 45 minutes. Also, make sure your baking soda and baking powder are fresh.
Can I make the dough ahead of time?
Absolutely. You can prepare the dough up to 48 hours in advance and keep it covered in the refrigerator. Let it sit at room temperature for 10 minutes before scooping and baking. The flavor actually improves with time.
How do I make these cookies nut-free for school parties?
This recipe is naturally nut-free as written. Just double-check your brand of vanilla extract and any sprinkles you use, as some facilities process nuts. Always read labels if you are serving children with allergies.
Can I freeze the glazed cookies?
I recommend freezing them unglazed. The glaze can become sticky and lose its shine after thawing. Freeze the baked, unglazed cookies for up to 3 months. Thaw, then glaze fresh. The glaze takes less than 2 minutes to make.
Pin This Recipe!
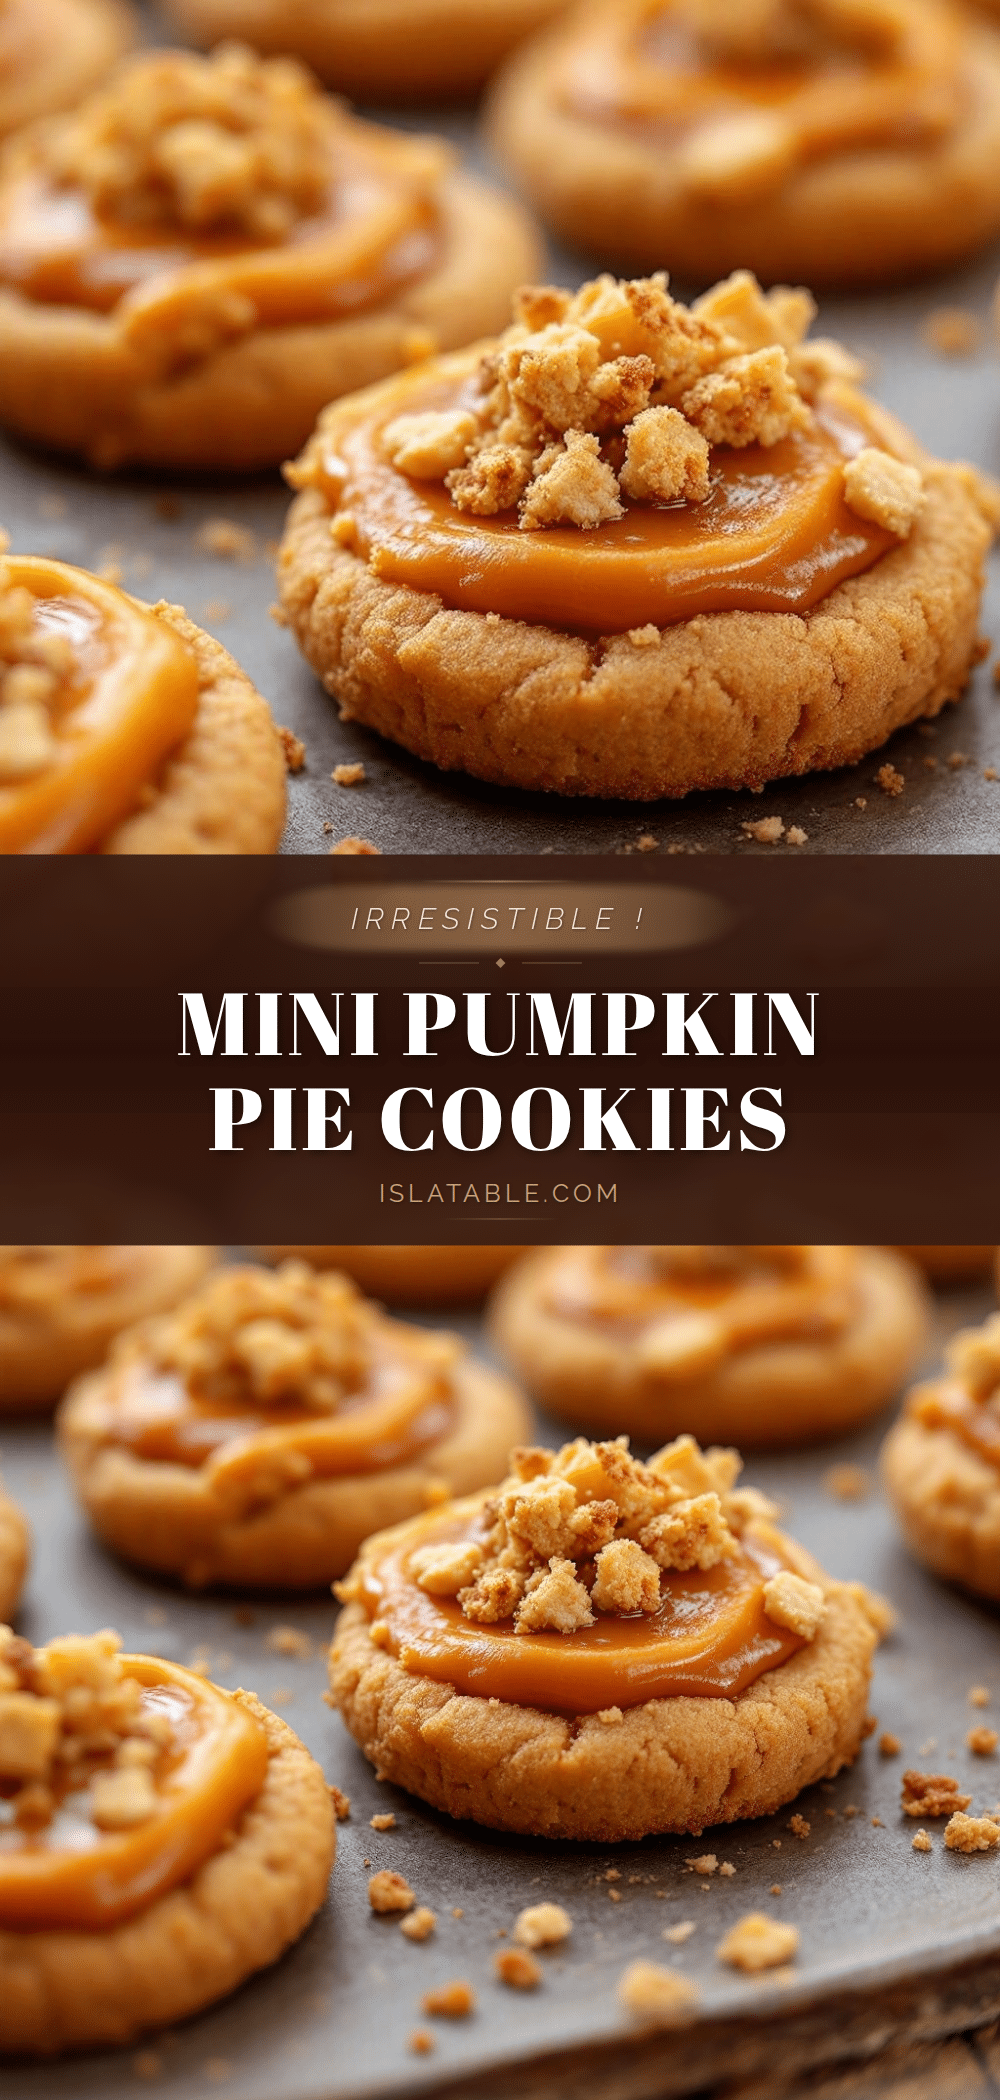
Perfect Mini Pumpkin Pie Cookies for Halloween Treat Bags
These mini pumpkin pie cookies taste like a slice of fall, hold up beautifully in treat bags, and come together with simple ingredients. They have a buttery, slightly crisp edge with a tender center, making them the perfect portable Halloween treat.
- Prep Time: 30 minutes
- Cook Time: 12 minutes per batch
- Total Time: 1 hour
- Yield: 24 servings 1x
- Category: Dessert
- Cuisine: American
Ingredients
- 1 cup unsalted butter, softened
- 3/4 cup granulated sugar
- 1/2 cup packed light brown sugar
- 1 large egg yolk, room temperature
- 1 teaspoon vanilla extract
- 1/2 cup pumpkin puree (not pumpkin pie filling)
- 2 cups all-purpose flour
- 1 teaspoon baking powder
- 1/2 teaspoon baking soda
- 1/2 teaspoon salt
- 1 teaspoon ground cinnamon
- 1/2 teaspoon ground ginger
- 1/4 teaspoon ground nutmeg
- 1/4 teaspoon ground cloves
- 1 cup powdered sugar, sifted
- 2 tablespoons milk
- 1/4 teaspoon vanilla extract
- Orange food coloring (optional)
- Sprinkles or sanding sugar (for decorating)
Instructions
- Preheat your oven to 350°F (175°C). Line two baking sheets with parchment paper.
- Cream the butter and sugars together: In a large bowl, beat the softened butter, granulated sugar, and brown sugar together on medium speed for about 3 minutes until light and fluffy. Scrape down the sides of the bowl once halfway through.
- Add the wet ingredients: Beat in the egg yolk and vanilla extract until combined. Then add the pumpkin puree and mix on low speed until just incorporated. The mixture might look slightly curdled—this is normal.
- Whisk the dry ingredients together: In a separate medium bowl, whisk the flour, baking powder, baking soda, salt, cinnamon, ginger, nutmeg, and cloves.
- Combine wet and dry ingredients: Gradually add the dry mixture to the wet mixture, mixing on low speed. Stop as soon as the flour disappears. The dough will be soft and slightly sticky.
- Chill the dough: Cover the bowl with plastic wrap and refrigerate for at least 30 minutes.
- Portion the dough: Use a 1.5-tablespoon cookie scoop to portion out rounded tablespoons of dough. Place them on the prepared baking sheets about 2 inches apart.
- Bake for 10-12 minutes. The edges should look set and lightly golden. The centers will look slightly underdone.
- Cool on the baking sheet for 5 minutes, then move them to a wire cooling rack to cool completely before glazing.
- Make the glaze: While the cookies cool, whisk together the powdered sugar, milk, and vanilla in a small bowl. Add orange food coloring if desired.
- Glaze the cookies: Once the cookies are completely cool, drizzle the glaze over them using a small piping bag or a zip-top bag with a tiny corner snipped off. Add sprinkles immediately before the glaze sets.
Notes
Chill the dough for at least 30 minutes to prevent spreading. Do not overmix the dough. Let cookies cool completely before glazing. These cookies taste better the day after baking. For dairy-free, use plant-based butter and oat milk. For gluten-free, use a 1:1 gluten-free flour blend with xanthan gum and chill dough for 45 minutes.
Nutrition
- Serving Size: 1 cookie
- Calories: 140
- Sugar: 11
- Sodium: 95
- Fat: 7
- Saturated Fat: 4
- Carbohydrates: 19
- Fiber: 1
- Protein: 1.5
Keywords: pumpkin cookies, mini pumpkin pie cookies, Halloween cookies, fall cookies, pumpkin dessert, treat bag cookies, kid-friendly cookies


