My husband took a bite of these butternut squash fries, paused mid-chew, and then just looked at me with this expression I can only describe as quiet betrayal. Not because they were bad—because he couldn’t believe he was enjoying a vegetable this much without any complaint. I had been testing oven-fried vegetable recipes for weeks, trying to find something that actually satisfied that fry craving without leaving me disappointed. And honestly? I was getting tired of sweet potato fries. Don’t get me wrong, I love them, but they had become the default “healthy fry” option, and I wanted something different. Something that felt new.
So I grabbed a butternut squash from the counter, peeled it (which, let’s be real, is the hardest part of this whole recipe), and cut it into fry shapes. I tossed them with olive oil, garlic powder, and a generous shower of Parmesan cheese. Twenty-five minutes later, I had a baking sheet full of golden, crispy, salty sticks of squash that tasted like they belonged at a fancy gastropub. And my husband—the one who side-eyes any vegetable that isn’t roasted potatoes—ate half the batch standing at the kitchen counter. He didn’t even sit down.
That’s the moment I knew this recipe was something special. Not because I thought it was good, but because his reaction told me everything. These crispy Parmesan butternut squash fries have become a regular in our meal rotation, and I keep a stash of pre-cut squash in the freezer just for emergencies. They’re that good.
Why You’ll Love This Recipe
Let me tell you why these fries have earned a permanent spot in my kitchen. First off, they come together in about 35 minutes from start to finish, which means you can have a hot, crispy side dish on the table faster than you can order takeout. And the ingredients? You probably already have most of them in your pantry right now—Parmesan, garlic powder, olive oil, salt, and pepper. The only special item is the butternut squash itself, and these days you can find pre-cut squash in most grocery stores if you want to skip the peeling step.
- Quick & Easy: From cutting board to table in 35 minutes flat. Perfect for those weeknights when you need something satisfying without spending an hour in the kitchen.
- Simple Ingredients: No weird specialty items or expensive ingredients. Just real food that tastes amazing.
- Perfect for Meal Prep: These fries reheat surprisingly well in the oven or air fryer, so you can make a big batch and enjoy them all week.
- Crowd-Pleaser: I’ve served these at dinner parties, potlucks, and casual family dinners. They disappear every single time, even with people who “don’t like squash.”
- Unbelievably Delicious: The Parmesan creates this incredible crispy crust that gives way to tender, sweet squash inside. It’s the texture contrast that gets you every time.
What makes this recipe different from all the other butternut squash fry recipes out there? It’s the technique. Instead of just tossing the squash with oil and hoping for the best, I’ve figured out the perfect oven temperature, the ideal cut size, and the secret to getting that Parmesan to stick and crisp up without burning. This isn’t another recipe that leaves you with soggy, sad squash sticks. These are genuinely crispy, genuinely delicious, and genuinely worth making again and again.
What Ingredients You Will Need
This recipe uses simple, wholesome ingredients to create something that tastes far more indulgent than it actually is. The magic happens when the salty, nutty Parmesan meets the naturally sweet butternut squash, creating a flavor combination that’s honestly addictive.
- Butternut Squash – 1 medium butternut squash (about 2-2.5 pounds), peeled, seeded, and cut into ½-inch thick fry-shaped sticks. Look for a squash that feels heavy for its size and has firm, unblemished skin. If you’re short on time, many stores sell pre-cut butternut squash, but I find whole squash stays fresher longer and gives you more control over the cut size.
- Parmesan Cheese – ½ cup finely grated Parmesan cheese (the kind that comes in a green can won’t work as well here—trust me, I’ve tried). I recommend buying a block of real Parmigiano-Reggiano and grating it yourself. It melts better, crisps up more evenly, and has that nutty, salty flavor that makes these fries so good.
- Olive Oil – 2 tablespoons extra virgin olive oil. You need just enough to coat the squash without making it greasy. Avocado oil works great too if you prefer a higher smoke point.
- Garlic Powder – 1 teaspoon garlic powder (not garlic salt). This adds savory depth without the risk of burning that fresh garlic would bring at high heat.
- Salt – ½ teaspoon kosher salt, plus more to taste. I use Diamond Crystal kosher salt—if you’re using table salt, reduce to ¼ teaspoon.
- Black Pepper – ¼ teaspoon freshly ground black pepper.
- Paprika – ½ teaspoon smoked paprika (optional but highly recommended). This adds a subtle smokiness that pairs beautifully with the sweet squash.
- Fresh Parsley – 2 tablespoons chopped fresh parsley for garnish (optional). It adds a pop of color and freshness that balances the richness.
For dipping, I love serving these with a simple garlic aioli or even just some homemade ranch dressing. The creamy, tangy flavors are perfect against the salty, crispy fries.
Equipment Needed
You don’t need any fancy equipment to make these fries, which is part of what makes this recipe so accessible. Here’s what you’ll need:
- Baking Sheet – A large, rimmed baking sheet is essential. I recommend a heavy-duty aluminum or stainless steel sheet—thin, flimsy pans can warp in the oven and lead to uneven cooking.
- Parchment Paper or Silicone Baking Mat – This prevents sticking and makes cleanup a breeze. Parchment paper is my go-to because it also helps the fries crisp up nicely.
- Sharp Chef’s Knife – A good, sharp knife makes cutting the squash so much easier and safer. Dull knives are actually more dangerous because they require more force.
- Vegetable Peeler – A sturdy Y-shaped peeler works best for removing the tough skin from butternut squash.
- Large Mixing Bowl – For tossing the squash with oil and seasonings.
- Measuring Spoons – For accurate seasoning measurements.
- Cooling Rack – Optional, but placing a wire cooling rack over the baking sheet helps air circulate around the fries, making them even crispier.
If you don’t have a cooling rack, don’t worry—the parchment paper method works perfectly fine. I’ve made these fries dozens of times using just a baking sheet and parchment paper, and they come out great every time.
Preparation Method
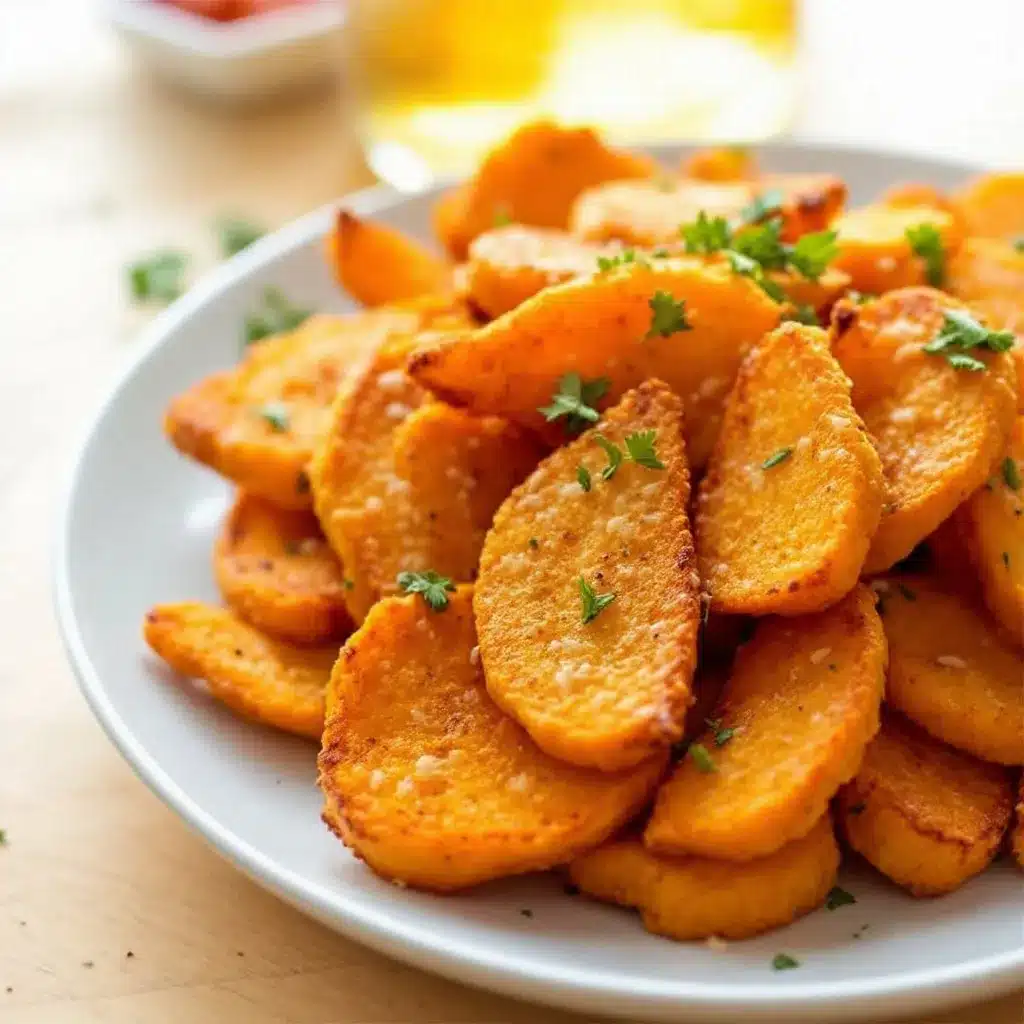
Making these crispy Parmesan butternut squash fries is straightforward, but a few key steps make all the difference between soggy disappointment and crispy perfection. Follow these steps carefully, and you’ll have restaurant-quality fries at home.
- Preheat your oven to 425°F (220°C). This high temperature is crucial for getting that crispy exterior. If your oven runs hot or cold, use an oven thermometer to verify the temperature—trust me, it makes a difference.
- Prepare the butternut squash. Using a sharp chef’s knife, cut off both ends of the squash. Stand it upright on a cutting board and carefully slice down the middle to split it in half lengthwise. Scoop out the seeds and stringy pulp with a spoon. Using a vegetable peeler, remove the tough outer skin. Cut each half into ½-inch thick slices, then cut those slices into ½-inch wide fry-shaped sticks. Try to keep them uniform in size so they cook evenly—thicker pieces will be soft inside, thinner pieces will get extra crispy.
- Soak the squash sticks in cold water for 15 minutes. This step is optional but highly recommended. Soaking helps remove some of the excess starch, which allows the fries to crisp up better in the oven. After soaking, drain the squash and pat them completely dry with a clean kitchen towel or paper towels. Any moisture left on the surface will steam the fries instead of crisping them.
- Season the fries. In a large mixing bowl, combine the dried squash sticks with olive oil, garlic powder, smoked paprika (if using), salt, and black pepper. Toss gently with your hands until every piece is evenly coated. The oil helps the seasoning stick and promotes browning.
- Add the Parmesan. Sprinkle the grated Parmesan over the seasoned squash and toss again until the cheese sticks to the fries. Don’t worry if some Parmesan falls off during this step—it will crisp up on the baking sheet and become delicious little cheese crisps that you can sprinkle over the finished fries.
- Arrange on the baking sheet. Line a large rimmed baking sheet with parchment paper. Spread the squash fries in a single layer, making sure they have space between each piece. If they’re crowded, they’ll steam instead of crisp. If necessary, use two baking sheets or cook in batches. For extra crispiness, place a wire cooling rack on the baking sheet and arrange the fries on the rack—this allows hot air to circulate all around each fry.
- Bake for 25-30 minutes. Place the baking sheet on the middle rack of your preheated oven. Bake for 15 minutes, then flip each fry carefully using a spatula. Continue baking for another 10-15 minutes, until the fries are golden brown and crispy on the outside. The exact time will depend on the thickness of your fries and your oven, so keep an eye on them toward the end.
- Cool slightly before serving. Remove the baking sheet from the oven and let the fries rest for 2-3 minutes. This allows them to firm up a bit more. Sprinkle with fresh parsley if desired, and serve immediately while they’re hot and crispy.
Cooking Tips & Techniques
After making these fries more times than I can count, I’ve learned a few things the hard way. Let me save you some trouble.
The biggest mistake people make is not drying the squash thoroughly. I learned this lesson after my first batch turned out sad and soggy. Butternut squash has a high water content, and any moisture on the surface will create steam in the oven. Pat those squash sticks completely dry after washing or soaking them. I mean really dry—like, use a clean kitchen towel and press gently to absorb every drop.
Don’t skip the flipping step. I know it’s tempting to just throw them in the oven and walk away, but flipping halfway through ensures even browning on all sides. If you’re using a wire cooling rack, you might not need to flip, but I still recommend checking them at the 15-minute mark.
Watch your oven temperature. Every oven runs a little differently. If your fries are browning too quickly on the outside but still soft inside, reduce the temperature to 400°F and extend the cooking time. If they’re not browning at all after 20 minutes, your oven might run cool—try increasing the temperature to 450°F for the last 5 minutes.
For extra crispy fries, try the cornstarch trick. Toss the dried squash sticks with 1 tablespoon of cornstarch before adding the oil and seasonings. This creates an even crispier exterior. I do this when I’m serving them as a main event rather than a side dish.
Timing is everything. These fries are best eaten immediately after baking. They’ll stay crispy for about 10-15 minutes after coming out of the oven, but after that, they start to soften. If you’re making them for a crowd, time the baking so they come out right when you’re ready to serve.
Variations & Adaptations
One of the best things about this recipe is how adaptable it is. Here are some variations I’ve tried and loved:
- Spicy Cajun Version: Replace the smoked paprika with 1 teaspoon Cajun seasoning and add a pinch of cayenne pepper. The heat pairs beautifully with the sweet squash. I made this version for a game day party, and it was gone in minutes.
- Herb and Garlic Version: Add 1 teaspoon dried rosemary or thyme along with the garlic powder. Fresh herbs work too—just sprinkle them over the fries during the last 5 minutes of baking so they don’t burn.
- Vegan Version: Replace the Parmesan with ¼ cup nutritional yeast flakes. You’ll lose some of that salty, cheesy flavor, but the nutritional yeast adds a nutty, umami quality that’s surprisingly satisfying. I’ve also used vegan Parmesan shreds with decent results.
- Air Fryer Version: Cook the seasoned fries in an air fryer at 375°F for 12-15 minutes, shaking the basket halfway through. The air fryer produces even crispier results with less oil. Just be sure to work in batches so you don’t overcrowd the basket.
- Keto-Friendly Version: These fries are already relatively low-carb for a vegetable dish, but if you’re strictly keto, skip the cornstarch trick and use extra Parmesan. The cheese adds fat and helps with crispiness. Pair them with this keto Mexican cauliflower rice bowl for a satisfying low-carb meal.
Serving & Storage Suggestions
These fries are incredibly versatile when it comes to serving. Here’s how I like to enjoy them:
Serving Temperature: Serve these fries hot and fresh from the oven. They’re at their absolute best within 5 minutes of coming out of the oven. If you need to hold them for a bit, keep them warm on the baking sheet in a 200°F oven with the door slightly ajar.
Dipping Sauce Ideas: These fries pair beautifully with so many sauces. I love them with garlic aioli, chipotle mayo, or homemade ranch dressing. For a lighter option, try them with plain Greek yogurt mixed with a squeeze of lemon juice and a pinch of salt. The tangy, creamy sauces really complement the sweet, salty fries.
What to Serve With Them: These fries make an excellent side dish for burgers, grilled chicken, or fish. I’ve also served them alongside juicy gas grill burgers for a complete meal that feels like a treat. They’re also great as an appetizer with a cold beer or a crisp white wine.
Storage: Leftover fries can be stored in an airtight container in the refrigerator for up to 3 days. However, I should warn you—they will lose their crispiness. To reheat, spread them on a baking sheet and bake at 400°F for 5-7 minutes, or pop them in the air fryer at 375°F for 3-4 minutes. The microwave will make them soggy, so avoid it if you can.
Freezing: You can freeze the uncooked, seasoned squash fries for up to 3 months. Arrange them in a single layer on a baking sheet and freeze until solid, then transfer to a freezer bag. Bake from frozen, adding 5-7 minutes to the cooking time. I do this all the time when butternut squash is in season—it’s like having homemade frozen french fries ready to go.
Nutritional Information & Benefits
These crispy Parmesan butternut squash fries are not only delicious but also packed with nutritional benefits. Here’s the breakdown per serving (about ½ of the recipe):
- Calories: Approximately 185 calories per serving
- Protein: 7g
- Fat: 10g
- Carbohydrates: 20g
- Fiber: 5g
- Sugar: 4g (natural from the squash)
- Sodium: 420mg (varies based on salt and Parmesan used)
Health Benefits: Butternut squash is a nutritional powerhouse. It’s rich in vitamin A (beta-carotene), which supports eye health and immune function. It also provides a good amount of vitamin C, potassium, and magnesium. The fiber content helps with digestion and keeps you feeling full longer. Parmesan cheese adds calcium and protein, making these fries more satisfying than your average vegetable side dish.
Dietary Considerations: This recipe is naturally gluten-free and nut-free. It can be made vegetarian and, with the nutritional yeast substitution, vegan-friendly. It’s also lower in carbs than traditional potato fries, making it suitable for low-carb and keto diets in moderation. If you’re watching your sodium intake, you can reduce the salt and use a low-sodium Parmesan.
Frequently Asked Questions
Can I use frozen butternut squash for this recipe?
I don’t recommend using frozen butternut squash for this recipe. Frozen squash releases a lot of water as it thaws, which will make your fries soggy instead of crispy. If you’re in a pinch, you can thaw the frozen squash completely, pat it very dry with paper towels, and proceed with the recipe—but the texture won’t be as good as with fresh squash.
Why are my butternut squash fries not crispy?
There are a few common reasons. The most likely culprit is moisture—if the squash wasn’t dried thoroughly before baking, the steam will prevent crisping. Another issue could be overcrowding the baking sheet. Make sure each fry has space around it so hot air can circulate. Finally, check your oven temperature. If it’s too low, the fries will cook slowly and release moisture before they have a chance to crisp up.
Can I make these fries ahead of time for a party?
You can prep the squash sticks and season them up to 24 hours in advance. Store them in a sealed container in the refrigerator, then bake them just before serving. I don’t recommend baking them more than 30 minutes ahead of time because they’ll lose their crispiness. For parties, I usually prep everything earlier in the day and pop them in the oven right when guests arrive.
What’s the best way to reheat leftover fries?
The air fryer is your best bet for reheating—375°F for 3-4 minutes will bring back most of the crispiness. If you don’t have an air fryer, spread them on a baking sheet and reheat at 400°F for 5-7 minutes. Avoid the microwave at all costs, as it will turn your crispy fries into sad, limp squash sticks.
Can I use other types of squash for this recipe?
Absolutely! Acorn squash, delicata squash, and even pumpkin can be used with similar results. Just keep in mind that different varieties have different water content and sweetness levels. Delicata squash is particularly nice because you don’t need to peel it—the skin is tender and edible. Acorn squash has a slightly nuttier flavor that works well with the Parmesan.
Conclusion
These crispy Parmesan butternut squash fries have become one of my most-requested recipes, and for good reason. They’re simple enough for a Tuesday night dinner but impressive enough to serve at a holiday gathering. The combination of sweet, tender squash with salty, crispy Parmesan creates something that’s genuinely greater than the sum of its parts.
I love that this recipe proves you don’t need complicated techniques or hard-to-find ingredients to make something truly special. It’s just good food made with care and a little bit of know-how. And honestly? Watching someone take that first bite and see their eyes light up never gets old.
I’d love to hear how these turn out for you! Did you try any of the variations? Find a new dipping sauce that you love? Drop a comment below and let me know—I read every single one, and your feedback helps me create better recipes for you. If you loved these fries, share this recipe with a friend who needs a new vegetable side dish in their life. Happy cooking!
Pin This Recipe!
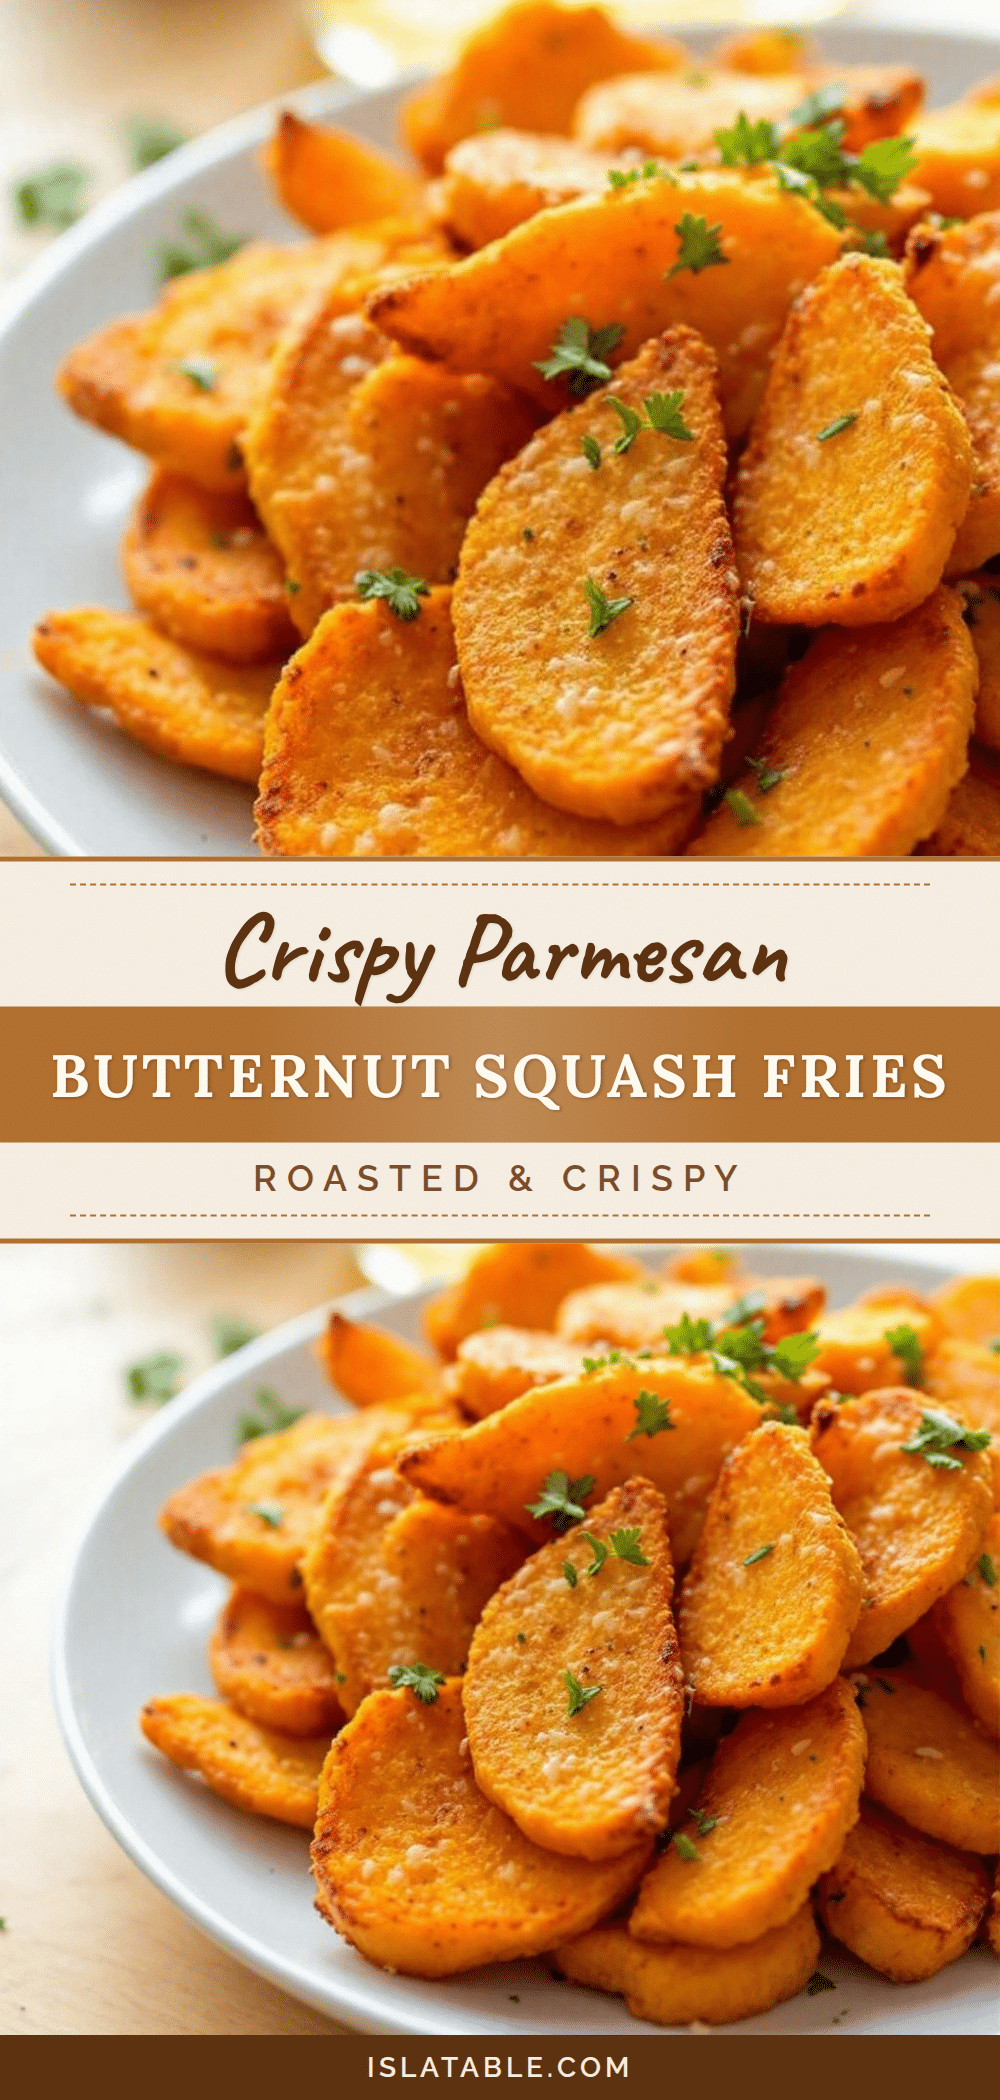
Crispy Parmesan Butternut Squash Fries

These crispy Parmesan butternut squash fries are a healthy, delicious alternative to traditional fries. With a perfect crispy exterior and tender, sweet interior, they’re a crowd-pleaser that comes together in just 35 minutes.
- Prep Time: 15 minutes
- Cook Time: 25-30 minutes
- Total Time: 35 minutes
- Yield: 4 servings 1x
- Category: Side Dish
- Cuisine: American
Ingredients
- 1 medium butternut squash (about 2–2.5 pounds), peeled, seeded, and cut into ½-inch thick fry-shaped sticks
- ½ cup finely grated Parmesan cheese (preferably Parmigiano-Reggiano)
- 2 tablespoons extra virgin olive oil
- 1 teaspoon garlic powder
- ½ teaspoon kosher salt (or ¼ teaspoon table salt)
- ¼ teaspoon freshly ground black pepper
- ½ teaspoon smoked paprika (optional)
- 2 tablespoons chopped fresh parsley for garnish (optional)
Instructions
- Preheat your oven to 425°F (220°C).
- Prepare the butternut squash: Cut off both ends, stand upright, slice in half lengthwise, scoop out seeds and pulp, peel the skin, and cut into ½-inch thick fry-shaped sticks.
- Soak the squash sticks in cold water for 15 minutes (optional but recommended for crispiness). Drain and pat completely dry with a clean towel.
- In a large mixing bowl, combine the dried squash sticks with olive oil, garlic powder, smoked paprika (if using), salt, and black pepper. Toss gently until evenly coated.
- Sprinkle the grated Parmesan over the seasoned squash and toss again until the cheese sticks to the fries.
- Line a large rimmed baking sheet with parchment paper. Spread the squash fries in a single layer, ensuring they are not crowded. For extra crispiness, place a wire cooling rack on the baking sheet and arrange fries on the rack.
- Bake for 25-30 minutes, flipping the fries carefully after 15 minutes, until golden brown and crispy.
- Remove from the oven and let rest for 2-3 minutes. Sprinkle with fresh parsley if desired and serve immediately.
Notes
For extra crispy fries, toss the dried squash sticks with 1 tablespoon cornstarch before adding oil and seasonings. Soaking the squash in cold water for 15 minutes helps remove excess starch for better crispiness. These fries are best served immediately; reheat in an air fryer or oven to restore crispiness.
Nutrition
- Serving Size: 1/2 of recipe
- Calories: 185
- Sugar: 4
- Sodium: 420
- Fat: 10
- Saturated Fat: 3
- Carbohydrates: 20
- Fiber: 5
- Protein: 7
Keywords: butternut squash fries, crispy fries, Parmesan fries, healthy fries, oven-baked fries, vegetable side dish


